Wall Art Guide, Wall Art Tutoriels
Sand Dollar Wall Art: Beach Shell Coastal Finding Decor
Jul
So I’ve been kinda obsessed with sand dollar wall art lately and honestly it started because I found like thirty of them on a beach in South Carolina last summer and had no idea what to do with them all. My cat knocked over the first arrangement I tried which was…not great, but I figured some things out.
The Actual Sand Dollar Situation
Okay first thing – you gotta decide if you’re using real sand dollars or fake ones. Real ones are fragile as hell and if you live somewhere humid they can get weird and sometimes smell a bit funky if they weren’t cleaned properly. I learned this the hard way in a client’s bathroom and yeah that was awkward. But real ones have this texture that’s just…you can’t really replicate it with the craft store versions.
The fake ceramic or resin ones though? They’re honestly pretty good now. I got some from this Etsy shop last month and my friend who’s a marine biologist couldn’t tell from across the room. They’re heavier which actually helps with mounting, and you don’t have to worry about them crumbling if someone sneezes nearby.
Where to Actually Get Them
If you’re going the real route you can obviously collect them yourself but like, please make sure they’re actually dead and empty first. Check local regulations too because some beaches have rules. I usually buy mine from:
- Etsy sellers who specialize in beach finds – look for shops with lots of reviews mentioning good packaging
- Craft stores like Michaels or Hobby Lobby for the fake ones
- This random shell shop in Florida that ships super fast but I can never remember the name
- Estate sales weirdly enough – found a whole box of vintage ones for like eight dollars
The vintage ones are cool because they’re usually already bleached white and have been stable for years so you know they’re not gonna fall apart.
Prepping Real Sand Dollars
This is gonna sound weird but you need to soak them in a bleach solution if they’re not already white. I use about one part bleach to three parts water and let them sit for like 10-15 minutes. Not longer or they get too brittle. Then you gotta rinse them really well – and I mean REALLY well – because otherwise the bleach smell lingers forever.
After that I let them dry completely for at least 48 hours. I put them on a towel in my laundry room because that’s the driest spot in my apartment. Once a sand dollar broke while drying and I discovered you can actually glue the pieces back together with super glue and it’s barely noticeable if you’re careful.
Oh and another thing – some people coat them with a sealant or Mod Podge to make them stronger. I’ve tried this and it works but it also makes them shiny which isn’t always the look you want. The matte sealers are better if you go this route.
The Mounting Problem Nobody Talks About
Okay so mounting these things is actually the trickiest part. Sand dollars are curved and delicate and regular picture hanging methods don’t really work. Here’s what I’ve actually tested:
Command strips work but only the velcro kind, not the picture hanging ones. You need to attach a small piece to the back of the sand dollar – use E6000 glue for this, not hot glue because hot glue doesn’t hold on the porous surface. Wait I forgot to mention you should sand the back of the sand dollar lightly first so the glue has something to grip.
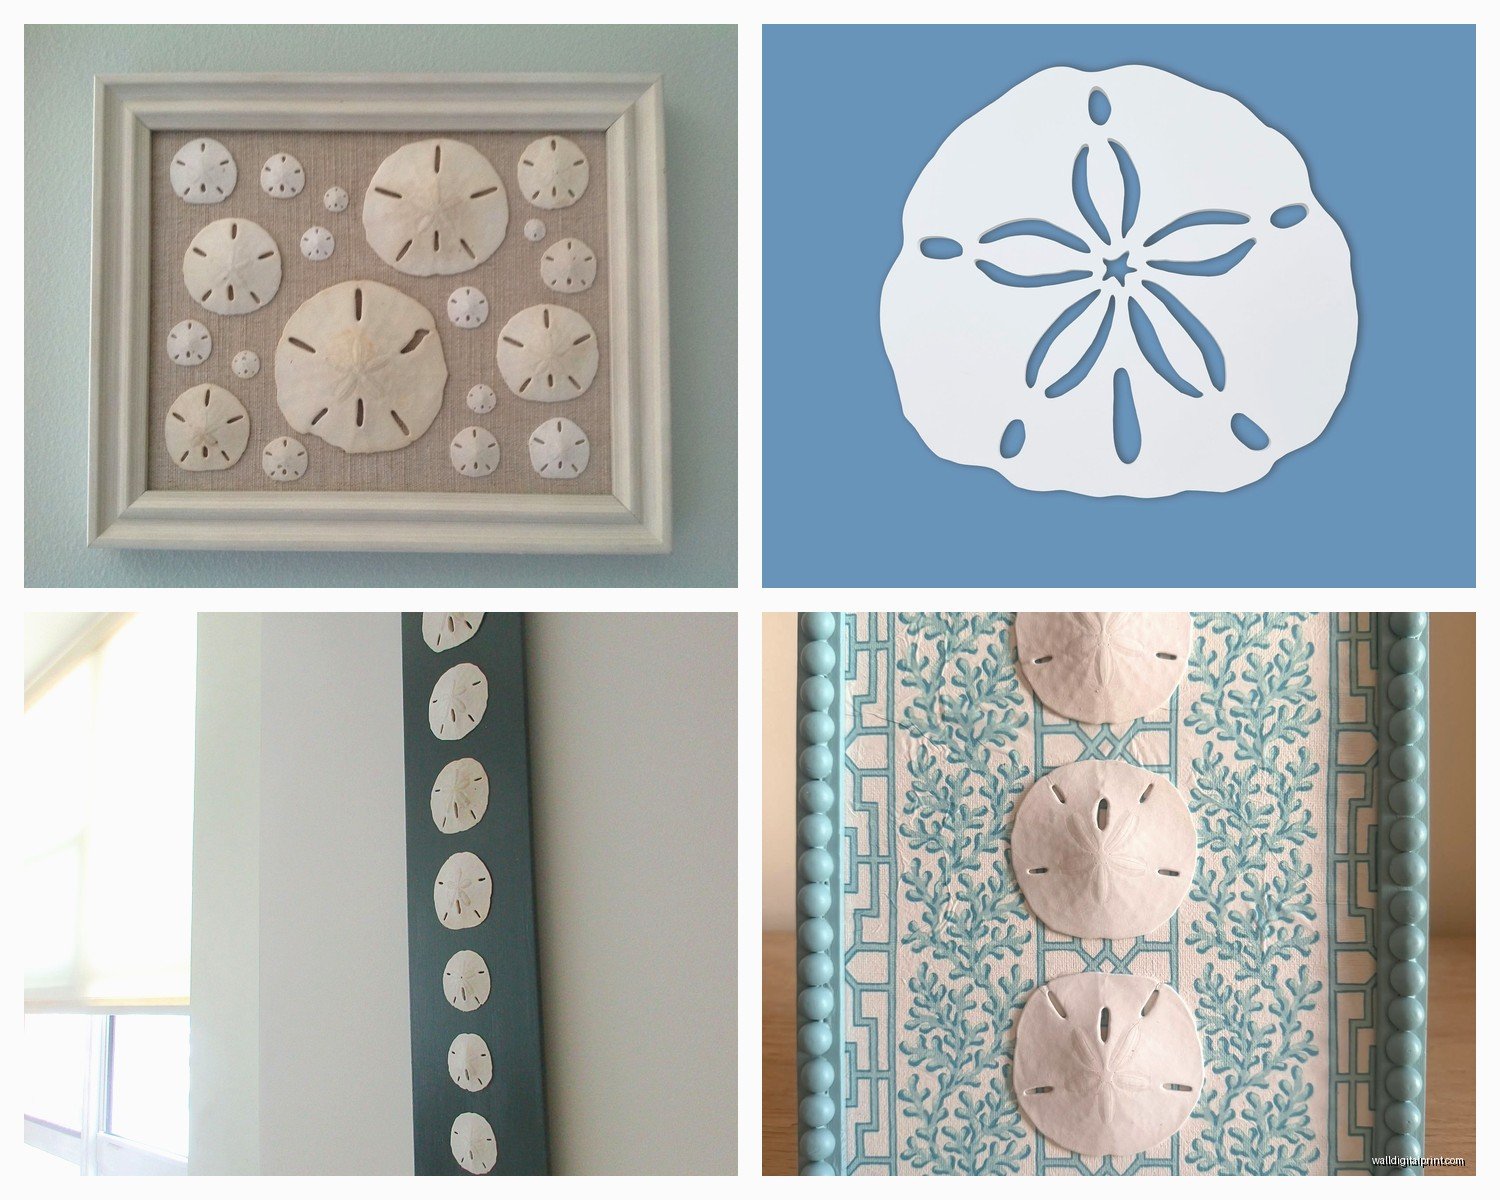
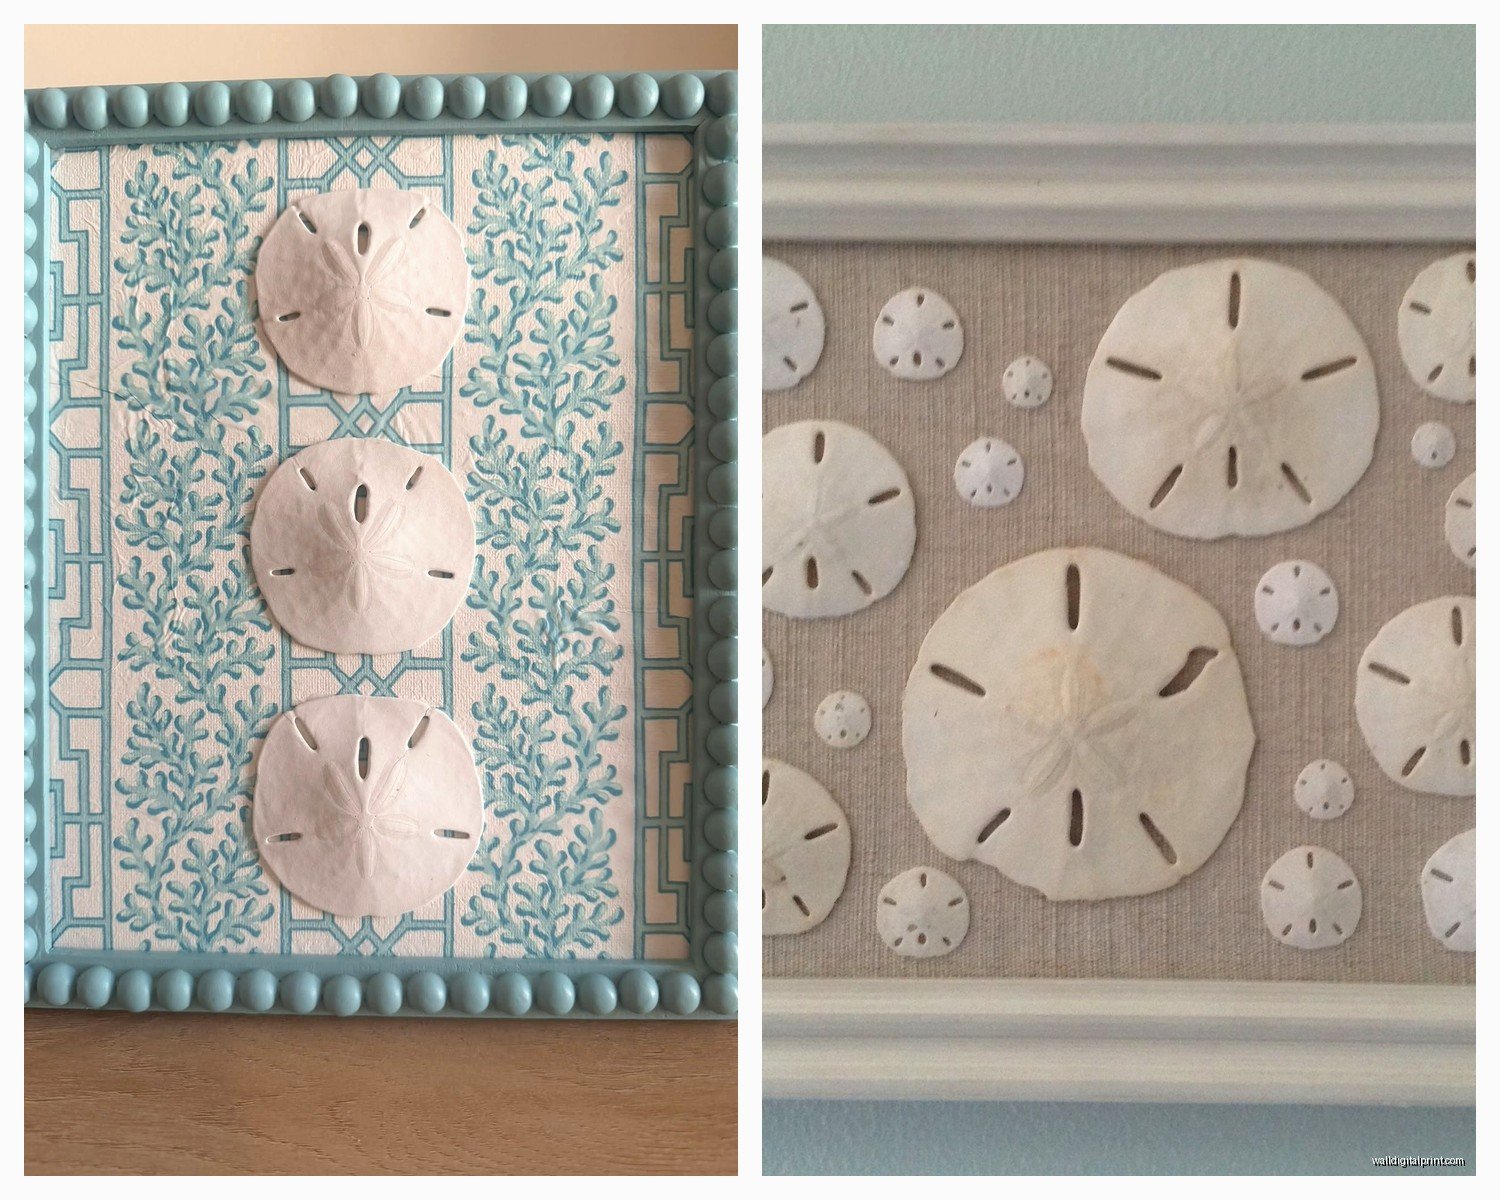
Shadow boxes are probably the easiest option honestly. You can get them at any craft store and you just arrange the sand dollars inside, maybe add some starfish or sea glass, close it up and hang it like a regular frame. My client canceled last Tuesday so I spent an hour comparing shadow box depths and the 2-inch deep ones are perfect for sand dollars because they have enough room but don’t look too bulky on the wall.
For a more floating look I’ve used fishing line tied through the natural holes in sand dollars. If your sand dollar doesn’t have holes you can carefully drill them with a small bit – go SLOW and use painter’s tape over the area first to prevent cracking. Then you just tie fishing line through and hang from a small nail or hook. This looks really cool in a window where light can come through.
Design Arrangements That Don’t Look Cheesy
This is where it gets fun but also where most people mess up. The Pinterest inspiration photos always show like seventeen sand dollars arranged in a perfect ombre pattern and look…that’s a lot. Here’s what actually looks good in real homes:
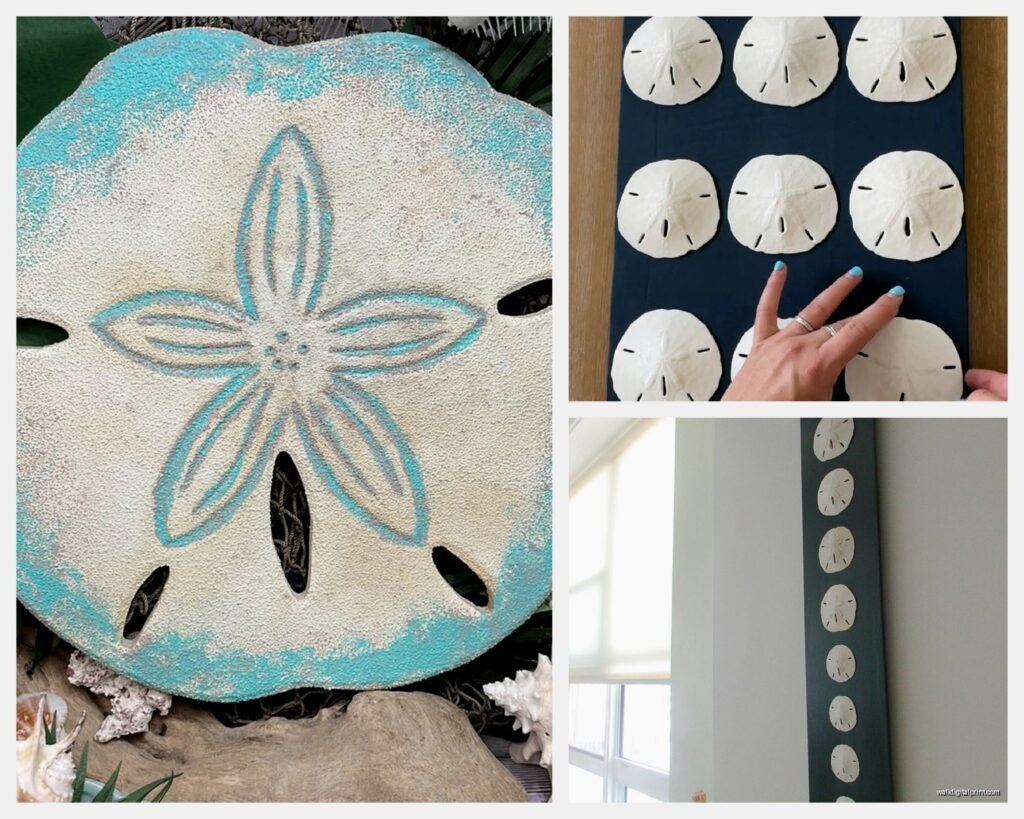
The Grid Approach – Four to nine sand dollars arranged in a simple grid pattern. Keep equal spacing between them. I usually do about 3-4 inches apart. Use a level and measure everything because even slightly off-center ruins the whole thing.
The Asymmetrical Cluster – Three to five sand dollars in different sizes grouped together on one side of a wall space. This works great above a small console table or next to a doorway. Mix in other coastal elements like a piece of coral or a starfish.
The Single Statement Piece – One really large sand dollar in a nice frame. Sometimes simple is better and you don’t need a whole collection situation happening.
The Garland Method – String multiple sand dollars on jute rope or ribbon and hang horizontally. I did this above a bed once and it turned out really pretty. You gotta space them evenly though and make sure the rope is taut.
Color Situations
Natural white/cream sand dollars are classic but you can also find or make them in different colors. I’ve seen:
- Gold leaf sand dollars which are very glam coastal if that’s your thing
- Painted ones in soft blues and greens – use chalk paint if you’re DIYing this
- Ombre dipped ones where just the bottom third is colored
- Natural brown ones that haven’t been bleached which have a more rustic vibe
Personally I think the natural white works in most spaces but the painted versions can be cool in a kids’ bathroom or beach house where you want more color.
Mixing Sand Dollars with Other Coastal Stuff
Sand dollars don’t have to be alone. Actually they usually look better mixed with other elements. Here’s combinations I’ve used that worked:
Driftwood pieces as a backing – mount sand dollars directly onto a piece of weathered driftwood and hang the whole thing. The texture contrast is really nice.
Sea glass in shadow boxes – layer sea glass at the bottom and prop sand dollars upright against the back. The light catches the glass and it’s just…chef’s kiss.
Starfish and urchins – create a whole beach specimen collection vibe. Just don’t go too crazy or it starts looking like a natural history museum.
Vintage nautical maps or charts as background – frame these together in a large shadow box for a collected-over-time look.
Room by Room Ideas
Bathroom – This is the obvious spot but be careful with moisture. I only put sand dollars in bathrooms with good ventilation. A small cluster above the toilet or next to the mirror works. Don’t put them IN the shower area obviously.
Bedroom – Above the bed as a focal point or on a side wall. Keep it simple here because bedrooms should be calm. Three sand dollars in matching frames or one large shadow box.
Living Room – Mix with other artwork. A sand dollar piece next to abstract art or photography creates interesting contrast. I have a client who put a large sand dollar shadow box next to a modern print and it’s unexpectedly cool.
Entryway – A single statement piece or small cluster to set a coastal tone right when people walk in. Don’t overcrowd this space.
Kitchen – Honestly I don’t usually put sand dollars in kitchens because they can get greasy from cooking. But if you have a breakfast nook area that’s separated it can work.
The Lighting Thing
Wait I forgot to mention lighting which actually matters more than you’d think. Sand dollars look completely different depending on the light source. Natural light makes them glow and you can see all the detail in the pattern. Warm artificial light makes them look more cream colored. Cool LED light can wash them out.
If you’re hanging them where they’ll catch natural light – like near a window – the backlighting shows off the texture and any translucent areas. I did this in my own hallway and watching the afternoon sun hit them is honestly one of my favorite things about that space.
For artificial lighting, picture lights or small spotlights can create drama if you’re into that. Otherwise just make sure they’re not in a dark corner where nobody can see them.
Maintenance and Long-Term Care
Real sand dollars need dusting regularly with a soft brush. I use a clean makeup brush. Don’t use water or cleaning sprays because they can damage the surface.
Check them periodically for cracks or deterioration. Sometimes the edges crumble a bit over time and you can carefully sand them smooth or just embrace the worn look.
If you have them in shadow boxes, make sure the box is actually sealed well or dust gets in and it looks terrible. I’ve had to disassemble and clean inside shadow boxes more times than I wanna admit.
Fake ceramic or resin ones are obviously easier – just wipe with a damp cloth when needed.
Budget Breakdown
Since you’re probably wondering about cost:
- Real sand dollars: $1-5 each depending on size and condition
- Ceramic/resin fake ones: $3-8 each
- Shadow boxes: $15-40 depending on size and quality
- Basic frames: $10-25
- Mounting supplies: $10-20 for adhesives and hardware
- Professional framing if you go that route: $50-150+
You can do a nice sand dollar wall display for under $50 if you’re strategic. Or spend a few hundred if you want custom framing and a whole gallery wall situation.
Common Mistakes to Avoid
Too many in one space – I see this constantly and it’s overwhelming. Less is usually more with sand dollars.
Hanging them too high – they should be at eye level or slightly above, not up near the ceiling where nobody can see the detail.
Using regular picture frames that are too shallow – the sand dollar touches the glass and looks squished.
Not securing them properly – nothing worse than one falling and shattering. Use proper adhesive and hardware.
Mixing them with every other beach element you own – choose a few complementary pieces, not your entire shell collection.
Putting them in super humid areas without protection – they’ll deteriorate faster.
okay so that’s basically everything I’ve learned from working with sand dollar art over the past few years. The main thing is just don’t overthink it – they’re beautiful natural objects and sometimes the simplest presentation is the best. Start with one or two pieces and see how you feel before committing to a whole wall of them.