Wall Art Guide, Wall Art Tutoriels
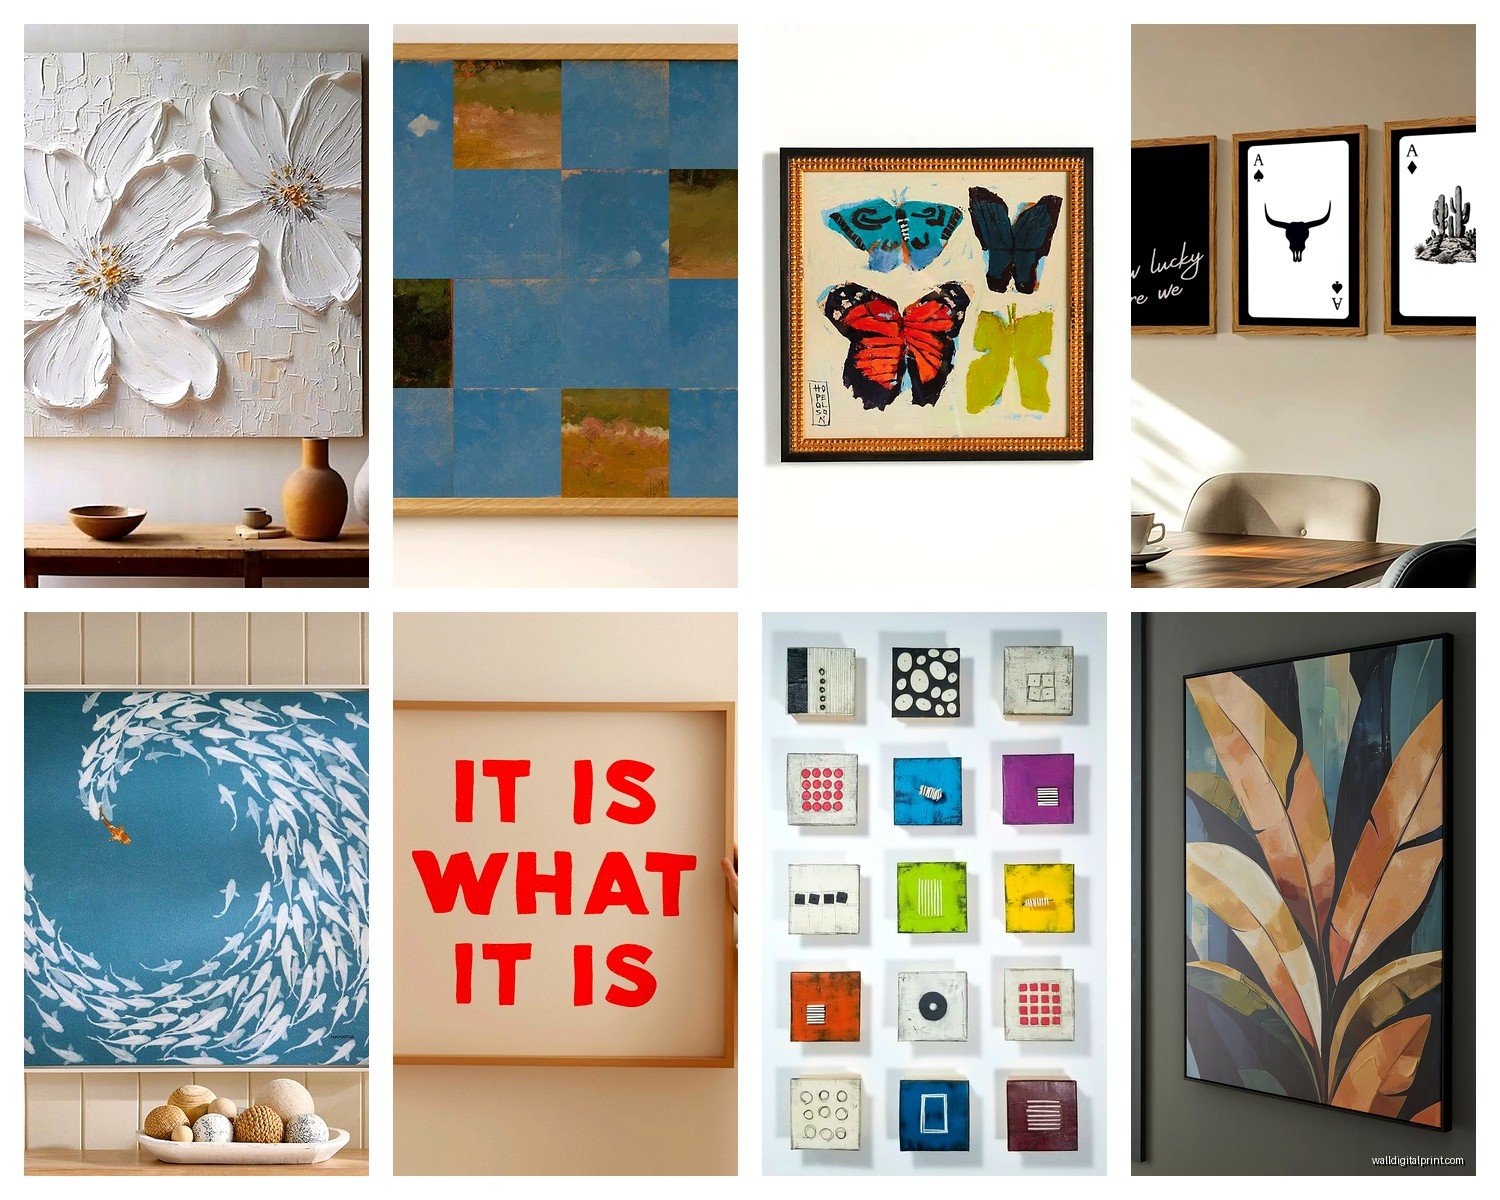
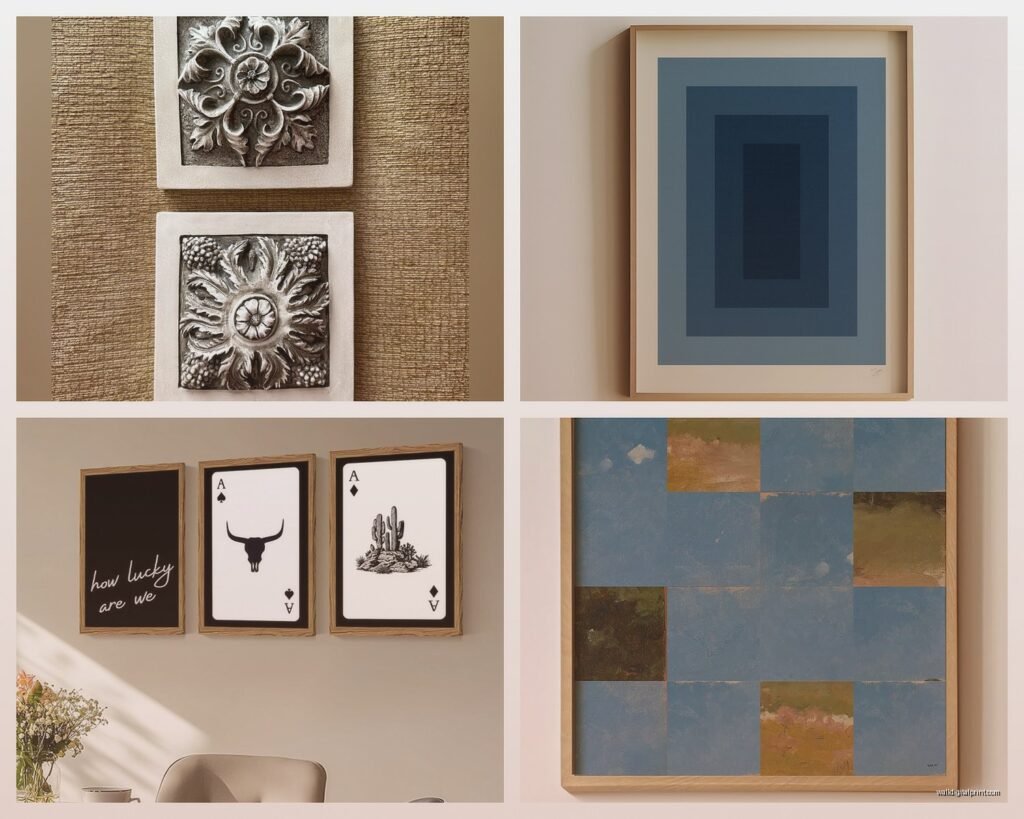
Square Wall Art: Equal Sides Balanced Format Designs
May
So I’ve been working with square wall art for like forever now and honestly it’s one of those formats that people either totally get or completely mess up. Like my friend Lisa just texted me last week with a photo of three different sized squares on her wall and I was like… okay we need to talk.
The thing about square art is that it tricks you into thinking symmetry is automatic just because the sides are equal. But that’s not how it works at all? You still need to think about visual weight and how your eye moves around the space. I learned this the hard way when I hung a series of 12×12 prints in my own hallway and kept walking past them feeling weird for like two weeks before I figured out what was wrong.
Size Actually Matters More Than You Think
Okay so the standard sizes you’re gonna see are 12×12, 16×16, 20×20, 24×24, and then it jumps to 30×30 or even 36×36 for statement pieces. Here’s what I tell everyone though – the 12×12 size is basically useless unless you’re doing a gallery wall with multiples. One lonely 12×12 on a wall just looks like you forgot to finish decorating.
The sweet spot for most rooms is actually 20×20 or 24×24. I’ve tested this in probably thirty different client spaces now and it consistently works. Like last month I did this whole living room where the client was CONVINCED she wanted a massive 36×36 piece and I had to literally mock it up with painter’s tape to show her it would eat the entire wall. We went with 24×24 instead and she sent me cookies after so.
For bedrooms over the bed you want to think about your headboard width. The art should be roughly two-thirds the width of your headboard or furniture piece below it. So if you’ve got a queen bed with a 60-inch headboard, you’re looking at a 36×36 square or maybe two 20×20 pieces side by side with like 4-6 inches between them.
The Gallery Wall Situation
Wait I forgot to mention – if you’re doing multiple square pieces together, odd numbers are your friend. Three, five, seven… your brain just likes odd groupings better. I don’t make the rules, neuroscience does or whatever.
For a grid layout with squares, you gotta decide if you want perfect symmetry or that slightly undone look. Perfect grid means equal spacing all around – I usually do 2-3 inches between frames. Measure this with painter’s tape first because eyeballing it is how you end up with wonky spacing that makes you crazy every time you walk past.
The undone look is trickier honestly. You want it to look intentional-casual not accidental-messy. What I do is start with an anchor piece (usually bottom left or center) and build around it, keeping some alignments consistent. Like maybe all the top edges of the bottom row align, but the sides are staggered. My cat knocked over my coffee while I was planning one of these last week and honestly the random tape pattern on the floor looked better than my original plan so sometimes chaos wins.
Color and Subject Balance
This is gonna sound weird but the content of your square art matters more than with rectangular pieces because there’s no directional bias. A vertical rectangle naturally draws your eye up and down, horizontal pulls you sideways. Squares just… sit there. So the internal composition needs to work harder.
I’ve noticed abstract pieces work REALLY well in square format because the eye can enter from any direction. Geometric patterns, color blocks, that kind of thing. But if you’re doing photography or representational art, think about where the focal point sits. Centered subjects work great – like a face-on portrait, a mandala, architectural details shot straight-on.
One thing that drives me nuts is when people mix warm and cool tones randomly in a square gallery wall. You can totally do both but there needs to be some distribution logic? Like don’t put all your warm oranges and reds on one side and all the blues and grays on the other unless you WANT the wall to feel lopsided. I usually do a salt-and-pepper distribution where warm and cool pieces alternate or scatter evenly.
Frame Choices That Don’t Suck
Okay real talk – you can go matted or unmatted with squares and both work, but they give totally different vibes. Matted squares in larger frames create more breathing room and feel more formal or gallery-like. Unmatted (where the art goes right to the frame edge) feels more modern and punchy.
For frame colors with square art I’m honestly pretty boring – black, white, natural wood, or walnut. The square format is already a strong geometric statement so you don’t need ornate frames competing for attention. Save your baroque gold frames for rectangular pieces.
Oh and another thing – float mounting square canvases without frames can look sick if your walls are clean and your art is actually good quality. I did this in a client’s home office with four 16×16 canvas prints and it made the room feel way more expensive than it was. But you gotta make sure your walls are in decent shape because there’s nowhere to hide dings and weird paint texture.
Spacing From Furniture and Architectural Elements
The rule I use is 6-8 inches above furniture for hanging art. For square pieces this is especially important because if you hang them too high they lose their connection to the furniture below and just float awkwardly. Too low and they feel like they’re being squashed.
Sidebar spacing matters too when you’re hanging a single square piece on a wall. You generally want roughly equal space on left and right sides, BUT – and this trips people up – you also need to account for visual weight of other stuff in the room. Like if you have a big bookshelf on one side of the wall, your centered square might need to shift slightly away from it to FEEL balanced even though it’s not mathematically centered. Your eye is smarter than your measuring tape sometimes.
I was watching this home design show the other night (while eating thai food in bed, very glamorous) and they centered a 24×24 print on a wall without considering there was a floor lamp on one side and literally nothing on the other and it looked SO off. My partner was like “why are you yelling at the TV” and honestly valid question but STILL.
Mixing Squares With Other Shapes
You can totally mix square art with rectangular pieces but you gotta be thoughtful about it. What I usually do is use squares as anchor points in a larger gallery wall and fill in around them with vertical and horizontal rectangles. The squares create stability and the rectangles add movement.
One layout I keep coming back to: one large 24×24 square as the center anchor, then four smaller rectangles around it in a loose plus-sign pattern. The rectangles can be different sizes as long as the overall composition feels balanced. I’ve done this probably fifteen times and it works in living rooms, bedrooms, hallways… it’s just a solid formula.
Another thing – if you’re mixing square prints with rectangular ones, try to keep the frame style consistent even if sizes vary. Same color, same profile thickness. This gives your eye something familiar to track across the different shapes.
What Actually Works in Different Rooms
Living room – go bigger than you think. Seriously. A 30×30 or 36×36 statement square above a sofa or console table. People always pick too small and then the art disappears into the wall. I had a client who insisted on 20×20 above her sectional and after three months she texted me like “okay you were right” and we swapped it for a 36×36.
Bedroom – I love a diptych of two 20×20 or 24×24 squares above the bed. Hung with 4 inches between them. Keep the imagery calm though because you’re gonna be staring at it before sleep. I made the mistake of hanging high-contrast geometric squares in my own bedroom once and they were like visually LOUD at night. Switched them to some soft abstract landscapes and sleep improved honestly.
Dining room – square format works amazing here because dining tables are usually rectangular so the square art creates nice contrast. One large piece on the main wall or a tight grid of four smaller squares in a 2×2 pattern.
Bathrooms – this is probably controversial but I love a small 12×12 or 16×16 square in a bathroom. The intimate scale works in small spaces. Just make sure it’s properly sealed or framed with glass if it’s near the shower because humidity will destroy paper prints.
The Actual Hanging Process
Okay so you’ve picked your square art, you know where it’s going, now you gotta actually get it on the wall without seven extra holes. Here’s my process:
Use painter’s tape to mark the exact size and position on your wall first. Live with it for a day or two. Walk past it multiple times. Does it still feel right? This has saved me so many times from permanent mistakes.
For one square piece, find the center of your wall space and mark it lightly with pencil. Measure your frame width and mark half that distance on each side of center. Do the same for height. You should have a light outline of where your frame will sit.
The hanging hardware on the back of your frame is usually set down a few inches from the top edge. Measure this distance. Mark your wall accordingly. Most square frames have D-rings or wire hanging systems – I honestly prefer D-rings for squares because wire can shift and make your piece go crooked, which is WAY more noticeable with a square than a rectangle.
Use a level. Like actually use one. Your phone has a level app and it works fine. A crooked square looks drunk because the format is supposed to be perfectly balanced and when it’s off even slightly your brain screams about it.
Common Mistakes I See Literally All The Time
Hanging multiple squares at different heights when they should be aligned. If you’re doing a horizontal row of squares, the tops (or centers, or bottoms) should align. Pick one reference line and stick with it.
Mixing too many different square sizes in one grouping. Like three 12×12, two 16×16, one 20×20, and a 24×24 all together just looks chaotic. Stick to two sizes max in one arrangement.
Ignoring the sight line thing. You should hang art at eye level, which is generally 57-60 inches from the floor to the center of the art. This is museum standard and it actually works. When people hang stuff too high it’s like the art is trying to escape to the ceiling.
Oh and buying square art that’s too small for the wall space because it was on sale. I get it, budget matters, but a too-small piece of art makes your whole room feel unfinished. Better to wait and save for the right size than compromise.
Where to Actually Buy This Stuff
For prints: Society6 and Minted have tons of square format options. You can often get them framed which saves hassle. Etsy is good for unique stuff but quality varies wildly so read reviews.
For original art or canvases: local art fairs, Instagram artists (seriously, so many good artists sell direct), Saatchi Art for higher-end pieces.
For budget options: Target’s Threshold line has decent square canvas prints. HomeGoods is hit or miss but when you find something good it’s like $30 for a framed piece.
Custom printing: if you have your own photos or artwork, Framebridge does nice square frames and the quality is solid. A bit pricey but worth it for special pieces.
The thing nobody tells you is that you’re gonna need to switch out art sometimes and that’s fine. I’ve changed the square pieces in my entry way probably four times in three years. What works in winter feels wrong in summer, or you get tired of looking at the same thing, or your style evolves. Don’t stress about finding the “perfect forever” piece because that’s not really how this works anyway.
Just start with something you actually like looking at, hang it at the right height with proper spacing, and adjust from there. Square art is forgiving once you understand the basics.