Wall Art Guide, Wall Art Tutoriels
3D Wall Art: Dimensional Relief Sculptural Layered Designs
Nov
So I’ve been completely obsessed with 3D wall art lately and honestly it started because I was watching this renovation show while eating leftover pizza and thought “wait, I could actually DO that” and here we are.
Types That Actually Work in Real Spaces
Okay so there’s basically a few categories you need to know about. Relief sculptures are the ones that stick out from the wall maybe like 1-4 inches, dimensional layered pieces use multiple planes to create depth (think stacked geometric shapes), and then there’s actual sculptural stuff that can project like 8+ inches which is dramatic but also you’re gonna bump into it if you’re not careful.
I learned this the hard way when I installed this gorgeous metal wave piece in a narrow hallway and my dog kept hitting it with his tail. Had to move the whole thing.
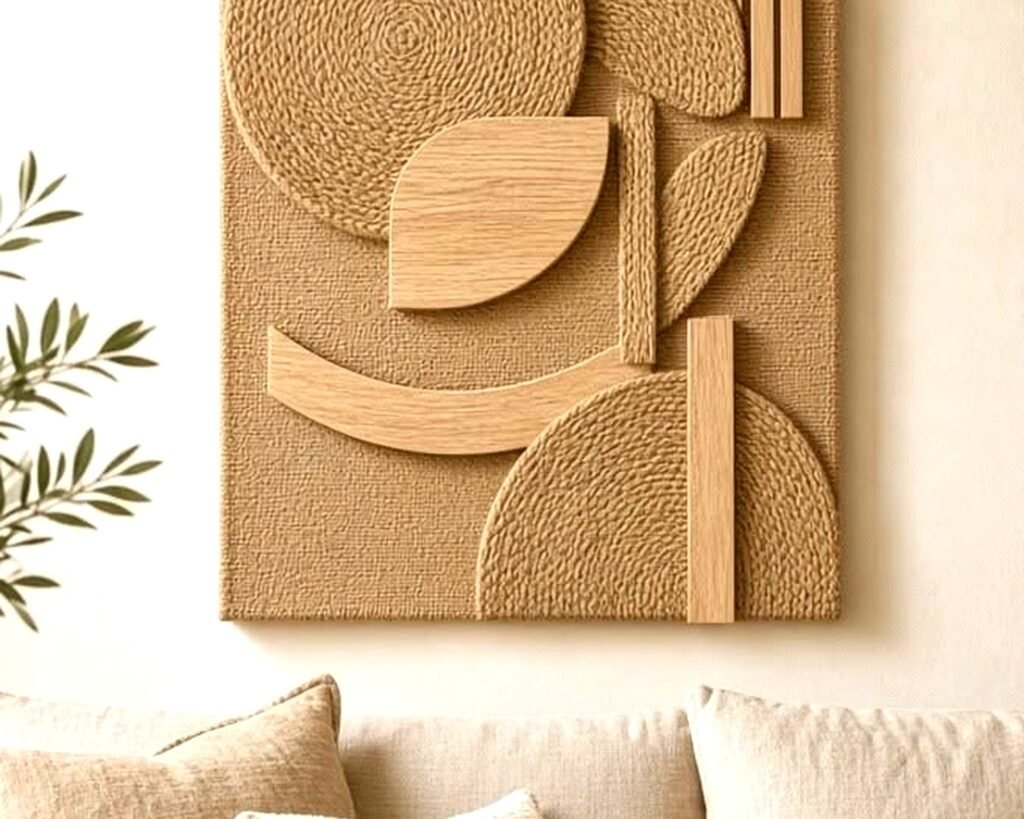
The layered paper/wood designs are having a MOMENT right now. They’re usually laser-cut with multiple layers creating shadow depth and they photograph incredibly well which is probably why everyone’s doing them. But here’s the thing – the cheap ones look cheap. You want at least 5-7 layers for actual visual impact.
Materials and What They Actually Mean for Your Space
Metal wall sculptures are my go-to for modern spaces. They’re durable, don’t collect dust like textured pieces, and the shadows they cast change throughout the day which is honestly mesmerizing. I’ve got this copper geometric piece in my office that looks completely different at 9am versus 6pm.
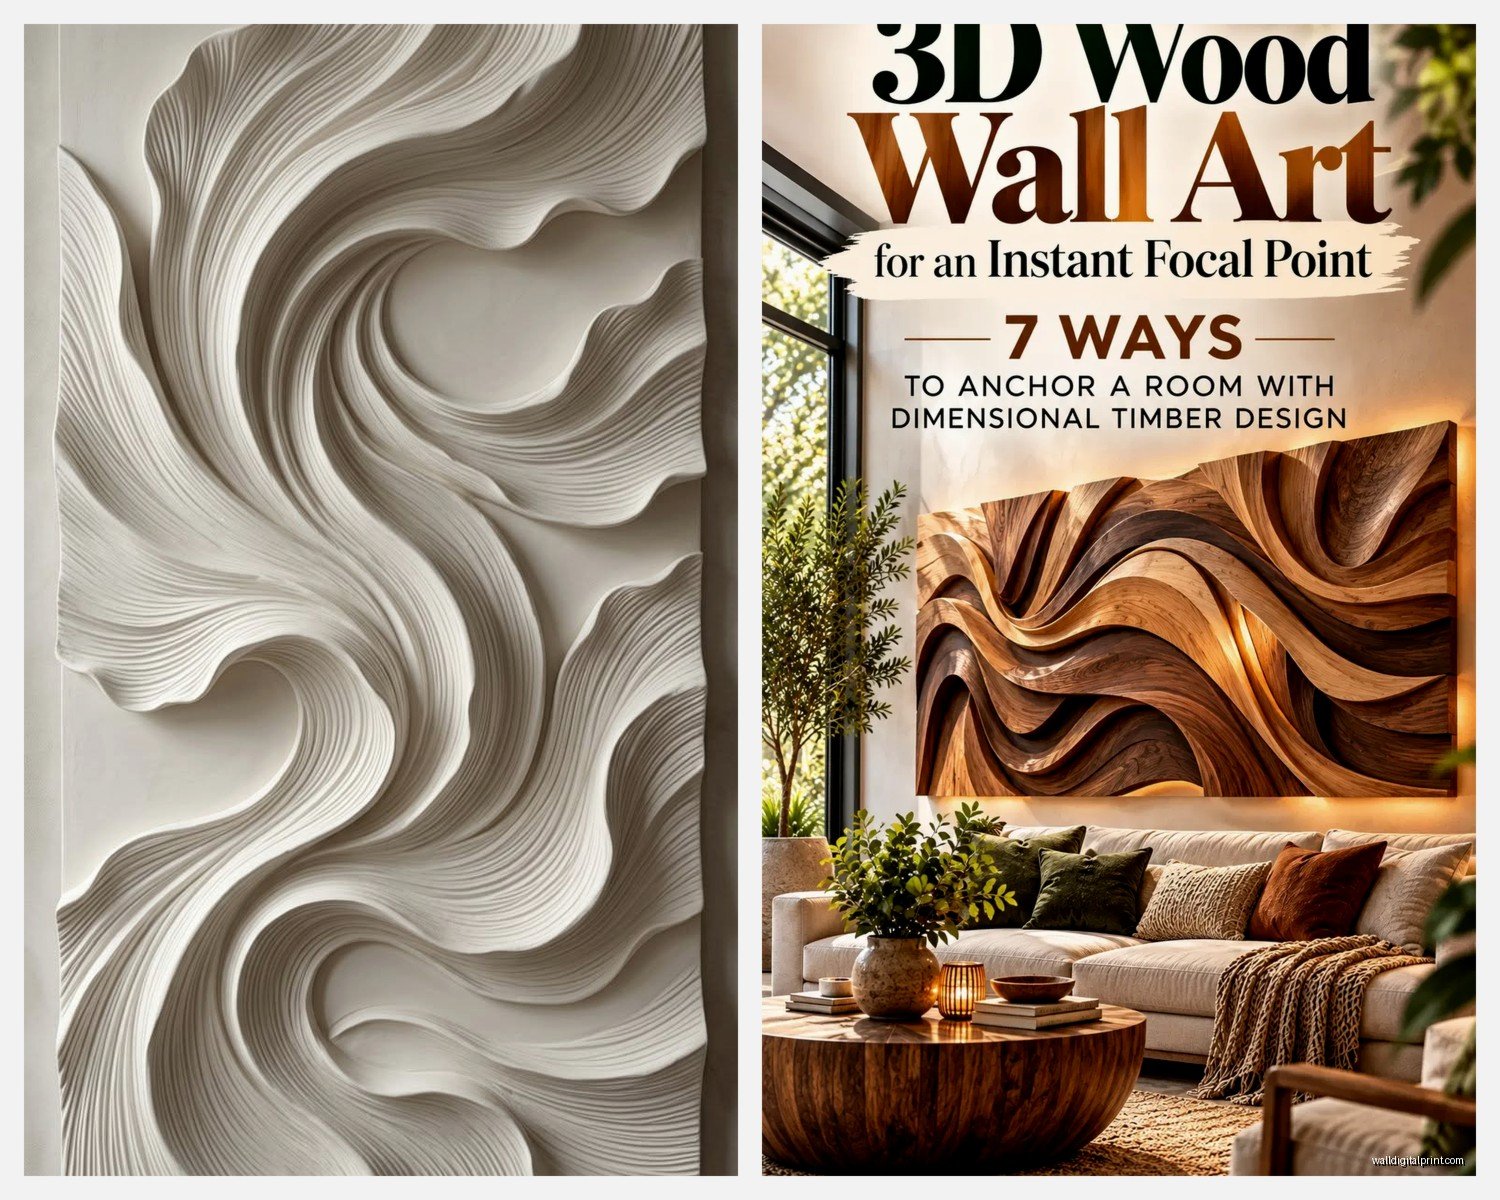
Wood is trickier than you’d think. Solid wood pieces are heavy – like really heavy – so you need proper anchors. The thin plywood layered stuff is lighter but can warp over time if you put it anywhere humid. Found that out in a client’s bathroom… not great.
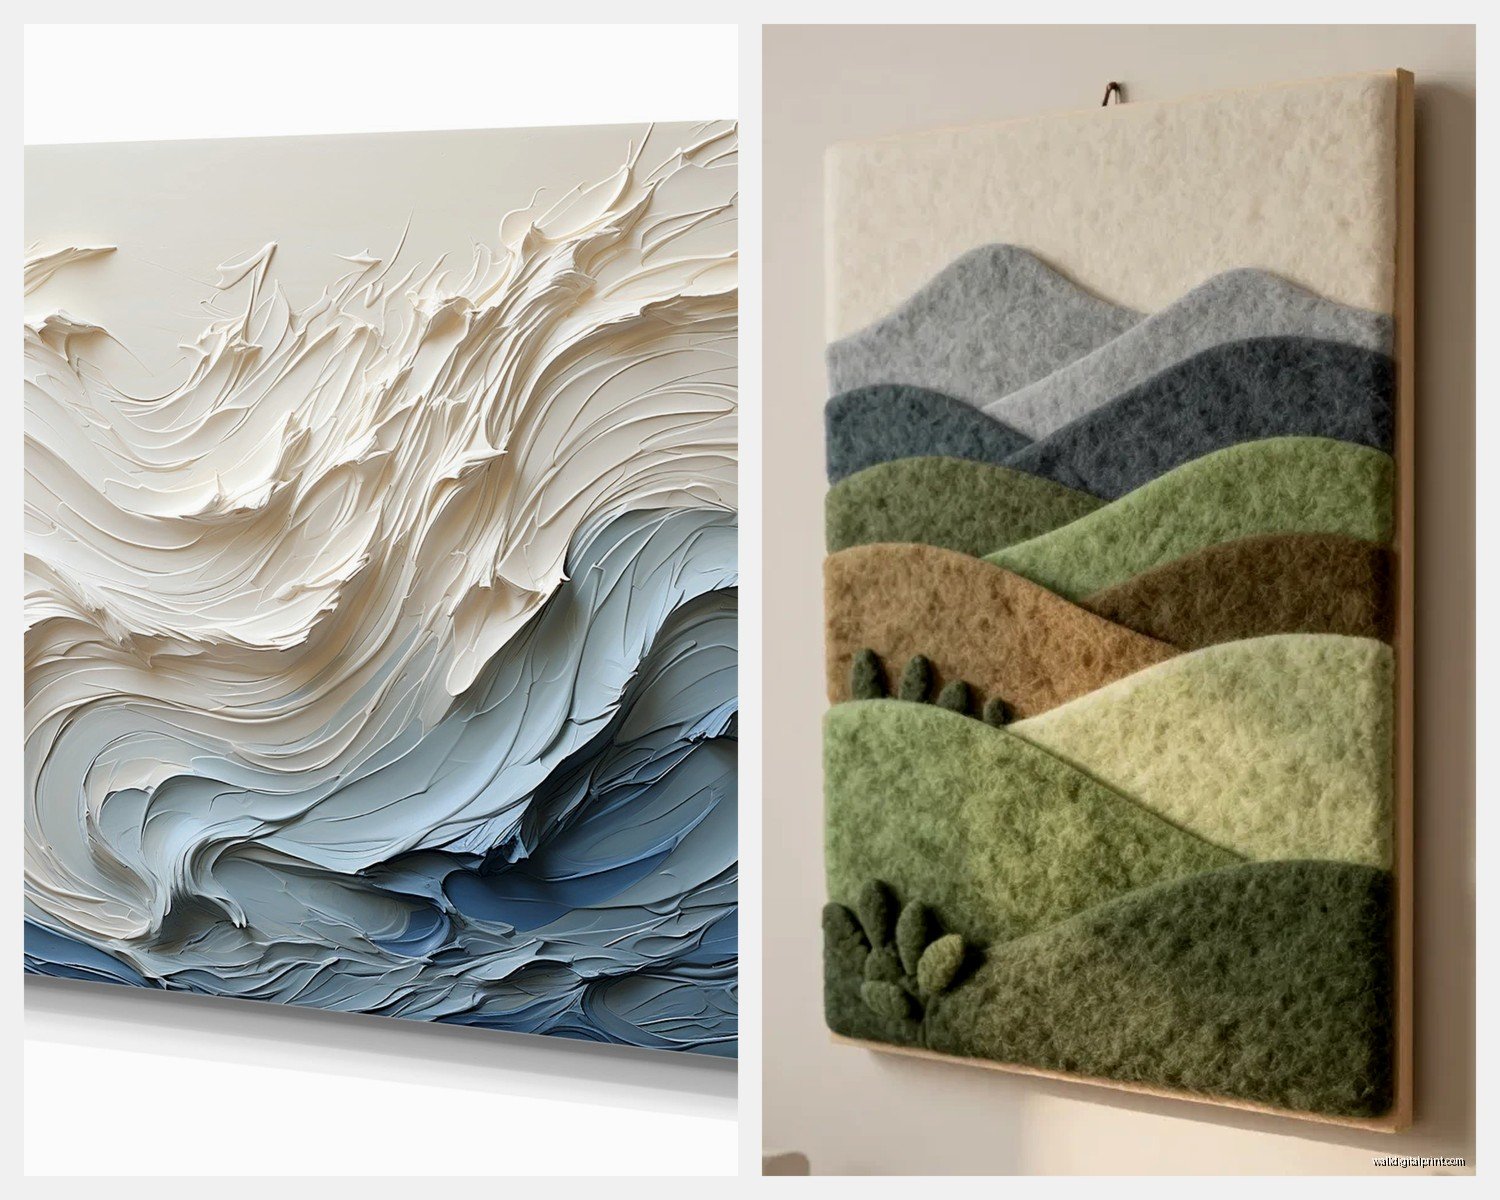
Resin and plaster give you that sculptural organic look everyone’s into right now. They’re lighter than you’d expect but also more fragile. I dropped a corner off a resin wave piece while installing it and had to use wood filler and paint to fix it and you can totally tell if you look close.
Fabric and fiber art is making a comeback but it’s not technically 3D in the same way? It’s more textural dimensional. Still counts though and it’s way more forgiving for renters since you can usually hang it with less aggressive hardware.
Weight Considerations Nobody Talks About
This is gonna sound obvious but measure and weigh things BEFORE you buy. I cannot stress this enough. A 36-inch metal sculpture might weigh 25 pounds and your standard drywall anchor isn’t gonna cut it. You need to hit studs or use toggle bolts rated for the actual weight.
I keep a stud finder in my car now because I’ve been burned too many times showing up to install something and realizing the perfect spot has no stud behind it and then you gotta pivot the whole design concept.
Installation Real Talk
Okay so here’s where everyone messes up including me the first dozen times. The hardware that comes WITH the piece is usually garbage. There I said it. Buy your own picture hanging wire, D-rings, or French cleats depending on the weight.
For anything under 10 pounds you can probably get away with regular picture hangers but why risk it. For 10-25 pounds use wall anchors or toggle bolts. Over 25 pounds you absolutely need to mount into studs or use a French cleat system.
French cleats are honestly a game-changer for heavy sculptural pieces. It’s basically two interlocking pieces – one mounts to the wall, one attaches to your artwork, and they hook together. Super secure and you can adjust positioning easily.
The Actual Process
First thing – and I forget this constantly – photograph the wall before you start making holes. Just trust me on this.
Mark your center point at eye level which is usually around 57-60 inches from the floor. Museums use 57 inches as standard which is lower than most people think. But honestly for dimensional pieces I go a bit higher because you want to catch light and shadows, not have people looking straight at it.
Use painter’s tape to map out the footprint before committing. Cut pieces of tape the exact dimensions and stick them up. Live with it for a day. I know that sounds excessive but I’ve moved SO many pieces because what looked good in theory was actually blocking a light switch or making the room feel cramped.
Level everything twice. Get a good level, not the app on your phone. The app is fine for quick checks but for permanent installation you want an actual tool.
Oh and another thing – photograph your wall BEHIND the piece before you mount it. If there are pipes or wires, you’ll have documentation. My friend drilled into a wire once and it was a whole thing.
Design Placement That Doesn’t Look Awkward
The biggest mistake people make is going too small. Like you need to think BIGGER than feels comfortable. A tiny 12×12 piece on a huge wall just looks lost. For a standard wall you want something at least 24-36 inches in one dimension.
Groupings are your friend though. Three medium pieces arranged with intention beats one undersized piece every time. I usually do odd numbers – 3, 5, 7 pieces – because it’s more dynamic.
For dimensional relief work you gotta think about light sources. These pieces NEED directional light to show off the shadows and depth. Putting one on a wall with only flat overhead lighting is basically wasting the 3D effect. I learned this curating a show last year where half the pieces looked flat until we added wall washers.
Rooms Where They Actually Work
Living rooms are obvious but be careful about placing them above seating where people might lean back and hit them. Behind a sofa works if there’s at least 6 inches clearance.
Dining rooms are perfect because you’ve got that big wall space and people are sitting facing it. Plus the lighting is usually good for dramatic shadows.
Bedrooms can handle more organic, softer dimensional pieces. Those layered wood mountain ranges or abstract waves work really well here.
Hallways are tricky – you want something interesting enough to draw the eye but not so dimensional that it’s a hazard. Stick to 2-3 inch projection max.
DIY Options If You’re Into That
I’ve made probably 15 layered pieces at this point and it’s actually not that hard if you have basic tools. You need a jigsaw or access to a laser cutter, wood glue, spacers, and patience.
Start with a design – I use Illustrator but you can hand draw and scan it. Create 3-5 layers that build on each other. Each layer should be slightly smaller or shifted to create the dimensional effect.
Cut your layers from 1/4 inch plywood or MDF. Sand everything because splinters are real and annoying. Paint or stain each layer – this is important BEFORE assembly because getting into crevices after is impossible.
Use small wooden blocks or foam board as spacers between layers. I usually do 1/4 to 1/2 inch spacing. Too much and it looks disconnected, too little and you lose the shadow effect.
Glue everything together working from back to front. Let it dry completely – like overnight – before mounting.
Paper Layering Is Actually Easier
If woodworking isn’t your thing, paper layering is surprisingly effective. You need thick cardstock or chipboard, a cutting mat, X-acto knife, and foam mounting squares.
Same principle – create layers that build depth. You can get really intricate with paper since it’s easier to cut detailed shapes. I made a whole series of botanical designs this way that sold really well.
The foam mounting squares are key. They come in different thicknesses and you can stack them for more dimension. Way easier than messing with glue and spacers.
Buying Considerations
If you’re buying rather than making, here’s what to actually look for. Check the backing – is it finished or just raw edges? Finished backing means the artist cares about the whole piece not just the front.
Look at how the mounting hardware is attached. Is it screwed in securely or just glued? Glued will fail eventually especially on heavier pieces.
For metal work, check the edges. Are they sharp? Will you cut yourself changing a lightbulb nearby? This matters more than you think.
Read dimensions carefully including projection depth. I’ve ordered things online that were WAY more dimensional than I expected and they didn’t work for the space.
Price Reality Check
Handmade sculptural pieces start around $200 and go up into thousands depending on size and artist. That’s reasonable for something that took 20+ hours to make.
Mass-produced dimensional wall art from home decor stores runs $50-300. It’s fine, sometimes really good, but you’re gonna see the same piece in other people’s houses.
Etsy is a goldmine for unique pieces in the $100-500 range. You’re supporting independent artists and getting something more original.
DIY materials for a medium-sized piece run maybe $30-60 if you’ve got basic tools already.
Maintenance Nobody Mentions
Dust is real. Dimensional pieces collect dust in all those crevices and shadows. I use a soft brush attachment on my vacuum on low power, or a makeup brush for delicate areas.
Wood pieces might need occasional treatment depending on finish. I use furniture polish on finished wood pieces maybe twice a year.
Metal can tarnish or oxidize which might be the look you want? But if not, there are specific cleaners for brass, copper, etc.
Check mounting hardware annually. Seriously. Things settle and shift and you don’t want a 30-pound sculpture falling at 3am.
Common Problems I’ve Actually Dealt With
Pieces that look amazing in photos but weird in person – this happens when the scale is off or the lighting is completely different than expected. Always check dimensions against your actual wall space.
Colors that don’t match the online photo. I ordered a “natural wood” piece that arrived basically orange. Stained it darker and it was fine but annoying.
Warping over time especially with layered wood pieces in humid areas. You can sometimes fix this by removing it, weighing it flat for a while, and remounting but honestly prevention is easier.
The piece just doesn’t work with your existing art or furniture. This is why I always recommend taking photos of your space and comparing before buying.
wait I forgot to mention – seasonal changes affect some materials. Resin can get slightly flexible in heat, wood expands and contracts with humidity. Just something to be aware of if you live somewhere with extreme weather.
Anyway that’s basically everything I’ve learned through trial and error and probably too much money spent experimenting. The main thing is don’t be afraid to try it because even if your first attempt isn’t perfect, dimensional wall art adds so much interest to a space that it’s worth figuring out.