
Wall Art Guide, Wall Art Tutoriels
Moss Wall Art: Preserved Living Green Plant Designs
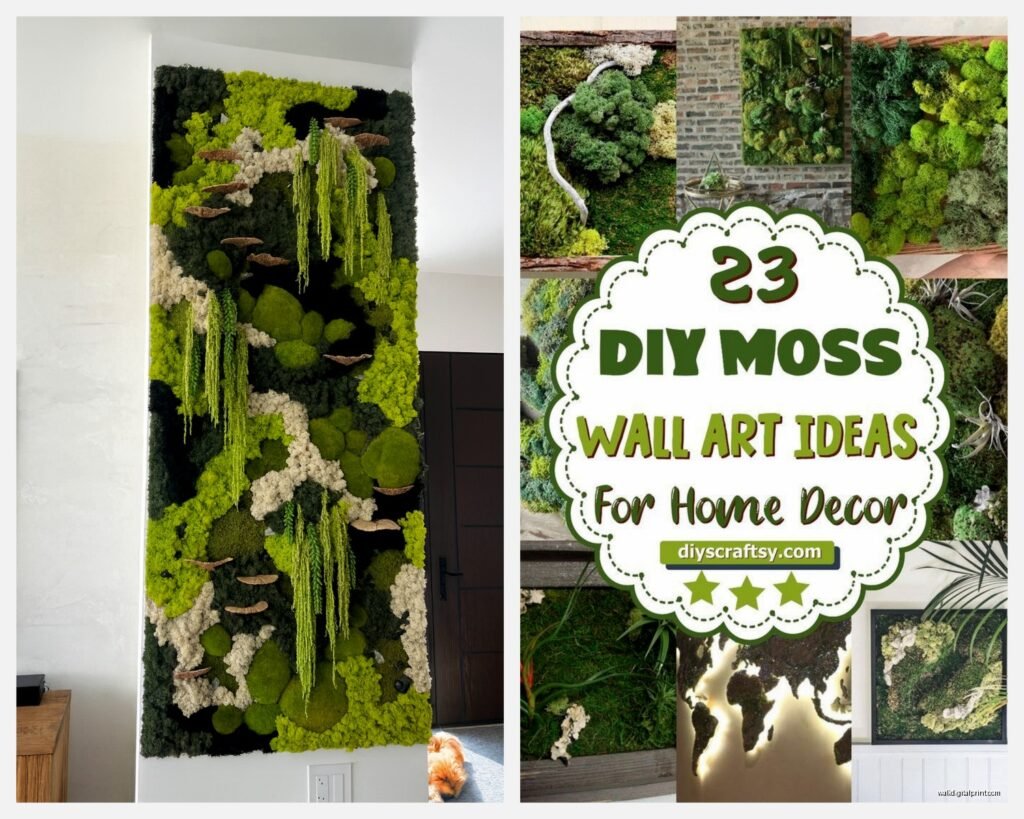
Nov
So I’ve been working with moss wall art for like three years now and honestly it’s one of those things that looks way more complicated than it actually is. My cat knocked over my first attempt and I almost gave up but then a client specifically requested one for their meditation room and I had to figure it out fast.
The Preserved vs Living Thing Everyone Gets Wrong
Okay so first thing – when people say “living” moss wall art, they usually mean preserved moss. Actual living moss walls are a whole different beast that needs irrigation systems and grow lights and I’m gonna be real with you, unless you’re doing a commercial installation with a maintenance contract, you probably don’t want that headache. Preserved moss is treated with glycerin and dyes to stay soft and green-looking without any water or light. It’s technically dead but looks alive? Sounds morbid when I put it that way but it’s actually perfect for indoor spaces.
I tested both in my own apartment and the living moss started going brown after like two weeks because my north-facing windows weren’t cutting it. The preserved stuff has been on my bedroom wall for 18 months and still looks exactly the same.
Types of Preserved Moss You Can Actually Buy
There’s mainly three types you’ll see:
- Sheet moss – flat, carpet-like, super versatile
- Reindeer moss – that puffy, brain-looking stuff (it’s actually lichen but whatever)
- Mood moss – rounded, bumpy texture, really dimensional
I usually combine all three because using just one type looks kinda flat and boring. The reindeer moss comes in different colors too – I’ve used natural green, lime green, chartreuse, even purple for a kid’s room once. Sheet moss is your base layer, mood moss adds texture, and reindeer moss fills in gaps and creates visual interest.
You can order this stuff online from places like MountainMoss or SuperMoss. I get mine from a wholesale floral supplier now but when I started I literally bought it off Amazon in little bags. One bag of sheet moss covers maybe a square foot, so do the math before you order.
What About the Smell
Oh and another thing – some preserved moss smells weird when you first open it. Like musty basement mixed with pickle juice? It goes away after a few days of airing out. I made the mistake of installing some fresh-out-of-the-bag moss in a client’s bathroom once and they texted me like “did something die in here” so yeah, let it breathe first.
What You Actually Need to Get Started
Here’s what I grab every time I’m doing a moss wall project:
- Backing board – I use 1/2 inch plywood or foam board depending on weight concerns
- Hot glue gun and like a million glue sticks (you’ll go through more than you think)
- Spray adhesive – 3M Super 77 is my go-to
- Frame or shadow box if you want that finished look
- The moss obviously
- Scissors or wire cutters for trimming
Some people use liquid nails or construction adhesive but I find hot glue works better because you can adjust quickly before it sets. Plus it doesn’t smell as harsh which matters when you’re working indoors for hours.
The Actual Process That Works
So here’s how I do it now after screwing up several times. First measure your space and cut your backing board. If you’re doing a large wall installation, you might want to do it in sections that you can mount separately – easier to transport and if you mess up one section you don’t have to redo the whole thing.
Spray the backing board with that spray adhesive. Work in a well-ventilated area because this stuff is no joke, I got lightheaded once and had to go sit outside while watching some random baking show on my phone to recover. Let it get tacky for like 30 seconds.
Start with your sheet moss as the base layer. Press it down firmly, overlapping pieces slightly so you don’t see the backing board through gaps. This is where my first attempt went wrong – I didn’t overlap enough and you could see plywood peeking through.
Building Up the Layers
Once your base is down, start adding mood moss and reindeer moss with the hot glue gun. I work in sections rather than trying to plan the whole thing out. Put a blob of hot glue on the backing board (through the sheet moss is fine), press your chunk of mood moss down, hold for like five seconds. Keep going until you’ve got good coverage.
The reindeer moss is super forgiving because it’s fluffy and fills space easily. I pull it apart into smaller chunks rather than using big clumps – looks more natural that way. Hot glue it randomly across the surface, varying the heights and densities.
This is gonna sound weird but I sometimes step back and take photos on my phone while I’m working. Looking at it through the camera helps me see bare spots or areas that need more texture. My partner thinks I’m insane when they catch me doing this but it genuinely helps.
Design Layouts That Actually Look Good
I’ve tried a bunch of different layouts and here’s what works:
Full coverage wall – exactly what it sounds like, cover the whole wall section in moss. Dramatic but heavy and expensive. Did this in a yoga studio once and it cost the client like $800 in materials alone for a 6×4 foot section.
Framed panels – way more manageable. Get shadow box frames from Michael’s or wherever, fill them with moss arrangements. You can do a gallery wall situation with like five different frames in various sizes. This is honestly what I recommend for beginners because if you hate how one turns out, you’re only out $30 in materials instead of hundreds.
Geometric shapes – circles, hexagons, triangles. I use foam board for these because it’s easier to cut into shapes. Mount them directly on the wall with command strips or create a wooden backing frame.
Logo or letter shapes – popular for offices and nurseries. Print out your shape at the size you want, trace it onto foam board, cut it out, cover with moss. I did a giant ampersand for a wedding once and it turned out really cool.
Color Combinations Worth Trying
All one shade of green can look good but kinda boring after a while. I mix different green tones – forest green sheet moss with lime green reindeer moss and natural mood moss. Sometimes I throw in a little brown or tan preserved fern for contrast.
For kids’ rooms or playful spaces, the dyed moss works great. I did a purple and pink combination once that could’ve been tacky but actually looked amazing in the space. Just don’t go too wild with colors in a bedroom or living room because you’ll get sick of it.
Mounting This Thing Without Destroying Your Wall
Okay so this depends on size and weight. Small framed pieces under 5 pounds can go up with heavy-duty command strips. I use four strips per frame and haven’t had any failures yet, knock on wood.
Larger installations need proper mounting. I use D-ring hangers on the back of the board and hang them on wall anchors or studs. For really big commercial installations, I’ve used French cleats which distribute weight really well.
Wait I forgot to mention – moss art is actually pretty light compared to what you’d think. A 2×3 foot panel might only weigh 8-10 pounds depending on moss density. It’s not like hanging a heavy mirror or anything.
The Maintenance Situation
This is the best part – there basically isn’t any maintenance. You don’t water it, you don’t fertilize it, you don’t trim it. Just leave it alone. Dust it gently every few months with a soft brush or use canned air from far away. I tried a duster once and it pulled chunks of moss off so don’t do that.
Keep it out of direct sunlight because it’ll fade over time. Also keep it away from high humidity areas – I know people put them in bathrooms for the spa vibe but constant steam exposure can make the moss start breaking down or getting moldy. A powder room is fine, but not right next to your shower.
The moss will get slightly more brittle over time, like after a year or two. That’s normal. If pieces fall off you can just hot glue them back on.
Common Problems I’ve Actually Dealt With
Moss falling off – usually means you didn’t use enough adhesive or the surface wasn’t clean. I learned to wipe down my backing boards with rubbing alcohol before starting.
Visible gaps showing through – add more moss. Seriously that’s the fix. I keep extra moss in a plastic bin specifically for touch-ups.
It looks too uniform and fake – vary your textures and heights more. Real nature isn’t perfectly even, so your moss wall shouldn’t be either. I intentionally leave some areas more sparse and others really dense.
Color fading – this happens if it’s in bright light. Not much you can do except move it or accept it. Some fading can actually look nice and more natural though.
The Pet Situation
If you have cats, mount your moss art high enough that they can’t reach it. My cat is obsessed with attacking anything textured and leafy. Dogs usually don’t care about it in my experience. The preserved moss isn’t toxic if they do manage to eat some, but it’s not great for them either and also your art will look terrible with chunks missing.
Budget Breakdown Reality Check
Small 12×12 inch framed piece: about $25-40 in materials
Medium 2×3 foot panel: $80-150
Large 4×6 foot installation: $300-600
Those are just material costs. If you’re buying pre-made moss art, expect to pay double or triple that because labor is expensive. I charge $200-400 for custom pieces depending on size and complexity which is honestly probably underpriced but whatever.
You can definitely do a beginner project for under $50 if you start small. Get a shadow box frame from the craft store when they’re having a 50% off sale, grab some moss from Amazon, and just experiment.
Where This Works Best in Your Space
I’ve installed moss walls in all kinds of places and here’s where they really shine:
Home offices – adds nature vibes without the maintenance of actual plants. Plus it absorbs some sound which is nice for video calls.
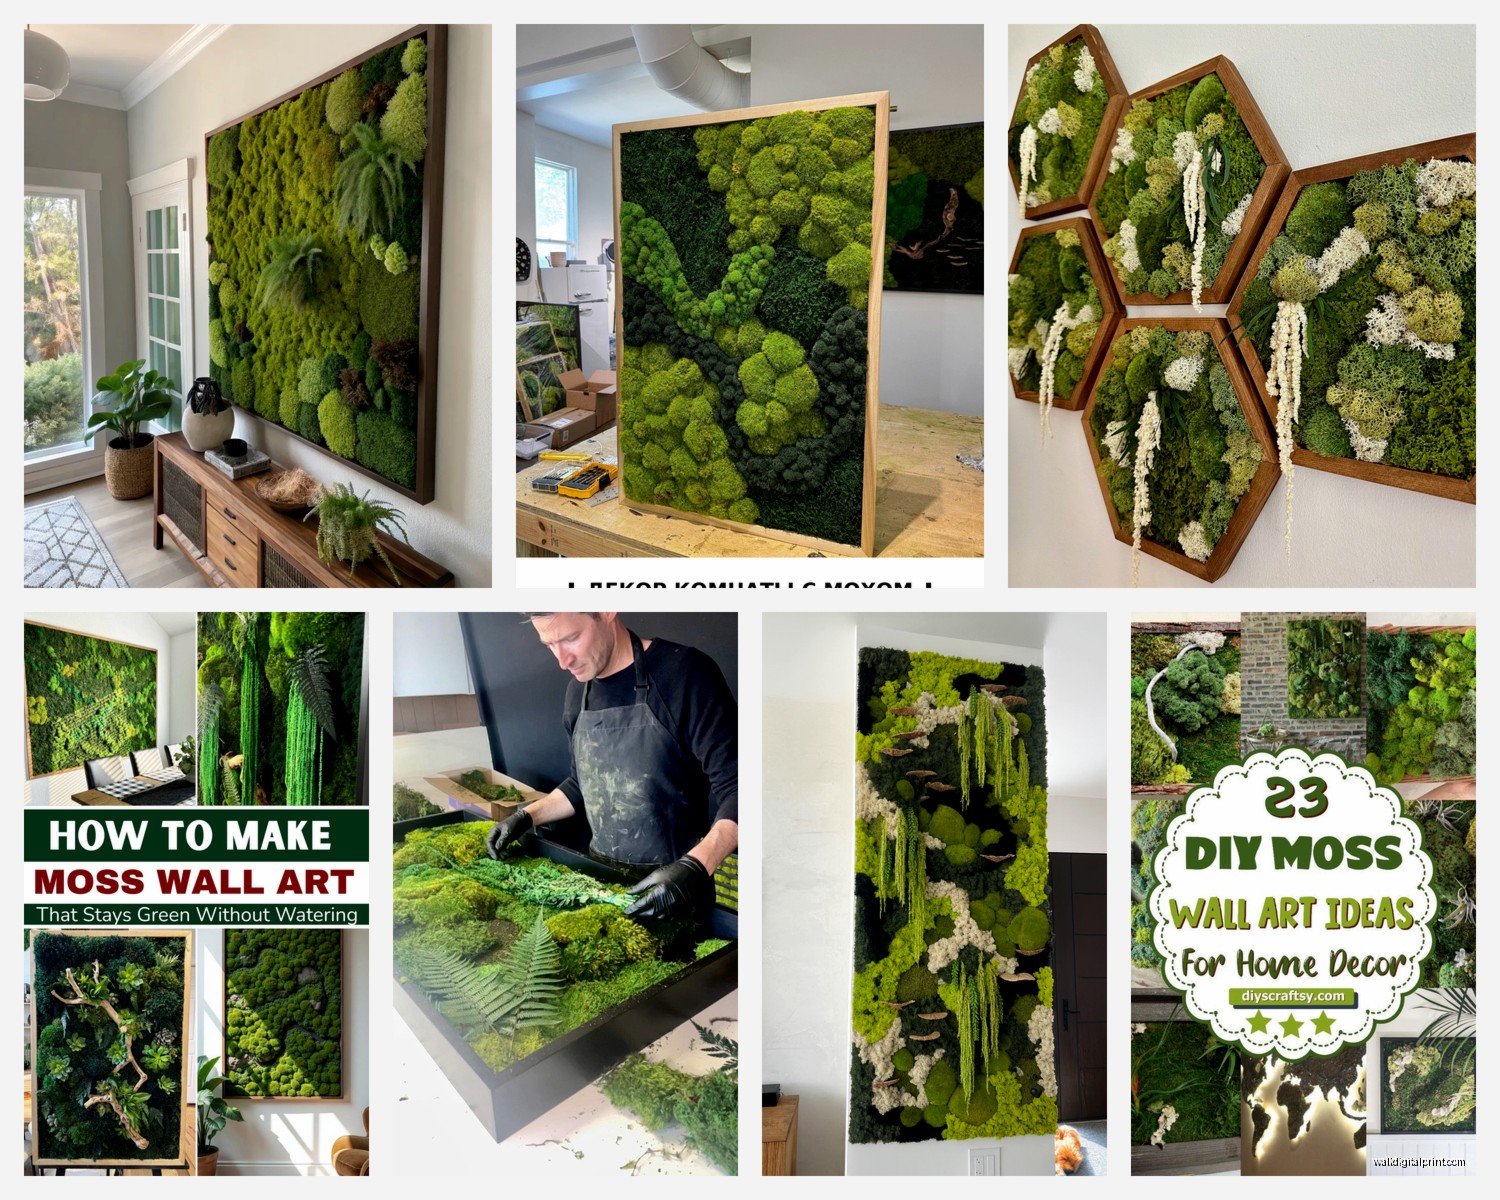
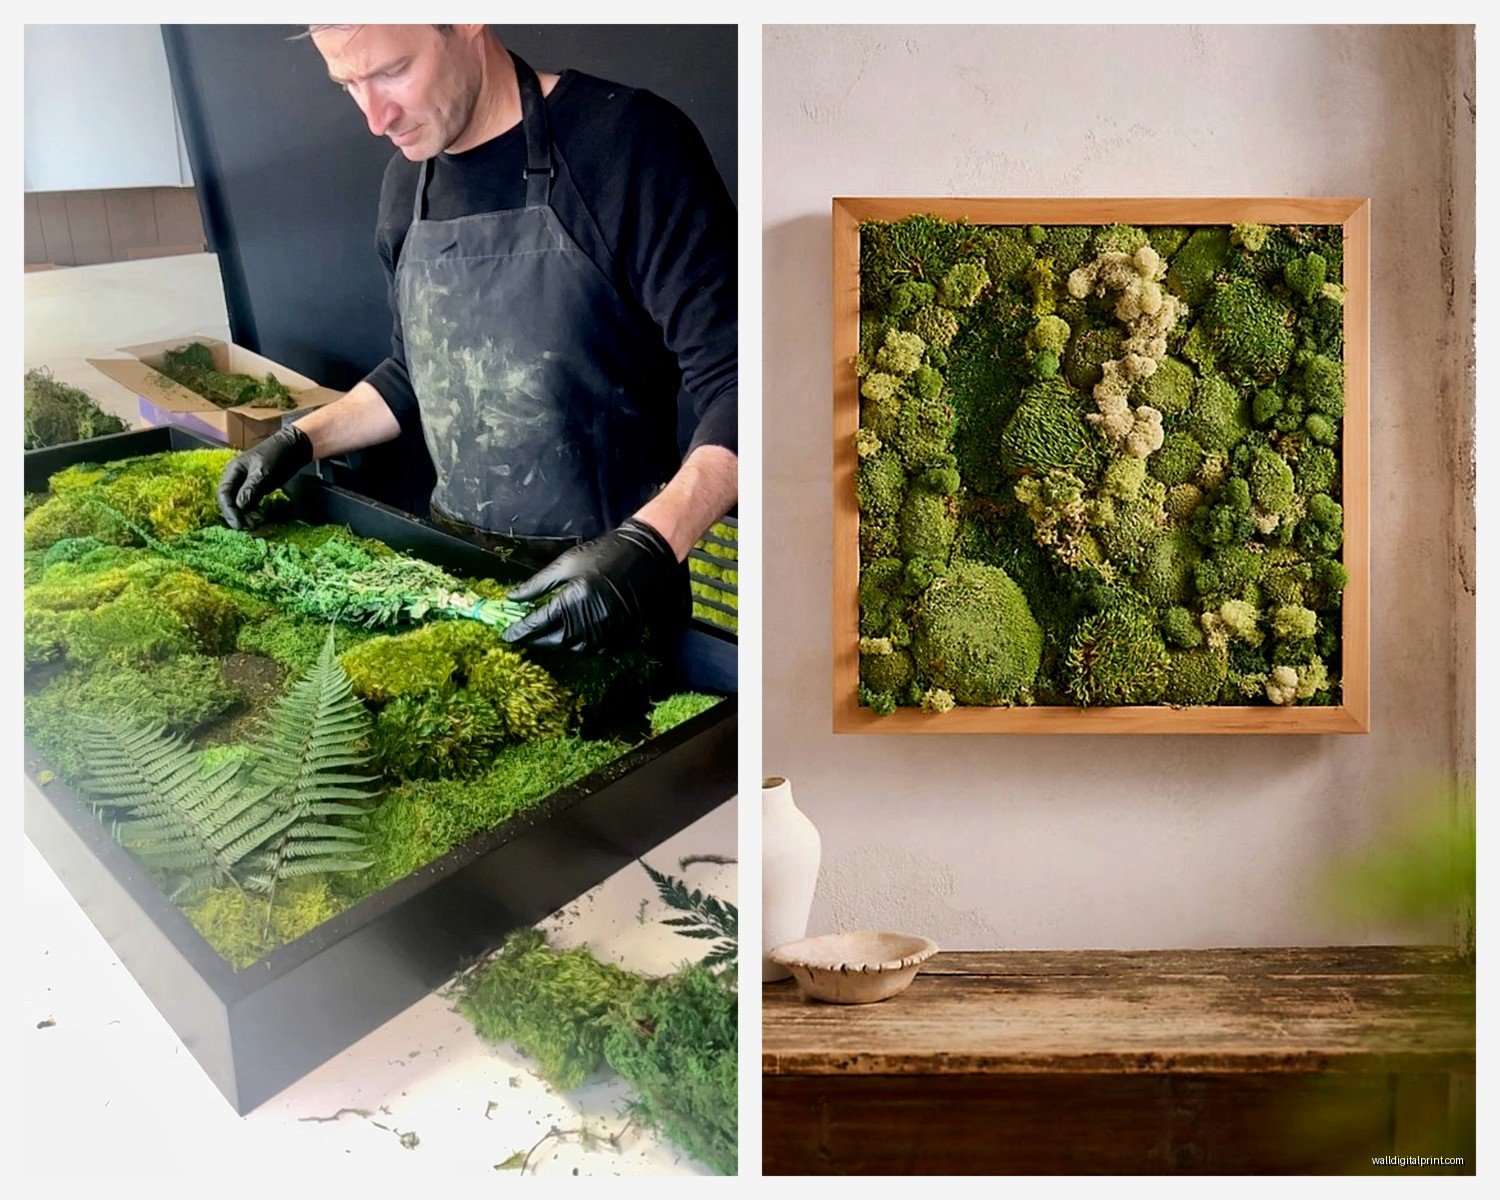
Bedrooms – above the bed as a headboard alternative. Just make sure it’s mounted really securely because having moss fall on your face at 2am would be unpleasant.
Living rooms – as an accent wall or large art piece. Goes with basically any decor style from modern to boho to traditional.
Commercial spaces – reception areas, conference rooms, retail stores. The biophilic design trend isn’t going anywhere and moss walls are an easy way to tap into that.
Honestly they work almost anywhere except steamy bathrooms and super sunny spots. I wouldn’t put one in a kitchen either because cooking grease and moisture aren’t great for preserved moss.
Mixing Moss With Other Materials
This is where it gets fun. I’ve combined moss with:
- Driftwood pieces for a natural sculpture vibe
- Air plants (the real kind) tucked into the moss
- Preserved ferns and eucalyptus
- LED strip lights behind the moss for backlighting
- Cork bark pieces
- Metallic elements like copper wire or gold leaf details
The moss-and-wood combination is probably my favorite. I did a piece with three pieces of driftwood arranged diagonally across a moss background and it sold immediately at a local art market. Wish I’d kept it honestly.
If You’re Buying Instead of DIYing
Look for actual preserved moss, not plastic fake stuff. Check the seller’s reviews for complaints about smell or quality. Etsy has tons of options from independent artists. West Elm and CB2 sometimes carry moss art but it’s overpriced in my opinion.
Ask about the backing material and mounting hardware. Some sellers use really cheap backing that warps over time. You want solid wood or quality foam board.
Make sure it’s actually preserved moss and not that fake stuff that looks plasticky. Real preserved moss has slight variations in color and texture. If it looks too perfect it’s probably fake.
Okay I think that covers most of what I’ve learned through trial and error and one slightly embarrassing incident where I hot glued my sleeve to a moss panel. Start small, don’t overthink it, and remember you can always add more moss if it looks sparse. The worst that happens is you waste like $30 and you’ve got a weird green thing that you can stick in a closet and pretend never happened.
