
Wall Art Guide, Wall Art Tutoriels
3D Wall Art Panels: Dimensional Relief Textured Tiles
Aug
So I’ve been working with these 3D wall panels for like three years now and honestly they’re such a game changer but also you can totally mess them up if you don’t know what you’re doing. Let me just dump everything I know because I literally just finished installing some in a client’s dining room yesterday.
First Thing – What Actually Works
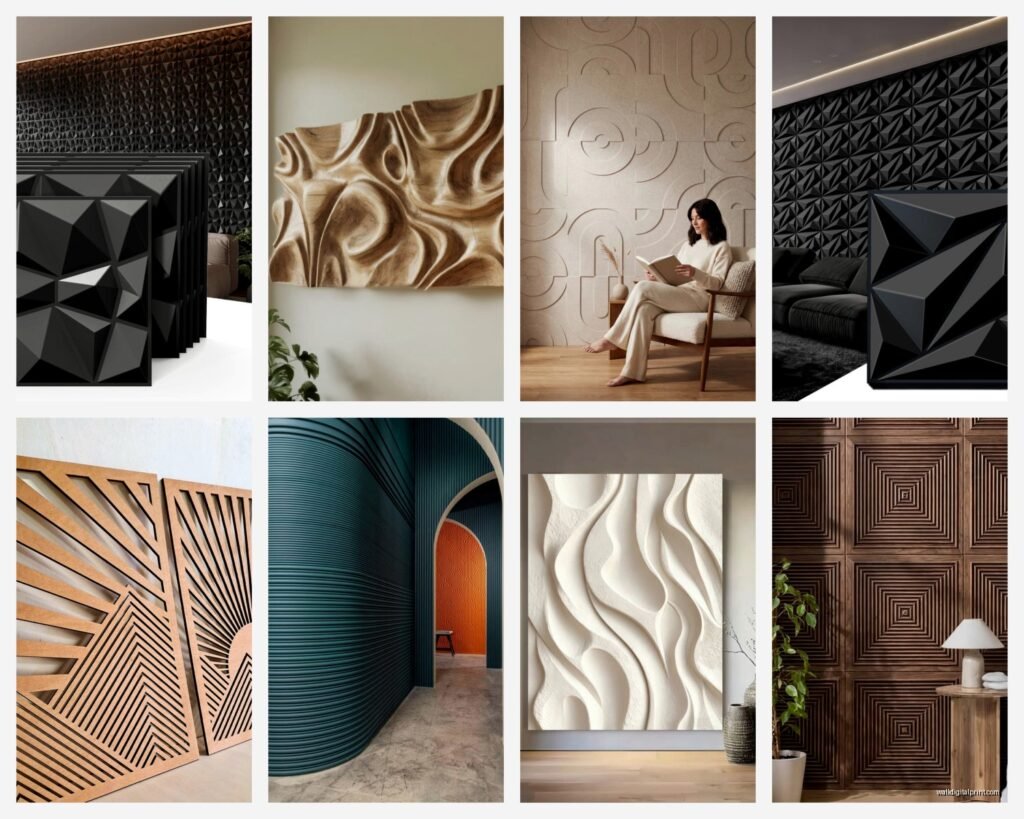
Okay so there are basically three types you’re gonna see everywhere. PVC panels which are super lightweight and honestly perfect if you’re renting or just don’t want to commit forever. Then there’s MDF which is heavier but gives you that really substantial feel, and finally the fancy ones made from actual wood or bamboo or whatever sustainable material is trending.
I started with the cheap PVC ones from Amazon because I was skeptical and didn’t want to spend like $400 on something I might hate. The Art3d ones are pretty decent actually. They’re around $15-20 per panel and each panel covers about 2.7 square feet. Math is not my strong suit so I always order like 15% more than I think I need because I always mess up the calculation or cut something wrong.
The MDF panels though…they’re heavier which sounds annoying but they don’t have that hollow sound when you tap them. My client touched the PVC ones and immediately was like “these feel cheap” so now I usually go straight to MDF for anyone who’s gonna actually touch the wall. Which people do for some reason? Plant Fiber panels are also really nice if someone’s into the whole eco thing.
Planning This Out Without Losing Your Mind
You need to measure your wall obviously but here’s what I learned the hard way – don’t just measure the width and height. You gotta think about outlets, light switches, where your furniture sits. I once did an entire accent wall behind a bed and didn’t realize the headboard would cover like 40% of it. Waste of money and effort.
Draw it out on paper first. Or use that MagicPlan app if you’re better with digital stuff. I still use graph paper like it’s 1995 because my cat stepped on my iPad and cracked the screen so that’s sitting in a drawer somewhere.
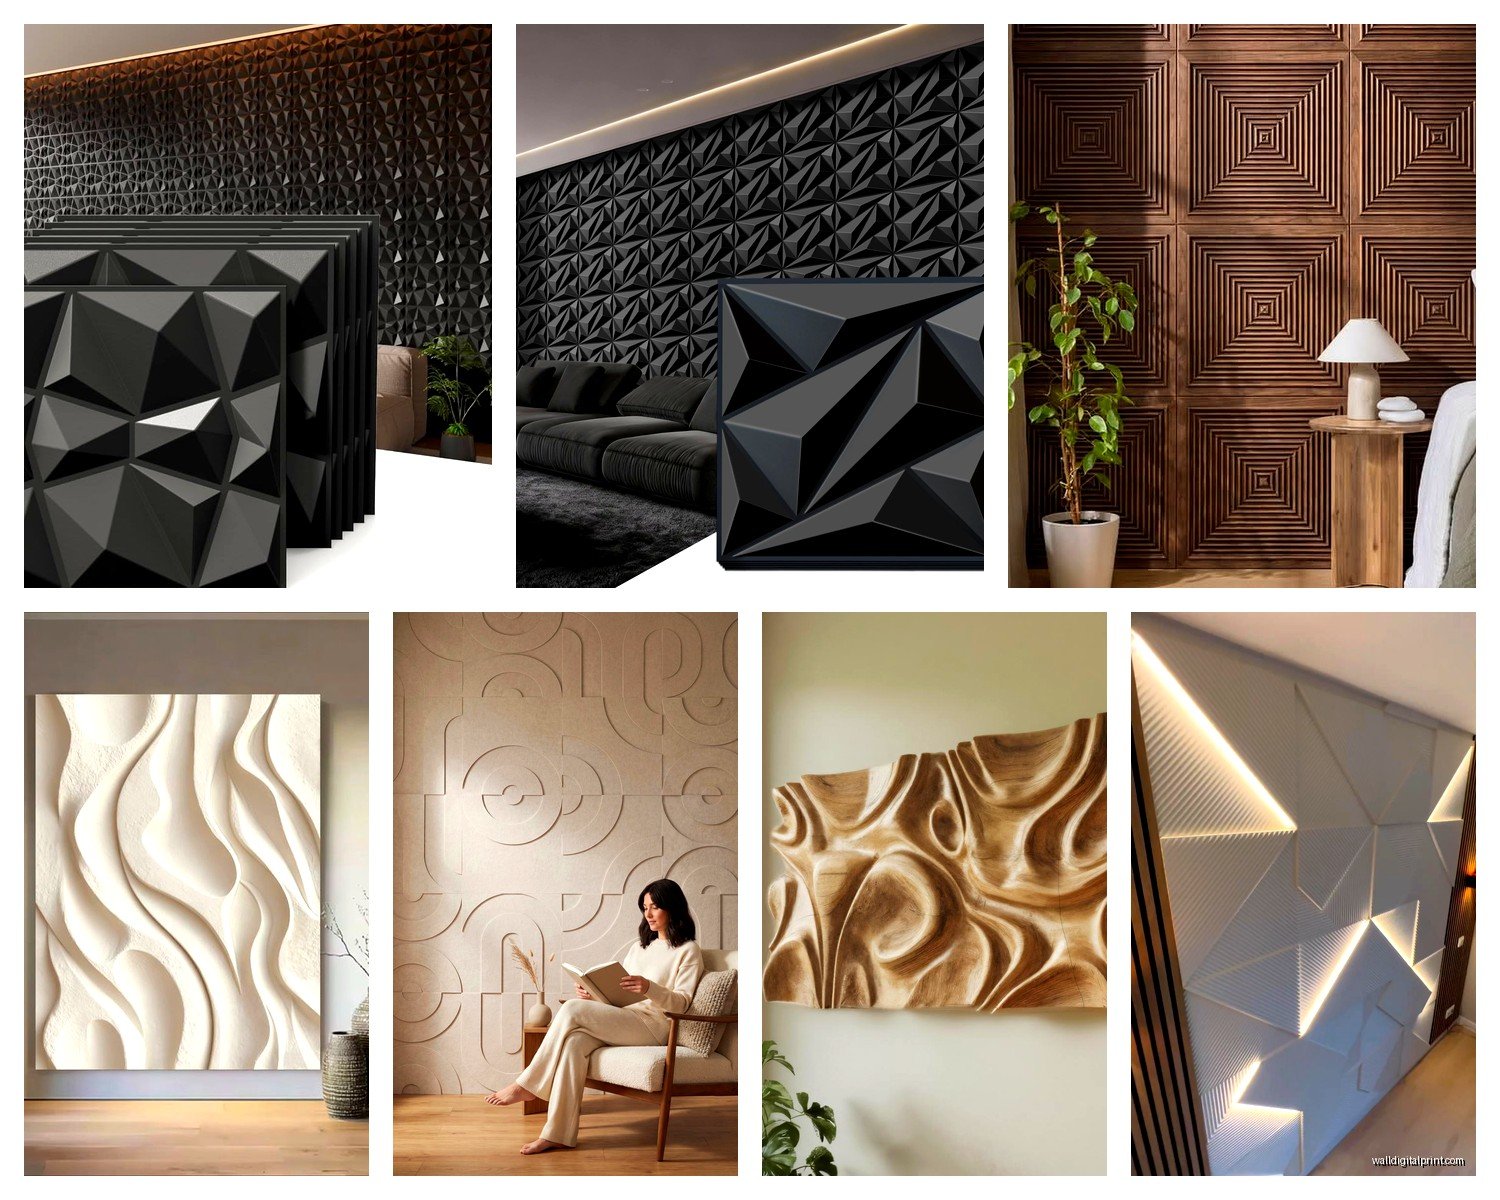
Most panels come in 19.7″ x 19.7″ squares or 12″ x 12″ depending on the brand. The patterns matter too – some designs look better when you do the whole wall, others are fine as just a section. Those wave patterns? Do the whole wall. The geometric cube ones can work as just a strip behind your bed or couch.
Actually Installing These Things
Alright so installation is where people panic but it’s really not that bad. You’ve got a few options depending on what your wall situation is.
For PVC panels on smooth walls, I just use construction adhesive. The Loctite PowerGrab is my go-to. You don’t need nails or screws which is great for renters. Clean your wall first with just water and a tiny bit of dish soap, let it dry completely. Like wait overnight if you’re impatient like me because I’ve definitely tried to rush it and had panels slide down the wall while the adhesive was setting.
Put the adhesive in a zigzag pattern on the back of the panel – don’t go crazy with it or it’ll squish out the sides. Press it firmly against the wall and hold for like 30 seconds. Some people use painter’s tape to hold them in place while drying but I usually just stand there watching Netflix on my phone propping it up with my hand for a minute.
MDF panels are heavier so you’re gonna want to use both adhesive AND finishing nails or screws. I use a nail gun which sounds scary but it’s so much faster. The Brad nailer I have is from Ryobi and it was like $120. Totally worth it if you’re doing more than one wall. Nail into the studs if you can find them, or use drywall anchors if you’re going between studs.
The Cutting Situation
You will need to cut panels. There’s no way around it unless your wall is exactly the right dimensions which…never happens. For PVC I just use a utility knife and a straight edge. Score it a bunch of times and then snap it. Works fine.
For MDF you need a saw. I use a miter saw for straight cuts and a jigsaw for cutting around outlets or weird corners. Wear a mask because MDF dust is disgusting and gets everywhere. I learned this after coughing for like two days straight.
Oh and another thing – when you’re cutting around outlets, turn off the power first obviously. Take off the outlet cover, install the panels around it, then you might need outlet extenders because the panels add depth to your wall. They’re like $3 at Home Depot and you just screw them on so your outlet sits flush with the new surface.
Color and Finish Options
Most panels come in white or off-white which is actually perfect because you can paint them whatever color you want. I’ve painted them with regular wall paint, it works fine. Just use a roller with a thick nap so it gets into all the grooves and textures. You’ll need like 2-3 coats usually.
Some people leave them white which looks really clean and modern. I did a charcoal gray in my own living room and it’s so dramatic when the light hits it at different angles. The shadows change throughout the day which sounds pretentious but it’s actually really cool.
There are also pre-finished panels in colors or with metallic finishes but they’re way more expensive. Like $40-50 per panel instead of $15-20. Only worth it if you’re doing a small area in my opinion.
Wait I Forgot to Mention the Pattern Thing
When you’re installing these you gotta pay attention to pattern direction. Some designs are directional and will look weird if you rotate them. I did a whole wall once where I accidentally turned one panel 90 degrees and didn’t notice until I stepped back. Had to pry it off and redo it.
Start from the center of your wall and work outward, or start from one corner and work across. The center method looks more balanced but is harder to plan. Corner method is easier but you might end up with a weird skinny piece on the opposite end.
Use a level. Like seriously use a level for the first row because if that’s off, everything else will be off and you’ll hate yourself. My client canceled last week so I spent an hour comparing different installation methods on YouTube and the one thing everyone agrees on is level that first row.
Problems You’re Gonna Run Into
Walls are never perfectly flat. You’ll find bumps and dips and it’s annoying. If there’s a big gap behind a panel, stuff some shims behind it before the adhesive dries. Or use more adhesive to fill small gaps. Don’t stress about tiny imperfections because the textured surface hides a lot.
Corners are tricky. Inside corners you can usually just butt the panels together. Outside corners like around a fireplace or column…you might need corner trim pieces. Some manufacturers sell matching trim, otherwise you can use standard corner molding from the hardware store and paint it to match.
Humidity is real. Don’t use PVC or MDF panels in a bathroom unless it’s really well ventilated. I made that mistake in a powder room and the panels started warping after like six months. There are moisture-resistant options but they cost more. For bathrooms I usually recommend actual tile or the waterproof PVC panels specifically rated for wet areas.
Cleaning and Maintenance
These collect dust in all those grooves and textures. I use a vacuum with a brush attachment every few weeks. For deeper cleaning, just wipe with a damp cloth. Don’t use harsh chemicals because they can damage the finish especially on painted panels.
If you get a dent or scratch in PVC it’s pretty much permanent. MDF you can sometimes fill with wood filler and repaint. This is why I tell people to be careful when moving furniture or if you have kids who throw stuff. My friend’s toddler threw a toy truck at her geometric panel wall and now there’s a permanent dent shaped like a truck.
Cost Breakdown Real Talk
For a standard accent wall like 10 feet by 8 feet you’re looking at:
- Budget PVC panels: $200-300 for materials
- Mid-range MDF: $400-600
- High-end wood or specialty: $800-1200
- Adhesive and supplies: add $30-50
- Paint if you’re painting: $30-40
- Tools if you don’t have them: $100-200 depending
So you could do this for under $300 total if you go budget and already have basic tools. Or you could spend over a thousand if you’re doing a big wall with fancy materials. Way cheaper than hiring someone though – I charge like $800-1200 just for labor on an install like that.
Design Patterns That Actually Look Good
This is gonna sound weird but I think less is more with these. A whole room covered in 3D panels feels like too much, like you’re inside a weird geometric cave. One accent wall is perfect. Maybe two walls if they’re perpendicular and the room is big enough.
The wave patterns work great behind beds or sofas. The geometric cube/hexagon ones are good in dining rooms or offices. Those linear stripe panels are nice in modern spaces. There are also floral and nature-inspired ones but honestly those can look dated pretty fast.
I did a client’s office with the Threedwall “Off the Grid” pattern and it photographs so well. Very Instagrammable if that matters to you. The shadows create this cool depth that makes the room look more expensive than it is.
Renter-Friendly Options
If you’re renting you gotta be more careful obviously. The lightweight PVC panels with command strips can work for small sections. Won’t hold up a whole wall but I’ve done strips behind headboards using the heavy-duty command strips rated for like 16 pounds. Use a lot of them and cross your fingers.
There are also peel-and-stick 3D panels now which are interesting. They’re thinner and less dramatic but they exist. Haven’t used them much because they’re pretty new and kinda expensive for what they are. Like $35-40 per panel for the thin foam ones.
Another option is to build a frame out of lightweight wood, attach the panels to the frame, then lean the whole thing against the wall. More work but totally removable and you can take it with you when you move.
Lighting Makes or Breaks This
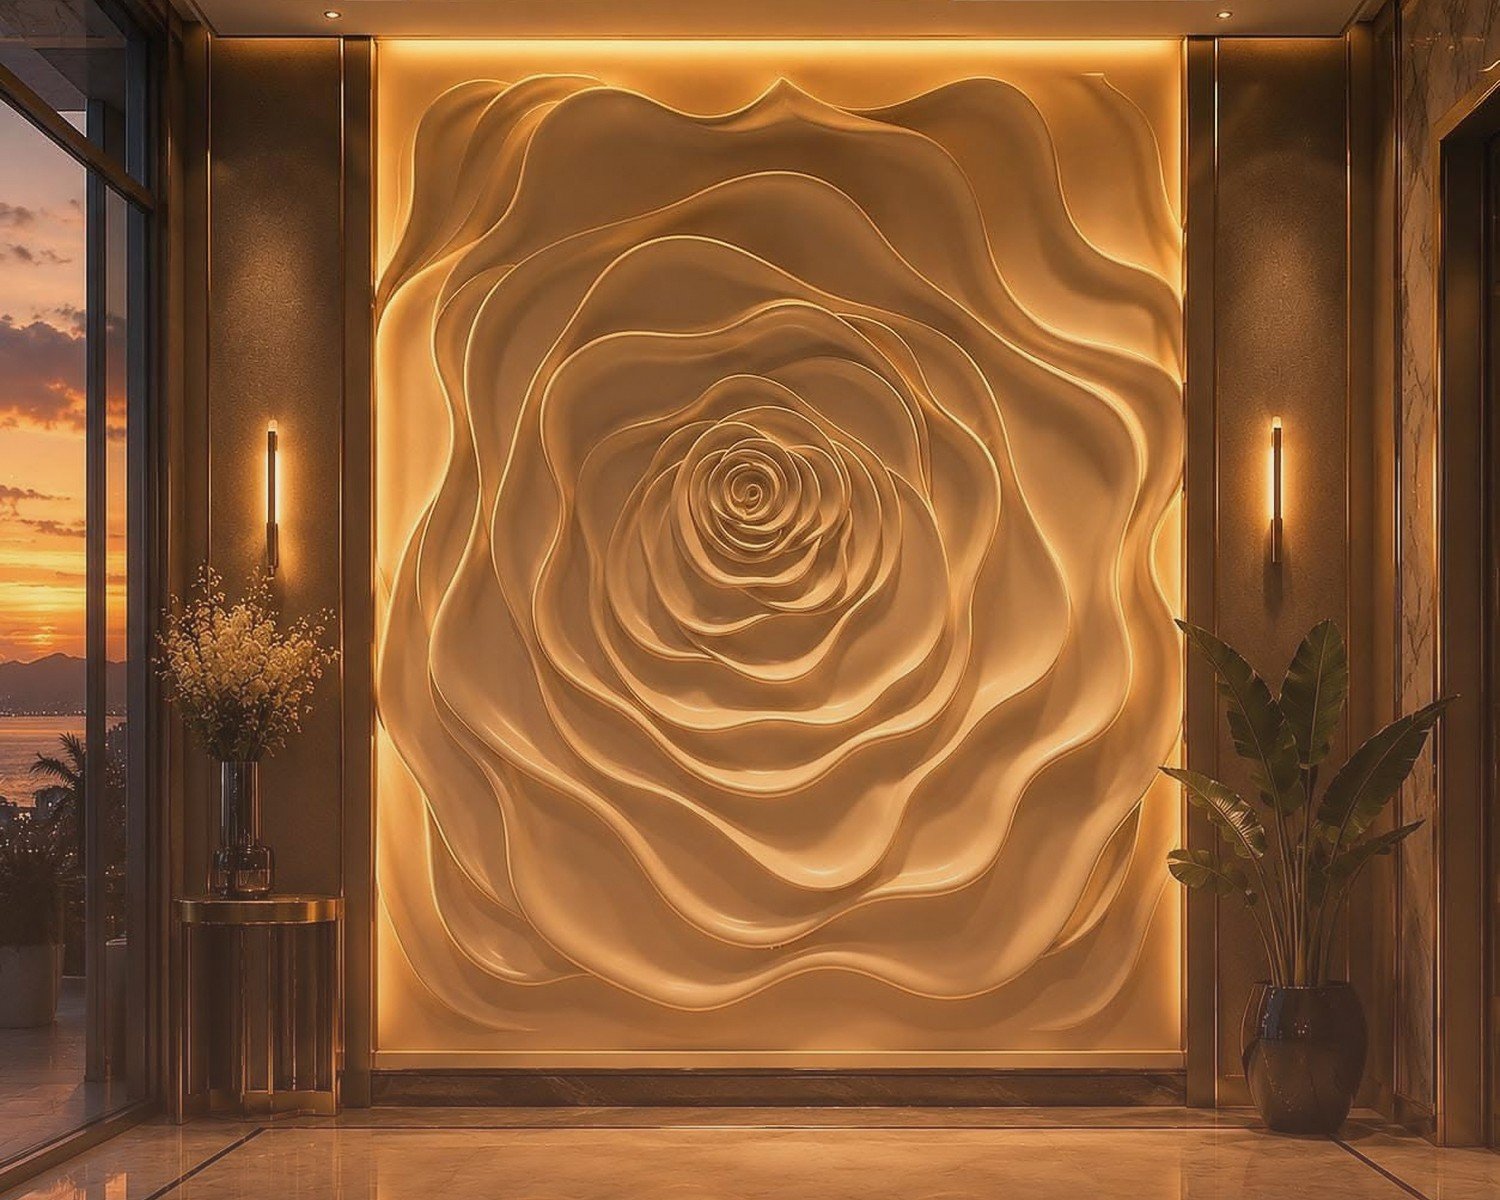
The whole point of these panels is the dimensional texture and shadow effect right? So you need good lighting to show it off. Wall washers or picture lights mounted above work great. Even just making sure you have lamps at different heights in the room helps.
Avoid flat overhead lighting only because it kills the texture effect. You want light hitting the wall at an angle. I usually add a floor lamp or wall sconces nearby. LED strip lighting behind furniture can also create a cool backlit effect but don’t go crazy with it or it looks like a nightclub.
Natural light is amazing if you have it. I did a wall perpendicular to a big window and the way the shadows move during the day is just *chef’s kiss*. But you gotta think about that when planning which wall to do.
Okay so that’s basically everything I know about these panels. Start with one wall, don’t overthink it, and remember that even if you mess up a bit nobody will notice but you. I’ve installed probably 30 of these walls by now and there are mistakes in every single one that I see but nobody else ever does. Just go for it and maybe buy a few extra panels just in case because returns are annoying and shipping is expensive.
