Wall Art Guide, Wall Art Tutoriels
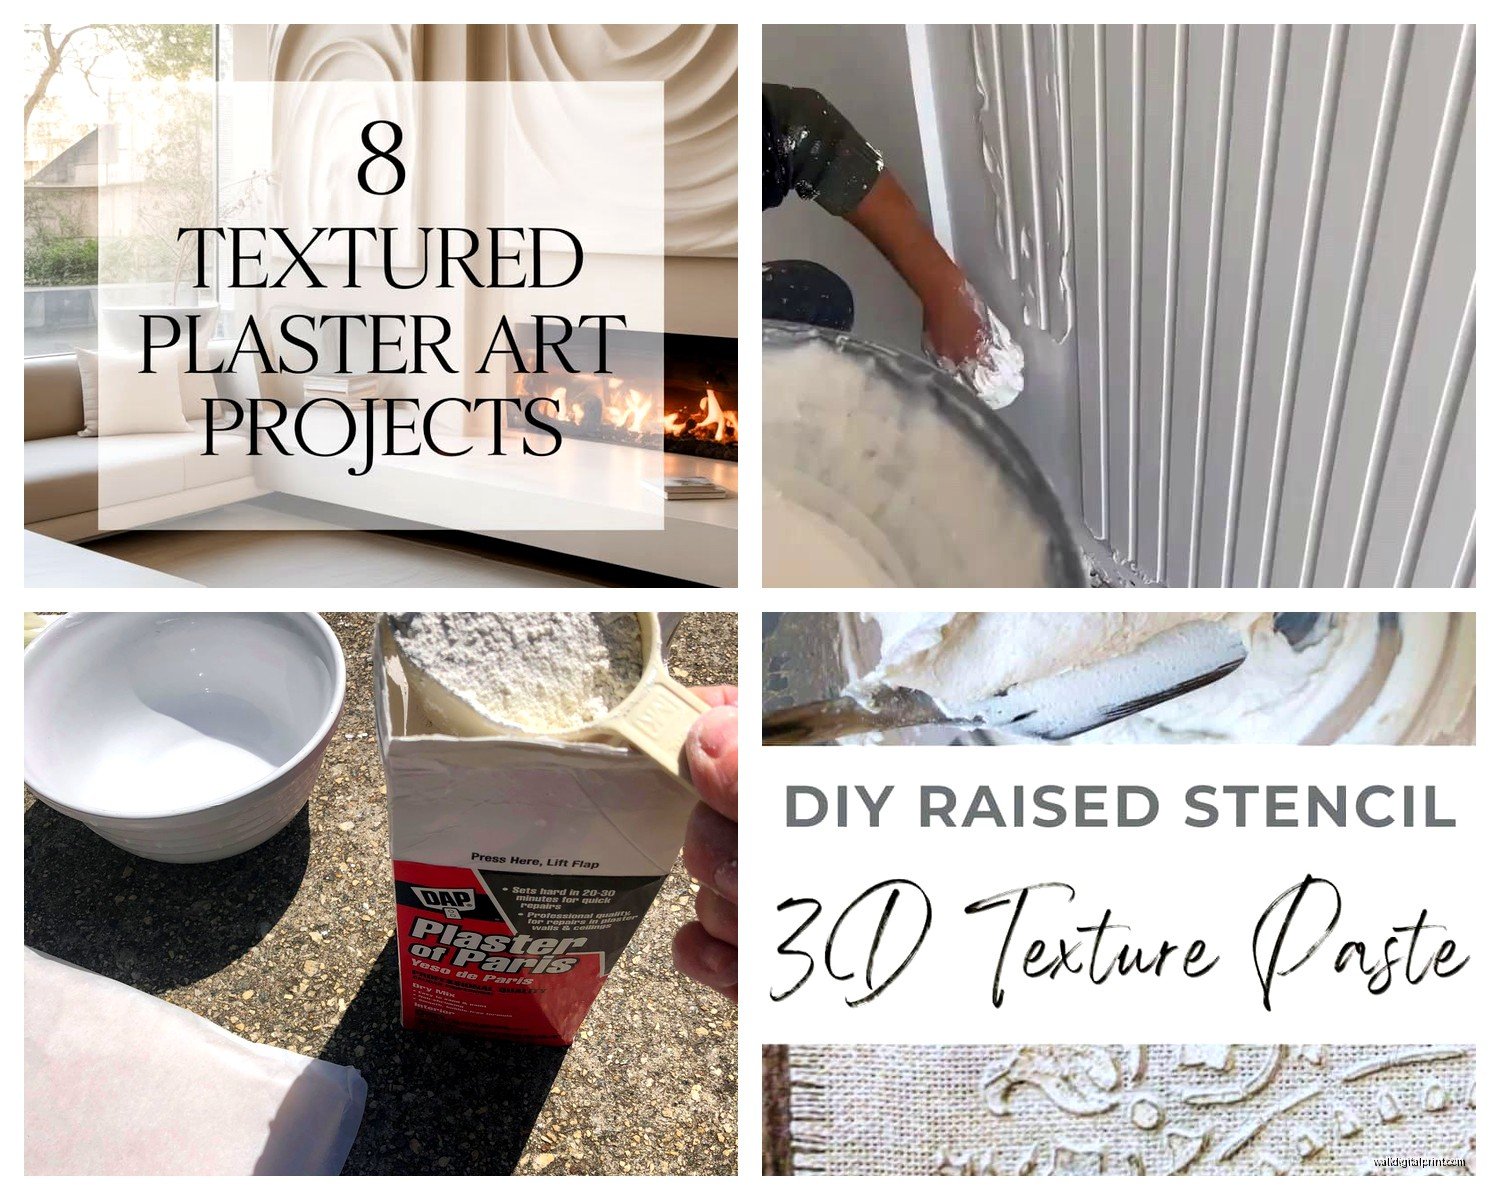
Plaster of Paris Wall Art: Sculptural Relief Techniques
Mar
So I’ve been messing around with plaster of Paris wall art for like three years now and honestly it’s one of those things that looks way more complicated than it actually is. You just gotta know which supplies won’t make you want to throw everything in the trash.
Getting Your Supplies Together
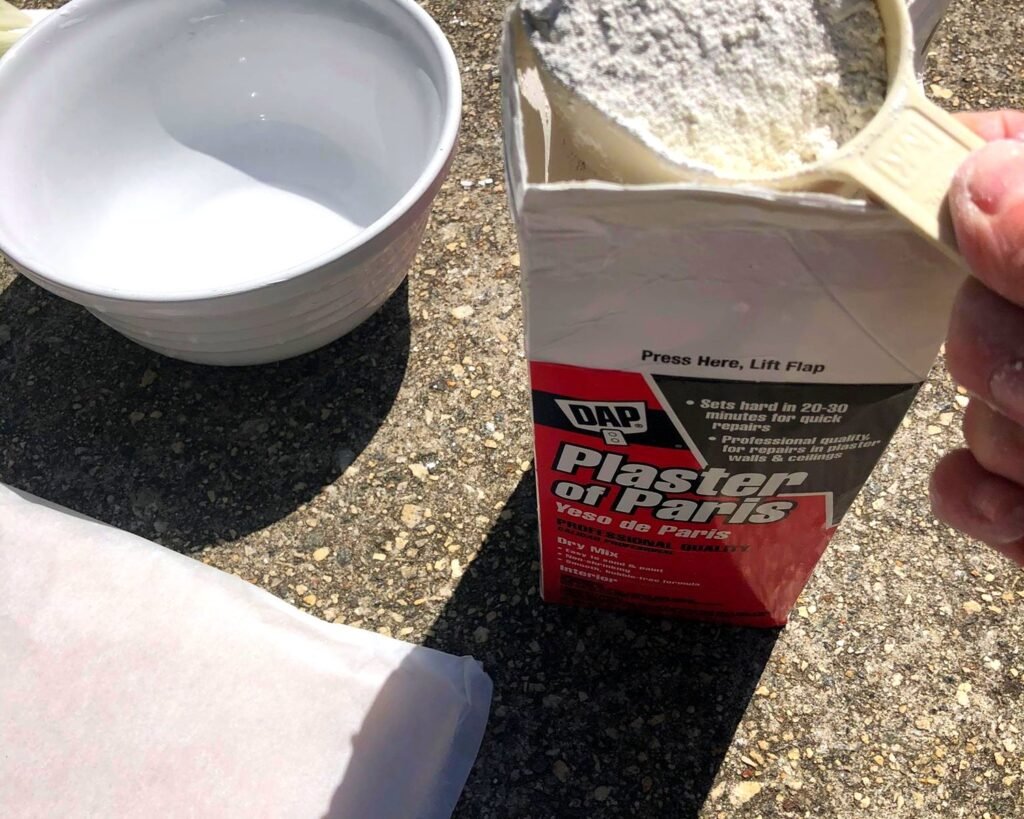
Okay so first thing, not all plaster of Paris is created equal. I learned this the hard way when I bought the cheapest stuff from the hardware store and it cracked within like two weeks. Now I use DAP Plaster of Paris or the Activa brand. They’re both around $12-15 for a big tub and they actually hold up. You’re gonna need way more than you think too, I always buy at least two containers for any decent sized piece.
For the base, you can’t just slap plaster directly on your wall unless you hate your security deposit. I use either birch plywood panels (the craft store ones work fine) or those pre-primed canvas boards. The 12×16 size is perfect for practicing. Sometimes I’ll use cement board if I’m doing something for outdoor use but that’s a whole other thing.
Tools wise, here’s what’s actually in my kit right now:
- Plastic putty knives in different sizes (the metal ones react weird with plaster sometimes)
- Silicone sculpting tools – got mine on Amazon for like $8
- A bunch of random stuff from the kitchen: old spoons, butter knives, that weird spreader thing nobody uses
- Spray bottle with water
- Painter’s tape
- Plastic drop cloth because this gets MESSY
Mixing That Doesn’t Suck
The ratio everyone tells you is 2 parts plaster to 1 part water but honestly I do more like 1.5 parts plaster because I like it a bit more workable. Always add plaster to water, not the other way around. I don’t know the science behind it but trust me, it matters.
Use cold water and mix it in a flexible plastic container so you can pop out the dried stuff later. I ruined so many bowls before figuring this out. Mix for like 2-3 minutes until it’s the consistency of pancake batter or maybe thick yogurt? You don’t want lumps but also don’t overmix or it’ll start setting while you’re still stirring.
Oh and another thing, you’ve got maybe 20-30 minutes of working time depending on your room temperature. My studio gets hot in summer and I’ve had batches start setting in like 15 minutes which is super annoying. If it’s getting thick too fast, you can mist it with water from the spray bottle but that only buys you a few extra minutes.
Base Layer Application
So for the first layer, you’re basically creating your foundation. I spread it about 1/4 inch thick across the whole panel with a putty knife. This layer doesn’t need to be perfect because you’re gonna build on top of it, but try to keep it relatively even.
Let this dry for at least 4-6 hours. I usually do base layers at night and come back the next morning. You’ll know it’s ready when it’s completely white and cool to the touch. If it’s still grey-ish or warm, give it more time.
Creating Relief Designs
This is where it gets fun. You can go two directions here – additive or subtractive. Additive is building up layers, subtractive is carving into semi-dry plaster.
For additive work, I mix up smaller batches of plaster and apply them with different tools to create texture and dimension. Like, I’ll use a spoon to create these organic flowing shapes, or the edge of a putty knife to make geometric lines. You can also pipe plaster through a plastic bag with the corner cut off, kinda like frosting a cake.
Wait I forgot to mention – sketching your design first is helpful but I’m terrible at following my own sketches. I usually have a vague idea and then just go with whatever feels right. My cat knocked over my water cup yesterday right in the middle of working and honestly the splash pattern looked cool so I incorporated it.
Layering Technique
The key to good relief is building up gradually. Don’t try to create a 2-inch raised design in one go because it’ll crack or just fall off. I do layers of about 1/8 to 1/4 inch, letting each one dry completely before adding the next.
For dimensional flowers or leaves (super popular right now), I’ll shape the petals individually and attach them while the base is still slightly damp. The moisture helps them bond together. You can also score the surface with a fork or something to give the new layer something to grip onto.
Carving and Subtractive Methods
This is gonna sound weird but the best time to carve is when the plaster is like… the texture of cold butter? Maybe 30-45 minutes after application. It’s firm enough to hold detail but soft enough that you’re not creating dust everywhere.
I use those silicone sculpting tools for fine details and an old butter knife for bigger channels. You can create really beautiful line work this way. For geometric patterns, I’ll press painter’s tape onto the surface as a guide and carve alongside it.
One time I was watching this restoration show while working and got so into it that I let the plaster dry too much. Had to use actual carving tools at that point and it was such a pain. Don’t be like me, set a timer.
Texture Techniques That Actually Work
Okay so funny story, some of my favorite textures happened completely by accident. Here’s what I’ve figured out:
Stamps and Presses: You can press literally anything into wet plaster. Lace creates gorgeous patterns. Leaves from the backyard, bubble wrap, textured wallpaper samples, even crumpled aluminum foil. Just press firmly and pull away carefully.
Combing: Those grout combs from tile work? Perfect for creating parallel lines or wave patterns. You can also make your own comb by cutting notches in cardboard.
Stippling: Use a stiff brush to dab the surface while it’s still workable. Creates this rough, organic texture that looks expensive.
Dragging: Pull a dry brush or comb through wet plaster in long strokes. Very zen, very sculptural.
Dealing With Mistakes and Repairs
You’re gonna mess up, it’s fine. Plaster is actually pretty forgiving if you catch problems early.
If you get a crack while it’s drying, mix up a tiny bit of fresh plaster (like, teaspoon amounts) and work it into the crack with your finger. Smooth it out and let it dry. Usually invisible after sanding and painting.
For chunks that break off or areas you hate, you can actually chip away dried plaster with a chisel and redo that section. Just make sure to dampen the edges of the existing plaster before adding new stuff so they bond properly.
I had this whole piece once where I dropped my phone on it (don’t ask) and created this massive dent. Ended up carving out that whole section and turning it into an intentional recessed area. Looked better than the original plan honestly.
Finishing and Sealing
Once everything is completely dry – and I mean COMPLETELY, like 24-48 hours depending on thickness – you need to sand it. Use 220 grit sandpaper for smoothing rough edges. Wear a mask because plaster dust is no joke.
For painting, I always use a primer first. Plaster is super absorbent and will suck up paint unevenly without primer. I like Kilz or Zinsser Bulls Eye. Two coats minimum.
Then you can use regular acrylic paint, which is what I usually do. Or chalk paint if you want that matte finish. Spray paint works too but ventilation is important because the fumes get trapped in all those textured areas.
For sealing, it depends on where it’s going. Indoor pieces that won’t get touched much? A matte acrylic sealer is fine. Something in a bathroom or that people might touch? Go with polyurethane. I use Minwax Polycrylic in matte finish, three thin coats.
Advanced Relief Techniques
Once you’re comfortable with basics, there’s so much more you can do.
Mold Making: You can press plaster into silicone molds to create repeating elements. Pour the mold about halfway full, let it set until firm but not completely hard, then pop it out and attach it to your base while both pieces are still slightly damp.
Mixed Media: Embedding things into plaster while it’s wet creates cool effects. I’ve used metal wire, fabric strips, even dried flowers (though those can discolor over time). Just make sure whatever you’re embedding is clean and dry.
Multi-Layer Depth: This is my favorite technique lately. You create a relief design, paint it one color, then add another layer of plaster on top but only partially covering the first layer. Creates this archaeological dig kind of look. Very sculptural.
Problem Solving Common Issues
Cracking: Usually means you mixed it too thick or the layer was too thin. Also can happen if it dries too fast – don’t put it in direct sunlight or near a heater.
Not sticking to base: Your base might be too smooth. Sand it lightly first or apply a bonding agent like PVA glue diluted with water.
Bubbles in the surface: You mixed too vigorously. Stir gently and tap the board on your work surface a few times to release air bubbles before the plaster sets.
Plaster setting too fast: Add a tiny bit of vinegar to your water (like a teaspoon per cup) to slow the setting time. Or use cold water and work in a cooler room.
Design Ideas That Work Well
I’ve done probably over 50 of these pieces now and some designs just work better than others with plaster.
Abstract organic shapes are the easiest and most forgiving. Think flowing lines, waves, natural forms. You can be loose with it and imperfections add character.
Geometric patterns require more planning but look super modern. I’ll use painter’s tape to create clean lines and build up squares or triangles in different heights.
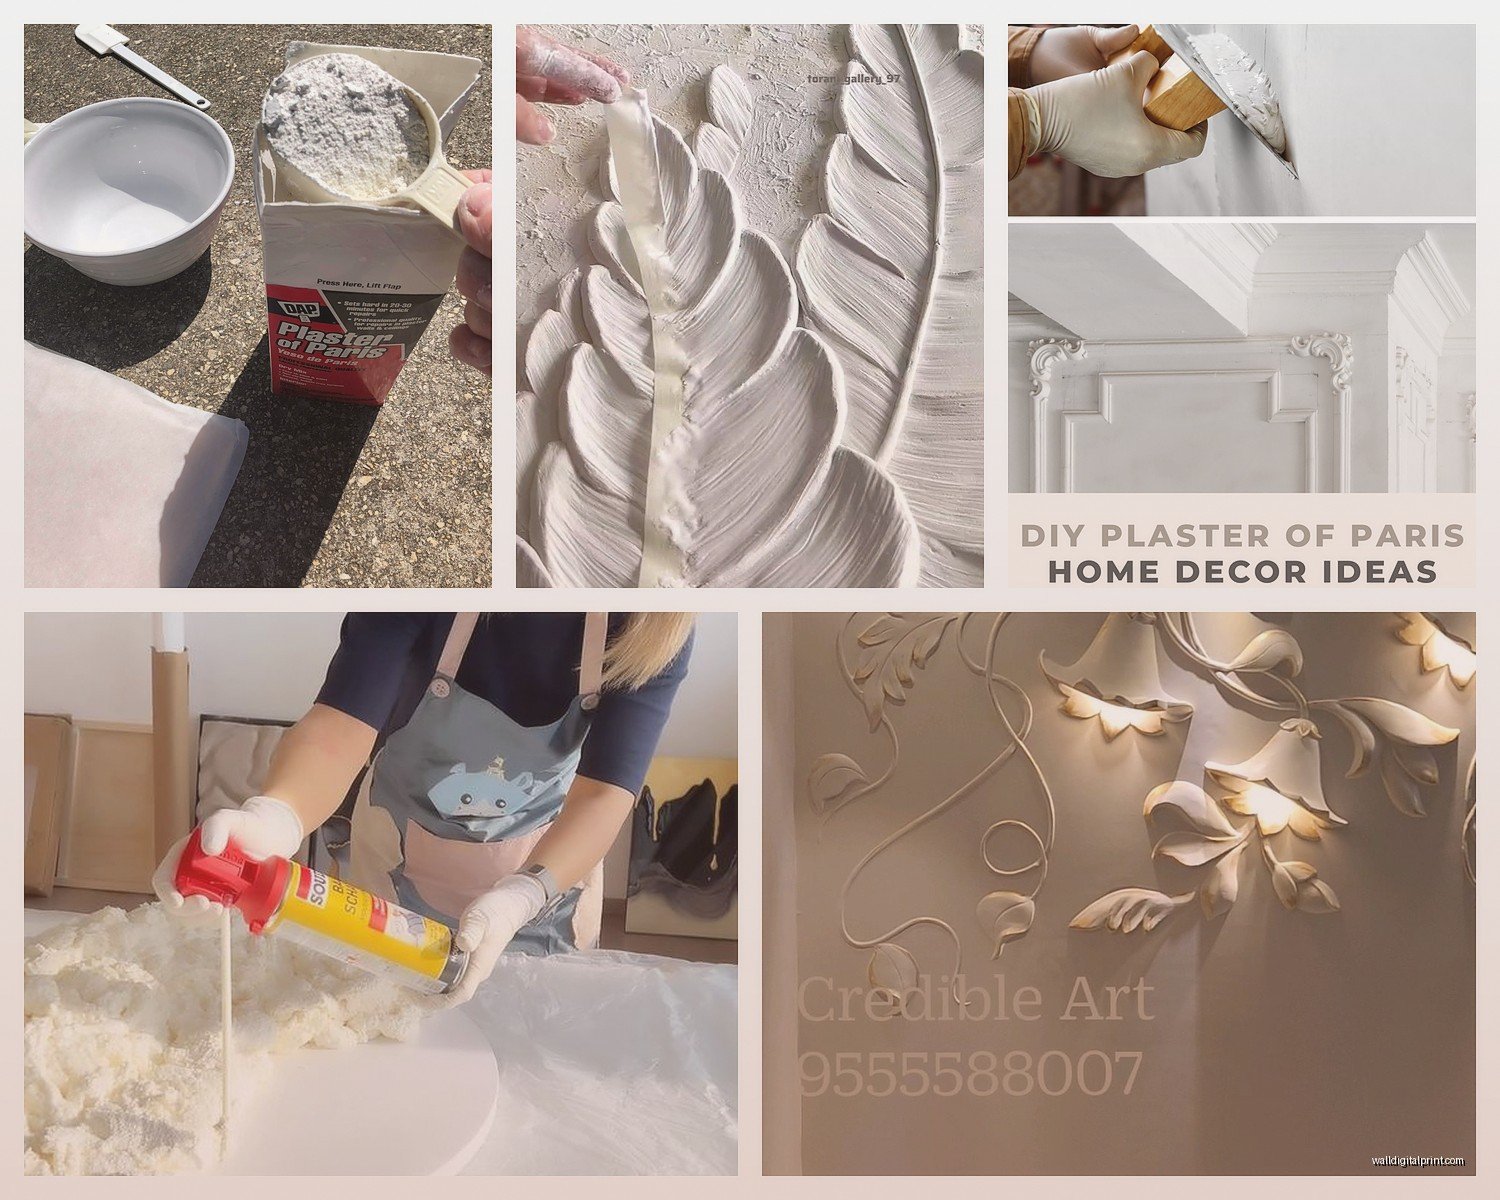
Botanical designs are huge right now. Leaves, flowers, branches. The dimensional quality of plaster makes them look really high-end. I did a ginkgo leaf series last month that sold out immediately.
Text and typography can work but it’s tricky. You need to carve it when the plaster is at that perfect stage, and backwards text is harder than you’d think. Practice on scrap pieces first.
Maintenance and Longevity
Sealed plaster art is actually pretty durable. I have pieces that are three years old and still look perfect. Just dust them gently with a soft cloth. Don’t use water or cleaning products directly on them.
If you didn’t seal it properly and it gets damaged, you can usually repair it. Small chips can be filled with spackle, sanded, and repainted. Larger damage might need a new layer of plaster.
The pieces I’ve made for clients have held up really well even in high-traffic areas, as long as they’re sealed properly and not in super humid environments. Bathrooms are iffy unless you use a really good waterproof sealer.
Anyway, that’s basically everything I’ve learned through trial and error. Start with something small, don’t stress about perfection, and honestly half the fun is figuring out your own techniques. I still discover new texture methods by accident pretty regularly. Like last week I dragged a fork through wet plaster while eating lunch and created this cool pattern I’d never thought of before.
The supplies aren’t expensive and you can reuse a lot of tools, so just grab some plaster and a board and see what happens. You’re gonna be better at this than you think.