Wall Art Guide, Wall Art Tutoriels
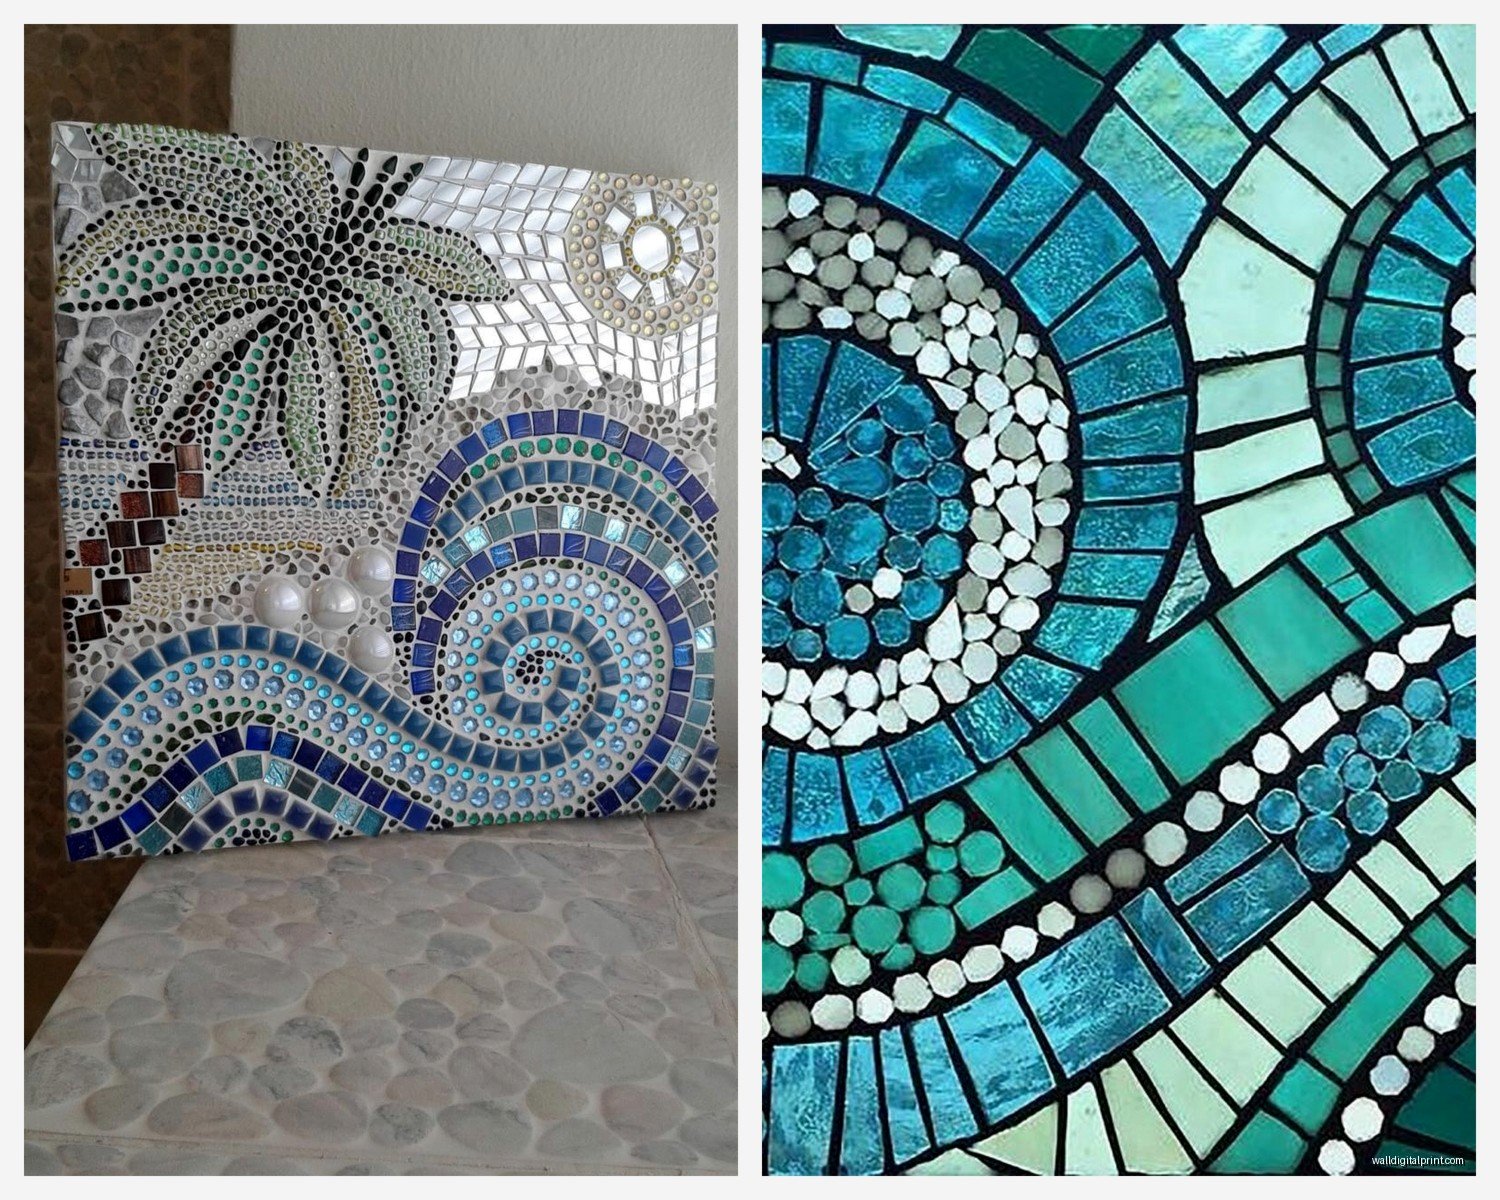
Mosaic Wall Art: Tile & Glass Artwork Techniques
Mar
So I’ve been working with mosaic art for like 6 years now and honestly it’s one of those things that looks way more intimidating than it actually is. You basically just need to know which materials won’t make you want to throw everything in the trash halfway through.
Getting Your Materials Together Without Overthinking It
Okay so first thing – tiles versus glass. I used to think you had to pick one or the other but that’s totally not true. My favorite piece in my studio right now mixes both and it looks way better than the ones where I was being all precious about keeping everything uniform.
For tiles, I usually grab ceramic ones from the hardware store. The 4×4 inch ones are perfect because you can break them down however you need. Don’t buy the expensive handmade artisan tiles for your first project, I learned that the hard way when I destroyed like $80 worth of imported Portuguese tiles trying to figure out my nippers. The cheap ceramic ones from Home Depot break the same way and nobody can tell the difference once they’re grouted.
Glass is trickier. Stained glass is gorgeous but it’s sharp as hell – I’ve got a scar on my thumb from three years ago that still hasn’t fully faded. Wear gloves, seriously. The other option is glass mosaic tiles that come on those mesh backing sheets. They’re pre-cut which feels like cheating but also your fingers will thank you. I use both depending on if I’m feeling patient or not.
Tools You Actually Need
The tile nippers are gonna be your best friend. I have the Wheeled ones from Amazon for like $15 and they work fine. Some people swear by the fancy $60 ones but I honestly can’t tell the difference? My dog chewed through the handle of my expensive pair anyway so now I’m team cheap nippers forever.
You’ll need:
- Tile nippers (the ones with the curved cutting edge)
- Safety glasses because tile shards flying at your eyeball is not cute
- Tweezers for placing tiny pieces
- A tile scorer if you want straight cuts instead of just breaking everything randomly
- Sponges like a million sponges
- Grout spreader or old credit cards work too
- Buckets for mixing
Oh and another thing – get a proper workspace setup. I ruined my kitchen table during my first mosaic because I didn’t put down enough protection. Tile adhesive does NOT come out of wood easily, trust me.
Base Materials That Won’t Fall Apart
Your base needs to be sturdy. I’ve tried mosaics on:
- Wood boards (seal them first or they warp)
- Cement board (heavy but indestructible)
- Old picture frames (works for small projects)
- Terracotta pots (cute for planters)
- Mirror backing (creates cool dimension)
The cement board is my go-to for wall pieces. It’s like $8 for a 3×5 foot sheet and you can cut it with a utility knife. Just score it a few times and snap it. Wear a mask though because the dust is nasty.
For outdoor pieces you HAVE to use cement board or something waterproof. I made a mosaic table once on regular plywood and it lasted exactly one winter before everything started popping off.
The Adhesive Situation
Okay so this is gonna sound weird but I’ve tried like every adhesive and here’s what actually works. Thinset mortar is the professional choice and it’s what I use for anything going outside or anywhere that might get wet. You mix it with water until it’s like peanut butter consistency. It’s messy and you gotta work kinda fast but it holds forever.
For indoor stuff or if you’re just starting out, Weldbond is amazing. It’s this white glue that dries clear and it’s so much easier to work with than mortar. The tiles stay where you put them so you can take your time with the design. I used this for my bathroom accent wall and three years later nothing’s budged.
Some people use mastic but I think it smells terrible and the fumes give me a headache. My client last month insisted on it and I had to work with all the windows open even though it was like 40 degrees outside.
Actually Creating Your Design
Here’s where people get stuck. They think they need to be amazing at drawing or have this perfect plan. I literally sketch my designs with a Sharpie directly on the base most of the time. Sometimes I don’t even sketch, I just start placing tiles and see what happens.
If you want to be more organized, draw your design on paper first and then transfer it using carbon paper or just freehand copy it. For geometric patterns I use painters tape to mark out sections. For organic flowing designs I just wing it honestly.
The direct method is what I use most – you glue tiles directly onto your base in their final position. There’s also indirect method where you create the design face-down on paper first and then transfer it, but that’s more complicated and I only do it for like commissioned pieces where everything needs to be perfect.
Cutting and Shaping Tiles
This part is actually kind of satisfying once you get the hang of it. Hold the tile nipper at about a 45 degree angle and squeeze firmly. The tile will break along the weakest point. You’re not gonna get perfect cuts every time and that’s fine – irregular shapes add character.
For curves, take tiny bites along the edge rather than trying to cut the whole curve at once. I learned this after wasting probably 50 tiles trying to make swooping cuts in one go.
Glass cuts differently than ceramic. It’s more predictable in some ways – it breaks cleaner along score lines. But it’s also more fragile so you can’t muscle it like you can with ceramic tiles.
Wait I forgot to mention – save all your scraps. I have jars organized by color with all the tiny broken pieces and they’re perfect for filling gaps or adding detail. Nothing goes to waste.
Placing Your Tiles
Start from the center or from a focal point and work outward. If you start from the edges you might end up with weird spacing issues in the middle. Apply adhesive to your base in small sections – like 6 inches at a time – so it doesn’t dry out while you’re working.
Press each piece firmly into the adhesive and give it a little twist. You want good contact but don’t push so hard that adhesive squeezes up between all the gaps. Leave like 1/8 inch spacing between tiles for grout. I use toothpicks as spacers sometimes.
Tweezers are essential for tiny pieces. My hands aren’t super steady (too much coffee probably) so I need them for anything smaller than like a thumbnail.
The Grout Process
Let your adhesive cure completely before grouting – usually 24 hours but check the package. I once got impatient and grouted after like 6 hours and some tiles shifted and it was a whole mess.
Mix your grout according to package directions. It should be like thick cake batter. I prefer sanded grout for gaps bigger than 1/8 inch and unsanded for smaller gaps. The sanded stuff is more durable though so for wall art I usually just use that.
Color choices matter more than you’d think. White grout shows every bit of dirt but makes colors pop. Black grout is dramatic and hides stains. Gray is boring but safe. I’ve been into charcoal gray lately – it’s neutral but more interesting than plain gray.
Spread the grout over your mosaic with a rubber float or squeegee, pushing it into all the gaps. Work diagonally across the tiles so you don’t pull grout back out of the spaces. This is messy – wear clothes you don’t care about.
Cleaning Up
After like 15-20 minutes, when the grout starts to firm up, wipe off the excess with a damp sponge. Don’t use too much water or you’ll wash the grout out of the joints. Rinse your sponge constantly and wring it out really well.
You’ll get this hazy film on the tiles – that’s normal. Let it dry completely and then buff it off with a dry cloth. Sometimes it takes a few rounds of wiping and buffing to get everything clear.
Oh and another thing – grout sealer. If your mosaic is going anywhere humid or wet, seal that grout after it cures for a few days. Otherwise it’ll absorb water and get moldy or stained. I use a spray sealer because it’s faster than the brush-on kind.
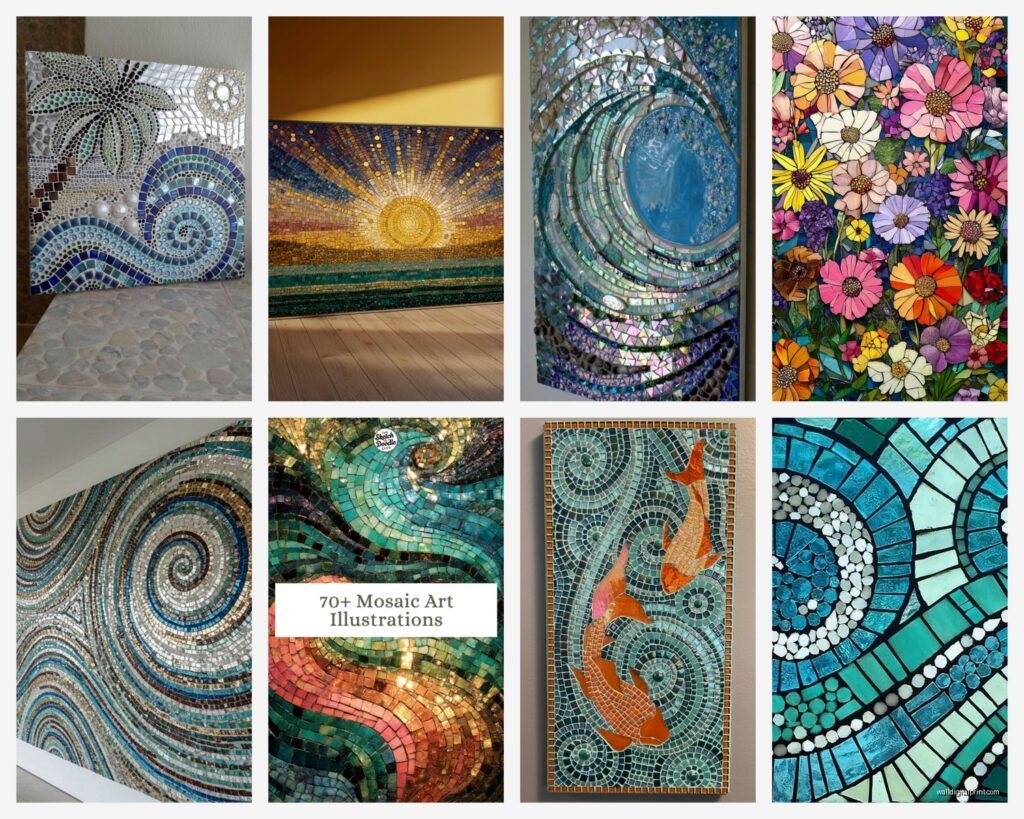
Different Techniques Worth Trying
The basic method I described works for most projects but there are some variations that create different effects.
Opus Palladianum is this random broken tile pattern that looks chaotic but somehow works. You literally just break tiles into irregular shapes and fit them together like a puzzle. It’s very Italian countryside villa.
Opus Regulatum is the opposite – perfectly uniform rows and columns. It’s easier than it sounds if you use pre-cut square tiles. Good for borders or geometric designs.
Millefiori uses those little glass flower pieces. They’re expensive but you only need a few as accent pieces mixed in with regular tiles.
Pique Assiette is making mosaics from broken dishes and china. I love this for quirky pieces. Check thrift stores for cheap plates you can smash. It’s therapeutic honestly.
Mixing Materials for Texture
Okay so funny story – I accidentally dropped a handful of small pebbles into my tile bucket once and instead of fishing them all out I just incorporated them into the design. It looked so good that now I intentionally add mixed materials.
Things that work well with tile and glass:
- Pebbles and small stones
- Broken mirror pieces (adds sparkle)
- Beads if they’re glued really well
- Shells for beach themed stuff
- Ceramic shards from broken pottery
- Marble chips
Just make sure everything is roughly the same thickness or your grout lines will be weird. You can build up thin pieces with extra adhesive underneath.
Color Theory Stuff That Actually Helps
I’m not super into formal color theory but some basics make your mosaics look more intentional. Complementary colors (opposites on the color wheel) create drama – like blue and orange together. Analogous colors (neighbors on the wheel) are more harmonious.
I usually pick 3-5 colors max for a piece. More than that starts looking chaotic unless you really know what you’re doing. And I always include some neutral tiles – white, black, gray, cream – to give the eye places to rest.
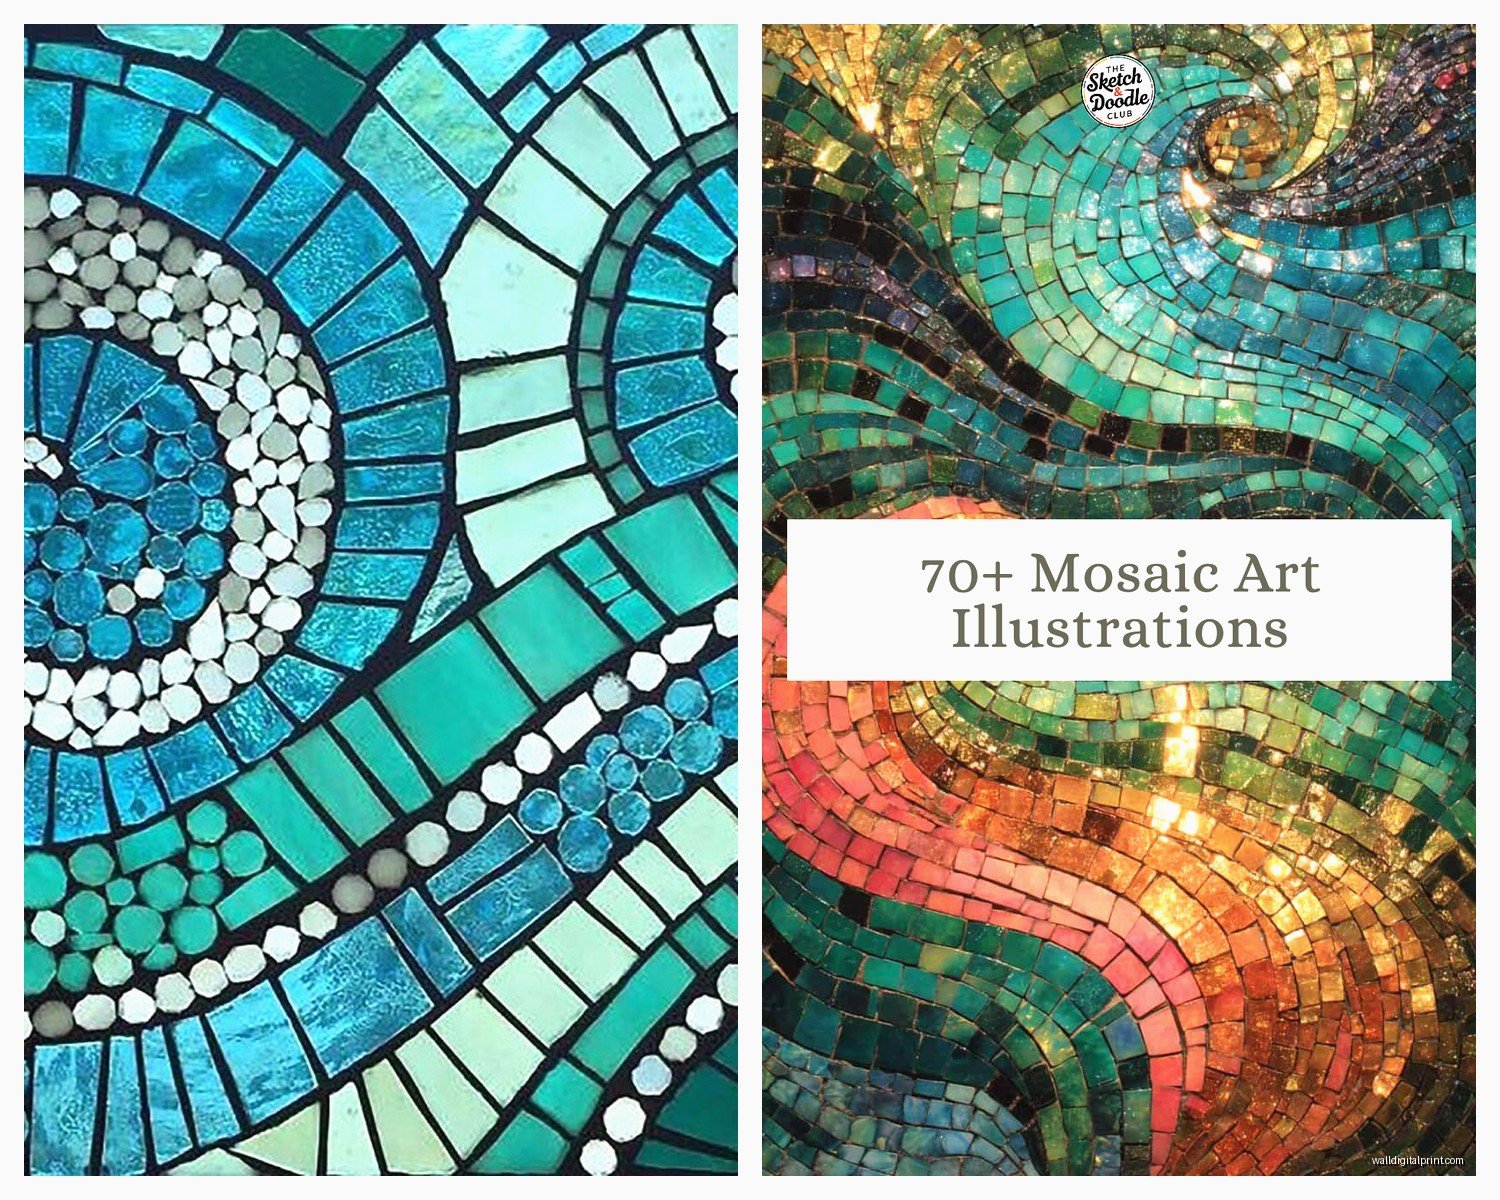
Gradients are beautiful in mosaics. Arrange tiles from light to dark to create dimension. This works especially well with glass tiles because they catch light differently depending on the angle.
Troubleshooting Common Problems
Tiles falling off: You didn’t use enough adhesive or didn’t let it cure long enough. Sometimes the base is too smooth – rough it up with sandpaper first for better grip.
Grout cracking: Mixed it too thin, didn’t work it into the joints properly, or there’s movement in the base. For flexible bases you need flexible grout.
Hazy film won’t come off: That’s grout haze and it’s stubborn. Try a grout haze remover from the hardware store or vinegar and water solution.
Uneven surface: Some tiles are sitting higher than others. You gotta press them down into the adhesive more evenly. I use a small level to check as I go for anything that needs to be flat.
Gaps too big: Fill them with smaller tile pieces or use more grout. Really big gaps look unfinished.
Finishing and Hanging
Once everything is grouted and cleaned and sealed, you need to figure out how to mount it if it’s wall art. For lighter pieces I use sawtooth hangers on the back. Heavier ones need D-rings and wire or French cleats.
French cleats are these interlocking wood strips – one on the wall, one on the back of your mosaic. They distribute weight really well and make pieces sit flat against the wall. I use them for anything over like 10 pounds.
You can also frame your mosaic. I’ve found old frames at estate sales and built the mosaic to fit inside. It gives a more finished look and protects the edges.
For outdoor installations, construction adhesive or mortar directly onto the wall works best. Make sure the wall surface is clean and rough enough for good adhesion.
Maintenance and Long-term Care
Mosaics are pretty low maintenance honestly. Indoor pieces just need occasional dusting. For cleaning, use mild soap and water – nothing acidic that could damage the grout. A soft toothbrush gets into the grout lines if they get dirty.
Outdoor mosaics might need the grout resealed every couple years depending on weather exposure. Check for any loose tiles periodically and reglue them before water gets underneath and causes more damage.
If a tile does pop off, scrape out the old adhesive, apply fresh adhesive, and press it back in place. Touch up the grout around it once the adhesive dries.
The best part about mosaic art is it gets better with age kinda like it develops this patina and character. I have pieces from my early days that aren’t technically perfect but they’ve held up beautifully and I still love looking at them.
Just start with something small – maybe a trivet or picture frame – and see if you like the process before committing to a huge wall piece. I was watching that new baking show last night and got inspired to make a mosaic with food colors but that’s probably gonna wait until my current commission is done.