Wall Art Guide, Wall Art Tutoriels
Woven Wall Art: Textile Fiber Art & Macrame
Mar
So I’ve been obsessed with woven wall art lately and honestly it started because I needed something for this massive blank wall in my own hallway and didn’t wanna spend like $800 on something from West Elm. Let me just dump everything I’ve learned because I’ve made SO many mistakes already.
What You Actually Need to Get Started
Okay so first thing, there’s like three main types we’re talking about here – traditional weaving on a loom, macrame (the knotted stuff), and what I call “free form” fiber art which is kinda both plus whatever else you feel like throwing in there. I started with macrame because I thought it’d be easier but… we’ll get to that.
For basic macrame you need cord and something to hang it from. Sounds simple right? Wrong. The cord situation is gonna make you crazy. I bought this 3mm cotton cord from Amazon thinking all cotton cord is the same and it was so loosely twisted that it fell apart while I was working. My cat also thought it was a toy and I lost like 20 feet to her before I realized what was happening.
Get single-strand cotton cord if you want that modern clean look, or go for the 3-ply twisted if you want more texture. The 3-ply is more forgiving when you’re learning. I use 4mm for most wall hangings because it works up faster than thinner cord but still shows detail. 5mm and up gets chunky real fast which is great for like statement pieces but your hands will hurt.
The Loom Situation
For actual weaving you need a loom or you need to make one. I made my first one from a picture frame I got at Goodwill for $3 and some nails. Hammered nails along the top and bottom, wrapped my warp threads around them, and honestly it worked fine for learning. You can buy fancy frame looms but like… save your money until you know you’re into this.
The warp is the vertical threads you string up first. The weft is what you weave through horizontally. I always had to remind myself which was which for the first month, so don’t feel bad if you forget.
You also need a shed stick (helps you separate the warp threads), a weaving needle or shuttle (to pull your weft through), and a comb or fork (to push your rows down tight). I literally used a regular dinner fork for weeks. Worked perfectly fine.
Macrame Knots That Actually Matter
There’s like a million macrame knots but you really only need maybe four to make beautiful stuff. Everyone makes this seem so complicated and it’s not.
Square knot – this is your bread and butter. Two cords on the outside, two in the middle that stay still. Left cord goes over the middle ones and under the right cord. Right cord goes under the middle and up through the loop on the left. Then you do it reversed. Sounds confusing but once your hands get it, you got it forever.
Half square knot – same as above but you just keep doing the same direction without reversing, which makes it spiral. Looks cool, very easy.
Double half hitch – this one took me forever to understand from videos. Basically you have a holding cord and you tie other cords onto it. Each cord wraps around the holder twice. That’s it. I use this for diagonal lines and curves.
Lark’s head knot – literally just how you attach your cords to your dowel at the top. Fold cord in half, loop it over the dowel, pull the ends through the loop. Done.
Wait I forgot to mention you need a dowel or branch or copper pipe or whatever to hang everything from. I have like 15 driftwood pieces in my garage now because I became that person who collects sticks from the beach.
Starting Your First Piece Without Losing Your Mind
Okay so funny story, my first attempt at a wall hanging I measured nothing and just started knotting and it ended up being like 8 feet long. Looked insane. Now I actually plan.
For macrame, cut your cords WAY longer than you think. The rule is usually 4 times the length you want your finished piece to be, but I do like 5 times because I hate running short. If you want a 3-foot wall hanging, cut your cords to 15 feet. Fold them in half when you attach them so you’re working with two strands from each piece.
The number of cords depends on your pattern but start with like 8-12 cords (which becomes 16-24 working strands once folded). Even numbers are easier for square knots.
For weaving, your warp threads should be spaced like a quarter inch apart, maybe less if you want really tight weaving. Count how many you need based on your loom width. Tie them TIGHT. Loose warp threads are gonna make you wanna quit, trust me. I learned this at 11pm on a Wednesday and almost threw my whole loom across the room.
Actually Weaving the Thing
With weaving you just go over and under with your weft thread. Over one warp thread, under the next, over, under. Next row you do the opposite – if you went over a thread on row one, you go under it on row two. This makes the fabric.
But here’s what nobody tells you – you can’t just pull your weft straight across tight or your whole piece will cinch in at the sides like a corset. You gotta leave a little loop of extra weft at the edge of each row, then beat it down with your fork/comb. The loop gives it room to settle without pulling in.
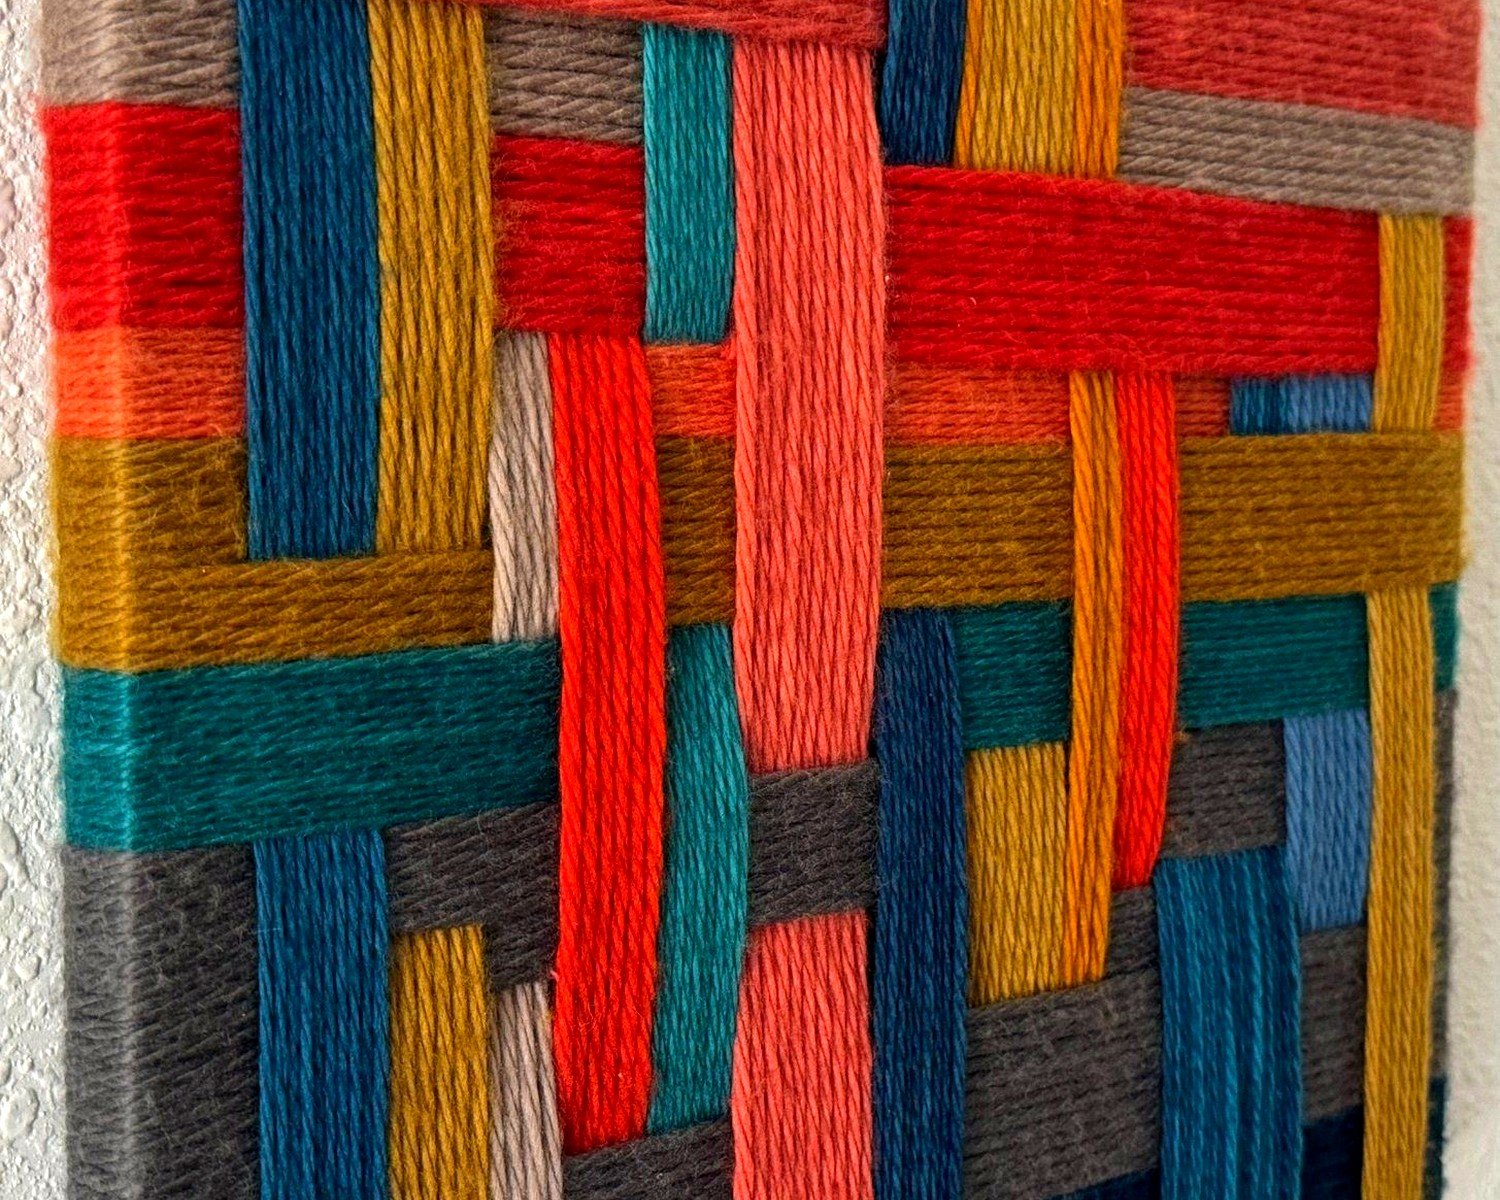
You can use literally anything for weft. Yarn, fabric strips, rope, t-shirt yarn (which I make by cutting up old shirts in a spiral), ribbon, whatever. Mixing textures is where it gets really interesting. I did one piece with thick wool roving for some rows and it looked so dimensional.
Adding Interest Because Flat is Boring
Once you get the basics down you’re gonna want texture and shapes and stuff. This is the fun part but also where you can overthink it.
For weaving, try rya knots – you cut a bunch of pieces of yarn the same length, fold one in half, pull the loop under a warp thread and back over it, then pull the ends through the loop. Makes fringe basically. Do a whole row of these and it’s super shaggy and cool.
Soumak is another technique that looks complicated but isn’t. Your weft wraps around each warp thread instead of going over-under. Makes a raised braided look. I use it for just a few rows as an accent.
You can also weave in shapes – leave some warp threads empty while you weave on others. Makes geometric cutouts. Or weave in a circle pattern instead of straight rows. There’s this artist on Instagram who does all circles and curves and it’s gorgeous but I can’t remember her name right now.
Macrame Add-Ons
With macrame you can add beads (wood beads look really natural), feathers (secure with hot glue or wire), driftwood pieces, metal rings, whatever. I found these big brass rings at the hardware store in the plumbing section that I use sometimes.
Fringe is like mandatory for macrame wall hangings apparently. Just leave long tails at the bottom and comb them out so they’re fluffy. I use a pet brush for this which probably sounds weird but it works better than a regular comb. Gets all the plies separated.
You can also do different lengths – like cut some cords shorter as you work so the bottom edge is asymmetrical. Very trendy right now, very “artisan” looking.
Mixing Weaving and Macrame
This is where I think fiber art gets really interesting. You can weave the top portion on a loom, then take it off and add macrame knotting below it. Or weave a section, leave long warp threads hanging, and macrame with those.
I did this piece last month where I wove maybe 8 inches, then pulled out every other warp thread and used those for square knot macrame sections. The remaining warp threads I kept weaving on. Made this cool mixed texture thing that honestly looked way more complex than it was.
You can also just glue or sew different elements together. Like weave small sections separately and arrange them on a branch with macrame cord connecting them. There’s no rules police gonna come arrest you for mixed techniques.
The Finishing Part Everyone Messes Up
So you finished your piece and it looks great on your lap but now what. For weaving, you gotta secure those warp threads or everything will slide off. Cut them off your loom leaving like 4 inches, then tie pairs of them together right at the edge of your weaving. Tight knots. Then you can trim them short, leave them as fringe, or tuck them back into your weaving with a needle.
If you want it really permanent, flip it over and run a line of fabric glue along the top and bottom edges where the knots are. Let it dry completely before hanging.
For macrame, just make sure all your knots are tight and trim your ends even. I use fabric scissors and cut everything on a cutting mat so I can get straight lines.
Hanging It Up
Your dowel or branch needs a way to hang. I tie leather cord or jute twine to each end and hang it from a nail. Make sure the nail goes into a stud if your piece is heavy – I’ve had one fall off the wall at 3am and it scared me so bad I couldn’t sleep.
You can also use those command strip velcro things for lighter pieces. Or get a curtain rod bracket situation going if you want it to look more finished. Depends on your vibe.
Troubleshooting The Common Disasters
Your macrame is twisting – you’re probably doing all your square knots in the same direction instead of alternating. Or your tension is uneven. Just keep practicing, it gets better.
Your weaving is wavy at the edges – you’re pulling your weft too tight. Remember the loop thing I mentioned. Leave slack.
You ran out of weft thread mid-row – just overlap the new thread with the old one for like an inch and keep going. It’ll get locked in as you weave. Trim the ends later.
Your whole piece is wonky and uneven – embrace it honestly. Fiber art is supposed to look handmade. But if it really bothers you, you can block it like you would knitting – pin it to a board in the shape you want, spray it with water, let it dry.
You hate it – take a break and look at it tomorrow. I’ve almost thrown away pieces that I loved the next day. Also my client Sarah once told me she hated a weaving I made, then bought it three weeks later because she couldn’t stop thinking about it, so like… art is subjective.
Where to Get Inspiration Without Copying
I follow a bunch of fiber artists on Instagram but honestly sometimes that makes me feel like everything’s been done. I find I make better stuff when I just look at colors and textures in real life. Like the way a sunset looks, or rust patterns on metal, or my dog’s fur colors (she’s a merle and has the coolest grey and brown pattern).
Save paint chips from the hardware store in color combos you like. Take pictures of interesting textures. I have like 500 photos on my phone of brick walls and tree bark and fabric at stores.
Try limiting yourself – like “I’m only using blue and natural white” or “I can only use materials from the thrift store” – constraints actually make you more creative I think.
Also just start without a plan sometimes. Put your first row of weft down and see what feels right next. Some of my favorite pieces happened because I just responded to what was already there instead of following a vision.
Okay I think that’s everything I wish someone had told me before I started. Just start with something small, like a 12-inch wide piece, and don’t expect perfection. Your hands need to learn the motions and that takes time but it’s honestly so satisfying once you get going.