Wall Art Guide, Wall Art Tutoriels
Printable Wall Art: DIY Download & Print Guide
Mar
So I’ve been downloading and printing wall art for like three years now and honestly it’s one of those things that seems super straightforward until you actually try to do it and then you’re standing at Staples at 6pm wondering why your file looks pixelated and weird.
File Types and What Actually Matters
Okay so first thing – you’re gonna see PDFs, JPEGs, and PNGs mostly. PDFs are honestly your best friend for printing because they maintain quality no matter what size you open them at. I learned this the hard way when I downloaded this gorgeous botanical print as a JPEG and it looked amazing on my phone but then I tried to print it at 16×20 and it was basically just colorful blobs.
JPEGs compress the image which means you lose data. PNGs are better – they don’t compress as much – but they create huge file sizes. Like my computer was yelling at me last week because I had 47 PNG files eating up all my storage while I was trying to download the new season of that baking show.
The resolution thing is where people get tripped up. You need 300 DPI minimum for printing. DPI means dots per inch and basically it’s how much information is packed into each inch of your print. Anything less than 300 and you’re gonna see pixelation. I’ve seen files advertised as “high resolution” that were actually 150 DPI and yeah they look fine on a screen but print them? Disaster.
How to Check Your File Before You Print
Right-click the file and check properties – sometimes it’ll tell you the dimensions and DPI right there. Or open it in any basic photo viewer and zoom in to like 200%. If it looks crispy and clear, you’re probably good. If it’s already looking fuzzy on your screen, it’s definitely gonna look worse printed.
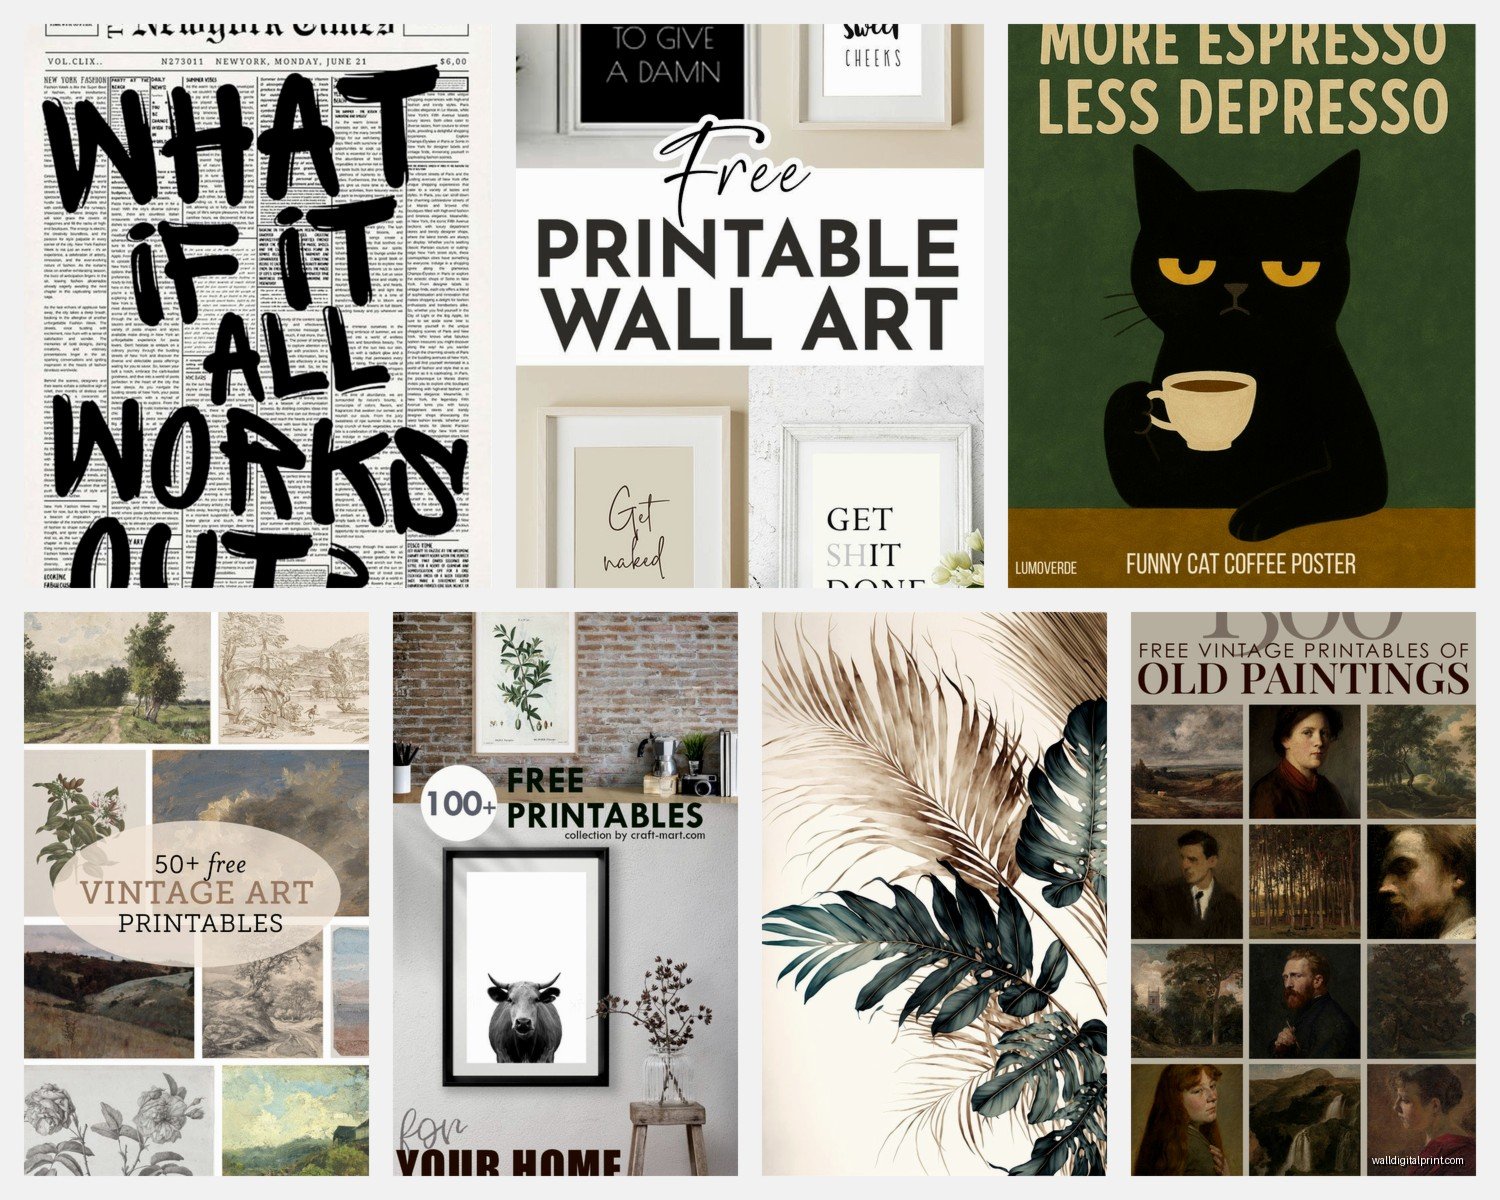
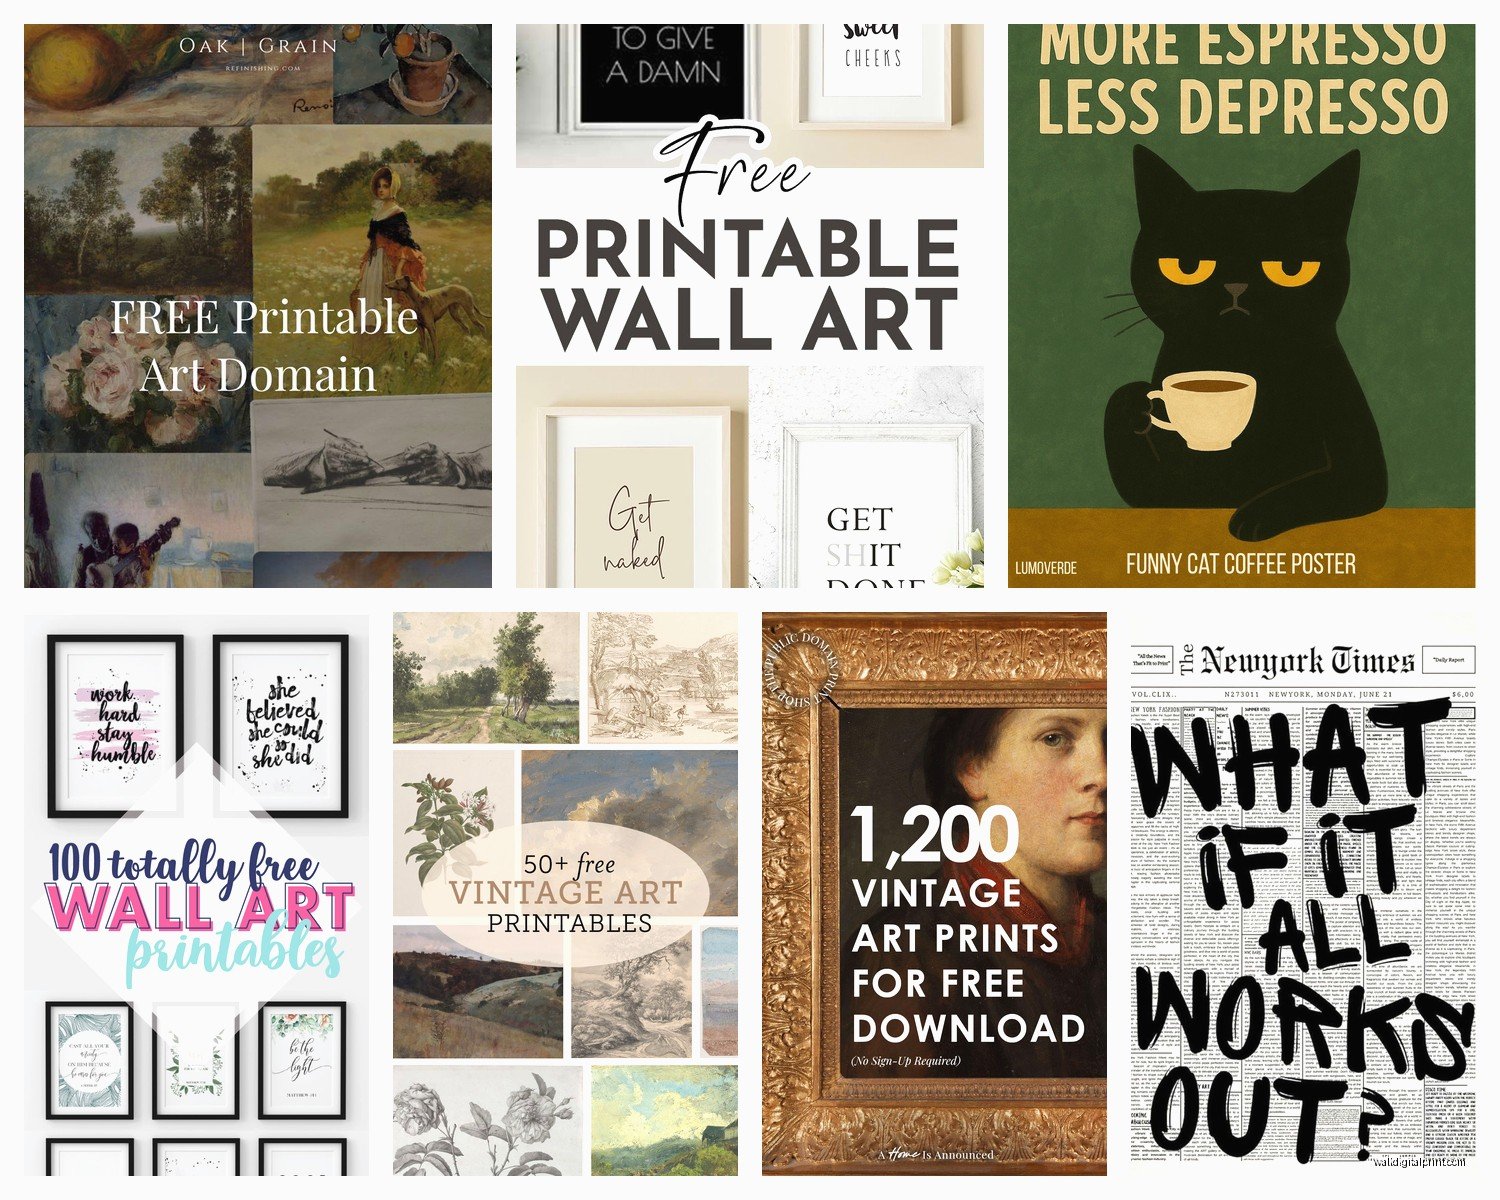
Where to Actually Download Printable Art
I’ve tried probably every platform at this point. Etsy is the obvious one – tons of independent artists selling instant downloads. The quality varies wildly though. I always read reviews and specifically look for people who mention actually printing the files. Some sellers will show you exactly what DPI their files are which is super helpful.
Creative Market has really professional stuff but it’s pricier. The files are usually top-notch though. I got this abstract line art set there last month and the files came with like five different size options already optimized.
Oh and another thing – some artists on Instagram sell directly through their websites. I follow this one artist who does minimalist landscapes and she has a shop link where her printables are actually cheaper than her Etsy because she’s not paying platform fees.
Free sites exist but honestly? You gotta be careful. Unsplash and Pexels have gorgeous photography that’s free to use and print. But random websites offering “free printable art” – I’ve downloaded viruses that way. Not fun. My whole computer had to get cleaned and I lost a bunch of client photos.
Printing Options That Don’t Suck
Okay so you’ve got your file. Now what? If you have a good home printer and you’re printing smaller sizes like 8×10 or less, you can totally do it yourself. But – and this is important – you need the right paper.
Regular printer paper is gonna look cheap and flimsy. I use cardstock, minimum 80lb weight, preferably 110lb. Staples sells it, Office Depot, even Amazon. Get bright white unless you specifically want an off-white cream color for a vintage vibe.
My home printer is just a basic Canon and it handles cardstock fine on the manual feed setting. You gotta change your printer settings to “cardstock” or “heavyweight paper” otherwise it’ll jam. I’ve wasted so much paper figuring this out.
When to Use a Print Shop
For anything bigger than 8×10, I go to a print shop. Staples is convenient and cheap – they have self-service kiosks where you can upload your file and print it yourself. I’m standing there like every other week printing stuff for clients or my apartment. Their cardstock options are decent and it usually costs like $3-8 depending on size.
FedEx Office (used to be Kinkos) is similar but I think their quality is slightly better? The paper feels nicer. More expensive though.
For really special prints or bigger sizes, local print shops are worth it. I have this one place near me run by an actual printer guy who knows his stuff and he’s helped me color-correct files before printing. It costs more – like $25 for a 16×20 on nice matte paper – but the quality is noticeably better than the chain stores.
Online printing through places like Printful or Nations Photo Lab is actually great if you’re not in a rush. You upload your file, they print and ship it. Takes about a week but the quality is professional and it’s not that expensive. I used Nations Photo Lab for this huge 24×36 print and it came perfectly packaged, ready to frame.
Color Stuff That’ll Make You Crazy
Wait I forgot to mention – colors on your screen will NOT match colors when printed. This drove me absolutely insane when I first started. Your screen uses RGB color (red, green, blue light) and printers use CMYK (cyan, magenta, yellow, black ink). They’re different color spaces.
Blues and greens especially tend to print darker or muddier than they look on screen. If you’re buying a file and the preview shows really vibrant blues, just know it might print more muted. Some Etsy sellers will actually include both RGB and CMYK versions which is super helpful.
You can convert files yourself in Photoshop or even free programs like GIMP but honestly I usually just accept that there’ll be slight differences. If I’m printing something really important I’ll do a test print on regular paper first to check the colors before committing to expensive cardstock.
Paper Finish Options
Matte is my go-to for most things. No glare, looks sophisticated, works with any frame and glass situation. Glossy can look cheap unless it’s a photograph – then glossy actually makes photos pop with more vibrant colors.
Linen or textured paper is gorgeous for abstract art or anything that’s supposed to look artistic. It adds dimension. Costs more and not every print shop offers it but worth it for statement pieces.
Sizing and Frames Because That’s Where It Gets Annoying
Standard frame sizes are your friend: 5×7, 8×10, 11×14, 16×20, 18×24. If you print these sizes, you can buy cheap frames literally anywhere – Target, IKEA, Amazon, HomeGoods.
Non-standard sizes mean custom framing which gets expensive fast. I made this mistake with a 12×16 print once and custom framing cost $80. For one frame.
A lot of printable art files come in multiple sizes or are designed to be scalable. Check what sizes are included before you buy. Some sellers give you like eight different size options in one download which is amazing.
The Aspect Ratio Thing
This is gonna sound complicated but it’s not really – aspect ratio is the proportion of width to height. An 8×10 and a 16×20 have the same aspect ratio (they’re both 4:5) so an image that fits one will fit the other without cropping.
But an 8×10 and an 11×14 have different aspect ratios. So if you try to print an 8×10 image at 11×14, you’ll either have to crop it or add white space. Most print shops will let you choose how to handle this but it’s good to know upfront.
I keep a little note in my phone with common aspect ratios because I got tired of getting surprises:
- 4:5 ratio: 8×10, 16×20
- 2:3 ratio: 4×6, 12×18, 16×24
- 5:7 ratio: 5×7, 10×14
- 11:14 ratio: 11×14 (it’s its own weird thing)
Actually Downloading and Managing Files
When you buy a digital download on Etsy, you’ll get a link to download the files. These links expire – usually after 30 days or a certain number of downloads. Save those files immediately to your computer, not just in your downloads folder where they’ll get buried.
I have a folder system: Printable Art > then subfolders by room or style. So like “Living Room,” “Bedroom,” “Abstract,” “Botanical.” My cat walked across my keyboard while I was organizing this last time and created a folder called “jjjjjjjjj” that I still haven’t deleted.
Name your files something you’ll remember. The default names are usually gibberish like “IMG_47492_FINAL_v3.pdf” which tells you nothing when you’re looking for that blue abstract piece six months later.
Backup Your Files
I learned this the hard way when my laptop died and I lost like $200 worth of downloaded art files. Now I keep everything backed up on an external hard drive and also on Google Drive. It feels like overkill until you need it.
Troubleshooting Common Problems
The file won’t open – you might need different software. PDFs open in basically anything but some specialized file types need specific programs. Most sellers will tell you what you need.
The file is the wrong size – check if there are multiple versions included in your download. Sometimes there’s a whole folder with different sizes and you grabbed the wrong one.
It printed with a white border – your printer settings probably have margins turned on. You can usually adjust this in print settings to “borderless” or “full bleed.” Not all printers support borderless printing though especially on cardstock.
Colors look terrible – see my earlier rant about RGB vs CMYK. Also check your printer ink levels because low ink makes everything look faded and weird.
The paper jammed – you’re probably using paper that’s too thick for your printer or you didn’t change the settings to cardstock. Or your printer just hates you. Sometimes that’s it.
My Actual Printing Process
I download the file and check it immediately – zoom in, make sure it’s the right size and quality. Then I decide what size I want to print based on where it’s going and what frames I already have (or what frames I can easily buy).
For home printing I open the file, check print preview carefully, make sure my printer is set to cardstock and the highest quality setting, and do a test on regular paper if I’m unsure. Then I print on the good cardstock.
For print shop, I either email the file to myself and use the kiosk, or I upload it to their website if I’m using an online service. I always select “actual size” not “fit to page” because fit to page will distort your image dimensions.
Then I frame it immediately because otherwise it’ll sit in a pile for months. I have like fifteen unframed prints stacked on my desk right now that I keep meaning to deal with.
Budget Reality Check
The file itself: anywhere from free to $15 usually, sometimes more for really specialized art or larger collections
Printing: $1-8 at a print shop for standard sizes, more for larger or specialty paper
Frame: $8-30 for standard sizes at affordable stores, way more for fancy frames or custom sizes
So realistically you’re looking at $15-50 per finished framed piece which is still way cheaper than buying actual framed art. I’ve filled entire gallery walls for under $200 doing it this way.
The nice thing is you can swap art seasonally or when you get bored without feeling guilty because you didn’t spend $300 on one piece. I change out my bedroom art like every few months just because I can.
Oh and pro tip – buy frames when they’re on sale. IKEA has sales on their RIBBA frames pretty regularly and I stock up. HomeGoods has random gorgeous frames for cheap if you’re willing to hunt.