Wall Art Guide, Wall Art Tutoriels
Nursery Wall Art Stickers: Removable Baby Room Decals
Mar
So I’ve been working with nursery wall stickers for like six years now and honestly the quality difference between brands is wild. You’d think they’re all basically the same but nope.
Material Types That Actually Matter
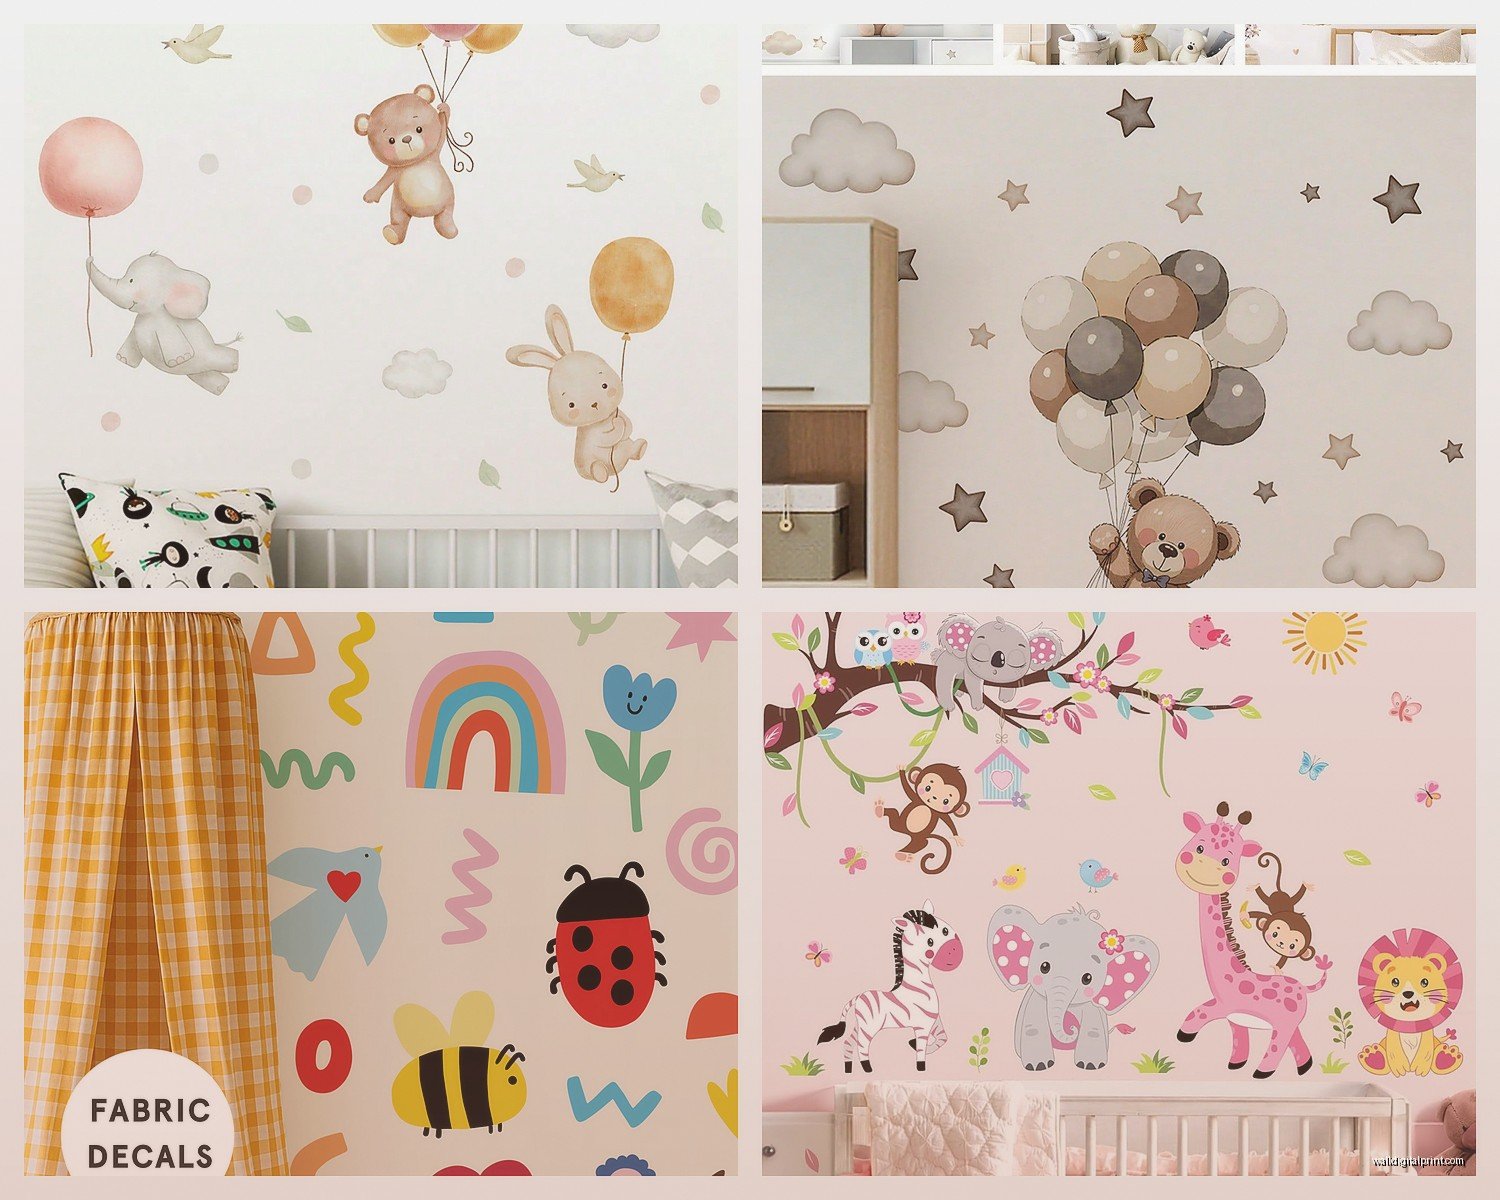
Okay so there are basically three materials you’ll see and they’re NOT created equal. Vinyl is the most common and what you probably want. There’s matte vinyl and glossy vinyl – go matte unless you want that weird shiny look that photographs terribly and shows every fingerprint. My client’s toddler touched her glossy elephant decal once and it looked like a crime scene.
Fabric wall stickers are this newer thing and I’m honestly torn on them. They’re softer, which sounds great in theory? But they don’t stick as well on textured walls and they can fray at the edges after a few months. I used them in my own nephew’s room and regretted it because they started looking fuzzy around month four.
Then there’s this paper-based option that some Etsy sellers push and just… don’t. They tear so easily when you’re repositioning and they leave residue. Not worth saving $10.
The Adhesive Situation
This is where it gets real important. You want something called “repositionable adhesive” or “removable adhesive” – but here’s the catch, those terms aren’t regulated so companies use them loosely. What you’re actually looking for is a low-tack adhesive that won’t pull paint or leave that gross sticky residue behind.
I tested like twelve different brands last year when my cat knocked over my coffee onto my comparison chart and I had to start over, but anyway. The best adhesive is this slightly rubbery feeling stuff. When you touch the back of the sticker it should feel almost… tacky but not sticky? That sounds confusing but you’ll know it when you feel it.
Brand Breakdown From Someone Who’s Actually Used These
RoomMates is the one you’ll see everywhere in Target and honestly they’re pretty solid for the price. Their adhesive is genuinely removable on most painted walls. I’ve taken them down from probably thirty nurseries at this point and only had problems twice – both times the wall had been painted within the last two weeks which is a whole separate issue we’ll get to.
The material is a medium-weight vinyl that doesn’t tear easily but it’s not so thick that it creates weird shadows or won’t conform to slightly textured walls. Their designs are kinda generic though, lots of woodland creatures and clouds.
Simple Shapes makes really beautiful modern designs and their material quality is noticeably better. Thicker vinyl, more vibrant colors that don’t fade even in rooms with lots of sunlight. But they’re like twice the price of RoomMates. Worth it if you’re particular about design or if you want something that’ll last through multiple kids.
What About Etsy and Small Sellers
Okay so funny story, I ordered these custom mountain decals from an Etsy seller with like 10,000 five-star reviews and they were… fine? The design was exactly what we wanted but the material was thinner than I expected and one of the peaks tore when we were applying it.
With small sellers you really gotta read the reviews carefully and look for photos that customers posted, not just the seller’s mockups. Search for keywords like “easy to apply” and “removed without damage” in the reviews. If people aren’t mentioning the removal process, that’s actually a red flag.
The advantage is you can get truly custom stuff. I had someone make decals that matched the exact blue in a vintage rug for a client and it was perfect. Just know you’re taking a slight gamble on material quality.
Wall Prep That Nobody Tells You About
Oh and another thing – your wall situation matters SO much more than people realize. New paint needs to cure for at least 30 days, preferably 60. I cannot stress this enough. Put stickers on fresh paint and you’ll either pull the paint off when you remove them, or the stickers won’t stick properly in the first place.
Flat or matte paint is easiest to work with. Eggshell is fine. Semi-gloss can be tricky because some adhesives don’t love it, but it’s doable. High-gloss is gonna be a nightmare and the stickers probably won’t stick long-term.
Textured walls… okay this is where it gets complicated. Light orange peel texture is usually fine with vinyl stickers. Heavy texture or that knockdown texture? You’re gonna have problems. The stickers won’t lay flat and air bubbles become this whole thing. You can sometimes fix it with a hairdryer which I’ll explain in a minute.
Clean your walls first with just water and maybe a tiny bit of dish soap. Let it dry completely. Don’t use those cleaning wipes with chemicals because they leave a residue that interferes with adhesion. Found that out the hard way in a client’s nursery where nothing would stick and we finally figured out she’d wiped down the walls with Lysol wipes the day before.
Application Process Without the BS
Most stickers come in sheets or as individual pieces. The individual pieces are usually easier to work with for complex scenes where you’re arranging multiple elements.
Start by laying everything out on the floor first. Take a photo with your phone so you remember the arrangement. Use painter’s tape to mark where key pieces go on the wall – like the bottom edge of your main focal point or the center point of a pattern.
Peel slowly from one corner. If it’s a big piece, have someone help you. My friend tried to do a huge tree decal by herself while watching The Great British Baking Show and it folded onto itself and was completely ruined.
The Actual Sticking Part
Start from the center and smooth outward with your hand or a credit card. Not too much pressure – you’re not trying to force it, just encouraging it to lay flat. If you get air bubbles, peel that section back up and try again. Small bubbles sometimes work themselves out over 24 hours but big ones won’t.
Wait I forgot to mention – work in a room that’s at least 60 degrees. Cold walls make the adhesive less sticky. If it’s winter and the room is chilly, run a space heater for like 30 minutes before you start.
For textured walls, here’s that hairdryer trick: apply the sticker normally, then use a hairdryer on low heat while pressing the sticker with a soft cloth. The gentle heat makes the vinyl more pliable so it conforms to the texture better. Don’t use high heat or you’ll melt the adhesive or warp the vinyl.
What Works Where
Above the crib is classic but make sure stickers are completely out of reach. Even though they’re non-toxic, you don’t want a curious baby peeling and potentially choking on pieces. Keep everything at least two feet above where baby can reach when standing.
Behind the changing table is actually my favorite spot because you’re staring at that wall constantly and it gives baby something to look at during changes. Those high-contrast black and white designs are great here for newborns.
One accent wall is usually enough. I’ve seen people go overboard and cover every wall and it’s just… too much visual stimulation plus it makes the room feel smaller.
Ceiling Applications
This is gonna sound weird but ceiling stickers are underrated. Stars, clouds, maybe a moon. They’re perfect for when baby is lying in the crib looking up. The application is more annoying because you’re working overhead but the effect is really sweet.
Use a step ladder and have someone hand you pieces. Your arms will get tired faster than you think. Take breaks.
Dealing With Problems
If a sticker won’t stick, don’t just keep pressing harder. The wall might be dusty, there might be humidity issues, or the adhesive could be old. Check the manufacture date if there is one – adhesive does degrade over time.
If edges start peeling up after a few weeks, you can sometimes fix it by cleaning the wall area around the sticker and pressing the edge back down. If it keeps happening, the adhesive isn’t strong enough for your wall type.
For stickers that left slight residue, use a tiny bit of rubbing alcohol on a cloth. Test in an inconspicuous spot first. Don’t use Goo Gone or similar products because they can stain or damage paint.
Removal Strategy
When it’s time to remove them – and eventually it will be because kids grow and tastes change – go slow. Peel from a corner at a 45-degree angle. Not straight out from the wall, not parallel to the wall, but that diagonal angle. This reduces the chance of pulling paint.
If it’s being stubborn, use that hairdryer trick again. Gentle heat makes the adhesive release easier. Keep the dryer moving, don’t concentrate heat in one spot.
Some stickers will come off in pieces and that’s normal, especially if they’ve been up for years. Just be patient. I usually set aside like an hour for removal even though it often takes less, because rushing leads to wall damage.
Real Talk About Longevity
Good quality vinyl stickers should last 3-5 years easily. I’ve seen some last longer but the colors might fade, especially in sunny rooms. If you want them to last through multiple kids, invest in better quality upfront and keep the room’s blinds closed during the brightest part of the day.
Fabric stickers are more like 1-2 years before they start looking worn. Paper-based ones I wouldn’t expect to last more than a year.
Design Considerations Nobody Thinks About
Scale is huge. Those tiny preview images online are deceiving. A 24-inch tree might look big in photos but feel small on an actual wall. I always tell people to go bigger than they think they need.
Color matching is tricky because screens display colors differently. If you’re trying to match existing decor, order samples if possible. Some companies will send small swatches or you can buy one small sticker to test.
Mix and match from different collections but keep the style consistent. Modern geometric shapes don’t really work with vintage woodland creatures, you know?
Budget Real Talk
You can do a whole nursery accent wall for $40-60 with RoomMates quality stuff. Going custom or high-end you’re looking at $100-200. Individual small accent pieces might be $10-20.
Is expensive always better? Not necessarily. I’ve used $15 sets that performed just as well as $80 sets. You’re often paying for design and brand name rather than material quality differences.
Watch for sales because these go on sale constantly. Target clearances them out seasonally, Amazon has random price drops, and Etsy sellers often run promotions.
Safety Stuff Because I Gotta Mention It
Look for stickers labeled as phthalate-free and lead-free. Most reputable brands are, but it’s worth checking especially with unknown sellers.
Make sure pieces are large enough that they’re not choking hazards if they somehow come off. Nothing smaller than baby’s fist as a general rule.
Non-toxic doesn’t mean edible. If baby does manage to peel something off, it’s not dangerous but you still don’t want them eating it obviously.
The adhesive fumes are minimal with quality products but if you’re sensitive, apply them before baby is regularly in the room and let it air out for 24 hours.
Okay so that’s basically everything I’ve learned from years of doing this. The main things are: get decent quality vinyl with removable adhesive, prep your walls properly, take your time with application, and don’t stress too much because even if you mess up, these things are designed to be removed and repositioned. Just maybe not eight times because the adhesive does wear out eventually.