Wall Art Guide, Wall Art Tutoriels
Small Kitchen Wall Art: Compact Cooking Space Decor
Apr
So I’ve been dealing with small kitchen wall art for like three years now and honestly it’s one of those things where everyone gets it wrong at first because they think big statement pieces when you actually need the opposite.
Why Most People Screw This Up
Okay so the biggest mistake is treating your small kitchen like a gallery wall. I had this client last month who bought these massive canvas prints from HomeGoods and we had to return literally all of them because they made her 8×10 kitchen feel like a shoebox. In compact spaces you’re working with like 12-18 inches of visible wall between cabinets, appliances, whatever. You need art that fits those weird narrow spots.
The materials that actually work are gonna surprise you because it’s not what Instagram shows you. Those big farmhouse signs? Nope. Huge botanical prints? Too much. You need stuff that’s either small and clustered or tall and skinny.
Frame Materials That Don’t Look Cheap
Metal frames are your best friend in kitchens under 100 square feet. I’m obsessed with the thin black metal ones you can get at Target or Amazon for like $15-20. They’re usually 5×7 or 8×10 and the thin profile means they don’t eat up visual space. The metal also handles humidity better than wood which matters more than you’d think.
Wood frames work but you gotta be picky. Avoid anything chunky or distressed looking because it creates visual weight. I learned this the hard way when my friend bought those thick reclaimed wood frames and her kitchen looked cluttered even though she only hung two pieces. Thin wood frames in light oak or maple are fine. Stay under 1 inch width on the frame itself.
Acrylic frames are interesting and I’m seeing them more lately. They’re basically clear plastic boxes that make art look like it’s floating. West Elm and CB2 sell them but they’re pricey at $40-60 each. The advantage is they literally disappear so the art stands out without the frame adding bulk. My cat knocked one off the wall last year and it didn’t shatter so that’s a plus.
The Clip Frame Hack
Oh and another thing – those frameless clip frames from IKEA are like $3 and they’re perfect for small kitchens. You sandwich the art between glass and backing board with metal clips. Super minimal. I use these constantly for prints I swap out seasonally because you can change the art in literally 30 seconds.
What Actually Goes In The Frames
This is where it gets practical. You can’t just print any art and expect it to work in a kitchen environment.
Paper prints are fine if they’re behind glass and not directly next to the stove. I’ve had paper prints in kitchens for two years with no issues as long as they’re at least 3 feet from major heat sources. Use cardstock or photo paper, not regular printer paper which looks cheap and warps.
Canvas is tricky because it absorbs moisture and cooking smells. I stopped recommending canvas for kitchens after a client’s beautiful herb print started smelling like garlic after six months. If you do canvas, make sure it has a protective coating or use it in a well-ventilated area.
Metal prints are actually genius for kitchens and nobody talks about this enough. Companies like Mixtiles or Shutterfly print directly onto aluminum sheets. They’re waterproof, wipeable, and lightweight. I put three metal prints in my own kitchen two years ago and they still look brand new. Cost is around $20-40 depending on size.
Wait I forgot to mention – vinyl decals are surprisingly sophisticated now. Not the words-on-walls stuff from 2010, but actual art printed on removable vinyl. Etsy has tons of options. They stick directly to walls, no frame needed, and you can remove them without damage. Perfect for renters or if you get bored easily like me.
Size and Layout Strategy
Okay so here’s what actually works spatially. Small kitchens have these weird zones of available wall space and you gotta work with them not against them.
Above the sink you usually have 12-24 inches between the window frame and upper cabinets. One horizontal piece works here, maybe 16×12 max. I like landscapes or horizontal abstracts. Three small squares in a row also looks good, like 5×5 inch pieces.
Next to the fridge is often this narrow vertical strip. This is perfect for tall skinny art, like 6×18 or 8×20. Botanical prints, vertical abstracts, even a skinny shelf with small framed pieces stacked.
Above cabinets if you don’t go to the ceiling – this is controversial but I actually don’t love putting art up there because it collects dust and grease. But if you’re gonna do it, use lightweight pieces you can easily take down for cleaning. Those metal prints I mentioned are perfect here.
The Gallery Cluster Approach
This is gonna sound weird but sometimes putting three tiny pieces together works better than one medium piece. Like three 4×6 frames in a triangle formation. It creates interest without overwhelming the space. I did this in a client’s kitchen last month with vintage recipe cards in cheap black frames from Michael’s and it cost maybe $30 total but looked way more expensive.
The key is keeping the overall footprint small. The three frames together shouldn’t take up more than 12×12 inches of wall space total.
Specific Art Subjects That Work
Content matters because you’re looking at this stuff while cooking which is a totally different vibe than like, a bedroom.
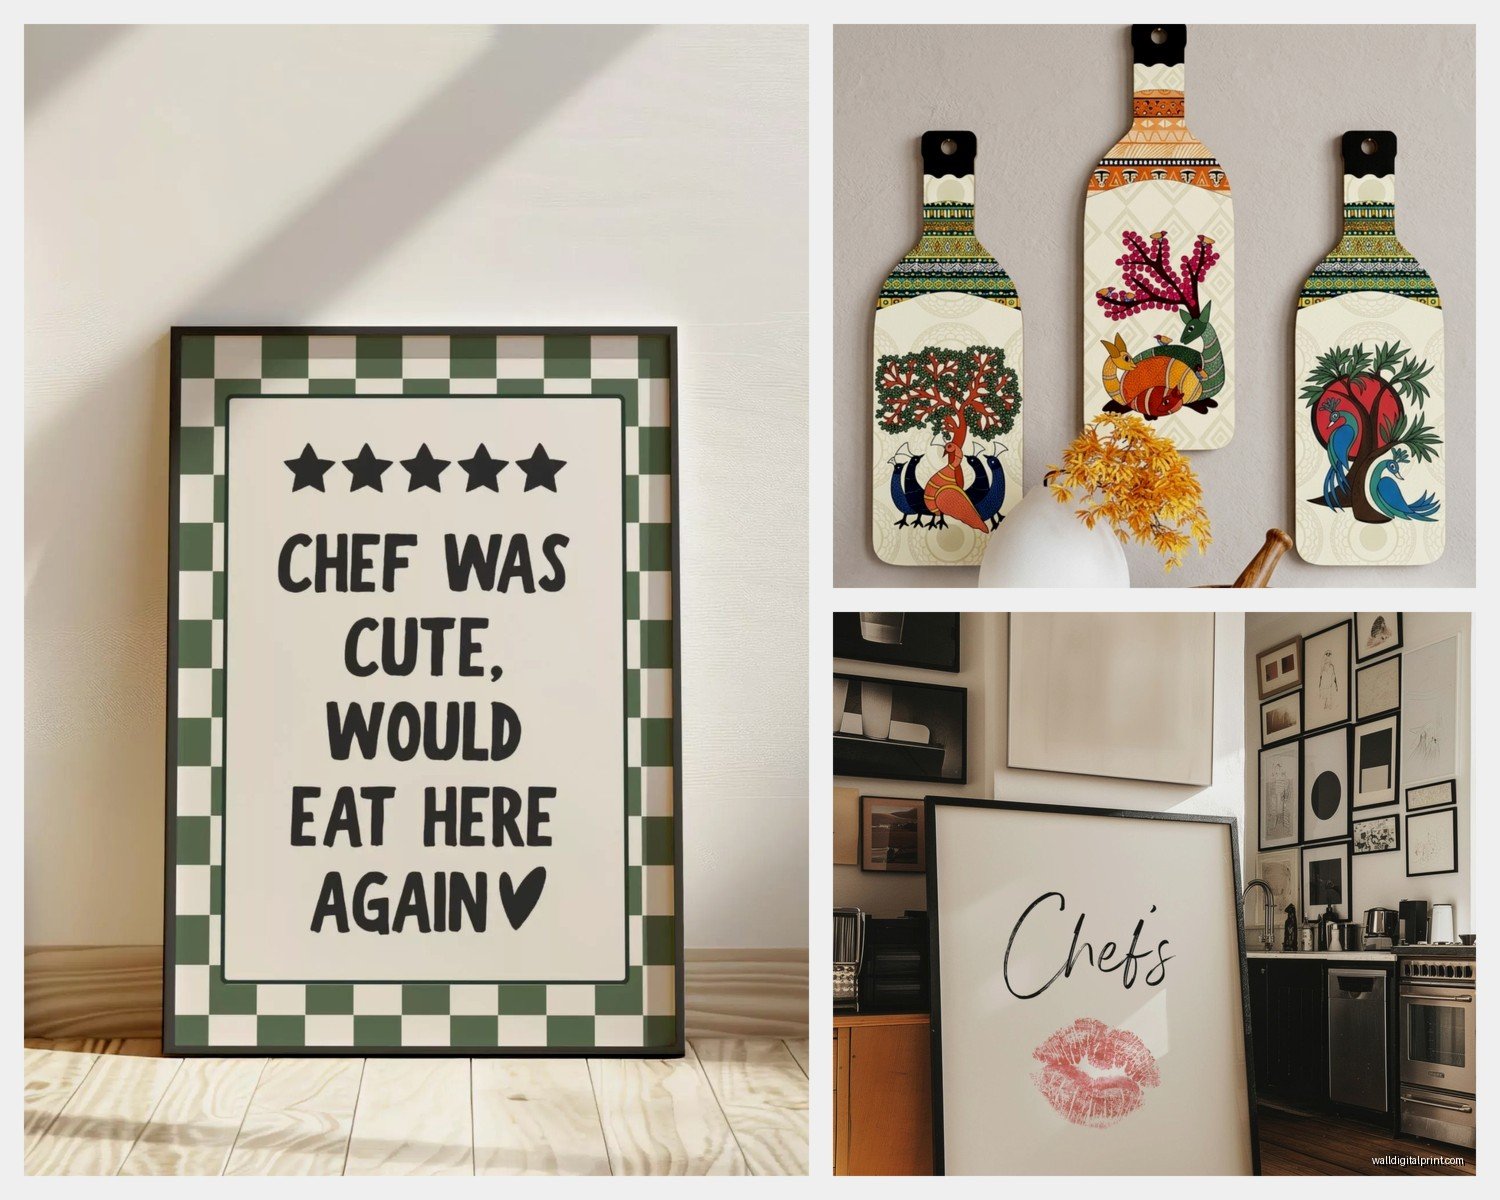
Food and drink art seems obvious but be careful. Avoid anything too literal like photographs of burgers or whatever. Abstract coffee art, vintage fruit crate labels, botanical herb prints – these all work. I found this Etsy seller who does line drawings of vegetables that are actually chic, not cutesy.
Abstract pieces in muted colors are your safest bet. Small abstract watercolors or line art add visual interest without competing with the chaos of kitchen stuff. I’m partial to neutrals with one accent color that picks up something else in the room.
Vintage prints work really well because they have that collected-over-time feel. Old botanical illustrations, vintage maps, antique advertising prints. You can download tons of public domain images free from library archives and print them yourself. I literally spent my client’s canceled appointment last week doing exactly this.
Typography only works if it’s subtle. Those “kitchen” and “gather” word prints are played out. But a vintage typography poster or something in another language can be cool. I have a small French wine label print that I actually don’t hate.
Hanging Solutions for Renters
Okay so if you can’t put holes in walls this gets creative. Command strips work for lightweight frames under 3 pounds but you gotta follow the directions exactly. Clean the wall with rubbing alcohol first and wait a week after application before hanging. I know nobody does this but it actually matters.
Picture rail is this thing I discovered last year where you install a thin ledge and lean frames on it. You can get adhesive ledges or ones that use minimal nails. Way easier to rearrange stuff.
Magnetic boards are perfect if you have limited wall space. Get a thin metal sheet painted to match your walls and use magnets to attach art. You can DIY this with sheet metal from hardware stores for like $20.
The Plate Wall Alternative
This isn’t exactly art but decorative plates can function the same way and they’re usually cheaper. Thrift stores have tons of vintage plates for $2-5 each. Get plate hangers from Amazon for $1 each. Instant art collection for under $30. My friend did this while binge-watching Succession and it looks amazing.
Budget Breakdown By Approach
Let me give you actual numbers because that’s probably what you’re wondering.
Ultra budget – $20-40 total. Print free public domain art at home or Staples, use IKEA clip frames or thrifted frames spray painted black. Three pieces total. This is what I did in my first apartment.
Mid-range – $75-150. Mix of Etsy prints ($15-25 each), Target or West Elm frames ($20-40 each), maybe one metal print from Mixtiles ($30). Five to six pieces total.
Splurge – $200-400. Original art from local artists or Minted, custom framing, or several high-quality metal prints. This is if you’re staying long-term and want investment pieces.
The sweet spot in my experience is around $100-125 for a complete small kitchen art plan. That gets you quality without overspending on a space that honestly people don’t focus on as much as living areas.
Maintenance Nobody Talks About
Kitchen art gets gross faster than any other room. Cooking grease becomes this invisible film on everything. Every three months you gotta take frames down and wipe them with a slightly damp microfiber cloth. Glass cleaner for frames with glass obviously.
Metal prints you can literally rinse in the sink if needed which is why I push them so hard. Canvas you can’t really clean effectively so just accept they have a shorter lifespan in kitchens, maybe 3-5 years before they look dingy.
The area above the stove is basically a no-art zone unless you have an amazing hood vent. I tried putting art there once and it got spattered within a week. Just don’t.
My Current Setup
Since you’re probably curious what I actually have in my own kitchen – it’s 85 square feet so pretty compact. I’ve got three 8×10 metal prints in thin black frames above my sink in a horizontal row. They’re abstract watercolors in blues and grays that I bought from Society6 for like $30 each.
Next to my fridge is this tall skinny botanical print, 8×24, in a light wood frame from Target. Cost maybe $40 framed. And then I have a small floating shelf with three tiny 4×4 frames that I rotate seasonally with different prints. The frames were from Amazon, like $18 for a set of three.
Total investment was probably $175 but I accumulated it over a year, not all at once. The metal prints are three years old now and still look perfect. The botanical print I’ve had for 18 months.
Where to Actually Buy This Stuff
Etsy for unique prints and digital downloads you can print yourself. Search “kitchen art print” but also try “vintage botanical” or “abstract minimalist” because the kitchen-specific stuff is sometimes cheesy.
Society6 and Minted for art prints that come framed or unframed. Mid-range pricing but good quality. They have sales constantly so wait for 20% off.
Target for frames and some decent affordable art. Their Threshold line has good minimalist options.
IKEA for clip frames and basic frames. Super cheap but they look fine if you’re strategic about it.
Mixtiles specifically for those peel-and-stick photo tiles. Great if you want personal photos that can handle kitchen conditions.
Thrift stores for frames you can spray paint and vintage prints. You gotta dig but I’ve found amazing stuff for under $5.
The key is mixing sources. Don’t buy everything from one place or it looks too matchy. I usually do frames from 2-3 different stores and art from different sellers.
One more thing – measure your wall space before buying anything. I keep a small measuring tape in my purse because I’m that person, but seriously, so many returns happen because people eyeball it and buy pieces that are way too big. Take a photo of the wall and use your phone to sketch where frames might go. Saves so much hassle.