Wall Art Guide, Wall Art Tutoriels
Rustic Wall Art for Living Room: Farmhouse Main Space Decor
Apr
So I’ve been working on this farmhouse living room project for like three months now and honestly the wall art situation is where most people completely overthink it or go way too minimal. You need that rustic vibe without making it look like you raided a Cracker Barrel, you know?
Starting With Your Actual Wall Space
Okay so first thing – measure your walls but like actually measure them. I cannot tell you how many times I’ve eyeballed a piece thinking “oh that’ll fit” and then it’s either comically small or I’m returning it because my husband is gonna kill me for buying another thing that doesn’t fit. For a living room, you’re probably looking at that main wall behind your couch or above a console table.
The rule I actually follow is your art should take up about 2/3 to 3/4 of your furniture width. So if your couch is 90 inches, you want your wall art or gallery wall to span roughly 60-70 inches. Sounds technical but it just prevents that floating postage stamp look that drives me insane.
The Big Statement Piece Route
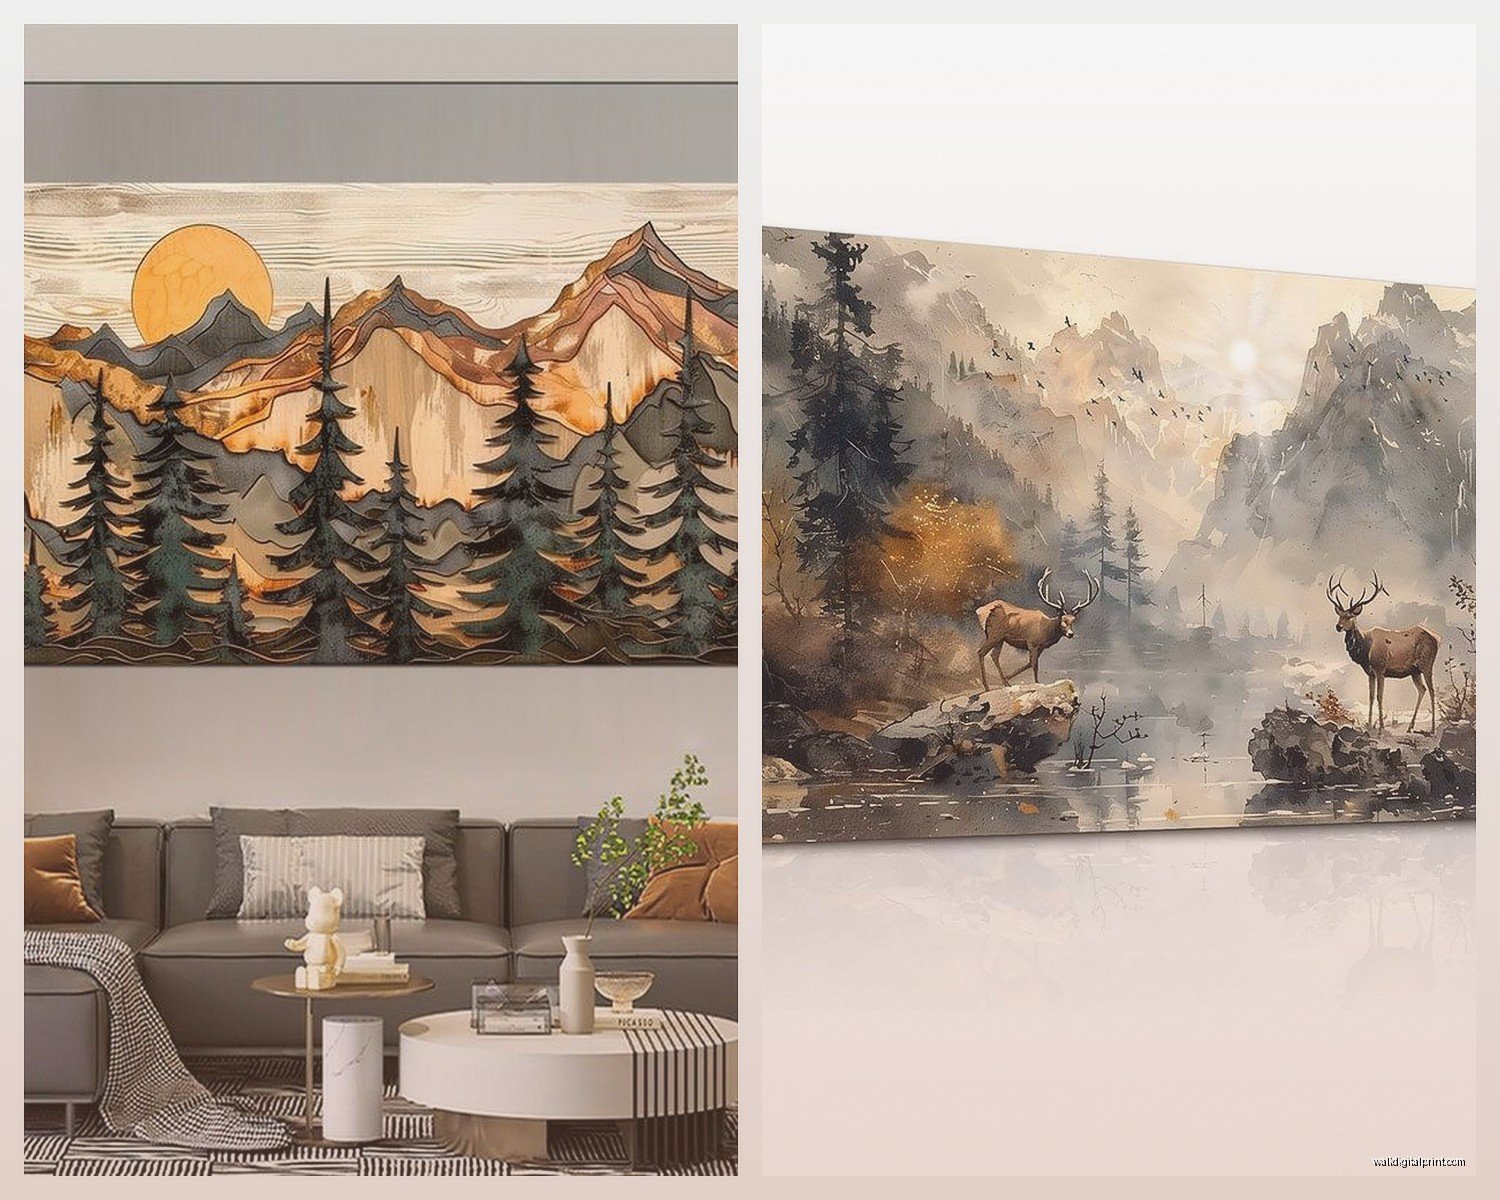
Large rustic pieces are having such a moment right now. I’m talking those huge wooden signs with sayings, oversized barn doors repurposed as art, or those massive landscape paintings that look like they came from a country estate.
What actually works: I found this weathered wood piece from a local craftsman – basically reclaimed barn wood arranged in a geometric pattern. It’s like 48×36 inches and the texture is insane. The wood has all these nail holes and original paint streaks. Cost me $280 but it’s the focal point of the entire room. You can find similar stuff on Etsy if you search “reclaimed wood wall art” but read the reviews because some sellers just distress new wood and call it reclaimed which… fine but not the same vibe.
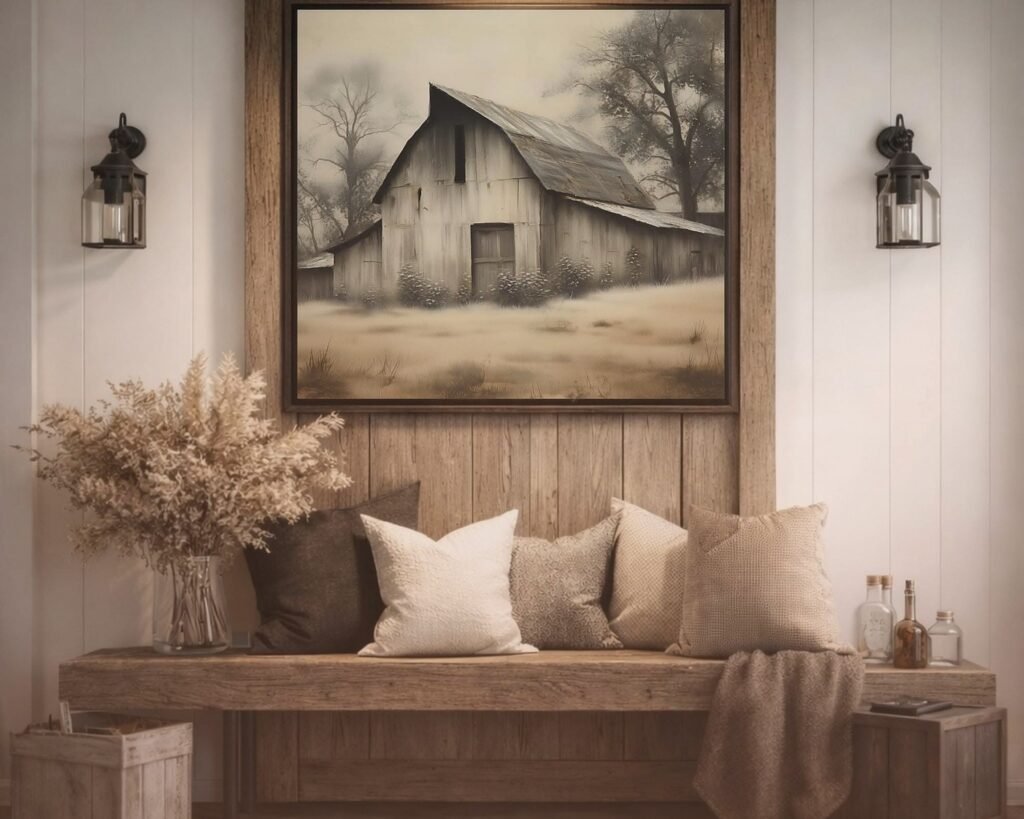
The painted landscapes in rustic frames work too. I’m partial to black and white or sepia-toned scenes – old farmhouses, fields, horses, that kind of thing. Stay away from anything too colorful unless your whole room palette supports it. My friend Sarah got this gorgeous teal-and-orange sunset piece and it completely clashed with her neutral farmhouse aesthetic. She ended up moving it to her bedroom.
Where to Actually Source Big Pieces
- Local flea markets and antique shops – you’ll pay more but the authenticity is there
- Hobby Lobby during their 50% off sales (I know, I know, but their rustic selection is decent)
- Facebook Marketplace has been surprisingly good – found a vintage window frame for $45
- Kirkland’s clearance section online
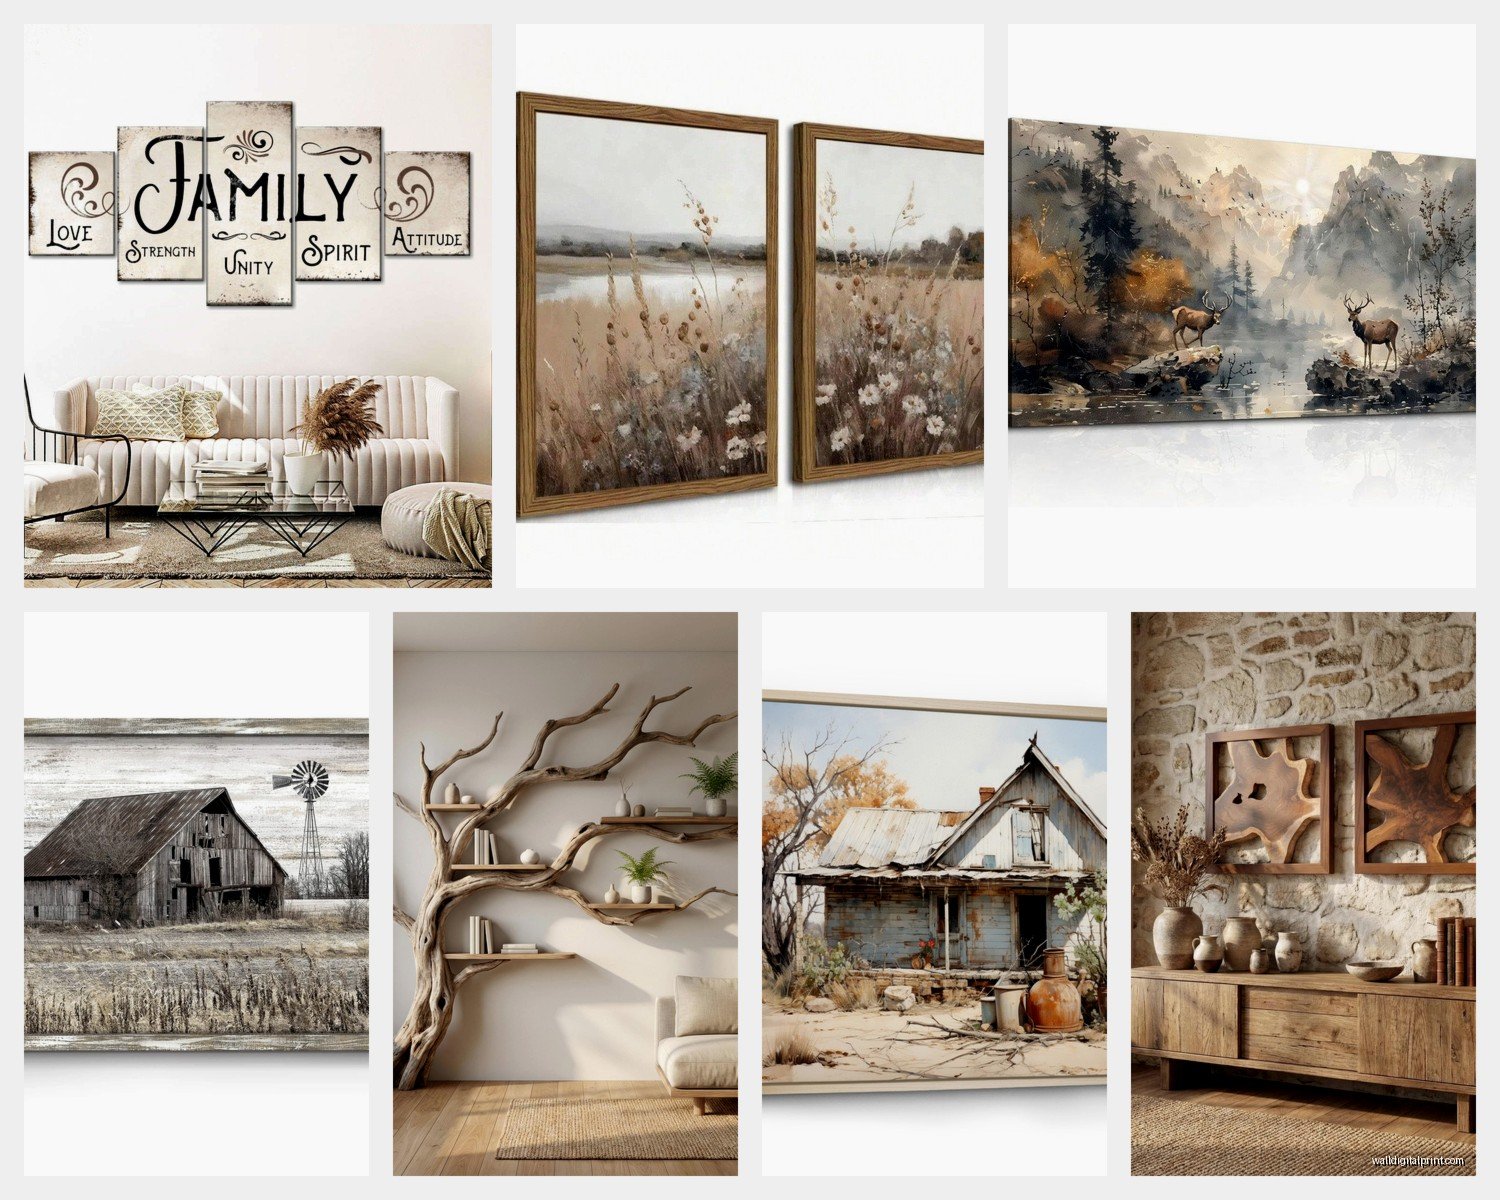
- Etsy shops that specialize in farmhouse decor – search terms like “modern farmhouse art” or “neutral rustic canvas”
Gallery Wall Situation
Oh and another thing – gallery walls are harder than Pinterest makes them look but they’re worth it for that collected-over-time vibe. I spent literally three hours on my client’s gallery wall last month because we kept rearranging.
Here’s what I do: buy a roll of kraft paper (like $8 at Target), trace your frames, cut them out, and tape them to the wall first. Move them around until it looks right, THEN start hammering. This saved my walls from looking like swiss cheese.
What to Include in a Rustic Gallery Wall
Mix your textures and frame styles – that’s the secret. You want:
- At least one vintage window frame or architectural element
- 2-3 wooden signs with words (but keep the sayings simple – “Home” “Gather” “Family” – skip the paragraph-length quotes)
- Black and white family photos or vintage prints in mismatched frames
- One or two woven elements like a small basket or wreath
- Maybe a small shelf to add dimension
- Metal pieces – old tools, a decorative hinge, whatever
The frames should NOT match. I repeat, do not buy a matching set. Mix black, natural wood, white-washed wood, and maybe one ornate vintage frame. The key is they should look like you collected them over years even if you bought them all last weekend at HomeGoods.
Wait I forgot to mention – spacing matters more than you think. Keep about 2-3 inches between each piece. Too close looks cluttered, too far apart looks disconnected. Use a level. I know it’s tedious but crooked frames will haunt you every time you sit on that couch.
DIY Options That Don’t Look Homemade
This is gonna sound weird but some of the best rustic wall art I’ve done has been DIY. Not like crafty-cute DIY, but more… repurposing stuff that already has character.
Old wooden shutters – sand them down a bit, maybe paint them a soft gray or leave them weathered, hang them vertically on either side of a window or as a pair on the wall. Cost me $30 at an architectural salvage place and they look like they cost $300.
Vintage windows are everywhere at estate sales. Remove the glass if it’s broken, keep it if it’s wavy old glass. You can leave them empty for architectural interest or put photos behind the panes. I did this for my own living room and people always ask where I bought it. Nowhere! It was $20 and an afternoon project.
Wooden signs are stupid easy to make if you have access to reclaimed wood. I bought a piece of barn wood for $15, painted “Welcome” in basic black paint using a stencil, and it looks just as good as the $85 version from that boutique downtown. My cat knocked it off the wall once and it got another dent which honestly just added to the character.
The Cotton Stem Wreath Thing
Okay so cotton stem wreaths are technically decor but they work as wall art too. Hang one above your couch or on a blank wall and it reads as art. They’re very farmhouse, very rustic, and you can make one for like $25 with supplies from Michael’s. Or buy one pre-made for $40-60. I have strong feelings about fake vs. real dried cotton but that’s a whole other conversation.
Color Palette Stuff You Gotta Consider
Your rustic wall art should mostly be neutrals with maybe one accent color that pulls from your room. I’m talking:
- Whites and creams
- Grays and charcoals
- Natural wood tones (light pine to dark walnut)
- Black for contrast
- Maybe one muted color like sage green, dusty blue, or rust orange
I made the mistake once of adding too much color variety in the wall art and the whole room felt chaotic. Now I stick to 3-4 colors max across all the wall pieces. It creates cohesion even when the frames and styles are all different.
Mixing Rustic With Other Styles
Real talk – pure farmhouse rustic can feel a bit theme-y if you’re not careful. I like mixing in some modern or industrial elements to keep it from looking like a staged Fixer Upper episode.
A sleek black metal frame with a rustic landscape inside. A modern abstract piece that happens to be in neutral colors next to your wooden sign. This keeps the room feeling collected and personal rather than catalogue-perfect.
My living room has rustic wood art but also this contemporary line drawing of a woman’s face and somehow it all works because the color palette ties it together. My sister thought I was crazy when I hung it but now she’s copying the look in her house.
The Scale Thing Nobody Talks About
Vary your sizes. If everything is medium-sized, your wall looks flat and boring. You want one large anchor piece, a few medium pieces, and some small ones for visual interest. Think of it like… I dunno, a really good cheese board? You need different sizes to make it interesting.
For a standard 8-foot wall behind a couch, I usually do one large piece (around 40-50 inches wide) or a gallery wall that spans about 60 inches. Then maybe one or two smaller pieces on adjacent walls to create flow around the room.
Stuff That’s Trendy Right Now
Okay so what’s actually popular in rustic wall art this year based on what all my clients are requesting:
Cow art – I don’t get it but everyone wants highland cows or black and white cow prints. It’s very farmhouse-chic apparently.
Vintage botanical prints in old frames – think pressed flowers or old seed packet graphics. Very cottage-rustic crossover.
Oversized clocks made from wood or metal. They function as both decor and art. I installed a 36-inch wooden clock last week and it’s the perfect rustic statement.
Minimalist line art in rustic frames – that modern-farmhouse hybrid I mentioned. Simple drawings of houses, trees, animals in basic black lines, framed in chunky wood frames.
Textile wall hangings – woven pieces, macrame (yeah it’s back), vintage quilts hung as tapestries. Adds texture which rustic rooms need.
The Practical Hanging Part
Use the right hardware or you’re gonna have a bad time. For heavy wooden pieces, get proper wall anchors if you’re not hitting a stud. I learned this when a huge reclaimed wood piece fell at 2am and scared the hell out of me and my husband thought someone broke in and it was a whole thing.
For gallery walls, I swear by those picture hanging strips for lighter items (under 8 pounds) because you can remove them without damaging walls. For heavier stuff, picture wire and proper hooks.
Command strips work for smaller rustic pieces but check the weight limit. They’re not gonna hold your giant barn door art piece no matter what the package says.
Height Guidelines
Center your art at eye level, which is typically 57-60 inches from the floor to the center of the piece. Above a couch, leave 6-8 inches between the furniture and the bottom of the frame. Above a console table, 8-10 inches of space.
I measure this stuff every single time because eyeballing it always results in it being too high. Always. My client last month insisted we hang something where she thought it looked good and then three days later texted me asking to come fix it because it was way too high and she couldn’t unsee it.
What to Skip
Some stuff just doesn’t work or feels overdone:
- Those wire baskets arranged on the wall – they’re everywhere and kinda dated now
- Too many word signs – one or two max or it’s like visual noise
- Anything that says “Live Laugh Love” or similar – just no
- Tiny pieces scattered randomly – they look unintentional
- Overly distressed stuff that looks fake – you can tell when wood was artificially aged badly
Budget Breakdown
You can do a whole living room’s worth of rustic wall art for anywhere from $150 to $1500 depending on your approach. My typical mid-range setup runs about $400-600 and includes:
One large statement piece ($100-250), three to five medium pieces ($30-60 each), a few small accents or DIY pieces ($10-40 each), frames if needed ($15-40 each for decent quality).
The expensive route is custom pieces, original art from local artists, or high-end gallery pieces. I have clients who spend $2000+ on one piece and that’s their whole wall art budget. Also totally valid if that’s your thing.
Lighting Makes a Difference
Oh wait I almost forgot – light your rustic art properly. Picture lights or track lighting aimed at your statement piece makes it look intentional and expensive. Even just positioning a floor lamp nearby so it illuminates your gallery wall at night changes the whole vibe.
Natural light is great but avoid hanging valuable pieces in direct sunlight because they’ll fade. I learned this the hard way with a vintage print that got completely washed out over two summers.
Anyway that’s most of what I’ve figured out through trial and error. The main thing is don’t overthink it – rustic style is supposed to feel a bit imperfect and collected over time. If you stress too much about making it perfect, it loses that relaxed farmhouse feeling you’re going for in the first place.