Wall Art Guide, Wall Art Tutoriels
Nursery Wall Art: Baby Room Sweet Infant Decor
May
So I just spent like three hours yesterday helping my sister pick out wall art for her nursery and honestly it turned into this whole thing where we ended up rearranging her entire room plan, but anyway, here’s what actually matters when you’re trying to figure this out.
Start With Your Wall Space Not The Art
This is gonna sound backwards but measure your walls first before you even start scrolling through Etsy at midnight. I learned this the hard way with a client who bought this gorgeous giraffe print set and then realized she only had like 18 inches of wall space above the changing table. You need at least 2-3 feet of blank wall to make any statement piece work, otherwise it just looks cramped and weird.
The wall above the crib is obviously prime real estate but here’s the thing – you gotta leave enough space between the top of the crib and the bottom of your frame. I usually do at least 8-10 inches because babies grow and eventually they’ll be standing up in there, and you don’t want them grabbing at frames. Also some cribs have those conversion kits to make them toddler beds later and the headboard gets taller.
The Actual Art Types That Work
Okay so there‘s basically a few categories and I have opinions on all of them:
Prints and Posters
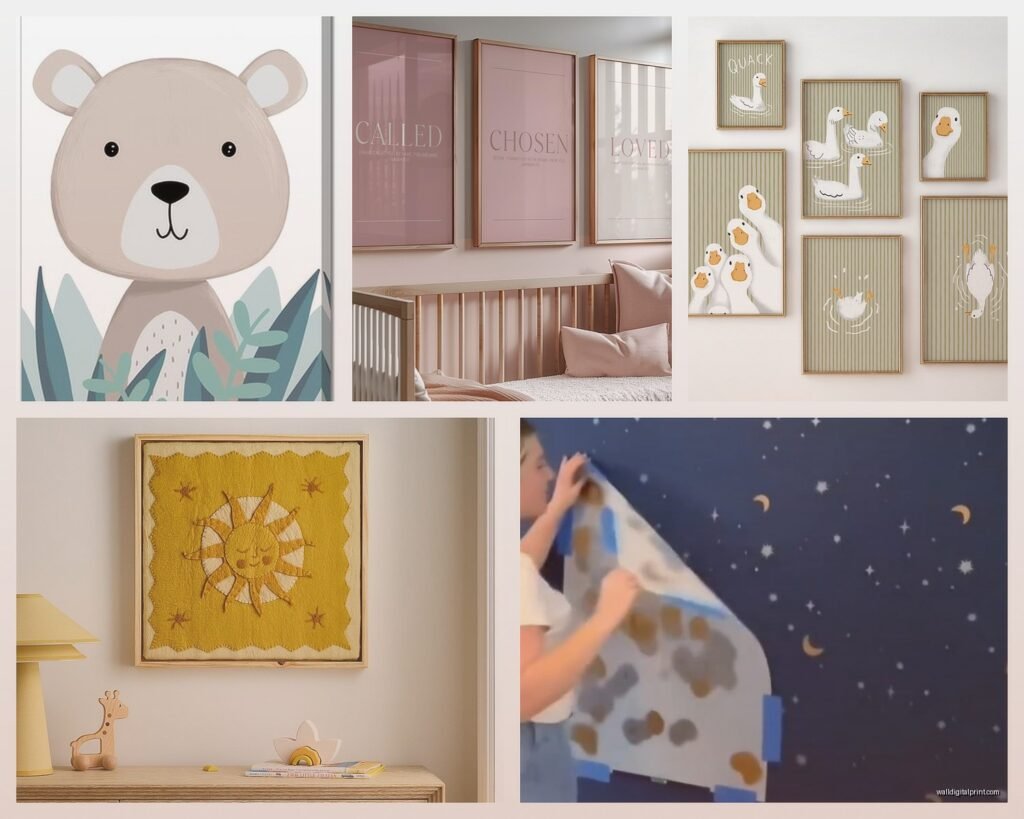
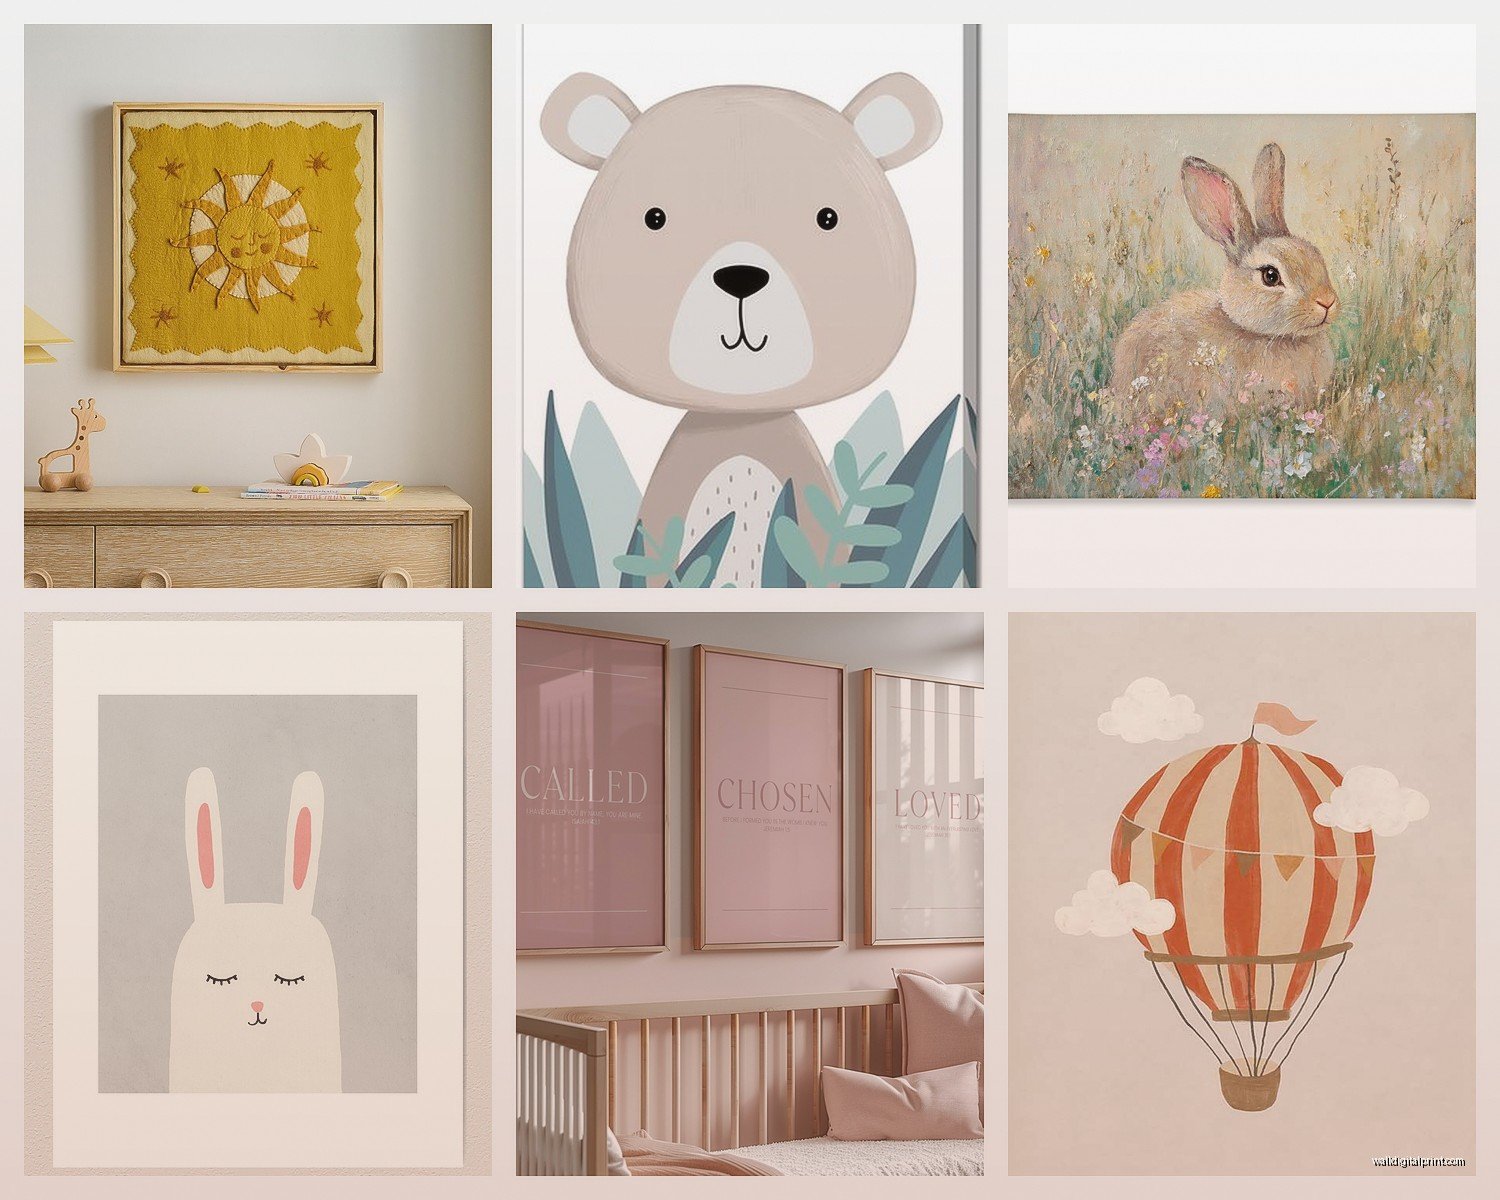
The most affordable option and honestly where I tell people to start. You can get beautiful prints on Etsy for like $8-15 and then frame them yourself. The watercolor animal prints are still huge right now – elephants, bunnies, that whole soft pastel vibe. I’m personally a bit over the super generic “you are so loved” text prints but if that’s your thing, go for it.

What I actually love are the vintage-style botanical prints or those simple line drawing animals. They feel more sophisticated and you won’t want to rip them down the second your kid turns three. My cat literally knocked over my coffee while I was looking at these last night so I have a very strong memory of which shop it was – there’s this seller called PrintableWisdom who does really clean minimal stuff.
Canvas Prints
These are great because no frame needed and they’re lightweight so less worry about them falling. But here’s what nobody tells you – cheap canvas prints look really cheap. The canvas texture shows through the ink in this weird way and colors can look washed out. If you’re gonna do canvas, spend at least $40-50 per piece or it’s not worth it.
I did three canvas prints in my nephew’s room, different sizes arranged in a cluster, and it actually looked really good. The key is getting them gallery-wrapped so the image continues around the edges. Otherwise you see the staples on the sides and it looks unfinished.
Wooden Signs and 3D Elements
Okay this is where it gets fun but also where people overspend. Those wooden name signs are adorable, I’m not gonna lie. But they’re like $60-100 for a decent one and your kid’s name is probably gonna be on literally everything else in the room too.
What I think works better are wooden shelves with little decorative objects. You can do floating shelves with small framed prints, little animal figurines, wooden blocks with letters. It adds dimension and you can change it up easily. Just make sure they’re anchored properly – I use toggle bolts in drywall and they can hold way more weight than those plastic anchors.
Wall Decals
These used to be kinda tacky but they’ve gotten so much better. The fabric-based ones from companies like Urban Walls peel off clean without damaging paint. I just did a cloud and star setup in a client’s nursery last month and it turned out really sweet.
The trick with decals is not going overboard. Pick one focal wall, don’t try to do all four walls. And leave some breathing room – scattered stars across one wall looks intentional, scattered stars everywhere looks like you had a sticker explosion.
Color Schemes That Actually Matter
Everyone says “match your bedding” but that’s honestly too limiting. Your wall art should coordinate with your overall color palette but it doesn’t need to be exact matches. In fact, pulling in accent colors through art is way more interesting.
If your nursery is mostly white and gray, your art is where you bring in the softer colors – sage green, dusty pink, pale yellow, that whole muted rainbow thing that’s popular. But if your room already has a bold color like navy or emerald green, keep your art more neutral so it doesn’t compete.
I saw this nursery on Instagram where they had bright coral walls and then did all black and white animal photography and it was stunning. Sometimes contrast is your friend.
The Gallery Wall Situation
Gallery walls in nurseries can look amazing or completely chaotic, there’s no in between. Here’s my formula that actually works:
- Pick 5-9 pieces (odd numbers look better)
- Stick to 2-3 frame colors max
- Mix sizes but keep one consistent element – maybe they’re all the same style of art, or all have white matting
- Lay it out on the floor first and take a photo so you remember the arrangement
- Use painter’s tape to mark where frames will go on the wall before you start hammering
I spent literally an entire Saturday doing a gallery wall in my sister’s nursery and we probably rearranged it six times before hanging anything. The center piece should be at eye level, which is usually around 57-60 inches from the floor to the center of the frame.
Oh and another thing – if you’re doing a gallery wall above a dresser or changing table, treat the furniture as the bottom anchor. Start your arrangement about 6-8 inches above the furniture top.
Frames Are More Important Than You Think
Please don’t buy those cheap clip frames from the dollar store for your nursery. They fall apart and the clips are literally sharp metal that could be dangerous. IKEA frames are actually pretty decent for the price – the RIBBA series comes in tons of sizes and they look clean and simple.
For a more elevated look, I love the thin wooden frames from Framebridge or even Target’s threshold line. White frames are classic and work with everything, but natural wood frames add warmth. Black frames feel more modern and graphic.
If you’re mixing frame colors, do it intentionally. Like all white frames except one gold accent frame, or alternating between natural wood and white. Random mixed frames just look like you couldn’t decide.
Safety Stuff You Gotta Consider
This isn’t fun but it’s necessary. Nothing heavy above the crib, period. If you’re hanging something there, use those 3M command strips rated for the weight. They hold really well and if something does fall, it’s more likely to fall away from the crib.
Acrylic prints instead of glass is smart for anywhere near the crib or changing table. Glass breaks, acrylic doesn’t. It costs more but worth it for peace of mind.
Make sure everything is anchored to studs or with proper anchors. I know I mentioned this already but I’m serious about this one. Babies become toddlers who pull on things.
Where To Actually Shop
Okay so here’s my real list of where I actually buy stuff, not just where looks cute:
Etsy – Best for printable downloads and unique pieces. Search for “nursery prints printable” and you can download instantly, then print at Costco or Staples for cheap. The quality of downloads varies though so check the reviews.
Minted – More expensive but the quality is legitimately good. Their framing option is pricey but convenient if you don’t wanna deal with it yourself. Wait for their sales though, they have them constantly.
Target – Their Pillowfort line has surprisingly cute nursery art. I’ve used their pieces in client rooms and nobody can tell it’s from Target. The frames are decent quality too.
Society6 – Good for more artistic/unique prints. The canvas quality is hit or miss but their framed prints are solid.
Amazon – Honestly for basic animal prints and alphabet posters, Amazon has tons of options. Just read reviews carefully because quality varies wildly.
The Actual Process I Follow
When I’m starting from scratch, here’s literally what I do:
First, I take photos of the room from different angles. This helps me see the space objectively instead of just standing there trying to visualize.
Then I make a rough sketch of the walls with measurements. Doesn’t have to be fancy, just enough to know what I’m working with.
I save like 30 different art options to a Pinterest board or folder on my phone. Then I narrow it down to the ones that actually work together. Usually this means picking a color palette first – like I’ll commit to “soft neutrals with sage green accents” and then only save pieces that fit that.
I order prints or frames in stages. Get your main statement piece first, hang it, live with it for a few days. Then add the supporting pieces. This prevents you from ending up with too much stuff that doesn’t work together.
My Current Favorite Combinations
What’s working really well right now is mixing vintage-inspired pieces with modern geometric prints. Like a classic Beatrix Potter bunny print next to a simple mountain landscape print. It feels collected and not too themey.
Also loving the monochromatic look – all prints in shades of one color. All blues from navy to sky blue, or all greens, or even all neutrals from cream to charcoal. It’s cohesive without being boring.
Budget Real Talk
You can totally do a beautiful nursery gallery wall for under $100 if you’re strategic. Buy digital downloads for $10-15 each, print them at Costco for like $3-5 per print, get frames from IKEA for $5-15 each. Five framed prints for around $100-125 total.
If you wanna splurge somewhere, splurge on one large statement piece and then do cheaper prints around it. Nobody’s gonna inspect every frame to see where it’s from.
Oh wait I forgot to mention – check Facebook Marketplace and local buy/sell groups for frames. People are constantly getting rid of frames in good condition and you can get them for like $2 each sometimes.
The Stuff That Doesn’t Actually Matter
Matching everything perfectly to your bedding – doesn’t matter as much as you think. Your bedding will probably get spit up on and need replacing anyway.
Having an obvious “theme” – animals, space, florals, whatever. Themes are fine but not necessary. A cohesive color palette is way more important than having everything be elephants or whatever.
Expensive custom art – unless you really love it and have the budget, it’s not necessary for a nursery. Kids don’t care and you might want to change it up as they grow anyway.
What To Avoid
Those vinyl wall quotes that are like paragraphs long. They’re hard to read, hard to apply straight, and feel dated already. If you want text art, keep it to single words or very short phrases.
Anything too trendy or meme-ish. The “good vibes only” stuff is everywhere right now but it’s gonna feel dated in like two years. Classic imagery lasts longer.
Art that’s positioned too high. This is such a common mistake. People hang things way too close to the ceiling and it makes the room feel off. Most art should be at eye level, which means the center of the piece is around 57-60 inches from the floor.
My neighbor just finished her nursery and hung everything like a foot too high and now she’s gotta redo it all because it looks weird in photos. Learn from her mistakes.
Anyway that’s basically everything I know about nursery wall art from doing like dozens of these rooms. The main thing is don’t overthink it too much – you can always change it later and honestly your kid isn’t gonna remember what their nursery looked like anyway, so pick stuff that makes you happy when you’re sitting in there at 3am during a feeding.