Wall Art Guide, Wall Art Tutoriels
Metal Butterfly Wall Art: Garden-Inspired Sculptures
Jun
So I just spent like three hours hanging butterfly wall art in a client’s sunroom and honestly my arms are still tired but I figured out SO much about what actually works versus what just looks pretty on Instagram.
Where These Things Actually Work Best
Okay first thing, metal butterflies are weirdly versatile but you gotta be strategic. I’ve installed them in probably fifteen different spaces this year and the spots where people get the most compliments are NOT always where you’d think. Living rooms are obvious, yeah, but here’s what I learned – they absolutely kill it in transitional spaces. Like that awkward hallway between your kitchen and dining room? Or above a staircase landing where you never know what to put? That’s where these shine.
My friend Rachel put a cluster of copper butterflies in her bathroom and I was skeptical until I saw it. The humidity actually makes them develop this gorgeous patina over time and it feels like a spa situation without trying too hard.
The Light Situation Nobody Talks About
This is gonna sound weird but the biggest mistake I see is people not thinking about how light hits metal. I learned this the hard way in my own house – bought these beautiful brushed steel butterflies, hung them on a north-facing wall, and they just… disappeared. Metal needs light to create shadows and dimension, otherwise it’s just flat shapes on your wall.
South or west-facing walls are your best bet. Morning light is pretty but that golden afternoon sun? *Chef’s kiss.* It makes the wings cast these amazing shadows that change throughout the day. I had a client text me a photo at sunset and the wall looked completely different than when I installed them at 10am.
Sizing That Won’t Make You Look Ridiculous
Let’s talk scale because this is where everyone freaks out. You’re staring at measurements online thinking “is 12 inches big or small??” and I get it.
For a standard 8-foot ceiling living room wall, you want your largest butterfly somewhere between 10-16 inches wingspan. Anything smaller looks like you’re decorating a dollhouse, anything bigger starts feeling like you’re in a museum exhibit. I learned this by buying a 24-inch butterfly once and my cat absolutely lost his mind, thought it was a real bird or something, knocked over a lamp trying to attack it.
The Cluster Method vs Solo Statement
Okay so there are basically two approaches. You can go with one big statement piece or do a whole flutter of different sizes. The cluster look is trickier than it seems – you need at least 5-7 butterflies to make it look intentional instead of like you just randomly stuck things up there.
I usually do a mix of sizes: one large (14-16 inches), two medium (8-10 inches), and four small (4-6 inches). Arrange them so they’re “flying” in the same general direction but at different heights. Not perfectly symmetrical because that’s not how actual butterflies move, right?
For solo pieces, go bigger and more detailed. You want something that can hold its own, maybe with cut-out patterns or layered wings that create depth.
Materials and What They Actually Look Like IRL
The photos online are LIES. Well, not lies, but they don’t show you how these materials actually behave in real life.
Powder-coated steel is what most mid-range options use. It’s durable, comes in every color, won’t rust. But it can look a bit flat unless you get one with good detailing. The matte black ones are super popular but they need a light-colored wall or they vanish.
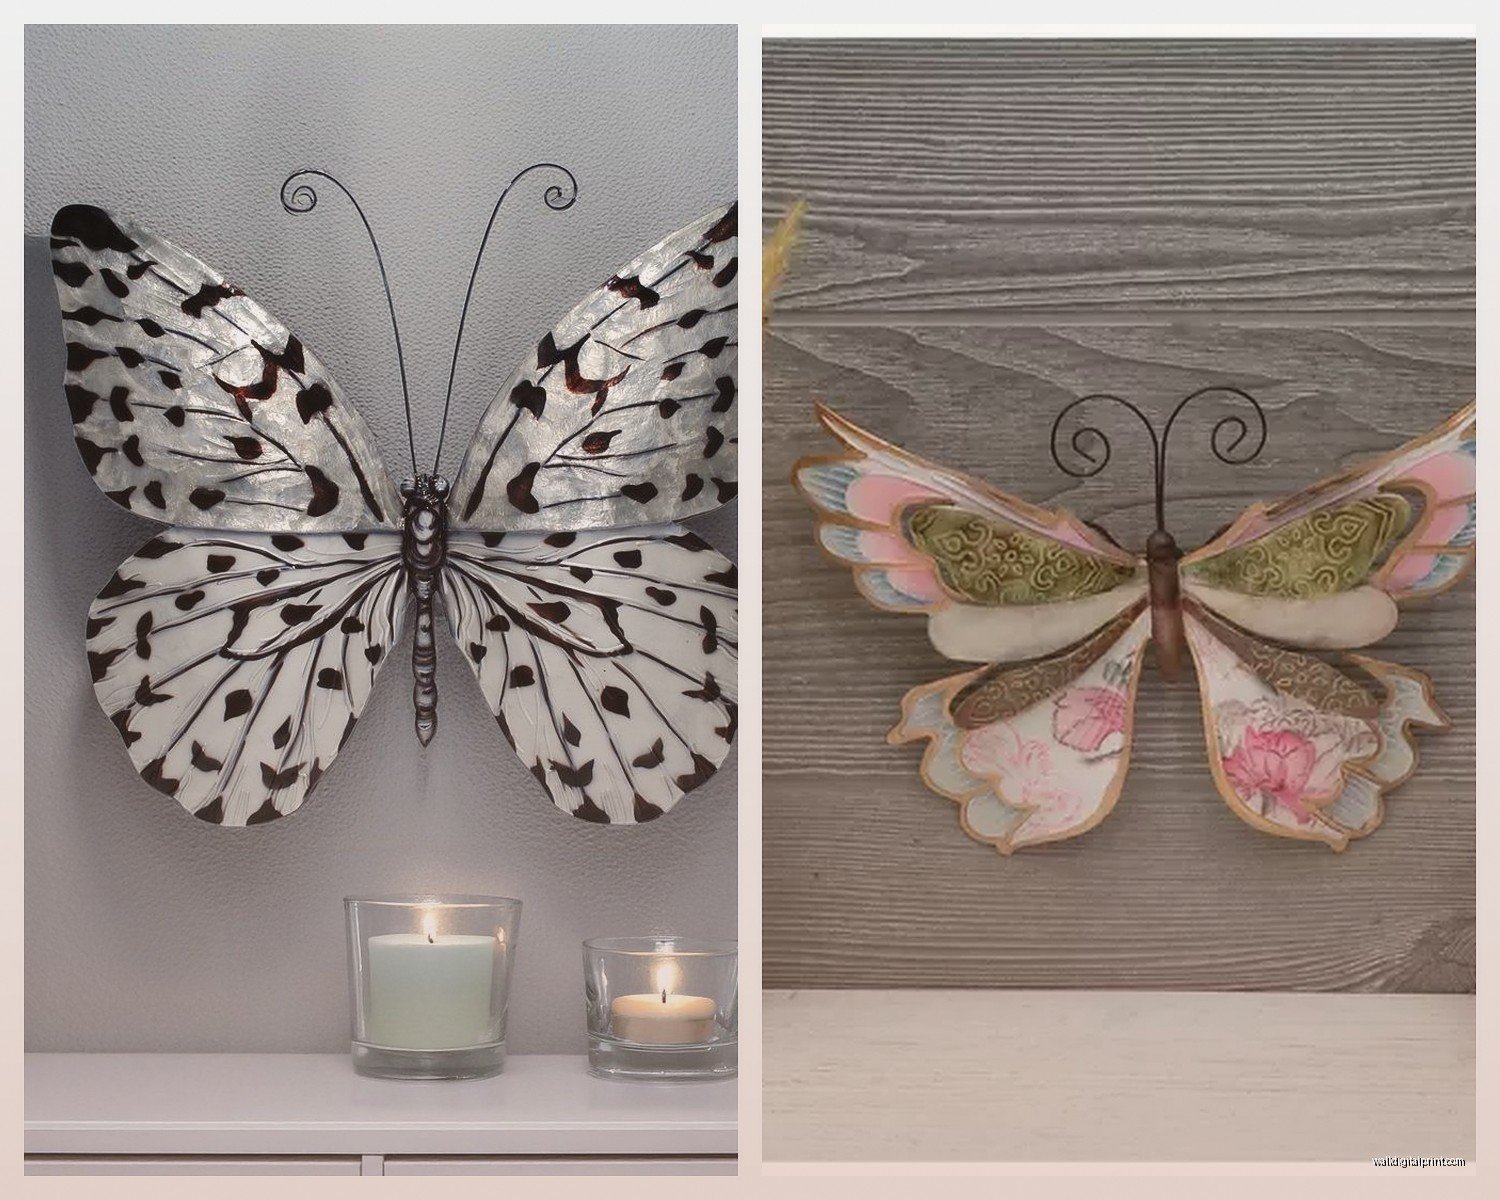
Copper and brass are my personal favorites even though they’re pricier. They develop that verdigris patina over time which some people love and some people hate. You can seal them if you want to keep them shiny, but honestly? Let them age. It adds character. I have copper ones in my kitchen that have turned this gorgeous blue-green and people always ask about them.
Galvanized metal gives you that farmhouse-industrial vibe. They’re usually silver-gray with a slightly textured finish. Super durable, work great outdoors too if you have a covered patio.
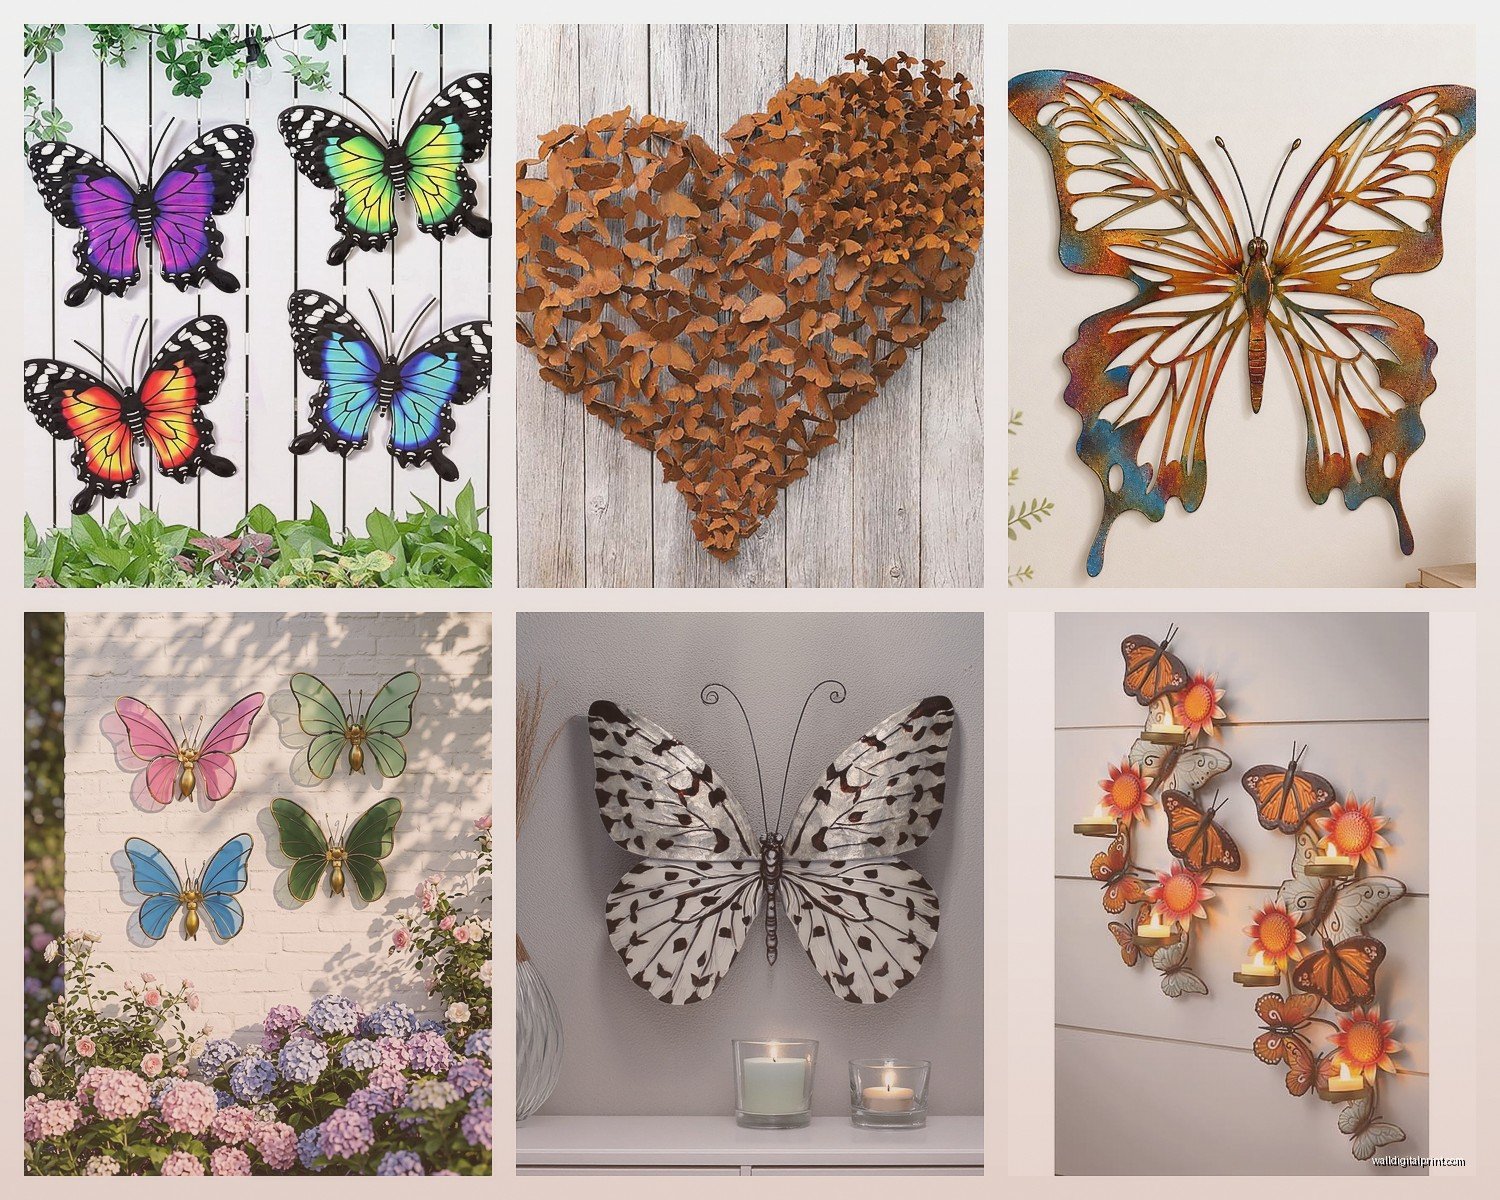
Painted metal with bright colors – blues, purples, multi-color – these are fun for kids’ rooms or if you’re going for a whimsical garden vibe. Just check the paint quality because cheap ones will chip.
Installation Without Destroying Your Walls
Oh and another thing, installation is easier than you think but you need the right supplies. Most butterflies come with either a keyhole hanger on the back or a small hook attached.
For drywall, you absolutely need wall anchors unless you’re hitting a stud. I use the self-drilling plastic anchors for anything under 2 pounds. For heavier pieces (like those big layered ones), get the toggle bolt style anchors. Yes they leave a bigger hole but your butterfly won’t crash to the floor at 3am and scare you half to death.
Command strips work for the really lightweight ones but I’m honestly not a huge fan for anything you plan to keep up long-term. They hold fine but the adhesive can damage paint when you remove them, and if your wall gets warm from sun exposure they sometimes just… let go.
The Arrangement Process
Here’s my actual process that took me forever to figure out:
Cut out paper templates the same size as your butterflies. Use painter’s tape to stick them on the wall and live with it for a day or two. Move them around until it feels right. Take a photo so you remember where they went.
Mark your holes lightly with pencil, remove the paper, install the anchors, hang the butterflies. I know it sounds like extra work but I’ve had to spackle and repaint so many walls from just winging it.
Wait I forgot to mention – start from the center and work outward if you’re doing a cluster. Find your focal point butterfly, hang that first, then build around it.
Styling Around Them
So metal butterflies can look amazing or really tacky depending on what else is going on with your wall. They work best with minimal competition.
If you’re doing a gallery wall, butterflies should be the accent, not fighting with fifteen photo frames. I usually do like 3-4 frames max with a cluster of butterflies filling negative space.
They look incredible over a console table with simple decor – maybe a vase with branches, a couple books, nothing too busy. The butterflies become the statement.
Color-wise, think about your room palette. If you’ve got a lot of warm tones – terracotta, rust, cream – go with copper or brass butterflies. Cool-toned rooms (grays, blues, whites) look great with silver, black, or that galvanized finish.
Combining with Real Plants
Okay so funny story, I was watching this design show while installing butterflies at a client’s house and they did this whole thing about bringing outdoor elements inside, and it clicked. Metal butterflies look AMAZING near actual plants.
Hang them above a fiddle leaf fig or monstera and it creates this whole garden atmosphere without being too literal about it. Just don’t do butterfly art AND flower art AND plant prints all in the same space. Pick one nature theme and commit.
Specific Pieces That Don’t Suck
I’m gonna be real with you about what I actually recommend when clients ask.
For budget-friendly (under $40), those sets of 3D butterflies from home decor stores work fine. They’re usually thin stamped metal but they come in tons of colors. Great for testing if you even like the look before investing more.
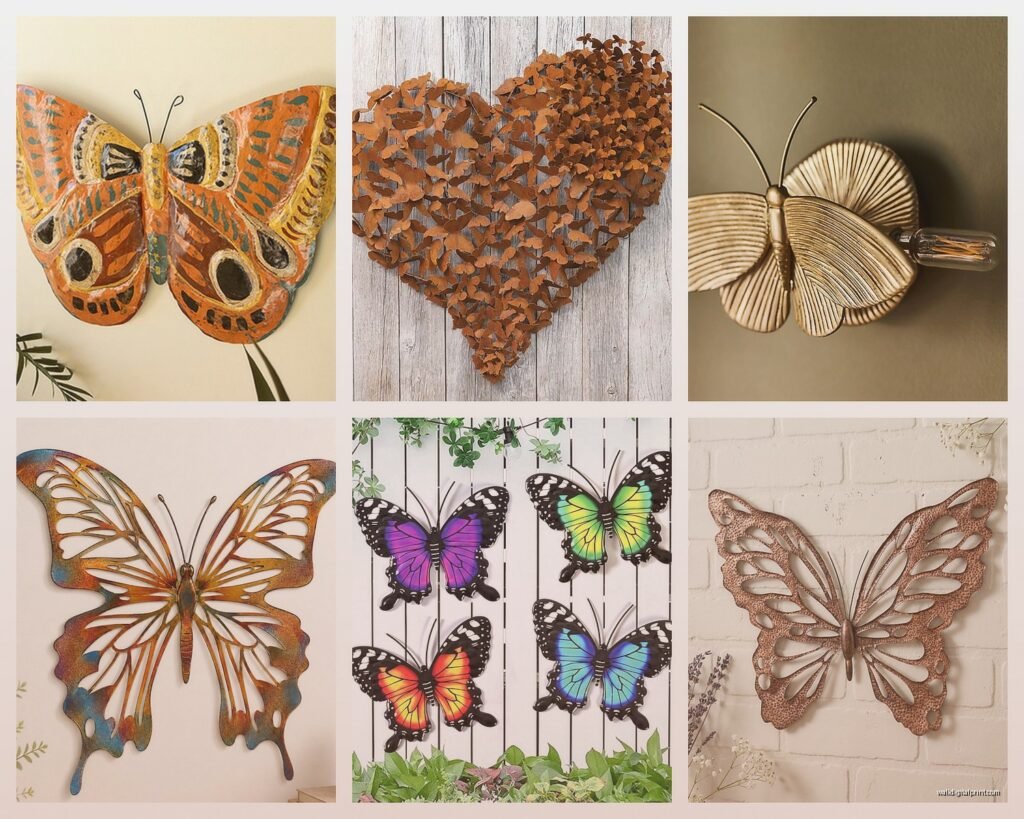
Mid-range ($50-120), look for hand-cut steel with powder coating. These have better detail work, the edges are cleaner, and they’re substantial enough to feel like real decor pieces. The layered wing designs where there are two or three layers of metal creating depth – those are worth it.
Higher end ($150+), you’re getting into artisan territory. Hand-hammered copper, intricate cut-out patterns, sometimes with added elements like gemstones or glass. These are statement pieces, you only need one.
I’ve had good luck with Etsy sellers who do custom work. You can often request specific colors or sizes, and the quality is usually better than mass-produced stuff.
Outdoor vs Indoor Considerations
If you’re thinking about putting these on a covered porch or in a garden, the rules change. You need weather-resistant materials – galvanized steel, sealed copper, or marine-grade stainless steel.
Regular painted metal will fade and rust within a season. I learned this by putting some “indoor/outdoor” butterflies on my back fence and they looked terrible after one winter. The paint bubbled and peeled, total waste of money.
For outdoor spaces, go bigger than you think. What looks substantial inside can look dinky against the scale of your yard. And make sure they’re really secured – wind can turn a lightweight butterfly into a projectile.
Maintenance is Basically Nothing
This is actually one of the best parts. Metal butterflies need almost zero maintenance. Dust them every few months with a microfiber cloth or a duster. That’s it.
If you have copper or brass and you want to keep them shiny, you can use metal polish a couple times a year. But again, I think the patina looks better.
For painted pieces, just don’t use harsh cleaners that could strip the finish. Slightly damp cloth if they get dirty.
What Doesn’t Work (Learn From My Mistakes)
Don’t put them in a room that already has a strong theme going. Like if you’ve got a super modern minimalist space with clean lines and geometric art, butterflies are gonna feel out of place. They work better in transitional, bohemian, farmhouse, or eclectic styles.
Avoid putting them too high. I see people hang them near the ceiling and it’s like… why? You want them at eye level or slightly above, where you can actually see the details. The rule I use is center of the arrangement should be around 57-60 inches from the floor.
Don’t match them exactly to your wall color unless you want them to disappear. You need some contrast. Black on dark gray walls? Nope. White butterflies on cream walls? Also nope.
The Unexpected Rooms Where They’re Perfect
Home office – above your desk or on the wall opposite your screen. Gives you something pleasant to look at during video calls and adds personality without being distracting.
Kid’s rooms – but go with fun colors and maybe glow-in-the-dark elements. There are some really cool ones with painted patterns that kids love.
Bedroom – above the headboard instead of traditional art. Creates this dreamy, floating effect that’s perfect for a space where you want to relax. Just keep the colors calming.
Dining room – on the wall opposite windows so natural light catches them during dinner. Adds movement and interest without taking up table space.
My client canceled last week so I spent an hour comparing different finishes at this home decor warehouse and the thing that surprised me most was how much the finish texture matters. Smooth polished metal reflects light differently than hammered or brushed finishes. If your room gets direct sunlight, textured finishes are more forgiving because they don’t create harsh glare spots.
Anyway, that’s basically everything I’ve learned from actually installing these things in real homes. Start with one or a small cluster, see how you feel about it, then expand if you love the look. They’re way easier to work with than people think and they add this organic, whimsical element that’s hard to achieve with regular art.