Wall Art Guide, Wall Art Tutoriels
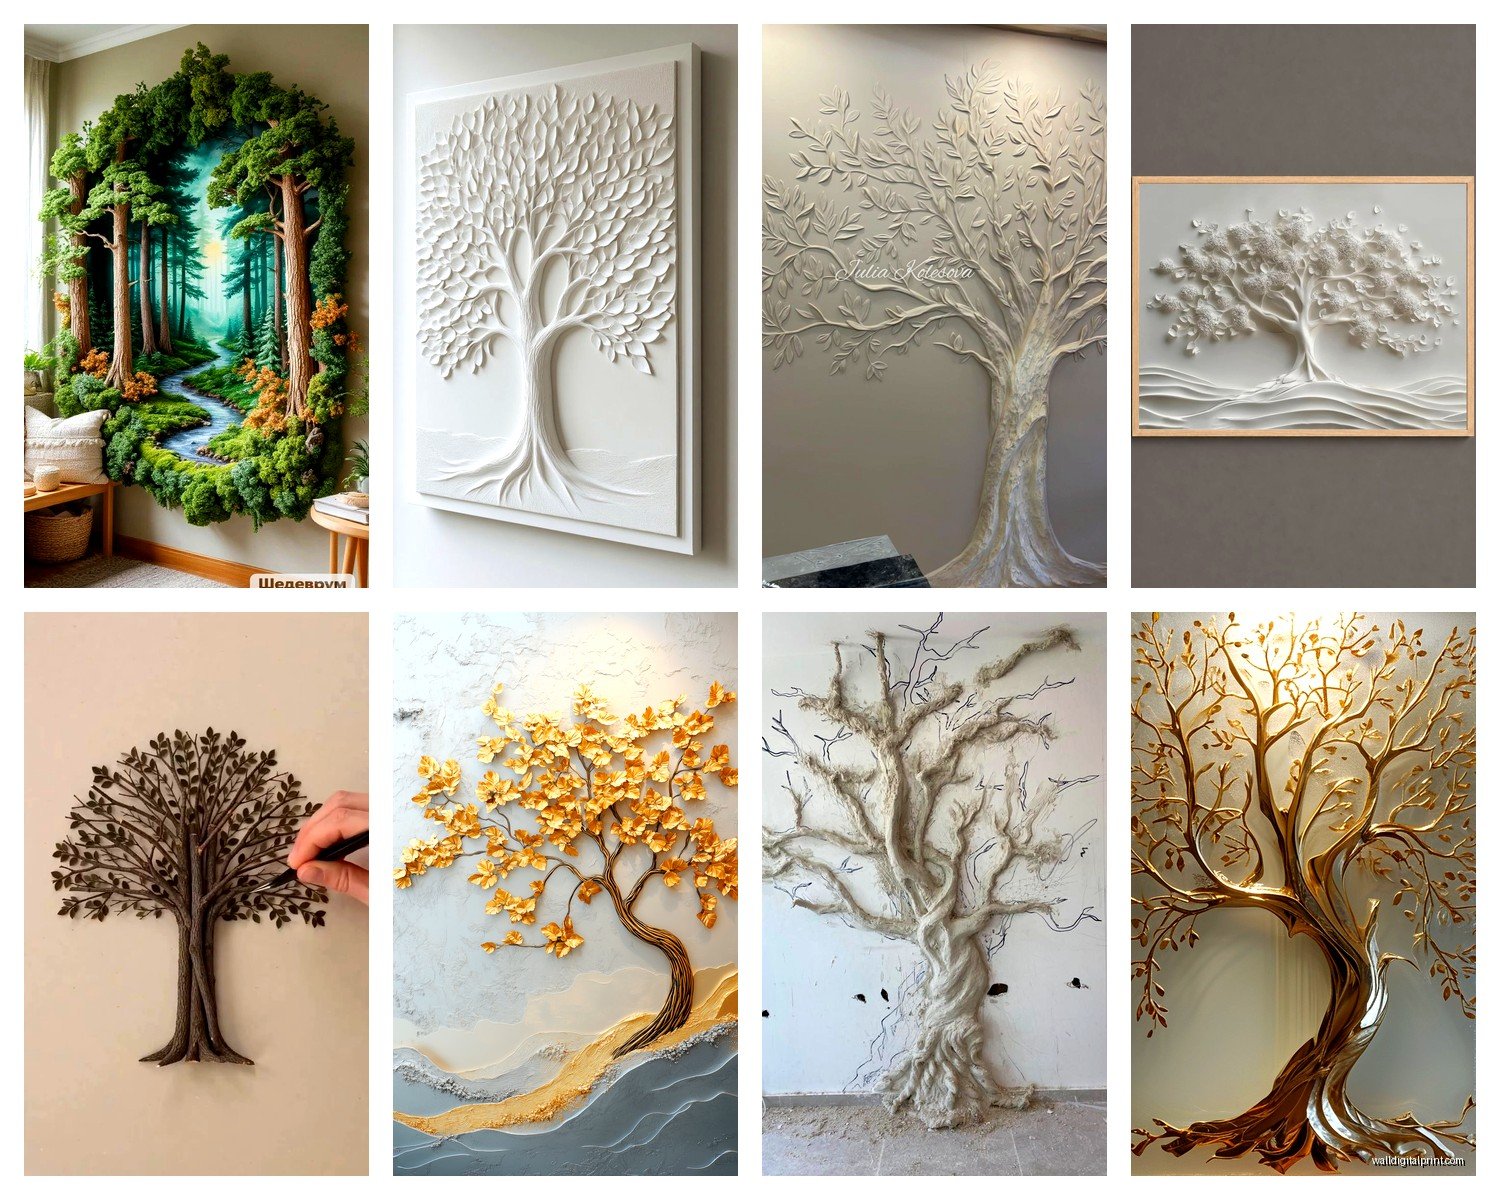
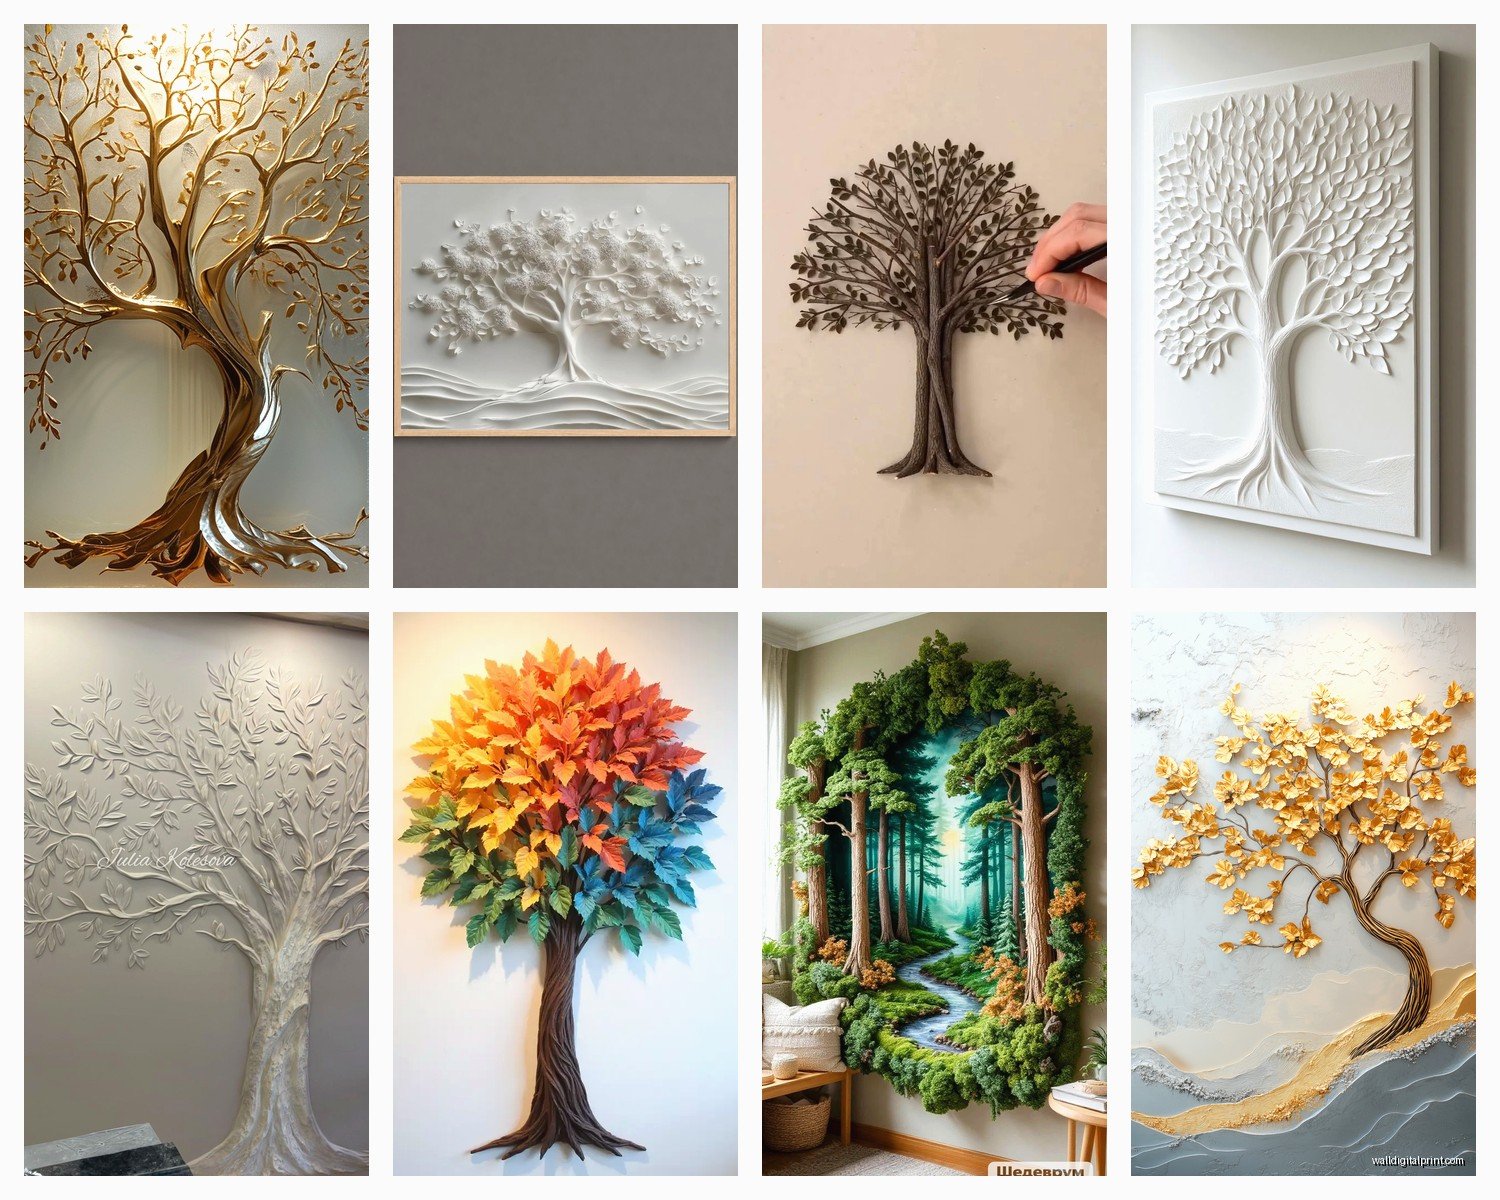
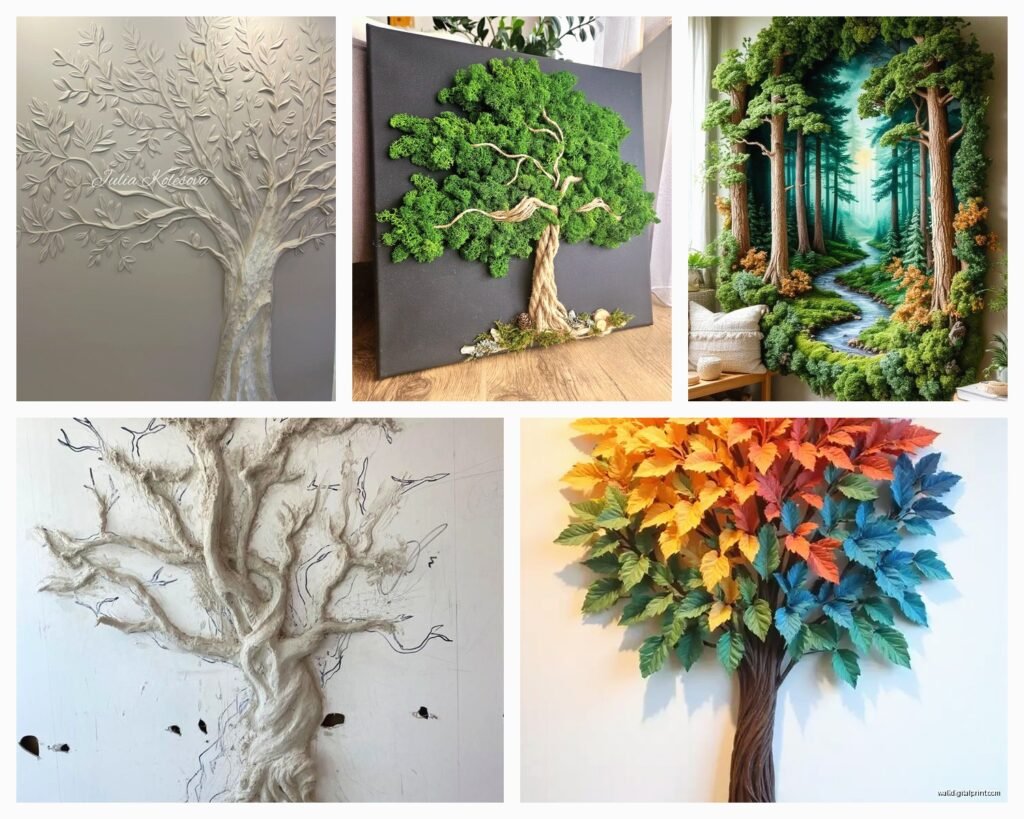
3D Tree Wall Art: Dimensional Forest Nature Designs
Jul
So I’ve been absolutely obsessed with 3D tree wall art lately and honestly it started because a client wanted something that wasn’t just another flat print, you know? Like we’ve all seen the generic forest photography at this point and she was like “I want dimension but not shelves” and that’s how I fell down this rabbit hole.
The Different Types You’re Actually Gonna Find
Okay so there’s basically three main categories and they’re wildly different in terms of installation and impact. First you’ve got the metal cutout trees, which are probably the most dramatic. These are laser-cut steel or iron pieces that mount with spacers so they float off the wall. I installed one in my own hallway last month and my cat immediately tried to climb it, so… consider your pets if you go this route.
Then there’s the layered wood designs where multiple pieces of wood are stacked to create depth. These come in everything from birch to walnut and the shadows they cast are honestly gorgeous when you get the lighting right. Which I’ll get to in a second because lighting is gonna make or break any of these pieces.
Third category is the mixed media stuff, combination of metal branches with wooden elements or resin leaves. These tend to be pricier but the texture variation is really something. I used one above a client’s fireplace and it photographs amazingly well, which matters if you’re gonna post it anywhere.
Metal Tree Art Specifics
The metal ones usually come in matte black, bronze, or copper finishes. The black is the safest bet honestly because it works with literally everything, but I’ve noticed the bronze develops this patina over time if you’re in a humid climate. Not necessarily bad, just something to know.
Installation is trickier than you’d think. Most come with these little spacer mounts that need to go into studs or you need heavy-duty drywall anchors. I learned this the hard way when a smaller piece I thought would be fine with regular anchors started tilting after like two weeks. Had to redo the whole thing. Make sure you’re getting pieces that include mounting hardware because buying it separately is annoying and you usually need specific sizes.
The branches on metal pieces can be sharp, like actually sharp. I cut my hand positioning one and had to explain to everyone why I had a bandaid for three days. If you have kids who might run past it or touch it, maybe go for designs with rounded edges or place it higher up.
Wood Layered Designs and Why They’re Tricky
These are my personal favorite aesthetically but they require more thought about your wall color. A dark walnut tree against a navy wall? Barely visible. You need contrast. Light wood on white walls can look washed out too unless there’s enough shadow depth between the layers.
Most quality ones have at least 3-4 layers of wood at different depths. The cheap versions only have two layers and honestly the effect just isn’t there. You can tell immediately. I saw one at a friend’s house that was clearly budget and it just looked… flat? Defeating the whole purpose.
The wood ones are also heavier than they look. A piece that’s like 3 feet tall can easily weigh 15-20 pounds with all those layers. Again with the mounting situation, you absolutely need to find studs or use the right anchors. I use these heavy duty toggle bolts that can hold up to 50 pounds when studs aren’t where I need them.
Sizing is Weird
Okay so funny story, I ordered what was listed as a “large” tree design for above a king bed and when it arrived it was maybe 24 inches tall. Which is not large in wall art terms. Always check the actual measurements in inches because “small medium large” means nothing.
For above a sofa you want at least 48-60 inches wide if it’s your main piece. Above a console table or in a hallway you can go narrower, like 24-36 inches. Single trees work better in smaller spaces, tree clusters or forest scenes need room to breathe.
I’ve also noticed that vertical trees work better in rooms with high ceilings and horizontal forest designs work better in rooms that are wider than they are tall. Sounds obvious but I’ve seen so many people fight their room dimensions instead of working with them.
The Lighting Thing I Mentioned
This is gonna sound weird but these pieces are like 40% about the art itself and 60% about the shadows they cast. If you just slap one on a wall with overhead lighting only, you’re missing the whole point.
I always install either track lighting or picture lights positioned to graze across the surface. This creates these amazing shadow patterns from the different layers or branches. In the evening especially it looks incredible. One client has hers on a dimmer switch and she adjusts it depending on the mood which sounds extra but actually makes sense.
Natural light works too if the piece is on a wall perpendicular to a window. Direct sunlight can fade wood finishes over time though, so maybe not on a west-facing wall that gets hammered all afternoon.
Where Not to Put These
Bathrooms are generally a no unless it’s metal and you have good ventilation. Wood will warp from humidity, learned that one through someone else’s mistake thankfully.
Right above a fireplace can work but not directly above where heat blasts. I keep them at least 6-8 inches above the mantel edge so the heat dissipates before it reaches the piece.
Super narrow hallways where people might brush against them? Also questionable, especially with metal designs. You’ll end up with scuff marks on the branches or someone’s gonna catch a sleeve.
Color and Finish Options
Most wood pieces come in natural, stained, or painted finishes. The natural wood with just a clear coat shows the grain which is beautiful but very casual, works better in modern farmhouse or scandinavian style spaces. Stained pieces in espresso or walnut feel more formal and traditional.
Painted wood trees are having a moment right now, especially in sage green or dusty blue. These work surprisingly well in nurseries or bedrooms. I did a soft pink tree in a little girl’s room last spring and her mom sends me photos of it constantly because it photographs so well.
Metal finishes I already mentioned but there’s also this hammered texture option that adds even more dimension. Catches light differently than smooth metal. More expensive usually but the effect is worth it if your budget allows.
DIY vs Buying Ready-Made
Look I’ve tried the DIY route with these and unless you have serious woodworking tools or metalworking skills, just buy one. I spent an entire weekend trying to create a layered wood tree with my jigsaw and it ended up looking like a craft project, not wall art. The precision needed for the layers to align properly is real.
There are Etsy sellers who do custom sizes and that’s probably your best middle ground. More affordable than high-end gallery pieces but better quality than mass-produced stuff. I’ve ordered from a few shops that do laser cutting and the turnaround is usually 2-3 weeks.
Some sellers let you customize the number of layers or the branch arrangement which is actually pretty cool. Had one client who wanted branches only on one side because of where her piece was going and we found someone who could do that.
Price Ranges You’ll See
Small metal designs start around 60-80 dollars, medium ones are usually 150-250, and large statement pieces can easily hit 400-600. Wood layered pieces are similar but tend to run slightly cheaper at the smaller sizes.
The really elaborate forest scenes with multiple trees and tons of detail? I’ve seen those go for 800-1200 dollars. Whether that’s worth it depends on your space and budget but they are stunning.
You can find cheaper versions on Amazon and Wayfair but check reviews carefully because quality control is inconsistent. I’ve had good luck with some budget pieces and terrible luck with others from the same seller.
Styling Around the Piece
These work best as a focal point, not competing with a gallery wall situation. I usually keep the surrounding area pretty minimal, maybe one or two smaller complementary pieces but nothing that fights for attention.
Plants pair really well with tree art obviously, creates this nice nature theme without being too literal. I like putting a fiddle leaf fig or bird of paradise near a tree wall piece, echoes the form.
The furniture underneath matters too. A sleek modern credenza under a metal tree sculpture looks intentional. A super ornate traditional piece under the same tree might look confused. Try to match the vibe, or at least don’t fight against it.
Seasonal Switching
Some people switch these out seasonally which I thought was excessive until a client showed me her system. She has a bare branch metal tree she uses in winter, a leafy green wood one for spring and summer, and an autumn colored version for fall. They’re all the same size so the mounting holes stay put and she just swaps them. Honestly genius if you have storage space.
Maintenance and Cleaning
Metal pieces just need occasional dusting with a microfiber cloth. Don’t use any harsh cleaners because you’ll damage the finish. Wood needs even less, maybe dust every few months and that’s it.
If the wood starts looking dry after a few years you can apply a tiny bit of furniture polish but honestly most are sealed well enough that this isn’t necessary. Just avoid spraying anything directly on them.
The biggest maintenance thing is checking the mounting hardware every six months or so. Things settle, walls shift slightly, and you don’t want your beautiful tree crashing down at 3am because a screw worked loose.
My Current Favorites
There’s this one design I keep coming back to that’s a cluster of birch trees in white-washed wood with like 5 layers. The shadows it creates are insane and it works in almost any style space. I’ve used variations of it in three different projects.
For metal, the willow tree designs with drooping branches are having a moment and they’re less common than the standard oak or pine shapes. More elegant somehow, works really well in bedrooms.
Wait I forgot to mention the combo pieces with LED backlighting built in. These are newer and honestly kind of gimmicky but one client insisted and it actually looks cool at night. The lights are hidden behind the layers so you just see this glow effect. Not for everyone but worth knowing they exist.
Okay so that’s basically everything I’ve figured out through way too many installations and one minor injury. The key things are get the sizing right, mount it properly into studs, and light it well. Everything else is just personal preference and style choices you gotta make based on your space.