Wall Art Guide, Wall Art Tutoriels
Astronaut Wall Art: Space Exploration NASA Decor
Jul
So I’ve been obsessing over astronaut wall art lately and honestly it started because a client wanted to turn their kid’s room into this whole space thing, but then I kinda fell down the rabbit hole myself and now I have way too many opinions about this.
The Main Types You’re Gonna See
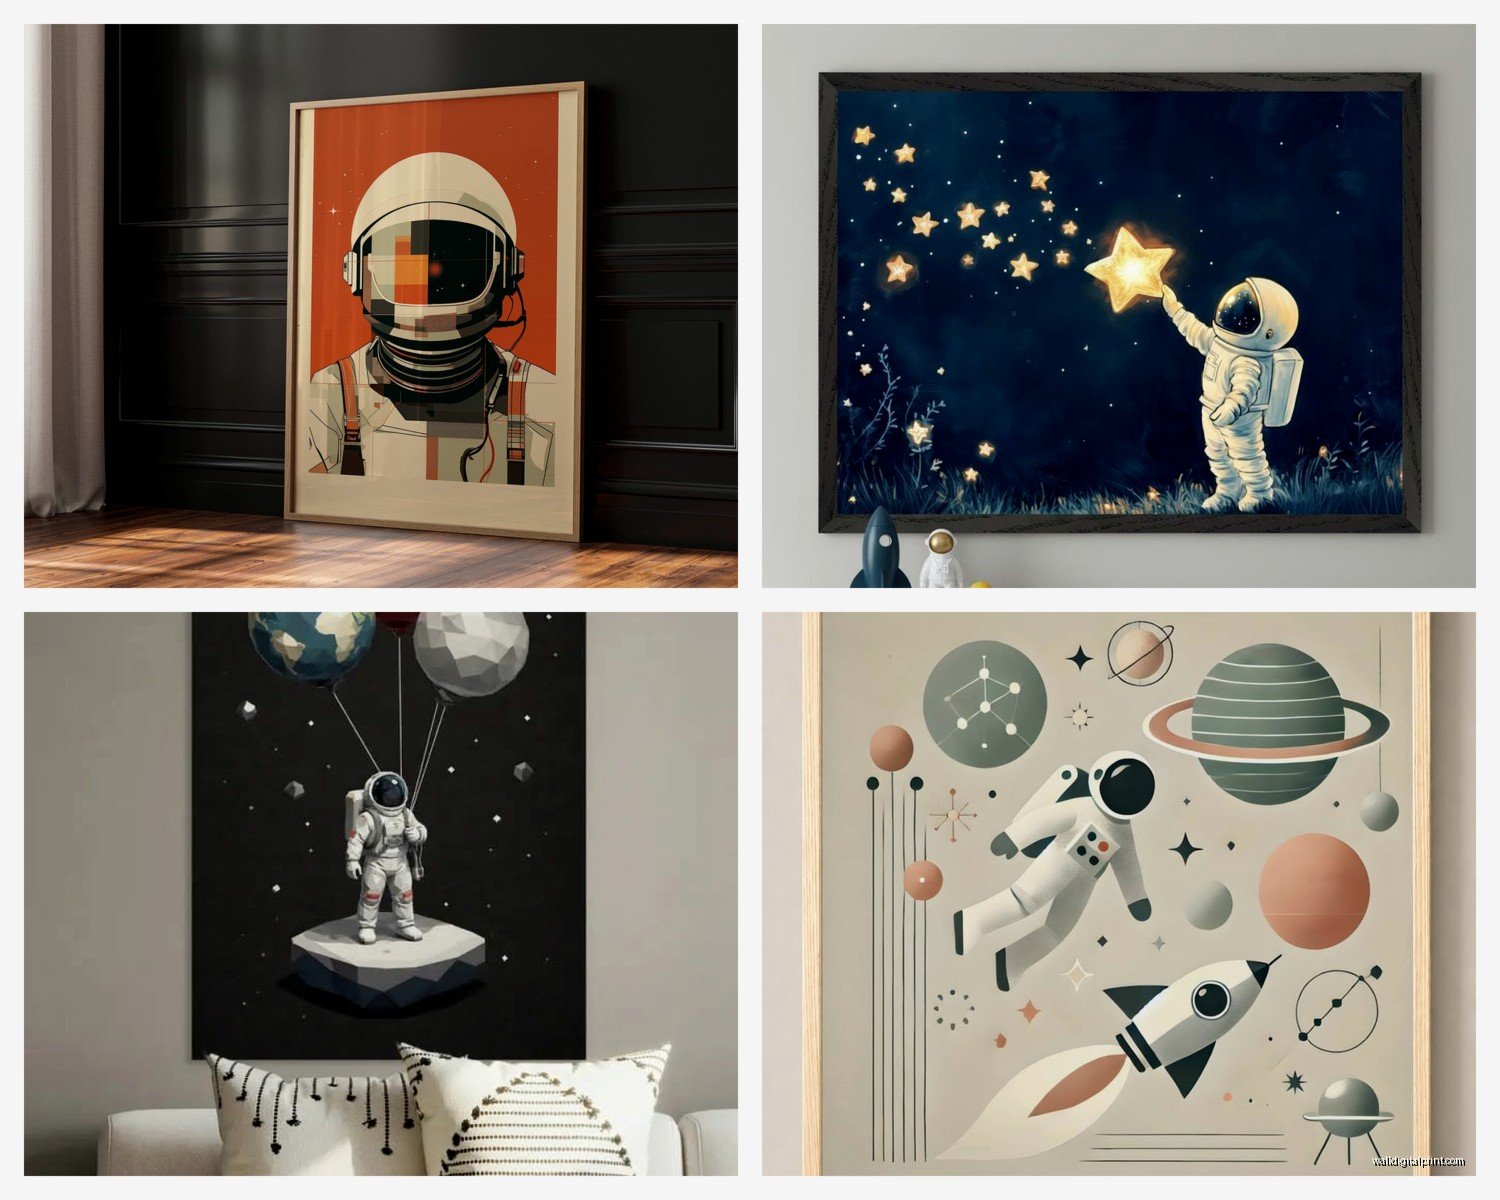
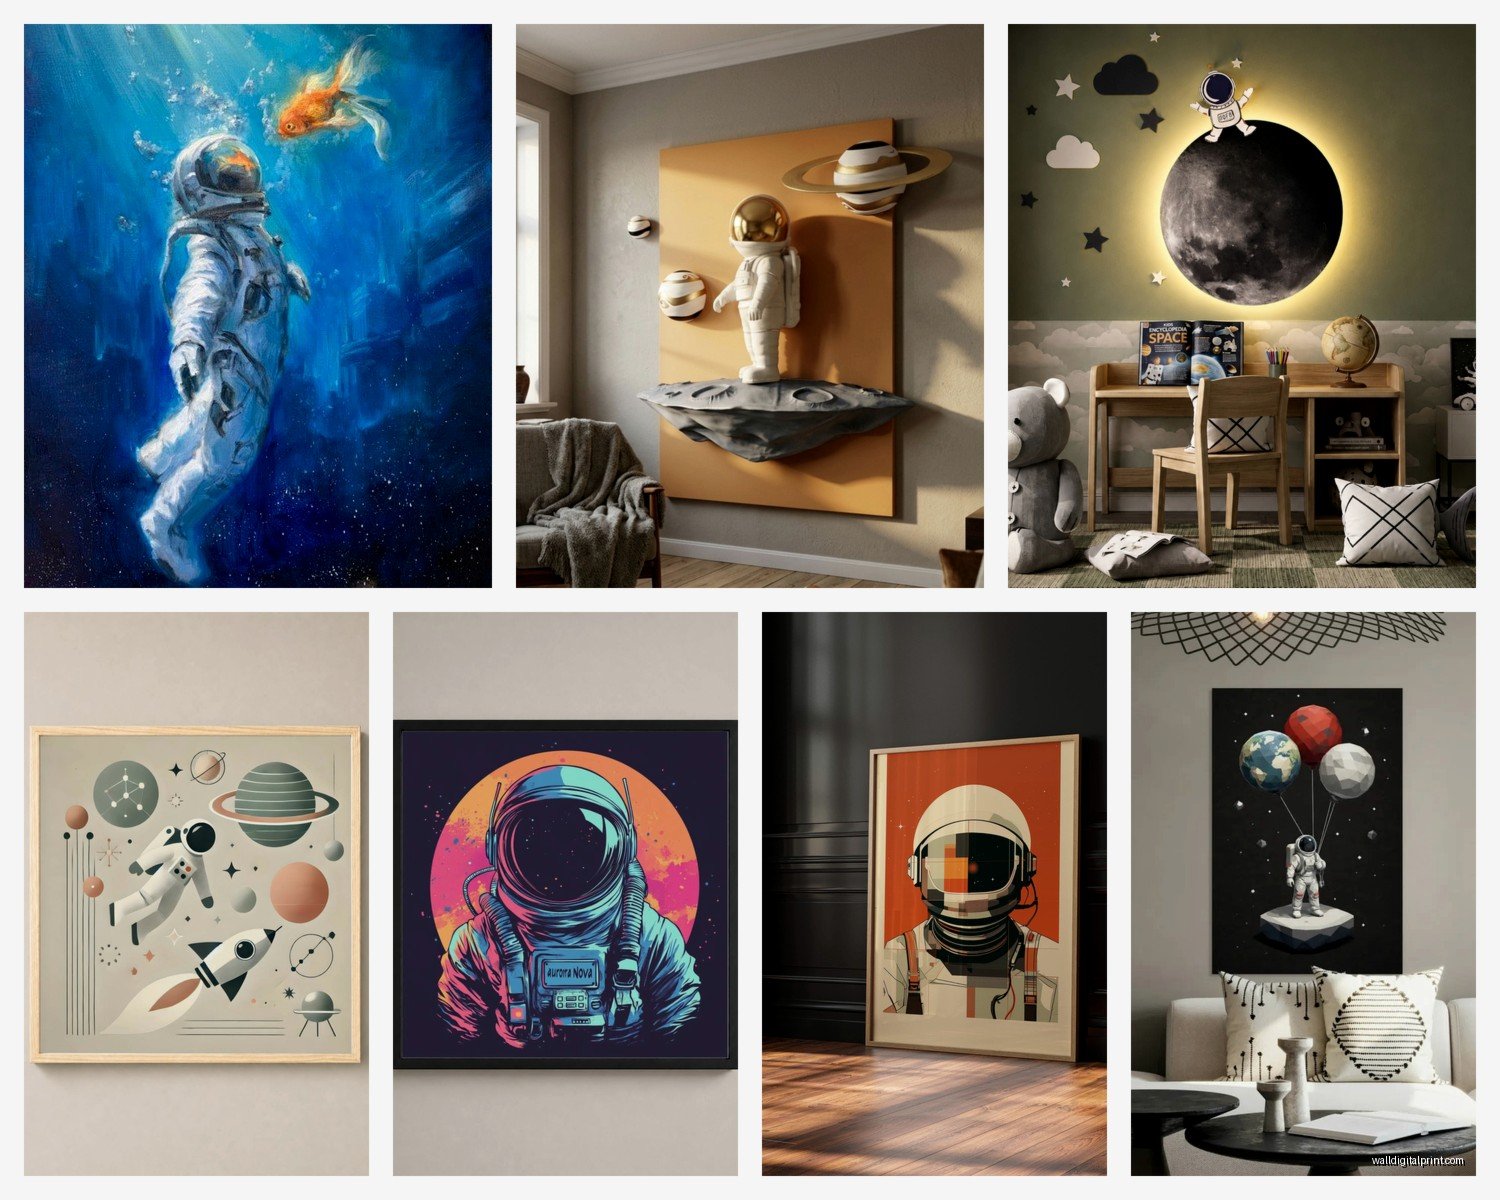
Okay so basically astronaut wall art falls into a few categories and they each work for totally different vibes. You’ve got your vintage NASA posters which are like, those retro mission patches and recruitment posters from the 60s and 70s. Then there’s modern minimalist stuff with clean lines and geometric shapes. And then the really photorealistic pieces that look like actual space photography but with an astronaut floating around.
The vintage NASA stuff is weirdly versatile? Like I put some in a super modern apartment last month and it worked because the colors are muted enough. You want to look for prints that have that faded quality even if they’re reproduction. The ones that look TOO crisp and new just don’t hit the same. I found this set on Etsy from a seller who does museum-quality reproductions of actual NASA archive materials and they’re like $30-40 per print which is honestly reasonable.
What Actually Works in Different Spaces
Living rooms need something more sophisticated than a kids bedroom obviously. I usually go for black and white photography style prints or those blueprint-style technical drawings of spacecraft. There’s this one piece I keep recommending that shows the Apollo 11 lunar module in blueprint form with all the measurements and annotations and it looks expensive but it’s like $65 framed.
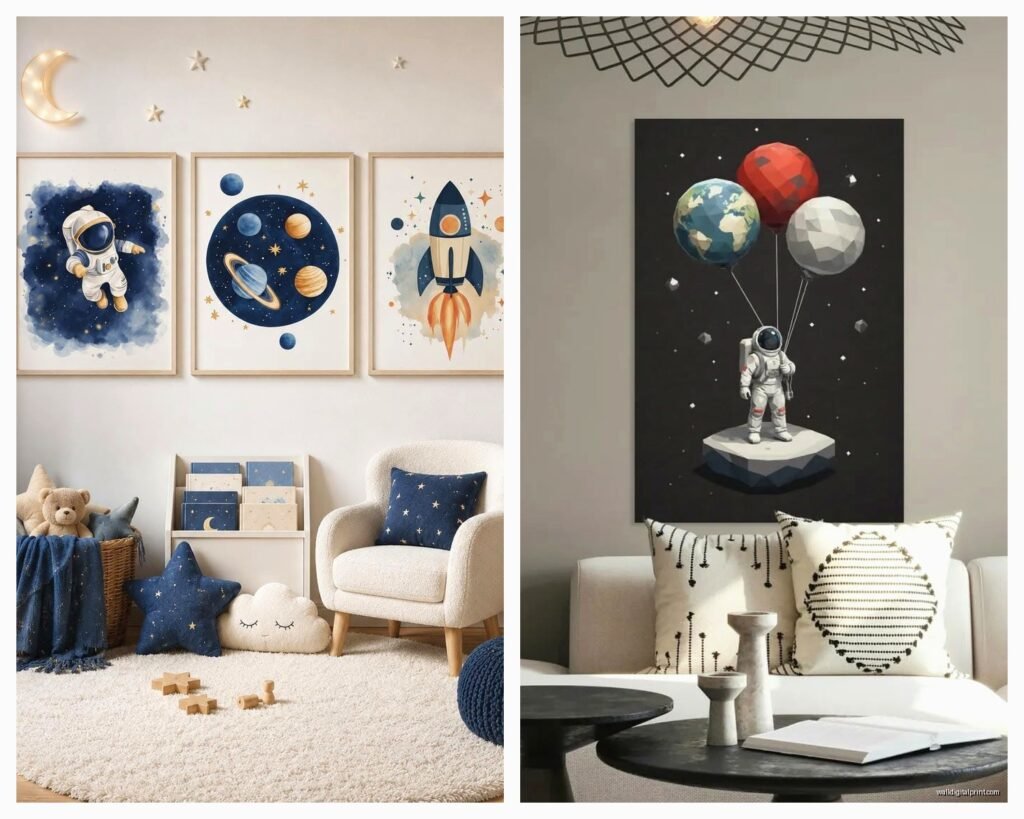
For kids rooms you can go wild honestly. My nephew has this huge canvas print of an astronaut doing a spacewalk and the background is this crazy colorful nebula situation. It’s not realistic at all but it’s cool and he loves it. Just make sure whatever you get isn’t gonna scare them at night because some of those deep space images can be a bit much in the dark.
Home offices are where I think astronaut art really shines though. Something about the whole exploration and achievement theme just works when you’re trying to get stuff done. I have this series of four small prints above my desk that show different phases of a moon landing and every time I look up from my laptop I’m like okay if they can land on the moon I can finish this blog post.
Size and Placement Actually Matters More Than You Think
This is gonna sound obvious but I see people mess this up constantly. A tiny 8×10 print on a huge empty wall looks lost and sad. You either need to go big with one statement piece or create a gallery wall situation.
For above a couch you want something that’s roughly two-thirds the width of the couch. So if your couch is 90 inches get art that’s around 60 inches wide total. This can be one large piece or a grouping. I did this gallery wall last year with nine square prints of different astronauts and space missions arranged in a grid and it looked so much better than the single poster they had before.
Oh and another thing, hang stuff at eye level which is usually around 57-60 inches from the floor to the center of the artwork. Unless you’re putting it above furniture then you want like 6-8 inches between the furniture and the bottom of the frame.
Frame Choices That Don’t Suck
Black frames are your safe bet and they work with literally everything. But I’ve been really into natural wood frames lately for astronaut art because it creates this weird contrast between the super high-tech space imagery and the organic wood that actually looks really good.
White frames can work but they’re tricky. They tend to make the art look more casual or playful which is great for a kids room but maybe not what you want in your living room. Unless you’re going for that super clean Scandinavian minimal thing then white frames are perfect.
Metal frames are having a moment and they’re great for the more technical blueprint style prints. There’s something about thin black metal frames that makes those engineering drawings look extra sharp.
Don’t bother with those cheap plastic frames that try to look like wood. They just look cheap. If you can’t afford real wood frames yet just get simple black frames from Ikea until you can upgrade.
Where to Actually Buy This Stuff
Etsy is honestly my go-to for vintage NASA reproductions. There are sellers who have access to the NASA archives and they print high-quality versions of mission posters, photographs, and technical documents. Just read the reviews because quality varies wildly.
Society6 and Redbubble have tons of options from independent artists. The nice thing is you can get the same design as a print, canvas, or even tapestry. I got this canvas of an astronaut floating with planets around them for my studio and the quality was way better than I expected for like $75.
For actual NASA photography you can download high-res images directly from NASA’s website for free. Like completely free. Then you just need to get them printed which you can do at any local print shop or online. I use Nations Photo Lab for printing because their color accuracy is really good and they’re not that expensive.
Wait I forgot to mention Art.com has a decent space and NASA collection too. They have frequent sales so never pay full price. Sign up for their email list and wait for a 40% off code which happens like every other week.
The DIY Route If You’re Into That
Okay so funny story, my cat knocked over my coffee onto some prints I had sitting on my desk last month and I had to reprint everything but it made me realize how easy it is to just print your own. You download high-res images from NASA or buy digital files on Etsy for like $5, then upload them to a printing service.
For smaller prints up to 16×20 you can honestly use your local photo printing place like Costco or Walgreens. The quality is fine for that size. Bigger than that you wanna use a specialty service. I’ve used Printique and Nations Photo Lab and both were good.
Then you just need frames which you can get from Michaels with a coupon or Ikea or Amazon. The Ribba frames from Ikea are like the unofficial standard for gallery walls because they’re cheap and they all match perfectly.
Color Schemes and Matching Your Existing Decor
The easiest approach is to stick with black and white or grayscale astronaut prints because they’ll work with literally any color scheme you already have. Blue and orange are the classic space colors if you look at NASA branding and vintage posters. Those colors together create really nice contrast.
If your room is mostly neutrals you can use space art to add pops of color. Those nebula backgrounds come in every color imaginable. I used a print with deep purples and blues in a beige and gray living room and it became the whole focal point.
For a room that already has a lot going on colorwise stick with more muted or monochromatic space art so it doesn’t compete with everything else. Like if you have a bunch of colorful furniture and textiles maybe go with those blueprint technical drawings in black and white.
Mixing Astronaut Art with Other Stuff
You don’t have to go full space theme in a room for astronaut art to work. I mixed a vintage astronaut poster with some botanical prints and mid-century modern abstract art in my dining room and it’s actually one of my favorite gallery walls I’ve ever done.
The key is finding a common element. In that dining room everything was framed in black which tied it together. Or you can match color tones even if the subjects are totally different. Like a blue-toned astronaut print works great next to ocean photography or blue abstract art.
Travel photography pairs surprisingly well with space exploration art because they’re both about discovery and going places. I did a hallway where we mixed vintage travel posters with vintage NASA posters and it told this whole story about human exploration.
Lighting Makes a Huge Difference
If you’re putting astronaut art somewhere dark it’s gonna lose all its impact. You want either good natural light or you need to add picture lights or track lighting.
Picture lights are those little lights that mount above or below the frame. They’re super easy to install and they make your art look fancy and intentional. Battery operated ones exist now so you don’t even need to deal with wiring.
Track lighting or spot lights give you more flexibility because you can adjust where the light points. This is what I use in my studio because I change art around constantly and I don’t wanna remount picture lights every time.
Just avoid putting art in direct sunlight because it’ll fade over time especially prints. A little natural light is fine but not like harsh afternoon sun hitting it directly for hours every day.
Some Specific Pieces I Keep Coming Back To
There’s this print of Buzz Aldrin on the moon with the American flag that’s just iconic. You can find it everywhere but make sure you get a high quality version because the detail in the spacesuit is what makes it cool.
The Earthrise photo from Apollo 8 is another one I use all the time. It’s that image of Earth rising over the moon’s horizon and it’s just beautiful and also kinda profound without being cheesy.
For something more playful there are tons of astronaut animal prints out there. Astronaut cats, dogs, sloths, whatever. These work great in kids rooms or anywhere you want something fun. My friend has an astronaut llama in her bathroom and honestly it’s perfect.
The technical drawings of the space shuttle or Saturn V rocket are really cool if you want something that looks smart and interesting but isn’t just another photo. They have this vintage blueprint aesthetic that works in offices or masculine spaces really well.
The Gallery Wall Approach
This is my favorite way to display astronaut art because you can mix different sizes and styles and tell more of a story. Start with your largest piece and build around it. That’s always the easiest approach.
I usually do odd numbers because they’re easier to arrange. Like three pieces in a row or five pieces in an asymmetrical layout. Even numbers can work but they’re trickier to make look balanced.
Lay everything out on the floor first. Take a picture with your phone. Move stuff around. Take another picture. Do this like fifteen times until you find something you like. Then trace the frames on paper, tape the paper to the wall, and hang the actual frames where the paper templates are. This saves you from putting a million holes in your wall.
Keep spacing consistent between frames. Usually 2-3 inches works well. Too close and it looks cramped, too far apart and it doesn’t feel like a cohesive grouping anymore.
Budget Breakdown Real Quick
You can absolutely do this on the cheap. Digital download from Etsy for $5-10, print at Costco for $15-20, frame from Ikea for $10-20. That’s like $35 total for a decent sized framed print.
Mid-range is buying ready-made prints from places like Society6 or Art.com with frames included. Usually $75-150 depending on size.
High end is getting original art or limited edition prints from artists which can be anywhere from $200 to thousands but that’s a whole different thing and probably not necessary unless you’re really into collecting.
I usually tell people to invest in good frames more than expensive prints because you can always swap out the print later but a nice frame lasts forever and instantly makes anything look better.
Oh wait, one more thing about canvas prints versus framed prints. Canvas is more casual and modern, framed is more traditional and polished. Canvas doesn’t need a frame which saves money but it also can look a bit cheap if the canvas quality isn’t good. For astronaut art I usually prefer framed prints because the subject matter is already kinda technical and scientific so the frame adds to that feeling but it really depends on your space and style.
Anyway I’m gonna stop here because I’m basically just rambling at this point but hopefully this helps you figure out what direction to go with your astronaut wall art situation.