Wall Art Guide, Wall Art Tutoriels
Honeycomb Wall Art: Geometric Hexagon Pattern Designs
Jul
So I’ve been absolutely obsessed with honeycomb wall art lately and honestly it started because a client wanted something geometric but not the usual triangle stuff everyone’s doing. Let me tell you what I’ve learned because I basically spent three weeks testing different approaches and my living room looked like a hardware store exploded.
The Basic Honeycomb Layout Thing
Okay so first thing – hexagons are weirdly tricky because they don’t line up like squares. You gotta think about whether you want them all touching or spaced out, and that completely changes the vibe. I made the mistake of buying 24 wooden hexagon shelves thinking I’d just “figure it out” and then stood there for like an hour trying to make them work.
The easiest approach is actually starting with one central hexagon and building outward. Sounds basic but trust me. If you try to do rows like you would with square tiles, you’ll end up with gaps that make you wanna scream. Each hexagon has six sides obviously, so you can attach up to six others around it in that flower pattern.
For spacing, I’ve found that either flush against each other OR with exactly 2 inches between looks intentional. Anything in between looks like you messed up measuring. My tape measure is currently held together with duct tape because I dropped it so many times during this project.
Materials That Actually Work
Wood hexagons are the most popular and honestly the easiest to work with. You can get them unfinished from craft stores or Etsy – I found sets ranging from like $30 to $200 depending on size and quantity. The unfinished ones let you stain or paint them whatever colors you want, which is cool if you’re indecisive like me.
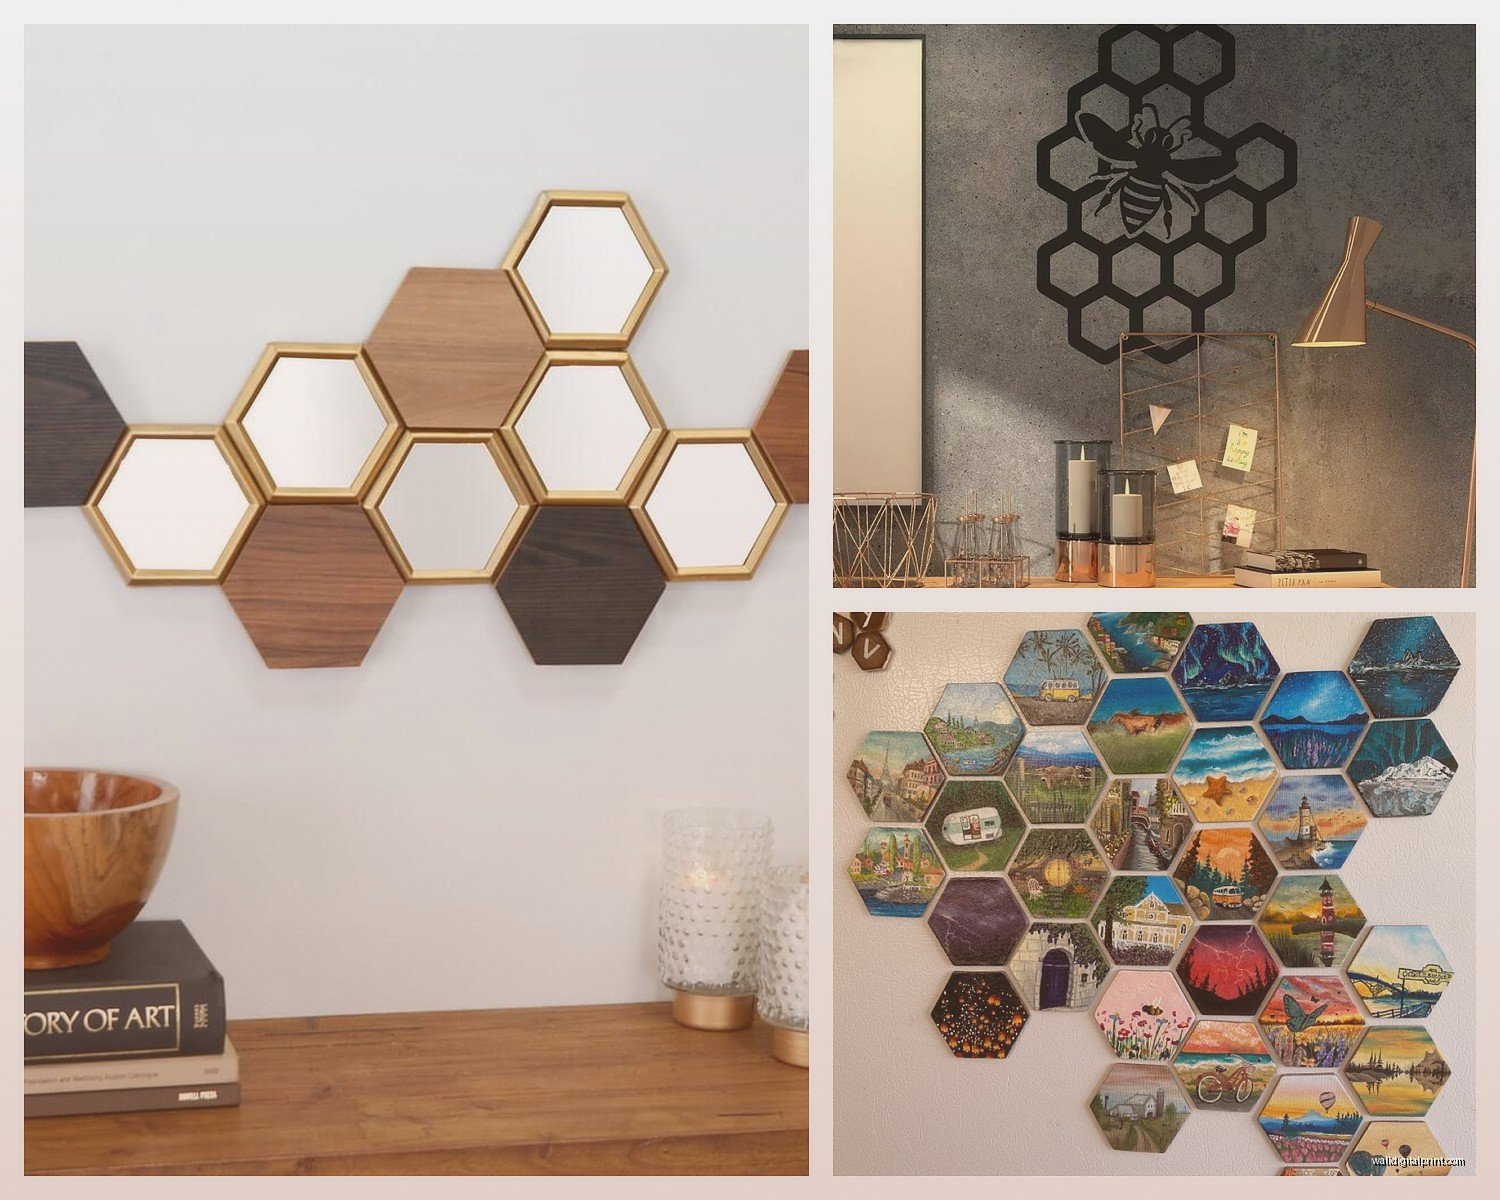
I tested this set of 7 hexagons (about 8 inches each) and stained them in alternating walnut and natural oak. Took maybe two hours including drying time between coats. They came with mounting hardware which was basically little sawtooth hangers on the back.
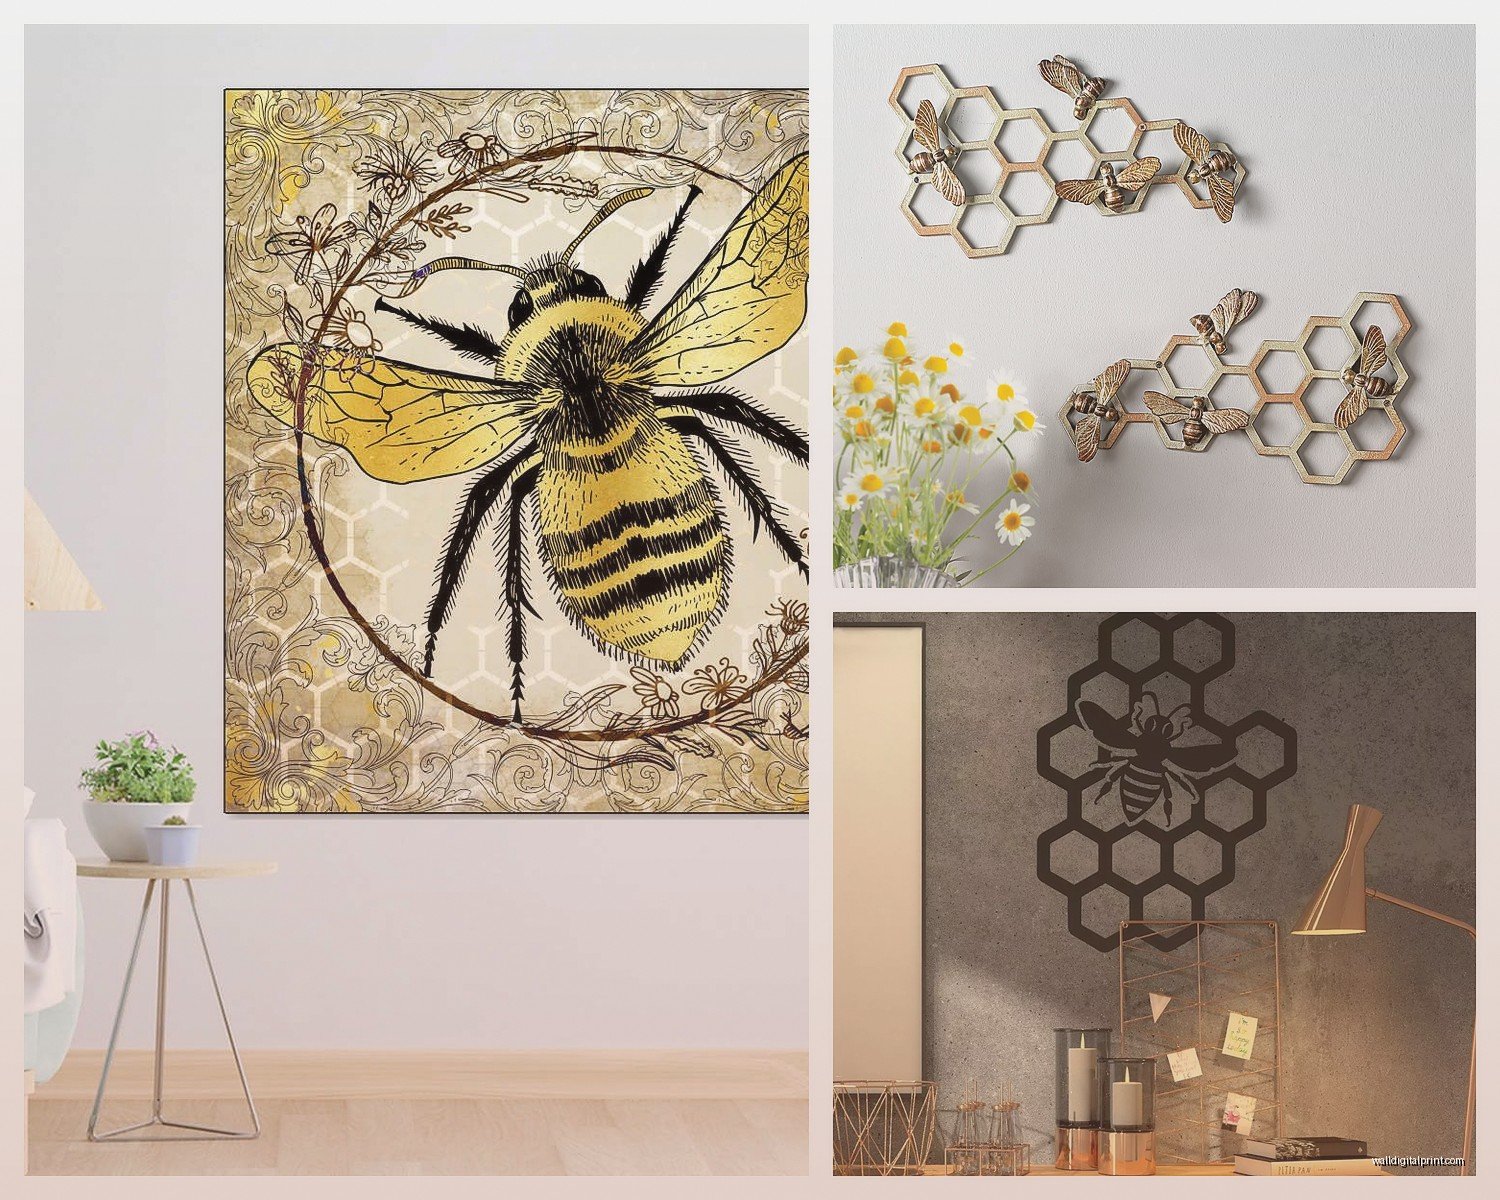
Metal hexagons are having a moment too – I saw these gold wire ones that are basically just the outline of a hexagon. They’re lighter so easier to hang but also look more delicate. Good for renters because they only need small nails. I put some in my bathroom and my cat immediately tried to climb them so… consider your pets I guess.
Cork board hexagons are genius if you actually want functionality. You can pin stuff to them, use them as a memo board situation. I got a pack of 10 for like $25 and covered half my office wall. They’re lightweight which means command strips actually hold them, but they also absorb sound a bit which is a weird bonus.
Oh and another thing – acrylic hexagons exist and they’re super modern looking. Mirror finish ones especially. But they show every fingerprint and smudge so if you have kids maybe skip these.
The Color Situation
This is where it gets fun or overwhelming depending on your personality. I’ve tried a bunch of color schemes:
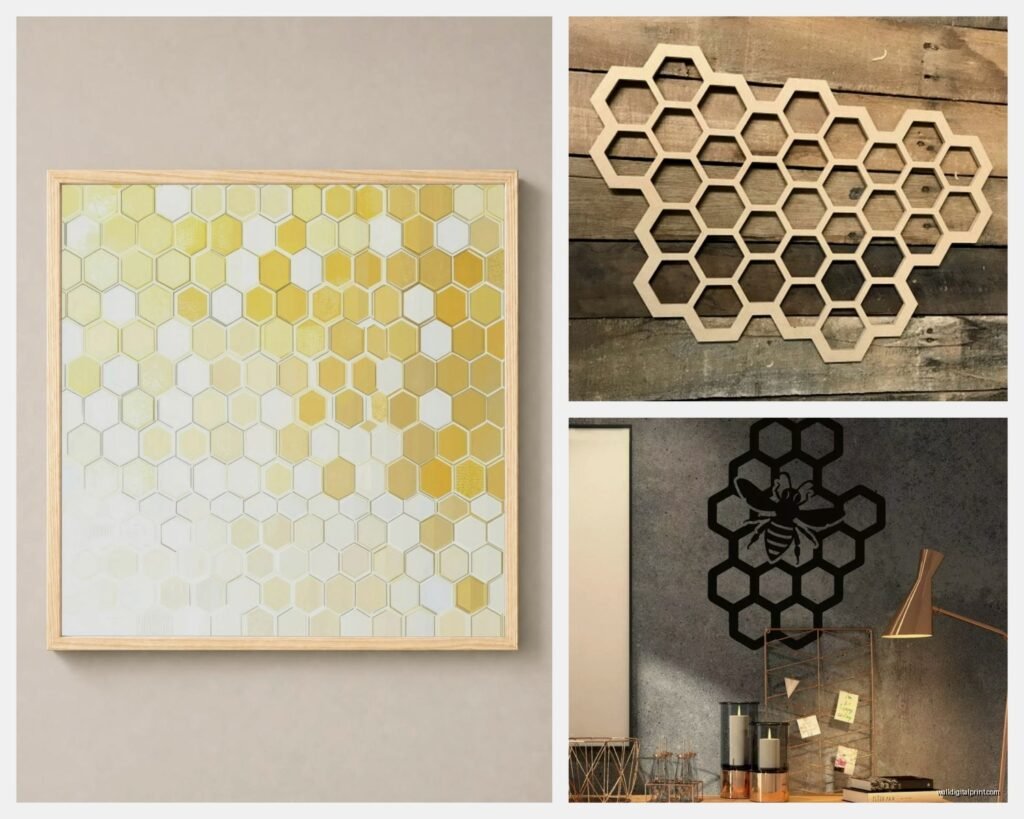
Ombre effect going from light to dark – used like 5-6 shades of the same color. This looks really professional if you can commit to painting that many pieces. I did blues ranging from almost white to navy and it turned out pretty decent.
Monochrome is safer honestly. All white hexagons but different sizes creates depth without being too bold. My friend did this in her nursery and it’s subtle but interesting.
Metallic mixed with wood – some gold leafed hexagons mixed with natural wood. Sounds fancy but gold leaf is actually pretty easy to work with, you just need the sizing glue stuff and patience. Watched half of a true crime documentary while doing this.
Random color pop – mostly neutral with like three bright colored ones scattered throughout. This is very “Scandinavian design blog” but it works.
Hanging This Stuff Without Losing Your Mind
Okay so funny story, my first attempt I just eyeballed everything and it was a disaster. Ended up with 47 nail holes in my wall (I counted). Here’s what actually works:
Use paper templates first. Trace your hexagons onto paper, cut them out, tape them to the wall with painter’s tape. Move them around until it looks right. This sounds tedious but saves SO much time and wall damage.
Get a level. Like a real one, not the app on your phone. The app is fine for hanging one picture but for multiple pieces you need accuracy. I use a small torpedo level that cost like $8.
Command strips are your friend for lightweight stuff – anything under 3 pounds per hexagon. The medium size strips can hold more than you’d think. But read the weight limit because I definitely overloaded some and woke up to a crash at 2am once.
For heavier wood pieces, you gotta find studs or use proper drywall anchors. I like the plastic ribbed anchors that you screw in – they hold way better than those toggle bolt things that always fall into the wall cavity.
The Actual Hanging Process
Mark your center point first. Usually this is about 57-60 inches from the floor (standard gallery height). Put your central hexagon there.
Work outward in rings. First ring around the center, then the next ring, etc. This keeps everything balanced.
Step back frequently. Like every two hexagons, walk to the other side of the room and look. Your perspective gets warped when you’re up close.
Size and Scale Stuff
Small hexagons (like 4-6 inches) – you need a LOT to make an impact. I’d say minimum 15-20 pieces. These work great in clusters or to fill a smaller wall space like above a desk.
Medium hexagons (7-10 inches) – the sweet spot honestly. Seven to twelve pieces can fill a decent wall section. This is what I use most often because they’re substantial but not overwhelming.
Large hexagons (12+ inches) – three to five pieces is enough. These make a statement without needing a ton of them. I did three really large ones in my entryway and people always comment on them.
You can also mix sizes which adds visual interest but makes the layout planning more complex. I usually stick to two sizes max – like mixing 8-inch and 5-inch hexagons.
DIY Versus Buying Ready-Made
I’ve done both and honestly it depends on your patience level. DIY is cheaper but time consuming. You can cut hexagons from plywood if you have a jigsaw – there are tons of templates online. Sand them, stain or paint, add hanging hardware. Total cost maybe $40 for materials to make 10-12 hexagons.
But cutting perfect hexagons is harder than it looks. My first attempts were… not symmetrical. If you don’t have tools or space, just buy pre-made ones. The time saved is worth the extra cost.
Ready-made sets on Etsy are usually $50-150 depending on quantity and finish. West Elm and CB2 have some fancier options that are pricier but already finished nicely.
Adding Dimension and Texture
Okay this is gonna sound weird but adding different depths makes such a difference. Instead of all flat hexagons, mix in some shallow shelves or boxes. You can put tiny plants or objects in them.
I did this thing where some hexagons were flush to the wall, some were 2-inch deep shelves, and some were 4-inch deep. Created this cool 3D effect. The deep ones held small succulents and decorative objects.
Fabric backing is another option – stretch fabric over a hexagon frame. I used velvet for a few and it adds texture and absorbs light differently than painted wood.
Cork, mirrors, chalkboard paint, magnetic paint – you can make different hexagons serve different purposes while still looking cohesive.
Room-Specific Ideas
Living room – I usually go bigger and bolder here. A statement wall behind the couch with 15-20 mixed size hexagons. Neutral colors or coordinating with your existing palette.
Bedroom – above the bed is obvious but I also like them on the wall opposite the bed so it’s the first thing you see when you wake up. Calming colors work better here, nothing too stimulating.
Office – cork board hexagons are perfect here. Functional and attractive. I covered a whole wall in my home office and use them to pin inspiration, notes, calendar stuff.
Kids room – let them paint their own hexagons. Seriously, my client’s daughter painted six hexagons with her favorite colors and patterns and it’s chaotic but joyful. Just seal them with clear coat after.
Bathroom – smaller scale works better in bathrooms. Five to seven hexagons max unless you have a huge bathroom. Metal or sealed wood because humidity.
Common Problems I’ve Run Into
The pattern looks off-center even though you measured – this happens when your wall isn’t perfectly square or your ceiling isn’t level. Sometimes you gotta adjust based on what looks right rather than what’s technically correct.
Paint or stain looks different on the wall than it did during testing – lighting changes everything. I always do a test piece and look at it in the actual location at different times of day.
Hexagons won’t stay put – usually means your mounting method isn’t strong enough for the weight. Upgrade to stronger adhesive or proper anchors.
It looks too busy – less is more with this style. I’ve removed hexagons from installations more often than I’ve added them. Start with fewer than you think you need.
The spacing is inconsistent – make a spacing template from cardboard. Cut notches at your desired spacing and use it to position each hexagon the same distance apart.
Maintenance and Long-Term Stuff
Dust collects on horizontal surfaces so if your hexagons are shelves, you’ll need to dust them regularly. I use a microfiber cloth every couple weeks.
Wood can fade in direct sunlight over time. I learned this the hard way when half my honeycomb installation got sun exposure and half didn’t – after six months there was a noticeable color difference.
Command strips can fail over time, especially in humid environments. I check mine every few months and replace if they seem loose.
Where to Actually Buy This Stuff
Etsy has the biggest variety – search “wooden hexagon shelves” or “hexagon wall decor.” Prices vary wildly so shop around.
Amazon has sets but they’re usually all the same size and finish. Good if you want simple and fast.
West Elm, CB2, Urban Outfitters – pricier but higher quality usually. Better if you want a specific aesthetic.
Home Depot or Lowes – you can buy wood and cut your own, plus they have all the mounting hardware.
Craft stores like Michael’s or Hobby Lobby – unfinished wood hexagons in various sizes, always have coupons.
Wait I forgot to mention – consider the wall color behind your hexagons. They show up better with contrast. Light hexagons on dark walls or vice versa. I did white hexagons on a light gray wall once and they basically disappeared in photos.
Also your wall texture matters – heavily textured walls make it harder to mount things flush. You might need to add extra adhesive or use longer screws to get through the texture into solid drywall.
The whole project took me about 6 hours total from planning to hanging for a 15-hexagon installation. But I was also stopping to take photos for my blog so probably more like 4 hours if you just focus on getting it done.