Wall Art Guide, Wall Art Tutoriels
Driftwood Wall Art: Beach-Found Wood Natural Sculpture
Aug
So I’ve been completely obsessed with driftwood wall art lately and honestly it started because I found this massive piece on a beach in Oregon last summer and had no idea what to do with it. Just stuck it in my garage for like three months until my neighbor asked if I was building a bonfire or something.
The thing about driftwood is you really gotta clean it properly or you’re basically inviting bugs and salt residue and who knows what else into your house. First thing I do when I bring pieces home is soak them in a bucket with like a 1:10 bleach to water ratio for maybe 24 hours. My cat knocked over the bucket once and the garage smelled like a pool for days but anyway. After soaking you need to scrub off any remaining barnacles or weird growth with a wire brush. Some people skip this step and I can always tell because their pieces look kinda crusty up close.
Then comes the drying part which takes forever. Like actually forever. I lay mine out in the sun for at least a week, rotating them every day or two. If you rush this your wood might crack later or develop mold and trust me I learned that the hard way with a beautiful piece that split right down the middle after I mounted it. Was so annoyed.
Picking the Right Pieces
Okay so when you’re actually at the beach collecting driftwood, look for pieces with interesting shapes obviously but also think about how they’ll hang. I used to grab anything that looked cool and then get home and realize it had no flat back surface or natural balance point. Now I test them right there on the beach by holding them against my chest to see how they’d sit on a wall.
The best pieces usually have some weathering that creates texture but aren’t completely rotted. You want that silvery-gray color that comes from sun and salt exposure. Dark brown pieces are usually too fresh and won’t have that beachy vibe. And honestly the ones with holes or knots or where branches split off make the most interesting sculptures.
Size matters too depending on your wall space. I’ve got this one piece that’s like five feet long and it completely dominates my dining room but in a small entryway it would be ridiculous. For your first project I’d say start with something between 18-36 inches. Manageable but still makes a statement.
Mounting Options That Actually Work
This is where I struggled for months because driftwood is weirdly shaped and heavy and you can’t just slap a picture hanger on it. Here’s what I’ve figured out:
For smaller pieces under 5 pounds you can use heavy duty picture hanging strips. The 3M Command ones rated for 16 pounds work but use more than you think you need. I always double up because the last thing you want is your art crashing down at 2am.
Medium pieces need actual hardware. I drill a small pilot hole into the back of the wood and screw in a sawtooth hanger or D-ring. The trick is finding a relatively flat spot on the back where the hardware can sit flush against the wall. Sometimes you gotta sand down a little area to make it work.
For really large or heavy pieces I’ve started using French cleats which sound fancy but they’re just two interlocking pieces of wood. You mount one to the wall and attach one to the back of your driftwood. Super secure and you can adjust the position easily. I watched like six YouTube videos before attempting this and still messed up the first one by not making the angles match but yeah.
Wait I forgot to mention wire hanging which works great for pieces that have natural holes or gaps. Thread heavy gauge wire through holes on either end and hang it like a picture. Looks more intentional than other methods somehow.
Creating Arrangements vs Single Pieces
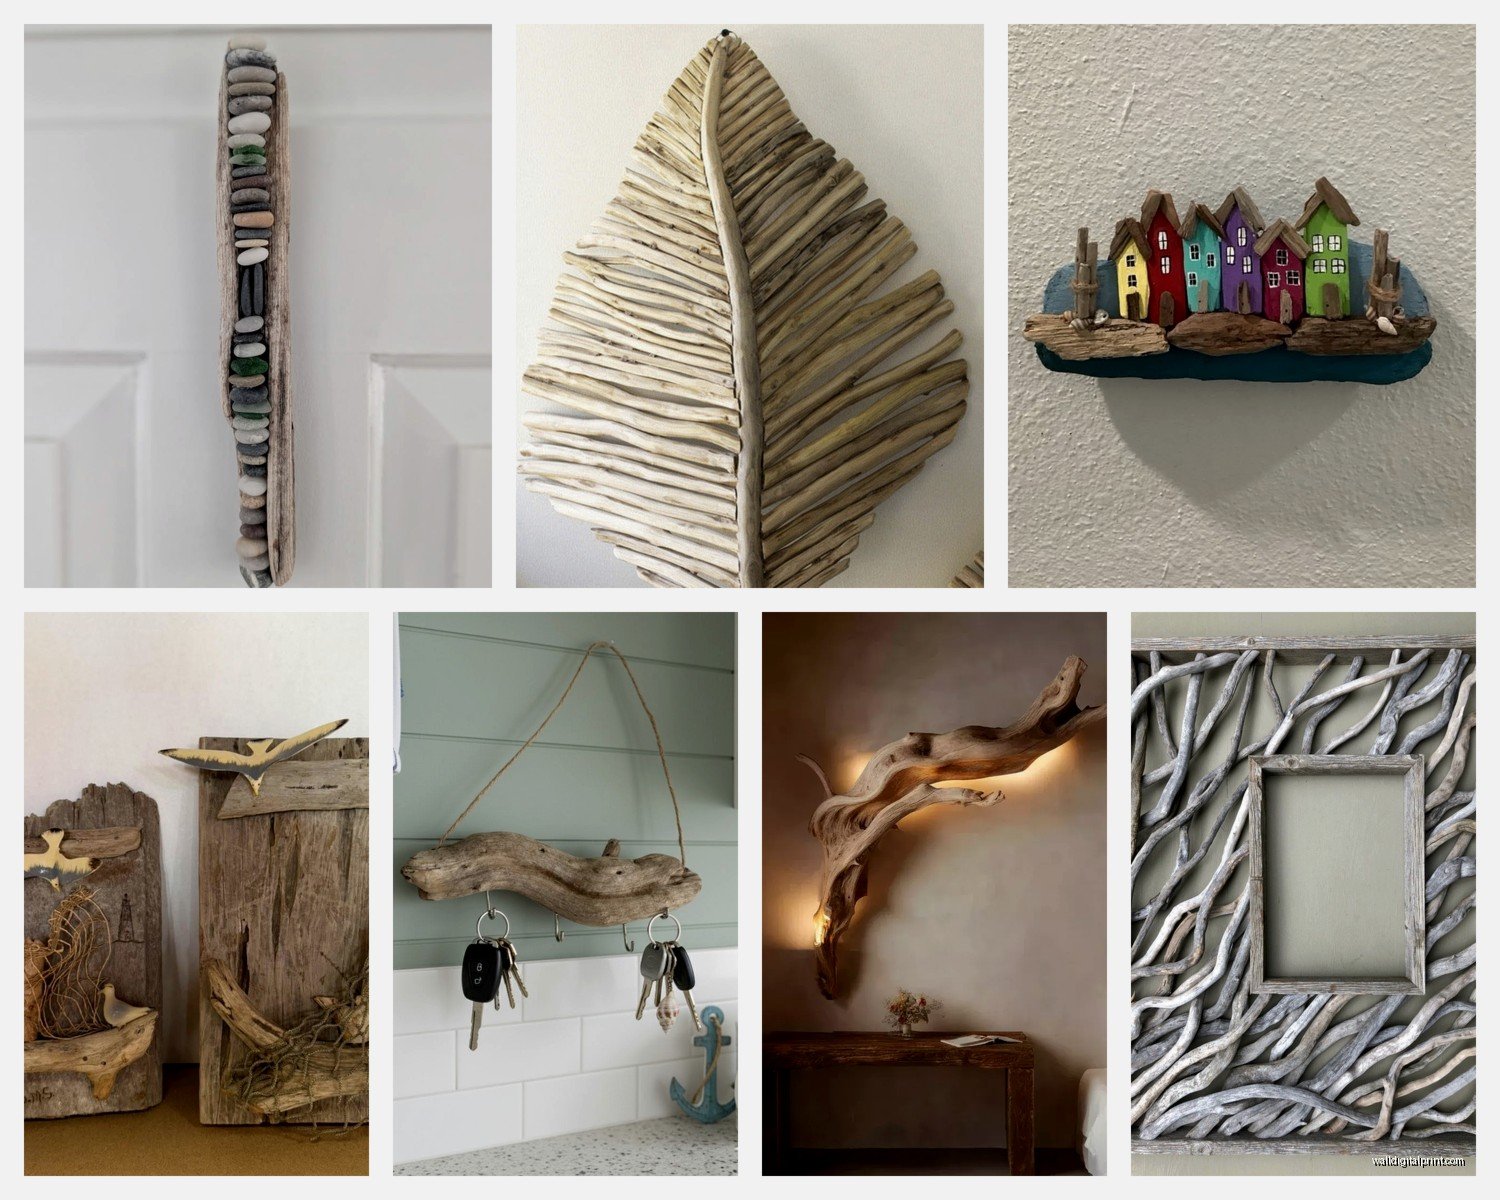
Single statement pieces are definitely easier for beginners. Find one awesome chunk of driftwood, clean it, mount it, done. I have this one piece above my couch that looks like a weird sea creature and people always ask about it.
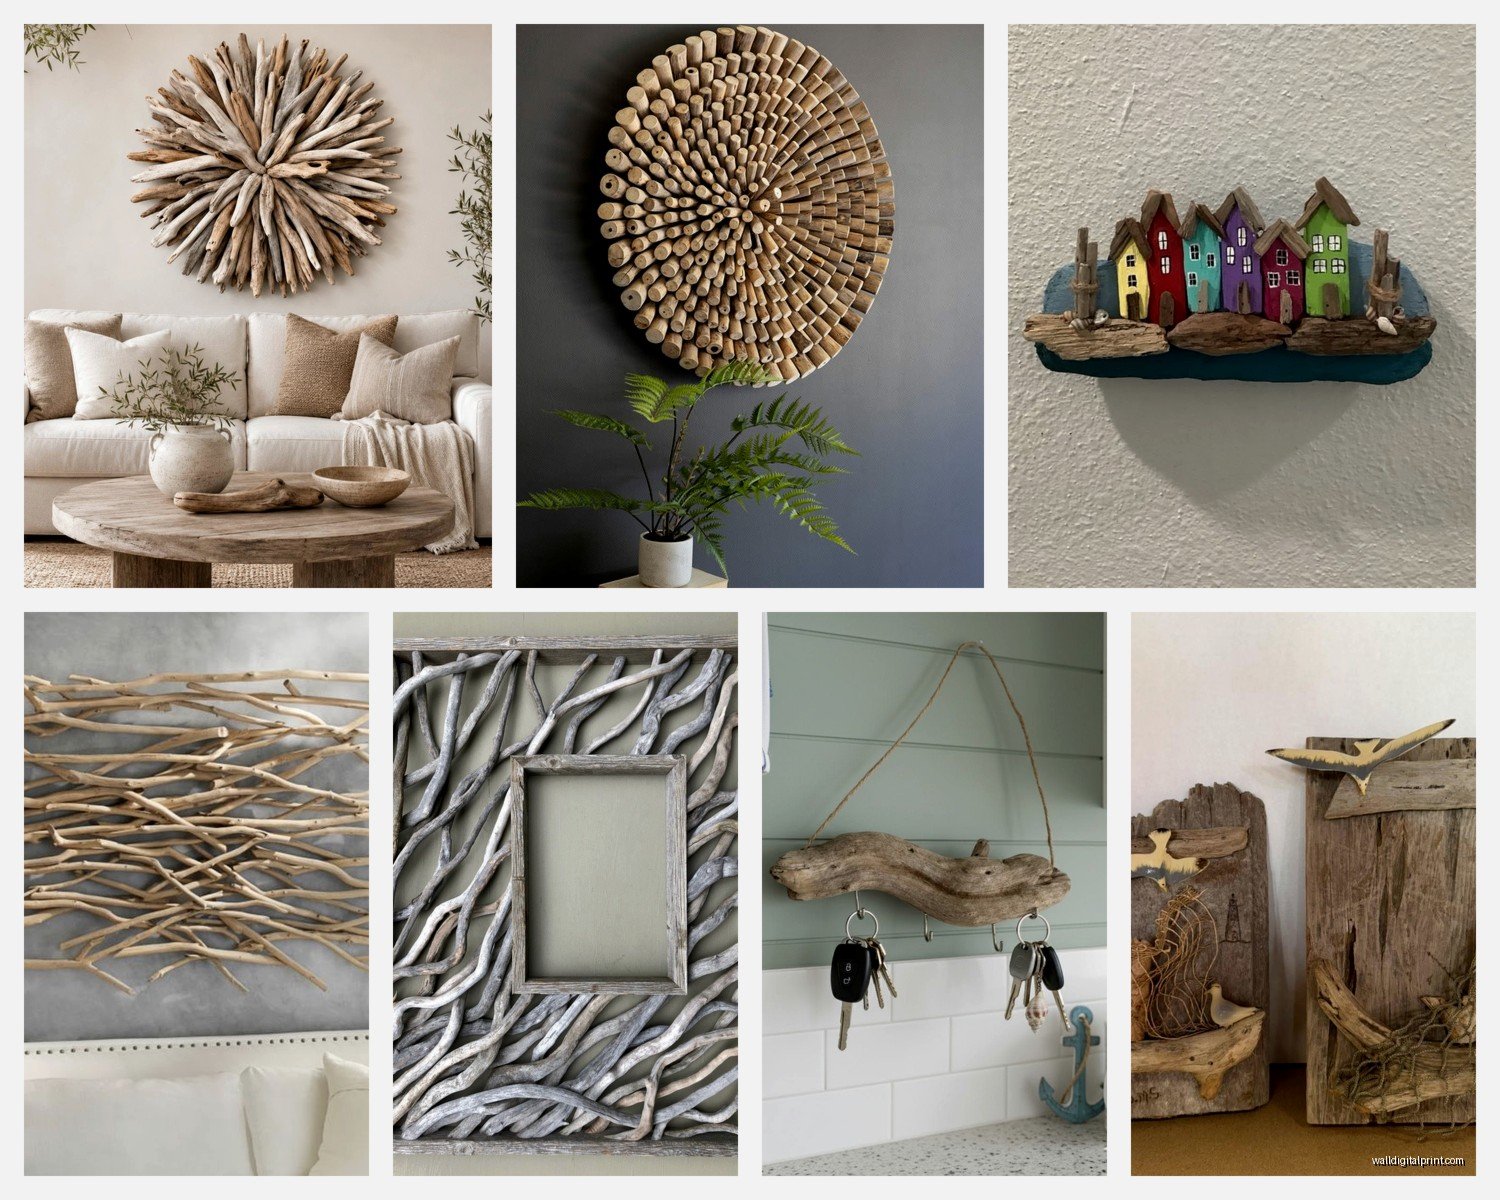
But gallery wall style arrangements with multiple pieces can be really cool too. The key is laying everything out on the floor first and taking a photo so you remember the arrangement. I cannot tell you how many times I’ve gotten halfway through mounting pieces and forgotten which one goes where.
For arrangements I like mixing different sizes but keeping them in the same color family. All silvery-gray or all darker tones. Throwing in one piece that’s totally different just looks messy in my experience.
Oh and another thing, leave more space between pieces than you think you need. Driftwood is visually heavy so if you cluster everything too tight it feels overwhelming. I usually go for like 4-6 inches between pieces minimum.
Adding Other Elements
Okay so funny story, I was watching this home reno show while working on a driftwood piece and they added string lights to theirs and I thought that’s either genius or terrible. Tried it and honestly it can work if you’re going for like a coastal boho vibe. Just weave battery operated fairy lights through the branches.
Shells and sea glass are the obvious additions. I hot glue them into natural crevices in the wood. Don’t go overboard though because it can start looking like a kindergarten craft project real fast. Maybe five shells max on a medium sized piece.
Some people add rope or netting which I’m still on the fence about. Did it once for a client who wanted a really nautical look but it felt kinda theme-y for my personal taste. If you’re gonna do rope use natural jute or manila rope, not the bright white synthetic stuff.
Succulents or air plants tucked into holes in the wood look amazing but they require maintenance. I killed three air plants before accepting that I’m not gonna remember to mist them weekly.
Sealing and Finishing
This is optional but I usually seal my pieces especially if they’re going in a bathroom or anywhere humid. Just a clear matte polyurethane spray works fine. Do it outside because the fumes are intense and do like three light coats instead of one heavy one.
Some people stain their driftwood which feels wrong to me because the whole point is the natural weathered look but whatever. If you’re gonna stain use a gray weathered wood stain not anything brown or it loses that driftwood character.
I’ve experimented with whitewashing which is basically watered down white paint that you brush on and wipe off partially. Creates this really soft beachy look. Mix like 1 part paint to 3 parts water and test on a scrap piece first.
Where to Find Driftwood Besides Beaches
Not everyone lives near a beach which I get. I’ve found decent pieces along river banks and lake shores. The weathering is different, less salt damage and more water smoothing, but it still works.
Craft stores sell driftwood which feels like cheating but it’s cleaned and ready to use. Definitely more expensive though. I saw a bundle at Michaels for like forty bucks that I could’ve collected for free in an afternoon.
Etsy has tons of sellers offering driftwood pieces and some are already partially assembled which might be good if you’re not confident in your design skills. I bought a bundle from a seller in Washington state once and the pieces were gorgeous, really large and interesting shapes.
Facebook Marketplace and Craigslist sometimes have people selling driftwood they collected but don’t want anymore. Hit or miss but worth checking.
Common Mistakes I Made So You Don’t Have To
Using wood that wasn’t completely dry. Seriously don’t skip the drying time even though it’s boring and takes up space.
Mounting pieces too high on the wall. Eye level is usually right which means the center of the piece should be around 57-60 inches from the floor. I had everything mounted way too high in my first apartment and it looked weird.
Not considering the wall color. Driftwood shows up best against white or light colored walls. On my dark gray accent wall you can barely see the detail in the wood grain. Learned that after I’d already painted the whole room.
Trying to force pieces into shapes they don’t naturally want to be. I spent an hour once trying to make two pieces fit together in a specific way and they just looked awkward. Work with what the wood wants to do.
Using too much hardware that shows. Keep it minimal and hidden as much as possible. The wood should be the focus not a bunch of visible screws and wire.
Styling Around Your Driftwood Art
I’m gonna keep this simple because you probably want to know how to make it look intentional and not like you just stuck random wood on your wall.
Keep the rest of the decor relatively minimal. Driftwood is textural and organic so it needs breathing room. I learned this when I had driftwood art plus a gallery wall plus floating shelves all on the same wall and it was complete visual chaos.
Natural materials nearby help reinforce the coastal vibe without being too themey. Linen curtains, jute rugs, ceramic vases. Basically earth tones and natural textures.
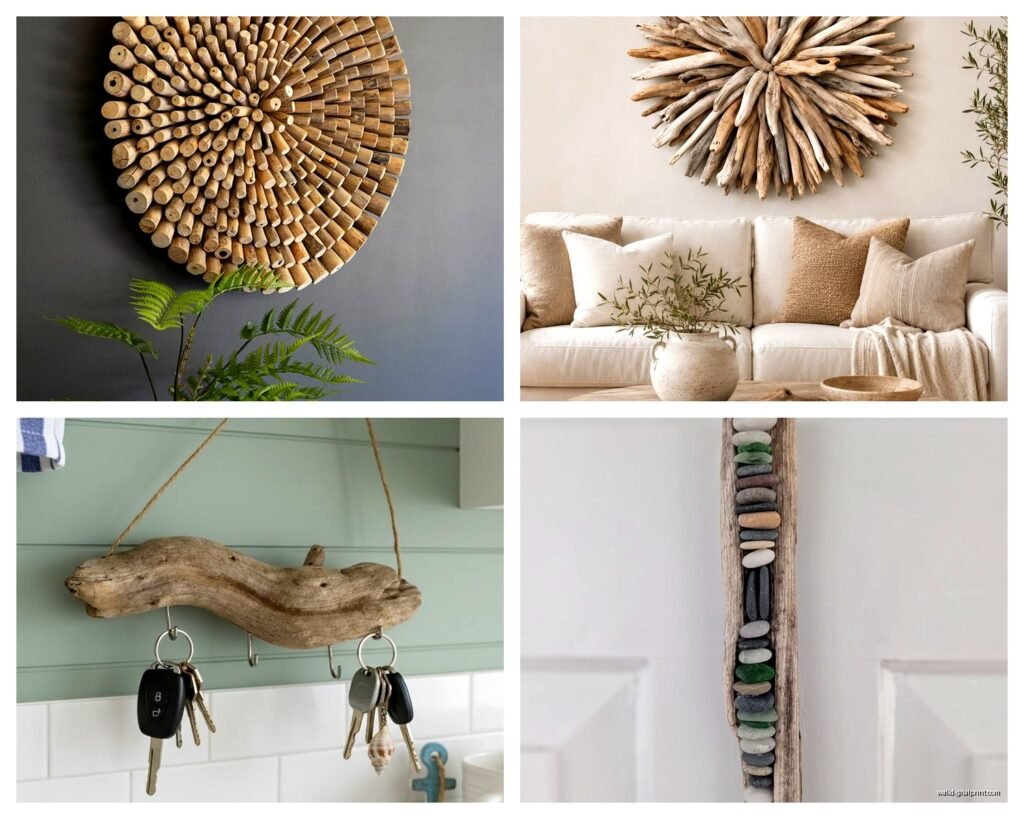
You don’t have to go full beach house to make driftwood work. I’ve seen it look amazing in modern spaces when it’s the only organic element among clean lines and neutral colors. The contrast is actually really cool.
Plants help a lot. Something about the combination of driftwood and greenery just works. Probably because it mimics how you’d see it in nature with beach grasses and stuff growing nearby.
The thing I love most about driftwood art is every piece is completely unique and there’s something satisfying about making art from stuff you literally found lying around. Plus it’s free if you collect it yourself which is always a win.
Just start with one piece, don’t overthink it, and see how you feel. You can always add more later or rearrange or whatever. My whole living room driftwood situation evolved over like two years of collecting and moving pieces around until it felt right.