Wall Art Guide, Wall Art Tutoriels
Epoxy Wall Art: Resin Pour Glossy Fluid Art Technique
Sep
So I’ve been doing epoxy wall art for about three years now and honestly it’s one of those things that looks way more complicated than it actually is, but also you can totally mess it up if you don’t know what you’re doing. Let me just dump everything I know because I literally just finished a piece yesterday and I’m still finding resin on my shoes.
Getting Your Supplies Together
Okay so first thing, the resin itself. You’re gonna want a 1:1 ratio epoxy resin specifically made for art. I use ArtResin most of the time because it doesn’t yellow and it’s non-toxic once cured, which matters when you’re doing wall pieces that’ll be in someone’s living room. Stone Coat Countertops is another good one, super glossy finish. Don’t go cheap on this, I tried some random Amazon brand once and it stayed tacky for like a week and smelled horrible.
You need way more than you think. For a 24×36 inch panel, I usually mix about 32 ounces total. Better to have extra than to run out mid-pour because trust me, that’s a nightmare.
The actual supply list I keep in my studio
- Epoxy resin (obviously) – get the gallon kit
- Wooden panels or canvas mounted on board (NOT stretched canvas, it’ll sag)
- Acrylic paints or alcohol inks for coloring
- Silicone oil – the secret ingredient nobody tells you about
- Heat gun or kitchen torch
- Plastic cups for mixing
- Stir sticks (I just use wooden craft sticks)
- Gloves – nitrile ones, the thin kind
- Drop cloths or plastic sheeting
- Level (this is SO important)
- Painter’s tape
- Plastic spreaders or palette knives
Prepping Your Space Because This Gets Messy
I cannot stress this enough, you need a level surface. Like actually level, not “looks level enough.” I use a cheap torpedo level from Home Depot and check it in multiple directions. If your surface isn’t level, the resin will flow to one side and you’ll get uneven coverage and it’ll drive you crazy.
Set up your panel on cups or risers so it’s elevated off your work surface. I use those red solo cups turned upside down, very professional I know. But seriously, the resin drips off the edges and if your panel is sitting flat on the table, you’re gonna have a bad time.
Temperature matters more than you’d think. Your room should be between 70-75 degrees. Too cold and the resin gets thick and doesn’t flow right, too hot and it can cure too fast. Also dust is your enemy, so try to work in a space that’s relatively clean. My cat tried to walk across a piece once and… yeah, that was a whole thing.
Mixing The Resin Without Screwing It Up
Read the instructions on your specific resin because ratios can vary slightly. Most are 1:1 but some are 2:1. Use separate cups for measuring each part, then pour them together into a third cup. This is where people mess up – you gotta mix it for like 3-4 minutes minimum. Not just a quick stir, really scrape the sides and bottom because unmixed resin will leave sticky spots.
I set a timer on my phone because otherwise I convince myself I’ve mixed it enough when I definitely haven’t. Mix slowly though, you don’t want tons of bubbles.
Adding color
Wait I forgot to mention – you should decide on your color scheme before you start mixing. I usually go with 3-4 colors max for wall art because more than that can get muddy looking.
You can use acrylic paints (just a little bit, like 6-8% of your resin volume), alcohol inks (these create cool effects but they’re transparent), or resin-specific pigments. I mix my colors in separate cups after I’ve mixed the resin and hardener together. So like, if I’m using 32 oz total, I’ll divide it into 4 cups of 8 oz each and color them individually.
The silicone oil is what creates those cell effects you see in fluid art. Add just a few drops to each color – like 2-3 drops per cup. Too much and it gets weird and oily. Some people skip this but honestly it’s what makes the art interesting instead of just being flat color pours.
Actually Pouring The Piece
Okay so there are different techniques and I’m gonna walk you through the ones I use most:
Dirty pour method
This is where you layer your different colored resins into one cup without mixing them, then pour the whole thing onto your panel. Stack them in whatever order you want – there’s no wrong way. Then you pour it in the center or in a line or whatever, and tilt the panel to spread it around.
The tilting is actually the technique part. You’re not trying to shake it violently, just gentle tilting in different directions to guide the resin across the surface. Let gravity do most of the work.
Direct pour
Pour each color separately onto the panel in puddles or lines, then tilt to mix them together on the surface. This gives you more control over where colors go but less of that blended marbled look.
Swipe technique
Pour your colors, then use a plastic spreader to drag through them. This creates really cool elongated cells and color streaks. I learned this from watching way too many YouTube videos at like 2am when I should’ve been sleeping.
The Heat Gun Part That Makes Magic Happen
Once you’ve got your resin poured and spread, you need to pop the bubbles and activate those cells. This is where the heat gun or torch comes in. Hold it about 6-8 inches from the surface and wave it across quickly. Don’t hold it in one spot or you’ll burn the resin (yes, it can burn, smells terrible).
The heat does two things – pops surface bubbles and makes the silicone oil rise up, creating those cell patterns. You’ll literally watch the cells bloom as you apply heat, it’s actually really satisfying.
Pass over the whole piece a few times but don’t overdo it. Too much heat and you can create new problems like divots or overworked areas.
Dealing With The Edges
This is gonna sound weird but I actually like the drip look on edges sometimes, very organic. But if you want clean edges, you need to tape them before pouring OR you can let it drip naturally and then sand the edges once it’s cured.
Some people wipe the drips while the resin is still wet using gloved fingers. That works but you gotta be quick and careful not to touch the top surface.
If you’re doing a panel that’ll hang without a frame, consider painting the edges first with acrylic paint in a complementary color, then let the resin drip over naturally. Looks intentional that way.
Curing Time And Not Touching It
Here’s where patience becomes essential. Cover your piece loosely with a plastic sheet or cardboard box to keep dust off, but don’t let it touch the surface. The resin needs to cure for at least 24 hours before you touch it, and 72 hours before it’s fully hardened.
During the first few hours, check on it occasionally. Sometimes you’ll get new bubbles rising to the surface – hit them quick with the heat gun. After about 4-6 hours it’ll be too set up to do this anymore.
The room needs to stay at a consistent temperature during curing. If it gets cold, the cure time extends. If it gets too hot, you might get weird texture issues.
Common problems during curing
- Fisheyes (little crater-looking spots) – usually from silicone contamination or oils on your panel
- Sticky spots that won’t cure – unmixed resin, or wrong ratio
- Dimples or waves – uneven surface or too much heat applied
- Yellowing – cheap resin or UV exposure during curing
Oh And Another Thing About Color Choices
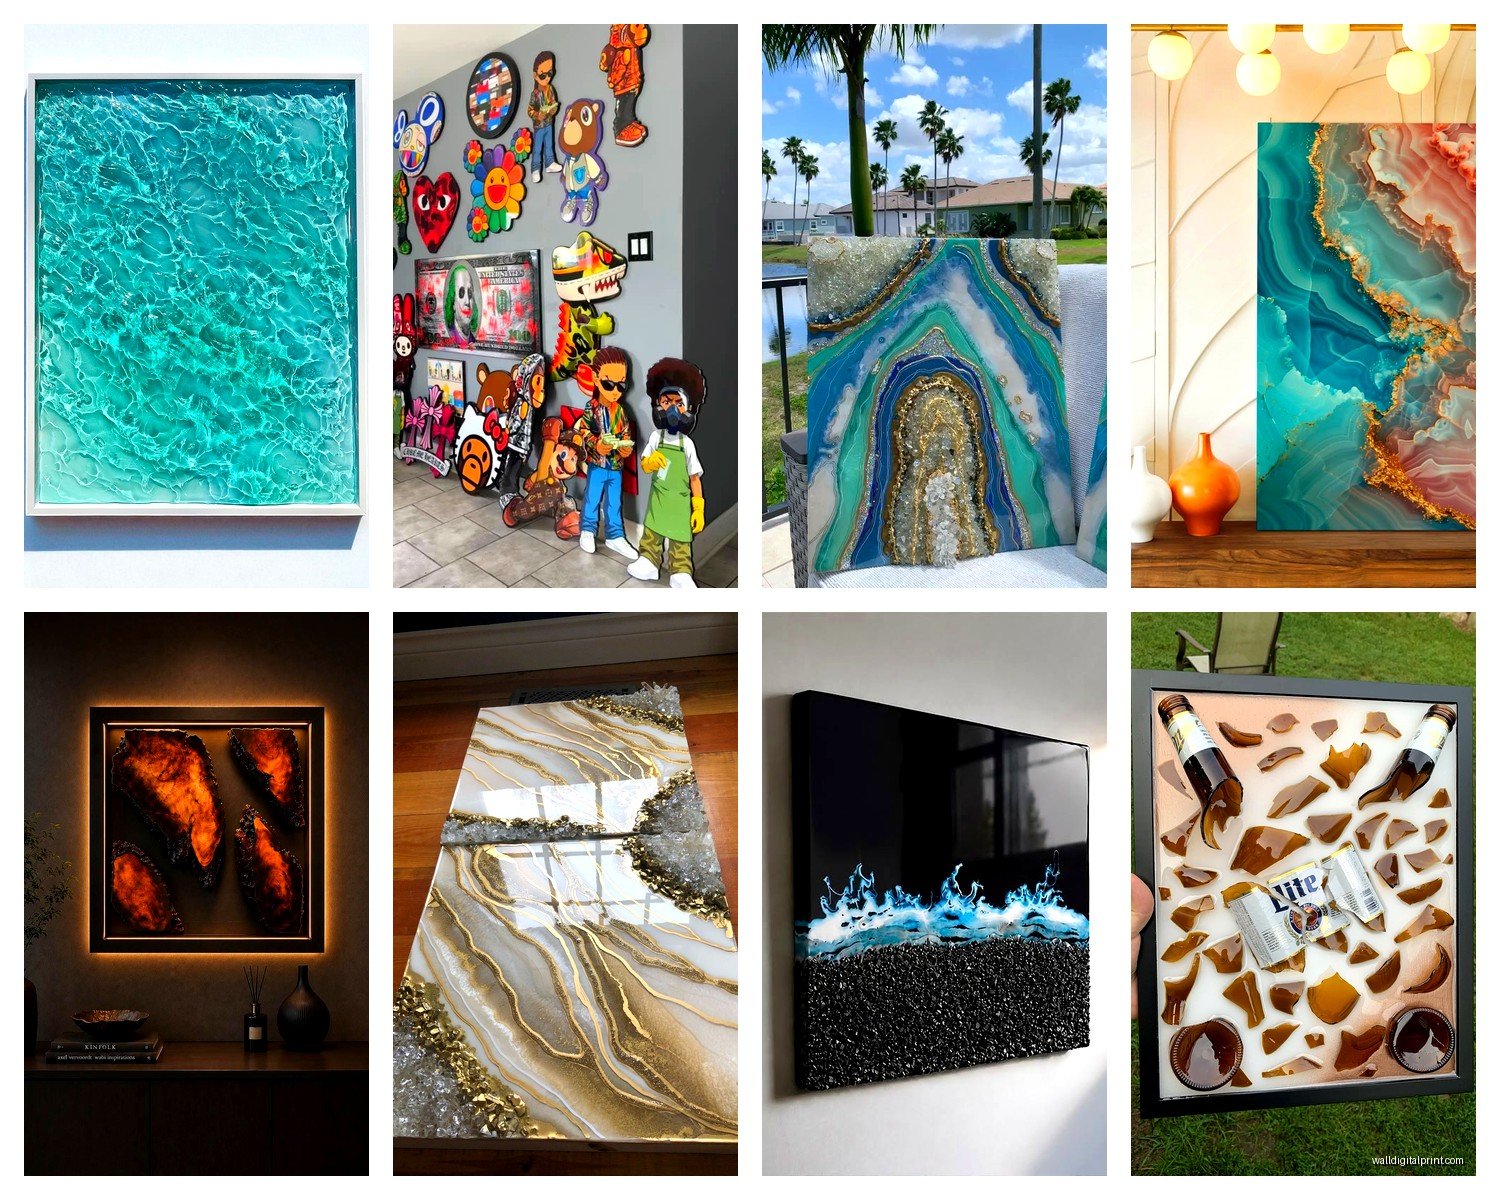
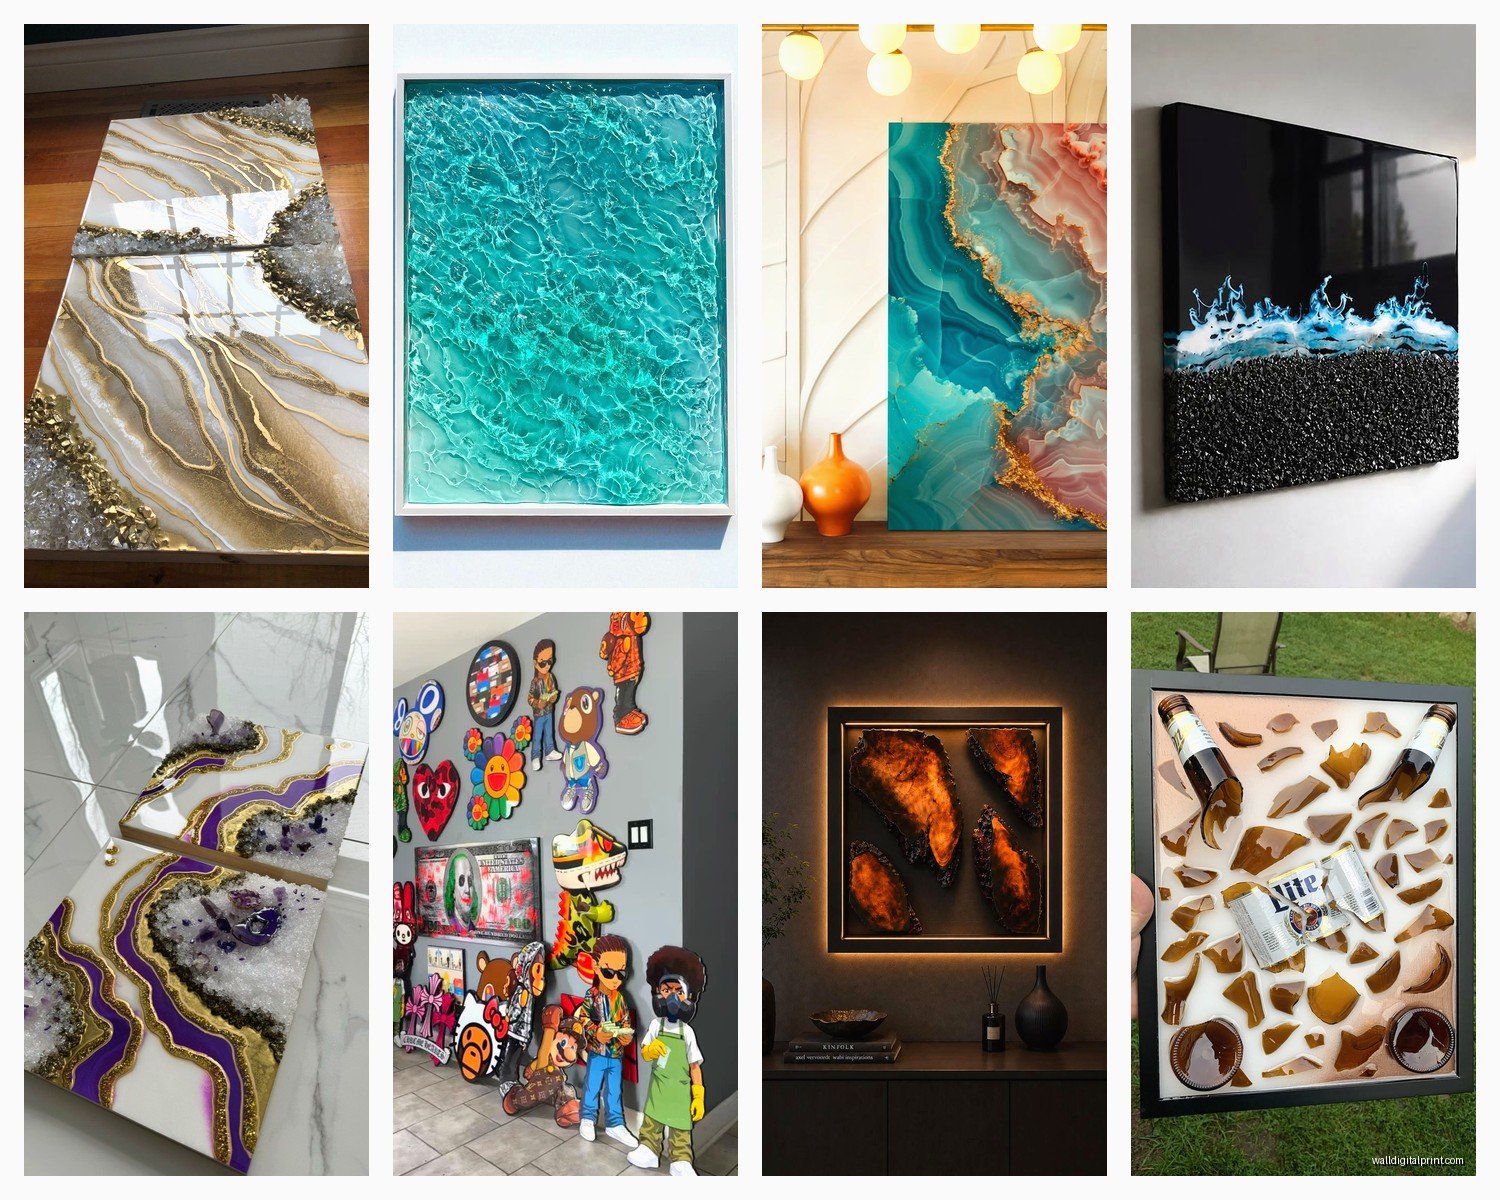
I’ve found that metallic colors work amazing for wall art because they catch light differently throughout the day. Mix some gold or copper with your other colors. But go easy because metallics are opaque and can overpower everything.
White is tricky – it can make everything look pastel and washed out if you use too much. I usually use it as an accent rather than a main color.
Black creates really dramatic cells and contrast but a little goes a long way. Too much black and your piece looks muddy.
My go-to combinations that always work:
- Turquoise, white, gold metallic
- Deep blue, purple, silver metallic
- Forest green, emerald, gold
- Coral, peach, white, gold
- Navy, gray, white, copper
Finishing And Hanging
Once it’s fully cured, you might want to add another flood coat of clear resin for extra depth and gloss. I do this maybe 60% of the time, depends on how the first pour turned out. If you do a second coat, make sure the first is fully cured and lightly sand it with 220 grit to help adhesion.
For hanging, I attach D-rings or sawtooth hangers to the back. If it’s a big piece, use two D-rings and wire. Make sure your hardware is rated for the weight – resin pieces are heavier than regular paintings.
Some people seal the back of the panel with a coat of resin too, supposedly helps prevent warping but I honestly don’t always bother unless it’s a commission.
Cost Breakdown Real Quick
Because everyone asks this – a gallon kit of decent resin runs about $80-120 and will do maybe 3-4 medium sized pieces. Panels cost $15-40 depending on size. So you’re looking at maybe $40-60 in materials per piece, not counting your time.
It’s not the cheapest hobby but it’s not crazy expensive either. Way cheaper than my brief pottery phase where I needed a whole kiln situation.
Safety Stuff I Should Probably Mention
Work in a ventilated area. Even “non-toxic” resin has fumes while curing. I have a fan running whenever I pour.
Wear gloves always. Uncured resin can cause skin sensitization, which basically means you can develop an allergy to it. Not fun.
If you get resin on your skin, wipe it off with paper towel then wash with soap and water. Don’t use alcohol or acetone on your skin to remove it.
Keep it away from kids and pets during the pouring and curing process. My dog tried to sniff a wet piece once and nearly got a resin nose, which would’ve been a vet emergency.
Troubleshooting Your First Attempts
Your first piece probably won’t turn out exactly how you imagined and that’s totally normal. Mine looked like a muddy mess because I used too many colors and mixed them too much while tilting.
If colors are getting muddy, you’re either over-tilting or your resin is too thin. Let it sit for 10-15 minutes after mixing before pouring – it’ll thicken slightly and the colors will stay more separated.
If you’re not getting cells, add more silicone oil or make sure you’re using enough heat. Also the consistency of your resin matters – if it’s too thick, cells won’t form easily.
If the resin isn’t spreading to the edges, you didn’t mix enough or your panel isn’t level. You can use a spreader to push it to the edges but work quickly.
Wait I forgot to mention – always mix more resin than you think you need because running out halfway through is basically the worst thing ever. You can’t just mix more and add it later because it’ll create a visible line where they meet.
The learning curve isn’t that steep honestly. By your third or fourth piece you’ll have a much better feel for how the resin moves and how colors interact. Just gotta accept that some pieces won’t turn out gallery-worthy and that’s okay, they’re practice.
I still have pieces that don’t work out and I’ve been doing this for years. Sometimes the resin gods just aren’t on your side that day. Last week I had one where the purple somehow took over everything and it looked like a bruise, ended up sanding it down and starting over.