Wall Art Guide, Wall Art Tutoriels
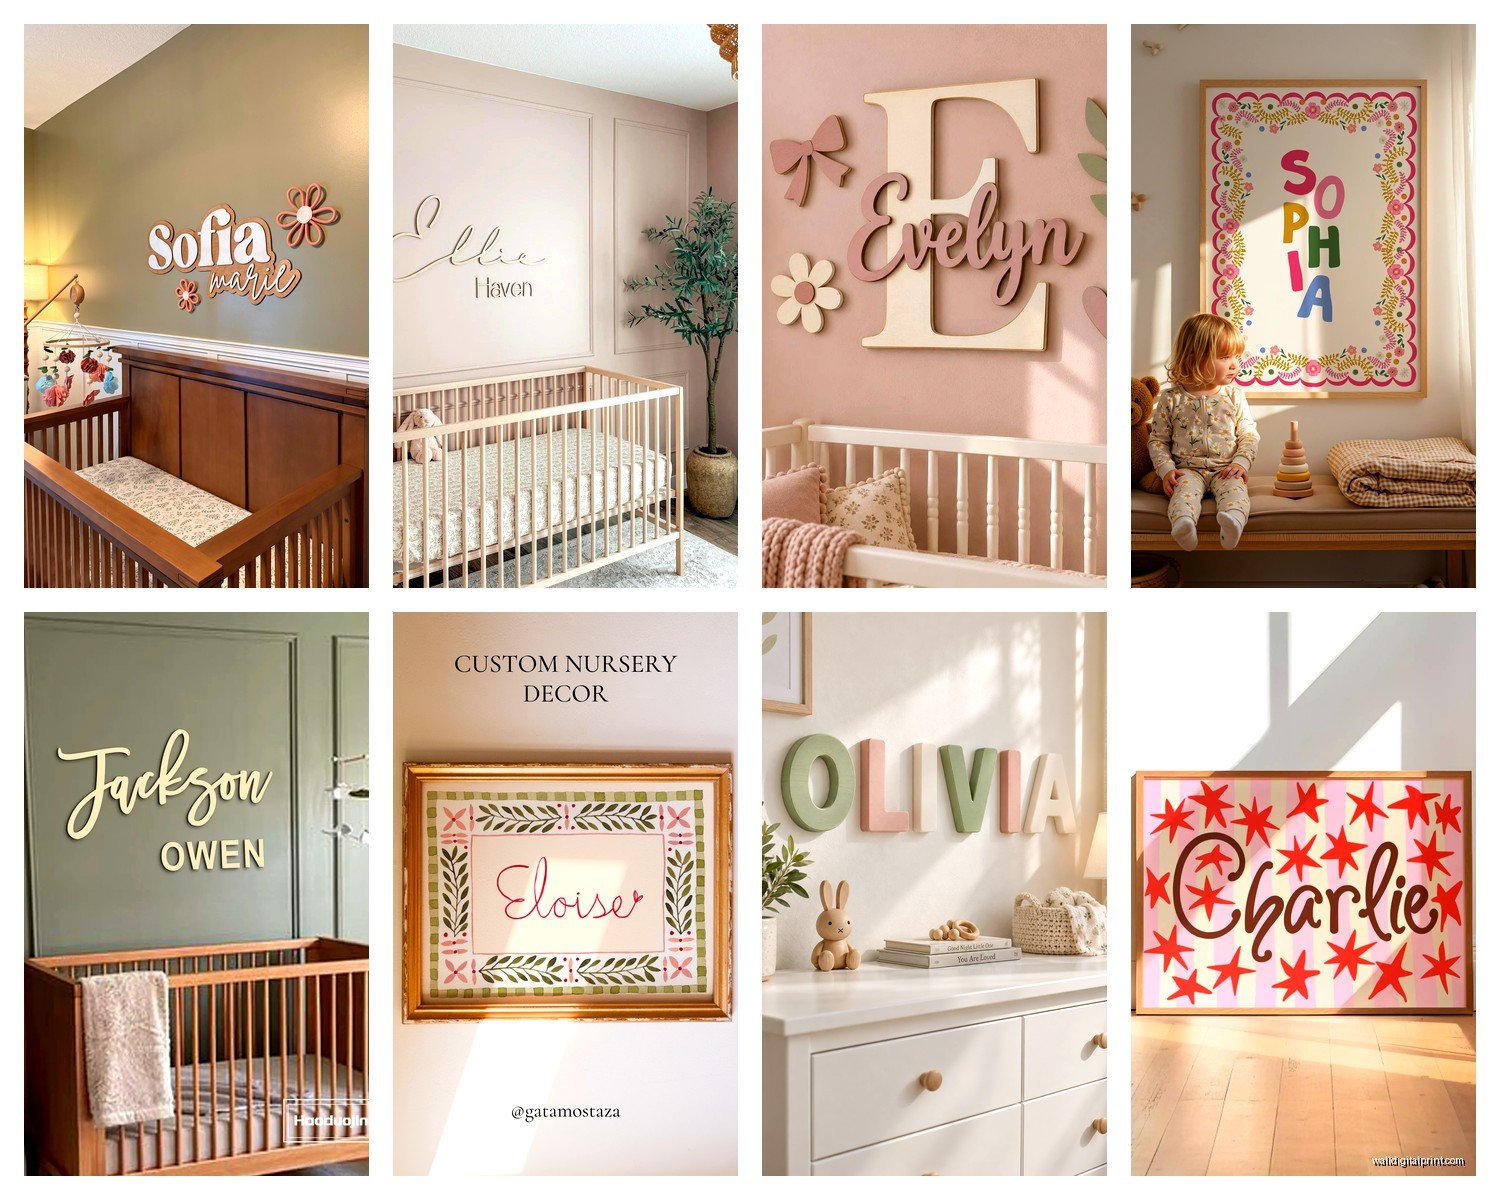
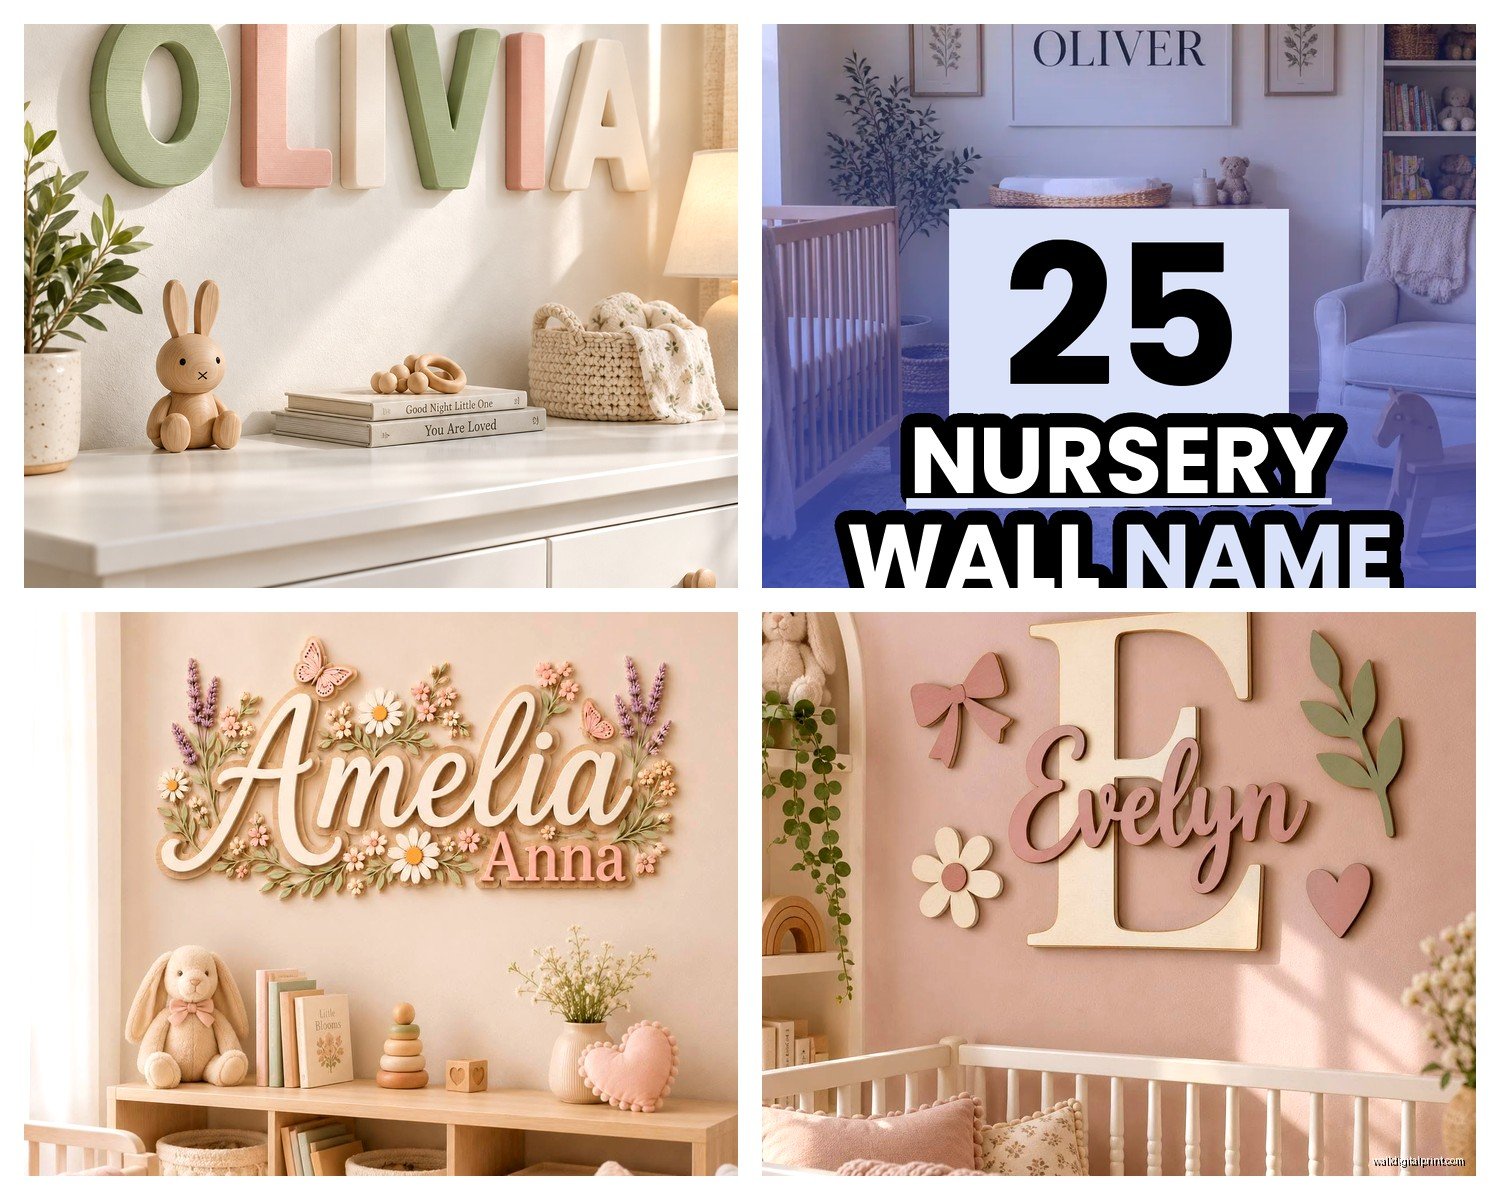
Nursery Name Wall Art: Personalized Baby Room Letters
Oct
So I’ve been doing a LOT of nursery name wall art lately and honestly, there’s way more to it than just slapping some letters on a wall. My friend just had her baby last month and texted me at like 11pm asking which letters to buy and I realized most people have no idea where to even start with this stuff.
The Basic Options You’re Looking At
Okay so there’s basically three main types and they’re ALL completely different price points. You’ve got your wooden letters, your fabric/padded letters, and your acrylic/metal ones. I tested all of them in my niece’s room before committing to anything permanent and here’s the actual deal.
Wooden letters are probably what you’re picturing. They come in like a million finishes – painted, stained, natural, distressed. The 8-inch ones from most craft stores run about $4-7 per letter which seems cheap until you realize “SEBASTIAN” is gonna cost you like $50+ just for the letters themselves. Then you gotta paint or finish them unless you buy pre-finished which doubles the price.
The fabric padded ones are softer obviously, better if you’re worried about a toddler throwing them or whatever. They’re usually wrapped in fabric or felt, sometimes quilted. These run $12-20 per letter typically. I used these for a client’s twins room last year and they looked really high-end but honestly they collect dust like crazy.
Acrylic and metal letters are the fancy option. Clear acrylic with vinyl backing, brushed gold metal, that sort of thing. These start at like $15-25 per letter minimum. But they photograph REALLY well if you’re into that whole Instagram nursery aesthetic thing.
What Actually Looks Good (From Someone Who’s Tried Everything)
Here’s what I learned after hanging probably 30+ name installations – size matters way more than you think. Everyone buys letters that are too small. If you’re doing this above a crib or changing table, you want minimum 8-inch letters, ideally 10-12 inches. I made this mistake with my first attempt and the 6-inch letters just looked sad and lost on the wall.
The spacing is where people really mess up though. You can’t just eyeball it. I use painter’s tape to mark where each letter goes before making any holes. Measure the total width of all your letters, add about 1-2 inches between each letter, then find the center point of your wall and work outward from there.
Oh and another thing – consider the actual NAME length. Short names like “Max” or “Zoe” are easy. But I had a client who wanted “Alexandria” and we literally ran out of wall space with 10-inch letters. Had to go down to 8-inch and it still barely fit. Sometimes you gotta get creative and stack the name vertically or do first and middle name on two lines.
The Hanging Situation Nobody Tells You About
This is gonna sound weird but the hanging method is actually the hardest part? Like the letters themselves are fine but getting them to stay on the wall without looking crooked or falling off at 3am is a whole thing.
For lightweight wooden or fabric letters under 1 pound each, command strips work fine. I use the medium picture hanging strips, two per letter for anything over 6 inches. But here’s the trick – you gotta let them set for like a full hour before hanging the letter. The package says 30 seconds but that’s a lie. I’ve had letters fall off because I rushed it.
Heavier letters need actual hardware. I use sawtooth hangers on the back of wooden letters and just hammer small nails into the wall. Yes you’re making holes but it’s more secure and you can patch them later if you move. For really heavy metal letters, you might need wall anchors.
The 3M velcro strips are actually my secret weapon for medium-weight letters. They’re repositionable which is clutch when you inevitably realize one letter is slightly higher than the others. My cat knocked over my coffee while I was doing this last week and I was SO glad I used the velcro ones because I could just adjust without starting over.
DIY vs Store-Bought Real Talk
I’ve done both and honestly? It depends on your skill level and how much free time you have. DIY wooden letters from the craft store are cheapest but you’re looking at several hours of work. You gotta sand them, prime them, paint them (multiple coats), seal them, attach hangers.
I did this for my sister and it took me literally an entire weekend. But I saved probably $100 compared to buying pre-finished Etsy letters. If you’re crafty and enjoy that stuff, go for it. If you’re already exhausted from being pregnant or dealing with a newborn, just buy them finished.
Etsy is where I source most stuff for clients now. You can get custom wooden letters in any color, any finish, usually $15-30 per letter depending on size and seller. Look for shops with lots of reviews specifically mentioning good packaging because I’ve had letters arrive broken before and it’s the WORST.
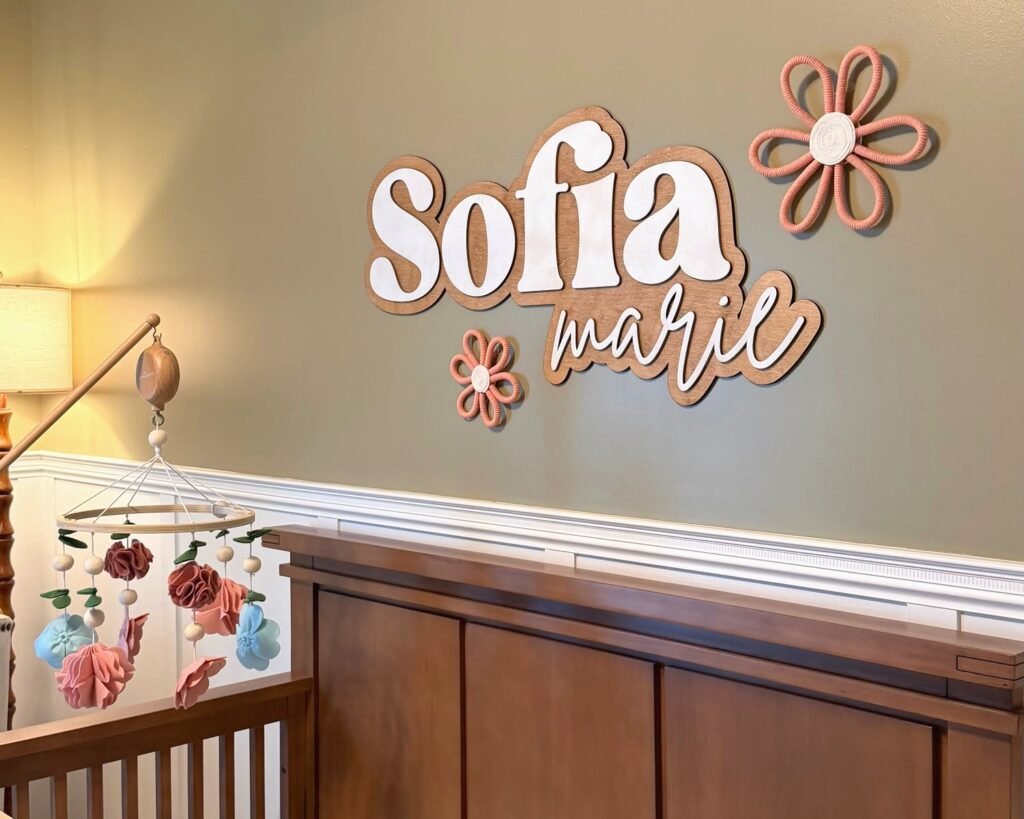
Wait I forgot to mention – some Etsy sellers do those gorgeous floral letters with fake flowers attached. They’re beautiful but super delicate and collect dust. Had a client whose toddler ripped all the flowers off within a month. Just something to consider if you have pets or older kids.
Color Matching Your Nursery Theme
Okay so this is where it gets fun or overwhelming depending on your personality. You want the letters to coordinate with your overall nursery vibe but not necessarily match exactly.
For neutral nurseries (gray, white, beige), I usually go with natural wood or white letters. Sometimes a soft gold if there’s other gold accents in the room.
If you’ve got a color scheme going, you can either match the letters to your accent color or go neutral and let other decor be colorful. I did a navy and mustard nursery last month and we used white letters with a thin gold edge – looked way better than trying to match the navy exactly.
The current trend is mixing materials which actually looks really cool. Like alternating wooden and acrylic letters, or doing the first letter in a different finish than the rest. I’m not usually into trendy stuff but this one actually has staying power I think.
Installation Day Tips From My Many Mistakes
Use a level. I know everyone says this but I’ve seen so many crooked name installations and it’s always because someone thought they could eyeball it. Get a small laser level if you’re doing this – they’re like $15 on Amazon and worth it.
Start from the middle letter and work outward. If you start from one end, any spacing errors compound and your last letter ends up way off center.
Take a photo when you’re done with the painter’s tape layout BEFORE you commit to holes. Look at the photo on your phone and you’ll see spacing issues you missed in person. Something about seeing it on a screen makes problems obvious.
Oh and do this during daylight if possible. I tried to hang letters at like 8pm once with just the overhead light and couldn’t see shadows properly. Everything looked crooked the next morning.
The Stuff That Doesn’t Work (So You Don’t Waste Money)
Those peel-and-stick vinyl letter decals? They look cheap in person even though they photograph okay. The edges peel up over time and they’re impossible to remove cleanly. I used them in a rental once and lost part of my deposit because they took paint off when I removed them.
Cardboard letters covered in scrapbook paper – cute idea in theory but they warp over time especially in humid climates. Learned this the hard way in a Florida nursery.
The super cheap unfinished wooden letters from dollar stores are too thin and flimsy. They crack easily when you try to attach hardware. Spend the extra $2 per letter and get the thicker ones from craft stores.
Hanging letters with just hot glue directly on the wall seems like a good shortcut but it’s NOT. The glue eventually gives out and you’ve got glue residue on your wall that’s annoying to remove.
Making It Actually Personal (Beyond Just The Name)
Some people add the birth date below the name using smaller letters or vinyl numbers. I think this looks nice if you have wall space. Others do the name plus a meaningful word like “blessed” or “loved” – not really my style but some people love it.
You can also incorporate the letters into a gallery wall situation with framed prints and other decor. This works really well if the name is short. I did “Leo” with some safari animal prints around it and it looked way more finished than just the name alone.
Adding string lights around or behind the letters is popular right now. Works best with acrylic letters that have some depth. Battery operated LED string lights are like $8 and add a nice glow for nighttime. Just make sure the battery pack is hidden or it looks messy.
What To Do When You’re Overthinking It
Look, I’ve definitely spent way too much time agonizing over letter choices. My friend was literally watching her baby monitor while texting me about serif vs sans serif fonts at midnight. Sometimes you just gotta pick something and commit.
Here’s my standard recommendation if you’re overwhelmed: get 9-10 inch wooden letters in white or natural wood, hang them with command strips, done. You can always upgrade later but this looks clean and classic with literally any nursery style.
The truth is babies don’t care what their wall letters look like and most name art gets taken down when the kid is like 5-7 anyway. Don’t stress about making it perfect or Pinterest-worthy unless that genuinely brings you joy.
That said, if you ARE into making it special, go for it. I spent hours on my niece’s name letters because I wanted to and it made me happy. Just don’t feel obligated to do the most if you’ve got other stuff going on.
The main thing is making sure whatever you hang is secure. Check it every few months especially once baby becomes mobile. I’ve seen toddlers try to pull themselves up using wall decor and it’s scary. Better to use proper anchors and screws than risk something falling.
Anyway that’s basically everything I know about nursery name letters from actually doing this a bunch of times. Hit me up if you need help figuring out spacing for a specific name or whatever.