Wall Art Guide, Wall Art Tutoriels
Unique Bathroom Wall Art: One-of-a-Kind Bath Space Decor
Oct
So I’ve been obsessing over bathroom wall art lately because honestly, bathrooms get zero love when it comes to decorating and that’s just wrong. Like, you’re in there every day and most people just slap up a generic “wash your hands” sign from HomeGoods and call it done.
Let me tell you what actually works because I’ve tried SO many things in my own bathroom and with clients.
First Thing – Moisture is Your Enemy
Okay so before you buy anything, you gotta think about humidity. I learned this the hard way when I hung this gorgeous watercolor print above my toilet and three months later it was basically warped beyond recognition. My cat knocked over a plant that same week so I was already annoyed, but yeah… steam ruins everything.
For art near the shower or tub, you want:
- Acrylic prints instead of paper
- Metal prints (these are actually amazing and super modern looking)
- Canvas with a proper sealant
- Framed pieces with glass – but make sure there’s a backing that won’t let moisture seep in
I’ve had really good luck with those aluminum prints from places like Shutterfly or even Etsy shops that do custom metal work. They don’t warp, the colors stay vibrant, and honestly they look more expensive than they are.
Where to Actually Find Unique Stuff
So everyone asks me this and here’s the thing – you’re not gonna find truly unique pieces at Target. Sorry but it’s true.
Etsy is Still the Best
I spend way too much time on Etsy. Like, my husband asked why I was up at midnight last Tuesday and I was literally scrolling through vintage botanical prints. But here’s my strategy:
Search for really specific terms instead of just “bathroom art.” Try:
- “Vintage anatomy prints” – sounds weird but they’re gorgeous in a bathroom, very apothecary vibes
- “Antique fish illustrations” – especially good for nautical-ish bathrooms
- “Botanical line drawings”
- “Abstract waterscape” for something modern
- “Vintage perfume ads” – these are stunning and very French
The cool thing about Etsy is you can message sellers and ask them to print on waterproof materials or different sizes. Most are super accommodating.
Thrift Stores and Estate Sales
Okay this is gonna sound like work but it’s actually fun? I hit up estate sales probably twice a month and you find the most random amazing stuff. Last month I found this set of four framed pressed seaweed specimens from like the 1940s for $15 total. FIFTEEN DOLLARS. They’re now in my powder room and everyone asks about them.
The key is to look for:
- Old frames you can repurpose (even if the art inside is ugly)
- Vintage mirrors – you can layer these with art for dimension
- Weird scientific prints or pages from old books
- Architectural drawings or blueprints
Oh and another thing – don’t skip the books section at thrifts. You can literally frame pages from vintage books. I did this with an old French dictionary and it looks like I spent hundreds.
DIY Options That Don’t Look DIY
Listen, I’m not super crafty but even I can do these and they turn out looking professional.
Pressed Botanical Frames
You can buy dried flowers or leaves (or dry your own if you’re patient, which I’m not). Get some floating frames from IKEA – the RIBBA frames work great – and just arrange the botanicals inside. It takes maybe 20 minutes and looks like you bought it from Anthropologie for $200.
I did this with eucalyptus branches and some ferns. The eucalyptus smells amazing too which is a bonus.
Fabric in Embroidery Hoops
This sounds very Pinterest 2015 but hear me out – if you use cool fabric it’s actually stunning. I found this vintage kimono fabric at an estate sale (again with the estate sales, I know) and stretched pieces of it in different sized embroidery hoops. Hung them in a cluster. Everyone thinks they’re legit art pieces.
You can find fabric at:
- Fabric stores obviously but look for unique patterns
- Old scarves from thrift stores
- Vintage tablecloths cut up
- Even wallpaper samples work
Photo Transfers onto Wood
This is slightly more involved but not hard. You print photos onto special transfer paper, then use gel medium to transfer them onto wood pieces. YouTube has a million tutorials. I did this with vintage botanical illustrations and they look like actual art installations now.
The wood grain showing through gives it this really organic aged look that you literally cannot buy in stores.
Arranging Your Wall Art (This Actually Matters)
So you’ve got your art but now what? I see people make this mistake all the time – they buy one piece and stick it randomly on the wall and wonder why it looks off.
Gallery Wall Approach
For a gallery wall in a bathroom you want it to feel intentional but not too matchy-matchy. Here’s my formula:
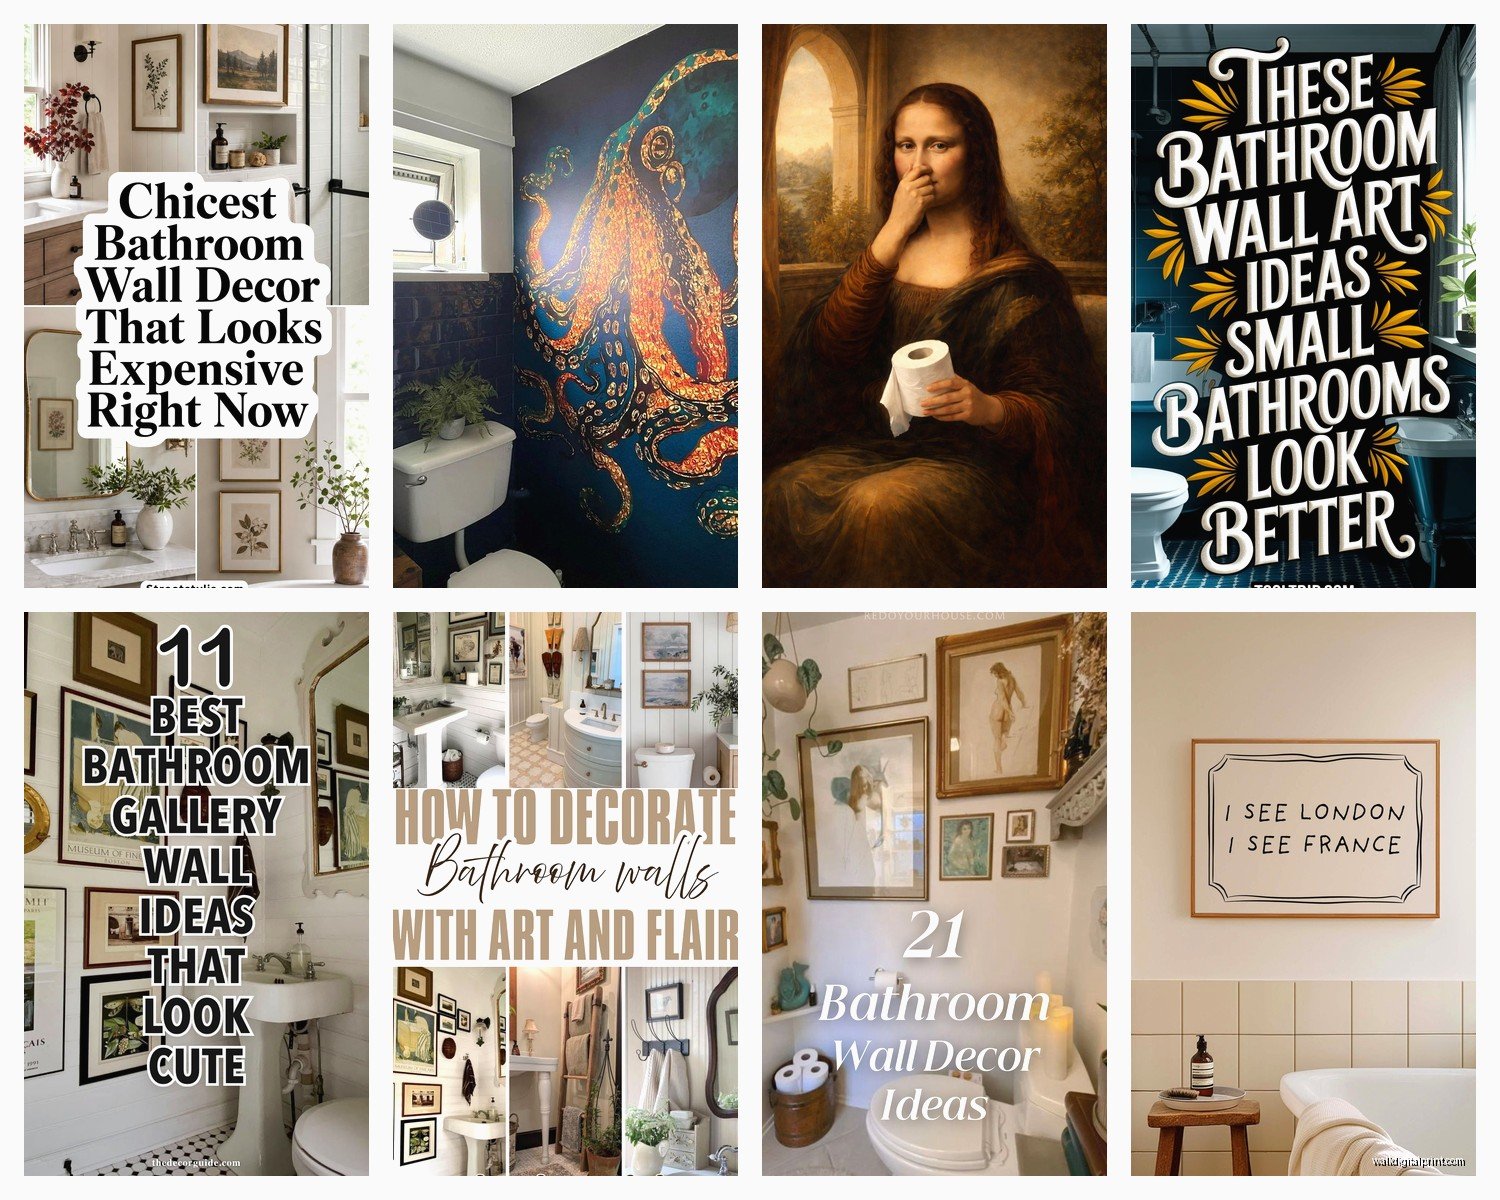
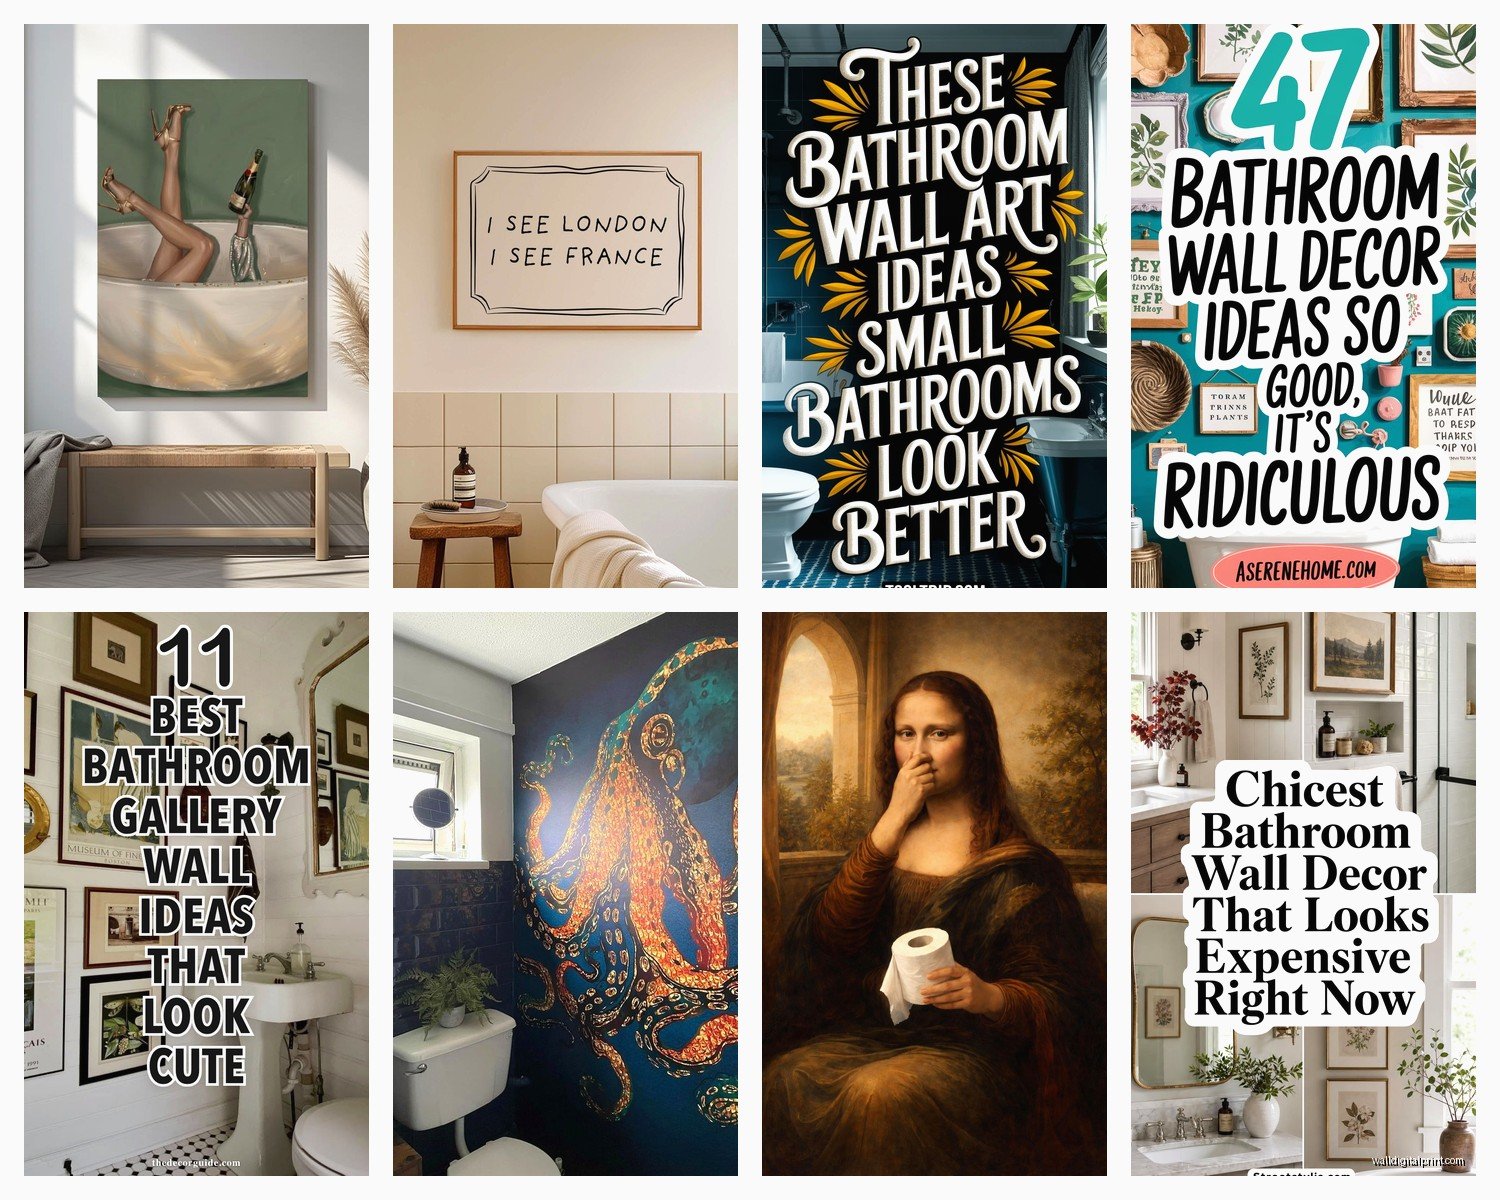
Pick a theme but vary the execution. Like, if you’re doing botanical – mix actual pressed plants with vintage prints with maybe a modern line drawing of a leaf. Different mediums, same vibe.
Start with your largest piece and build around it. I use painter’s tape to map everything out on the wall first because I’m not gonna put 47 holes in my wall guessing.
Space pieces about 2-3 inches apart. Closer than that looks cluttered, further looks disconnected.
The Leaning Method
If you have a ledge or shelf (or install a picture ledge which is like $20 from IKEA), you can lean art instead of hanging it. This is actually my favorite for bathrooms because you can change it out easily.
Layer smaller pieces in front of larger ones. Mix in a small plant or a decorative object. It looks very curated and artistic but takes zero commitment.
Specific Ideas That Work Really Well
Let me just dump some specific combinations that I’ve done and loved:
The Apothecary Look:
Vintage medical or botanical illustrations in matching black frames. Add some dried herbs in small bottles on a shelf below. Very witchy in a chic way.
The Spa Vibe:
Abstract ocean or watercolor pieces in whites, blues, grays. Keep everything really minimal. Maybe one piece of driftwood mounted on the wall.
The Eclectic Collector:
This is my personal bathroom actually – mix of vintage fish prints, a small antique mirror, a framed piece of lace from my grandmother, and a neon “relax” sign I found at a flea market. It shouldn’t work but it does? The key is keeping a similar color palette even though the styles are all different.
The Modern Minimal:
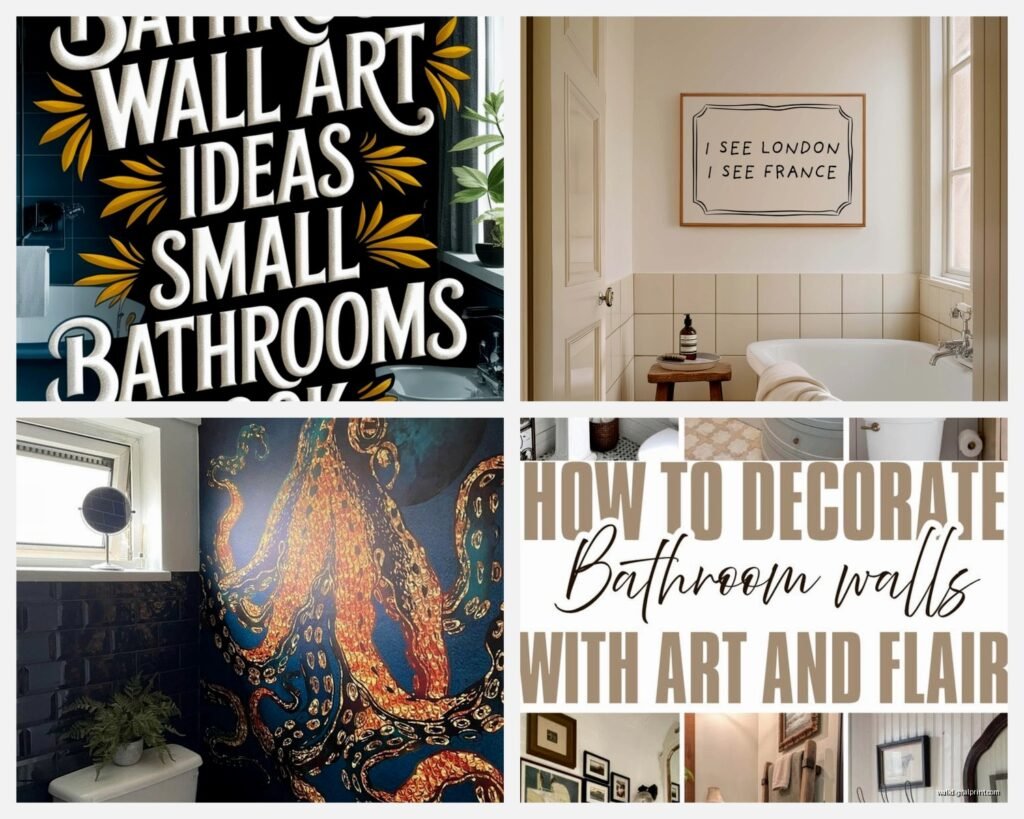
One large-scale abstract piece. That’s it. Let it breathe. I did this in a client’s powder room with a 3×4 foot abstract in navy and gold tones and it’s stunning. Sometimes less really is more.
The Nature Wall:
All real objects – mounted driftwood, a shadow box with shells, framed pressed leaves, maybe a small air plant holder. Very organic and textural.
Practical Hanging Tips
Because actually getting stuff on the wall is where people get stuck…
For tile walls (like behind the toilet), use those Command strips rated for the weight. They actually work despite what skeptics say. I’ve had art up for two years on Command strips with zero issues.
For drywall, use proper anchors if you’re hanging anything heavy. Those little plastic anchors that come with frames are garbage – spend the extra $5 on good ones.
wait I forgot to mention – if you’re hanging in a rental and can’t put holes everywhere, picture ledges are your best friend. One ledge = one hole per bracket but you can display multiple pieces.
Height Matters
Art should be at eye level generally. That’s about 57-60 inches from the floor to the center of the piece. But in bathrooms you might adjust based on what’s there. Above a toilet? Center it about 6-8 inches above the tank.
Budget Breakdown From My Experience
Since people always ask about cost…
Super Budget (under $50 total):
- Print free art from museums (many have downloadable collections)
- Frame with thrifted frames you paint
- Or do the fabric/embroidery hoop thing
- Press your own botanicals
Mid-Range ($50-200):
- Etsy prints on waterproof materials
- IKEA frames (they’re actually good quality)
- Mix of DIY and purchased pieces
- Maybe one nicer vintage find
Splurge ($200+):
- Original art from local artists
- Custom framing
- Metal or acrylic prints in larger sizes
- Curated vintage collection
I usually tell clients to spend money on one statement piece and fill in around it with more affordable options.
Mistakes I’ve Made So You Don’t Have To
Hung paper prints directly above the shower. They lasted three weeks.
Bought a set of four prints that were too matchy – looked like a hotel. Swapped two out for different pieces and it instantly looked better.
Put art too high on the wall. Had to rehang everything. Use that 57-inch rule, seriously.
Didn’t consider lighting. Art needs light to be seen. If your bathroom is dark, either add lighting or choose pieces with lighter backgrounds that show up better.
this is gonna sound weird but – I once hung a piece I didn’t actually like because it “went with” the bathroom colors. Hated looking at it every day. Only put up stuff you genuinely like, even if it seems weird for a bathroom.
Keeping It Clean
Bathroom art gets dusty and sometimes splattered with toothpaste (just me?).
For glass-covered frames, just wipe with glass cleaner. Easy.
For acrylic or metal prints, use a slightly damp microfiber cloth. Don’t use harsh chemicals.
Canvas can be gently dusted or vacuumed with a brush attachment.
If you’ve got actual objects like driftwood or pressed botanicals in open frames, dust carefully with a soft brush every few weeks.
Seasonal Switching
Okay so this is extra but I actually swap out some of my bathroom art seasonally. Not all of it, but maybe one or two pieces. It keeps things feeling fresh and lets me rotate through more of my collection.
Summer: lighter, brighter pieces, maybe some beach finds
Fall: warmer tones, more botanical
Winter: I tend toward more abstract and moody pieces
Spring: definitely more florals and vintage garden prints
You don’t have to do this but if you’re someone who gets bored easily (hi, me), it’s a good option.
The main thing is just to actually put SOMETHING on your bathroom walls. It’s such a missed opportunity and it really does make the space feel more finished and personal. Start with one piece you love and build from there. You don’t need a whole plan figured out from day one.
I’m literally still tweaking my own bathroom gallery wall and I do this professionally, so don’t stress about making it perfect immediately. Just start hanging stuff and see what feels right.