Wall Art Guide, Wall Art Tutoriels
Glitter Wall Art: Sparkle Shimmer Glamorous Shiny Designs
Oct
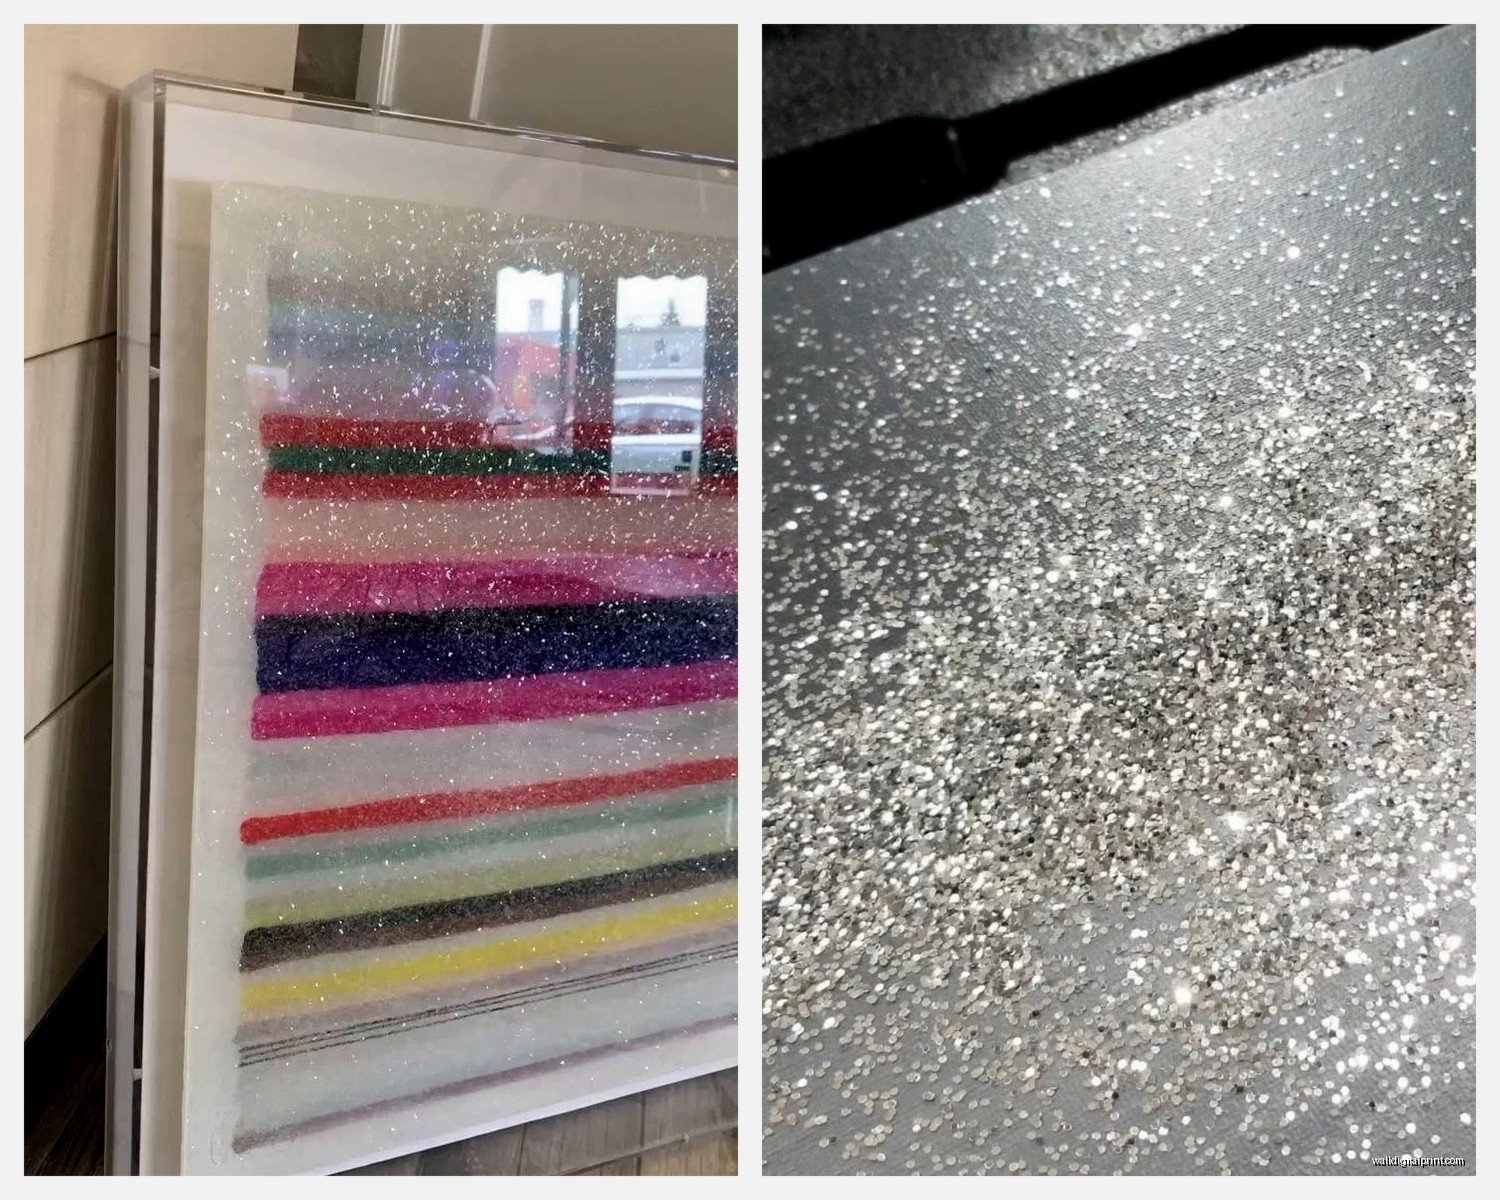
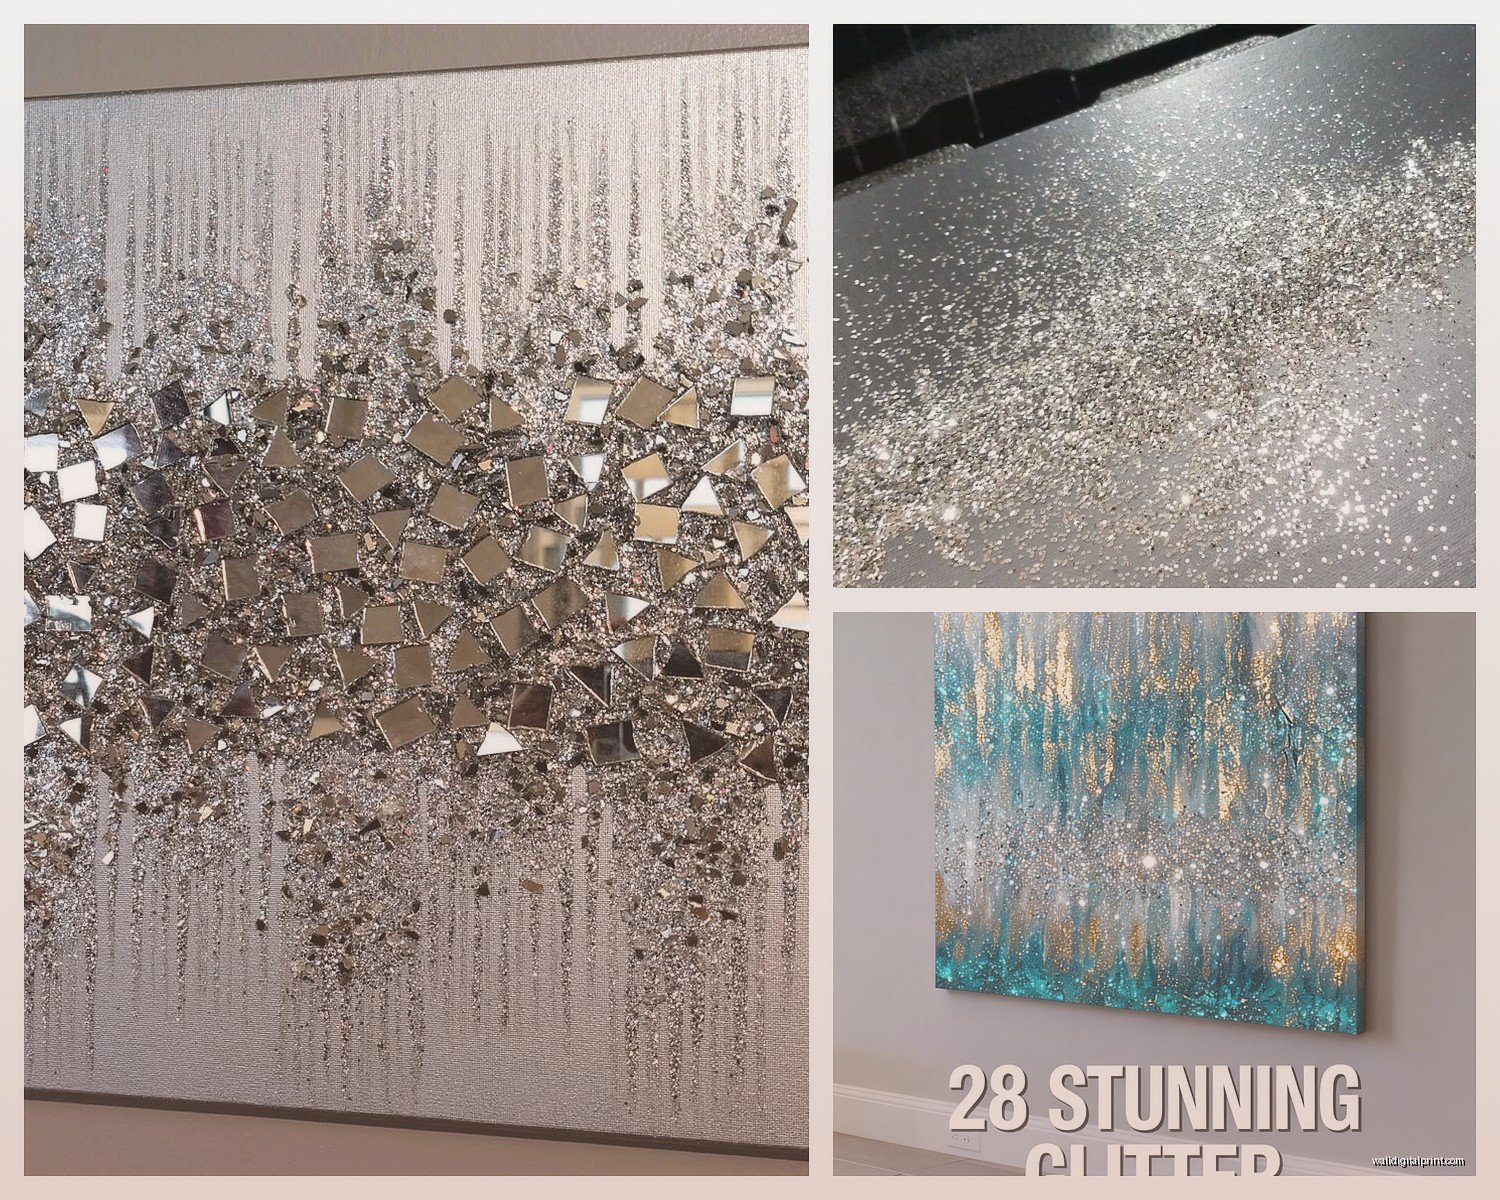
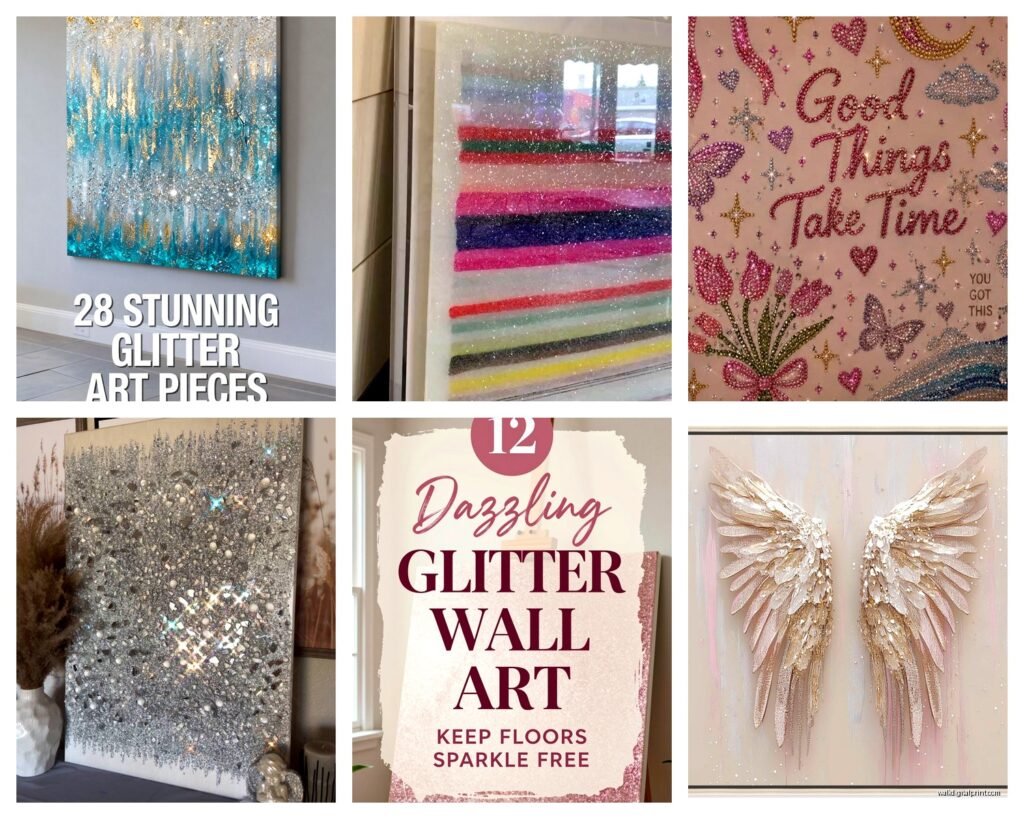
So I’ve been doing glitter wall art for like three years now and honestly it’s one of those things that looks way harder than it actually is. Last month I did an entire accent wall for a client’s teenage daughter and my hands were sparkly for days but the result was absolutely worth it.
The Glitter Situation Nobody Warns You About
Okay first thing, glitter gets EVERYWHERE. Like I found glitter in my car two weeks after a project and I have no idea how it even got there. You’re gonna want to prep way more than you think. I’m talking drop cloths, painter’s tape, maybe even taping off doorways if you’re doing a big piece. My dog walked through some loose glitter once and tracked sparkly paw prints through the entire house.
The type of glitter matters so much more than I realized when I first started. There’s craft glitter, which is super cheap but also super messy. Then there’s polyester glitter that’s a bit pricier but way more manageable. For wall art I honestly prefer the fine polyester stuff because it gives you that smooth shimmer without looking like a disco ball exploded.
What You Actually Need
Here’s what I keep in my glitter wall art kit:
- Mod Podge or a similar adhesive medium (I’ve tried like six brands and honestly Mod Podge just works)
- Fine polyester glitter in whatever colors you want
- Foam brushes in different sizes
- A clear acrylic sealer spray
- Stencils if you’re not freehand confident
- Painter’s tape that actually doesn’t pull paint off walls
- A small container to catch excess glitter
- Baby wipes for quick cleanup
The baby wipes thing sounds random but trust me, when you get glitter glue on your hands and you’re trying to grab your phone to check a reference photo, you’ll thank me.
Different Techniques That Actually Work
The Stencil Method
This is probably the easiest way to start. You tape your stencil to the wall, making sure it’s really secure because if it shifts even a little bit you’re gonna have blurry edges. I learned this the hard way on a geometric pattern that ended up looking like I did it after three glasses of wine.
Brush a thin layer of Mod Podge inside the stencil. Don’t glob it on because it’ll seep under the edges. Then sprinkle your glitter over it while it’s still wet. I usually hold a piece of paper underneath to catch the excess. Wait like maybe 10 minutes, then carefully peel off the stencil. The key word is carefully because I’ve absolutely ruined designs by being impatient.
Let it dry completely, we’re talking like 2-3 hours, then spray it with a clear sealer. This keeps the glitter from shedding everywhere forever.
The Ombre Effect
Oh and another thing, ombre glitter looks SO good but it’s kinda tricky. You need at least three shades of the same color family. I did a rose gold to champagne to white ombre last year and people still ask me about it.
You basically work in horizontal sections, applying your darkest shade at the bottom. Then while that’s still slightly tacky, you start blending in your medium shade, overlapping the edges. The wet glue lets them blend together. Keep working up with your lighter shades. The trick is not letting any section fully dry before you add the next one or you’ll get harsh lines.
Freehand Designs
This is gonna sound weird but I sometimes sketch my design with a pencil directly on the wall first. Light pencil marks disappear under the glitter anyway. I’ve done everything from abstract swirls to constellation patterns this way.
For freehand stuff, I use a smaller brush and work in small sections. Like if I’m doing a flowing ribbon design, I’ll do maybe 6 inches at a time, sprinkle glitter, let it set a bit, then move to the next section. It takes forever but the control you get is worth it.
Color Combinations That Look Expensive
Okay so funny story, I once mixed gold and silver glitter thinking it would look luxurious and it just looked… muddy? Some colors blend beautifully and others really don’t.
What actually works:
- Rose gold with blush pink and cream
- Navy blue with silver and white
- Emerald green with gold
- Lavender with silver and pale pink
- Copper with burgundy and cream
The monochromatic thing works really well too. Like different shades of blue glitter on a white wall creates this really sophisticated look that doesn’t scream “I’m trying too hard.”
The Size Question
People always ask me how big to go with glitter wall art. Honestly it depends on your room but I’ve found that going bigger than you think usually looks better. A tiny glitter accent in a big room just looks lost. I did a 4×6 foot abstract design in a living room and it became the focal point of the entire space.
For smaller rooms though, maybe stick to one wall or even just a section. My client’s powder room has just a glitter chevron pattern behind the mirror and it’s perfect for that tiny space.
The Mistakes I Made So You Don’t Have To
Wait I forgot to mention the biggest disaster I had. I used regular craft glue once instead of Mod Podge because I ran out and didn’t wanna drive to the store. The glitter literally started falling off the wall within a week. Craft glue doesn’t have the same adhesive quality and it definitely doesn’t seal properly.
Also, humidity is your enemy. I did a bathroom project once and didn’t account for shower steam. Even with sealer, some of the glitter started looking cloudy after a few months. If you’re doing glitter art in a bathroom, use multiple coats of sealer and maybe avoid the wall directly opposite the shower.
Removal and Touch-Ups
Here’s something nobody talks about… removing glitter wall art is actually not that bad if you did it right. The Mod Podge peels off in sheets if you get under an edge with a putty knife. I mean you’ll probably need to do some touch-up painting but it’s not like removing wallpaper or anything.
For touch-ups on existing glitter art, I keep the exact glitter colors I used labeled in small containers. You can spot-fix areas that might’ve gotten dinged just by applying a tiny bit of adhesive and sprinkling matching glitter.
Sealing Is Not Optional
I cannot stress this enough. You HAVE to seal glitter wall art. I use Krylon Crystal Clear Acrylic Spray usually, but there’s other brands that work fine. Do like 2-3 light coats instead of one heavy coat because heavy coats can make the glitter look wet or clumpy.
Spray from about 12 inches away in a sweeping motion. And for the love of everything sparkly, do this in a well-ventilated area. I made the mistake of sealing a project in winter with all the windows closed and gave myself a headache that lasted hours.
Texture and Dimension Tricks
If you want your glitter art to have actual texture, you can mix glitter directly into Mod Podge before applying it. This creates a thicker, more dimensional effect. I did this for a sunset design where I wanted the sun itself to really pop off the wall.
You can also layer different sizes of glitter. Put down fine glitter as your base, seal it, then add some chunkier glitter pieces in strategic spots. Creates this really interesting depth thing that catches light differently throughout the day.
The Lighting Consideration
Oh this is important, the lighting in your room totally changes how glitter wall art looks. Natural light makes it shimmer subtly during the day. But if you add a spotlight or wall sconce near your glitter art? Game changer. I installed a small picture light above a glitter piece once and it literally transformed the whole thing.
For bedrooms, I sometimes suggest doing glitter art on the wall opposite windows so it catches that morning or evening light. In my own apartment I have a silver glitter geometric design that catches the sunset and it’s honestly my favorite thing.
Budget Reality Check
Glitter wall art can actually be pretty affordable or it can get expensive fast depending on your choices. A small accent design might cost you like $30 in materials. A full wall? You’re looking at maybe $100-150 for good quality supplies.
The glitter itself ranges from like $5 for a small container to $20 for the really nice stuff. I usually buy in bulk now because I do this so much but when I was starting out I definitely just bought what I needed for each project.
Don’t cheap out on the sealer though. I tried a dollar store clear spray once and it yellowed the glitter within months. Spend the extra $8 on a good brand.
Combining Glitter with Other Art
Something I’ve been doing lately is mixing glitter with painted elements. Like I’ll paint a floral design and then add glitter just to the centers of the flowers or along certain edges. It’s not all glitter but it adds that pop of sparkle where you want emphasis.
You can also use glitter to enhance existing wall decals or stenciled designs. I added silver glitter to a client’s nursery where they already had moon and star decals. Just traced the edges with glitter and it elevated the whole look.
Practical Placement Ideas
Where you put glitter wall art matters. I’ve found these spots work really well:
- Above a bed as a headboard alternative
- In an entryway to make a first impression
- Behind open shelving to add depth
- In a reading nook or cozy corner
- Around door frames for a subtle accent
- On ceiling corners for an unexpected detail
The ceiling corner thing is actually super cool. I did tiny gold glitter constellations in the corners of a bedroom ceiling and when the lights are low they look like stars. Very subtle but really magical.
Maintaining Your Glitter Art
Once it’s sealed properly, glitter wall art is actually pretty low maintenance. You can dust it gently with a microfiber cloth. Don’t use water or cleaning products because even sealed glitter can get weird if you saturate it.
If you notice any loose glitter spots developing, just dab a tiny bit of Mod Podge on them with a small brush, add matching glitter, and seal again once dry.
The longevity really depends on your wall prep and sealing job. I have pieces I did three years ago that still look perfect and I have one I rushed that started looking shabby after six months. Taking your time with each step really pays off.
Anyway that’s basically everything I’ve figured out through trial and error and probably too many sparkly projects. The main thing is just to start small, don’t skip the sealing step, and accept that you’re gonna find glitter in random places for weeks afterward.