Wall Art Guide, Wall Art Tutoriels
Metal Sun Wall Art: Sculptural Solar Ray Celestial Design
Nov
So I’ve been totally obsessed with metal sun wall art lately and honestly it started because this one client wanted something “celestial but not too witchy” for her dining room and I went down this massive rabbit hole. Like, I thought it’d be simple but there’s actually so much to consider with these sculptural solar ray pieces.
Figuring Out What Style Actually Works
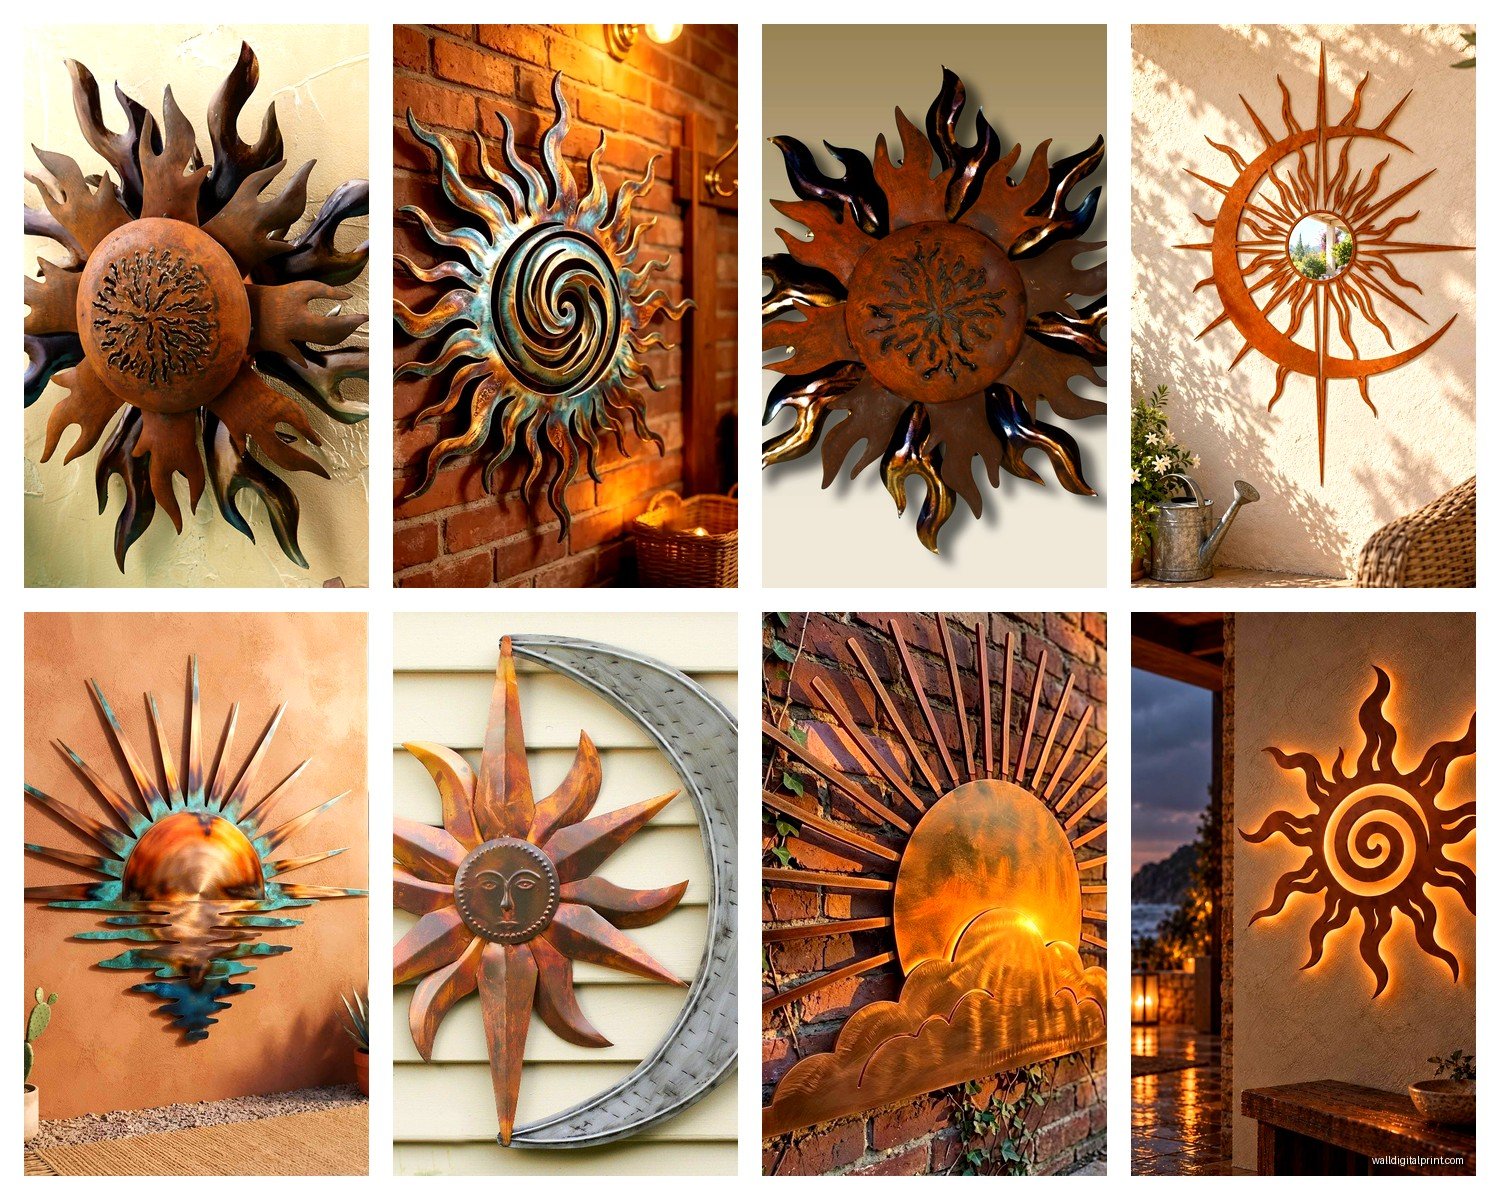
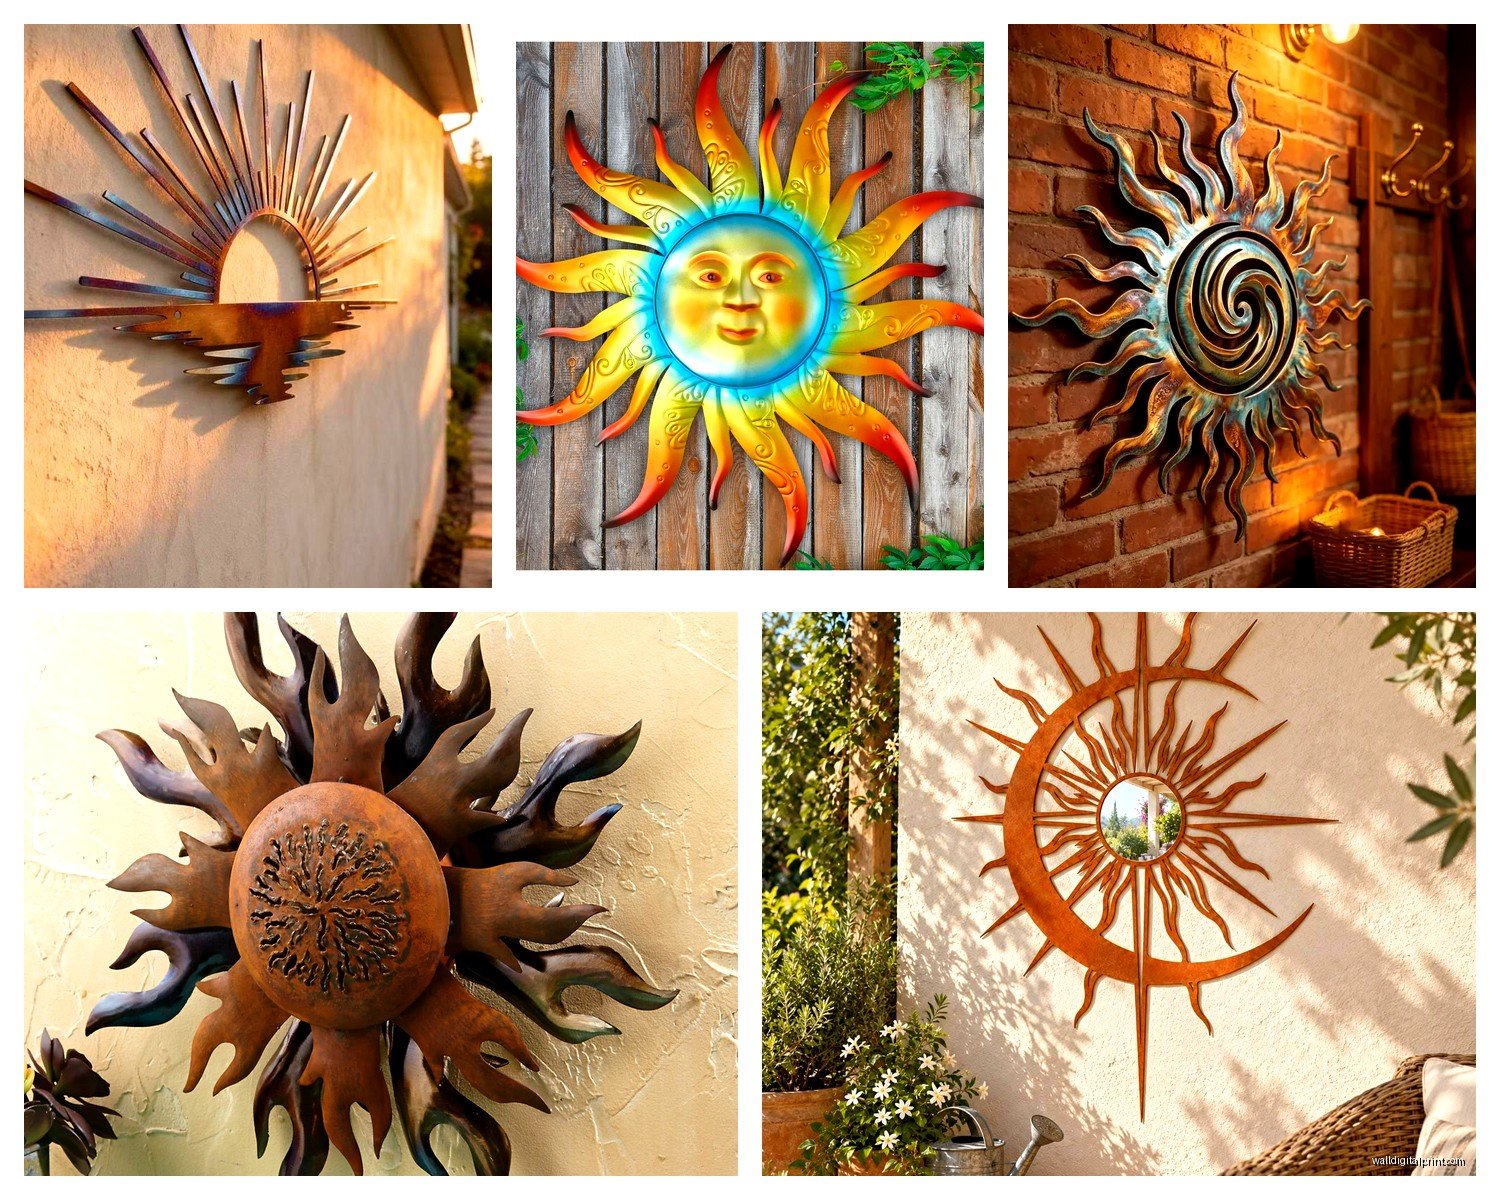
Okay so first thing – not all metal suns are created equal. You’ve got your flat cutout style which is basically like someone traced a sun shape and cut it from metal, then you’ve got the sculptural ones with actual dimension. The sculptural solar ray designs are where things get interesting because the rays can be twisted, layered, have different finishes on each layer… my neighbor got one from this Etsy shop and the rays were all hand-hammered copper and it catches light differently throughout the day which is just *chef’s kiss*.
The celestial design aspect usually means you’re getting something that feels a bit more mystical? Like maybe the face has more detail, or the rays are arranged in a specific pattern that mimics actual solar flares. I’ve seen ones that incorporate moons or stars around the perimeter too.
Size Matters Way More Than You Think
This is gonna sound obvious but I’ve made this mistake three times now. A 24-inch sun looks COMPLETELY different in your living room than it does on the product page. I ordered one for above my own mantle thinking it would be this dramatic statement piece and it just looked like a dinner plate on the wall. Ended up returning it and getting a 36-inch version.
Here’s what I tell people:
- Small spaces like bathrooms or narrow hallways: 18-24 inches max
- Standard living room wall or bedroom: 30-40 inches is your sweet spot
- Large statement walls or outdoor spaces: go 48 inches or bigger, you won’t regret it
- Above furniture: should be roughly 2/3 the width of whatever’s below it
My dog knocked over my coffee while I was measuring wall space last week and I had this epiphany – use painter’s tape to outline the size on your wall before buying. Sounds tedious but it’s saved me so much return shipping drama.
Material and Finish Combinations
The metal type changes everything about how these pieces age and where you can actually put them. I’ve tested a bunch of different materials both indoors and on my covered patio.
Powder-Coated Steel
This is probably the most common and honestly the most practical. The powder coating protects against rust, comes in every color imaginable, and holds up pretty well. I have a bronze powder-coated piece in my office that’s been there for like three years and still looks exactly the same. The coating is baked on so it doesn’t chip easily unless you’re like actively trying to damage it.
Downside is it can look a bit flat? Like the finish is very uniform which is great for modern spaces but if you want that aged patina look, this isn’t it.
Raw or Sealed Copper
Okay so copper is gorgeous but it’s gonna change on you. If you get unsealed copper, it’ll develop this greenish patina over time – some people love this, some people hate it. I had a client who specifically wanted that weathered look for her garden wall and we went with raw copper. Six months later it had this beautiful verdigris finish.
If you want to keep that shiny penny look, you need sealed copper which requires maintenance. You’ll be wiping it down with specific copper cleaners maybe every few months depending on humidity. Worth it though if you love that warm metallic glow.
Brushed or Hammered Aluminum
Lightweight which is clutch if you’re hanging it on drywall without finding studs. Won’t rust which makes it perfect for covered outdoor areas. The brushed finish catches light really nicely and has this subtle texture. I used hammered aluminum for a beach house project and it’s held up amazingly well despite the salt air.
The trade-off is it can look a bit… cheap? if the craftsmanship isn’t great. Make sure you’re looking at pieces with substantial gauge metal, not the flimsy stuff.
Installation Without Losing Your Mind
I’ve hung probably 30 of these things at this point and lemme tell you, the installation method matters SO much.
What Comes With It
Most sculptural pieces will have either a keyhole hanger on the back or a wire hanging system. The keyhole is easier but less adjustable. Wire gives you more flexibility to level it but can be finicky. Some of the really heavy ones (like over 10 pounds) come with a French cleat system which is honestly the most secure.
Wait I forgot to mention – always check the weight before you buy. If it doesn’t list the weight that’s kind of a red flag because it means they’re not thinking about how you’ll actually install it.
Actually Hanging It
For anything under 5 pounds, regular picture hanging hooks work fine. But these sculptural solar ray designs with all their dimensional elements usually weigh more than you’d expect.
Here’s my process:
- Find the center point where you want it using a level and mark it lightly with pencil
- If it’s over 10 pounds, I’m finding studs with a stud finder – this is non-negotiable for me after one fell at 2am and scared me half to death
- For pieces between 5-10 pounds, I use those plastic anchor screws that expand behind the drywall
- Measure from the top of the piece to where the hanging hardware sits, then measure down from your center mark by that amount
- Install your hook/screw/anchor at that lower mark
The thing nobody tells you is that the rays stick out in all directions so you need clearance. I once hung one too close to a doorframe and every time someone walked by they’d brush against the rays. Super annoying.
Mixing Metals and Creating Compositions
Oh and another thing – these look amazing when you cluster different celestial pieces together. I did this whole gallery wall situation with a large copper sun as the centerpiece, then added a smaller silver moon and a few metal star bursts around it. The key is varying the sizes and finishes but keeping them in the same metal family.
Like copper, bronze, and rose gold all play nicely together. Or stick with silver, brushed nickel, and galvanized steel for a cooler palette. Mixing warm and cool metals can work but it’s trickier – you need something to tie them together, maybe matching frames nearby or similar sculptural styles.
Placement Ideas That Actually Work
I’ve tried these in basically every room configuration:
Above the bed as a headboard alternative: Super dramatic, especially with the rays spreading out. Just make sure it’s secured really well because the thought of it falling is… yeah. I usually go 6-8 inches above where pillows sit.
Outdoor covered spaces: Patios, porches, gazebos – anywhere with a roof. The metal reflects outdoor light beautifully and adds architectural interest. Don’t put unsealed metal in direct rain though, learned that the hard way when a client ignored my advice and their steel sun rusted within weeks.
Entryway or foyer: Makes a statement the second people walk in. I like pairing it with a console table underneath and maybe some tall candlesticks to echo the vertical rays.
Bathroom: This is gonna sound weird but a smaller metal sun in a bathroom with good lighting is actually really cool. The steam hasn’t been an issue if you’ve got proper ventilation, and it adds this spa-like celestial vibe.
What to Look for Quality-Wise
Okay so you’re looking at product photos trying to figure out if something’s gonna look cheap or amazing in person. Here’s what I check:
The rays should have dimension and variation – if they all look exactly identical and perfectly symmetrical, it might be mass-produced stamped metal which isn’t necessarily bad but won’t have that artisan quality. Hand-crafted pieces will have slight variations.
Check if the face has actual sculptural detail or if it’s just painted on. You want raised features, texture, depth. Zoom in on photos if you can.
Look at the edges – are they finished smoothly or do they look sharp and jagged? Quality pieces will have deburred edges that won’t cut you.
The back matters too. It should have a clean finish, proper hanging hardware that looks sturdy, and ideally some kind of protective coating even on the back to prevent wall damage.
Price Points and What You Get
I’ve seen these range from like $30 at HomeGoods to $800 for custom artisan pieces. The $30-$80 range is usually mass-produced, lighter gauge metal, powder-coated steel. They’re fine for trying out the look or temporary spaces.
$100-$250 gets you better materials, heavier gauge, more intricate designs. This is where I shop most often for clients who want something that’ll last.
$300+ you’re looking at handcrafted, unique pieces, premium metals like copper or brass, artist-made stuff. I have one piece in this range and it’s legitimately a work of art.
Maintenance and Long-Term Care
Most powder-coated pieces need basically zero maintenance. Maybe dust them every few months with a microfiber cloth. That’s it.
Copper and brass need more attention if you want to maintain their shine. There are specific metal polishes – I use Wright’s Copper Cream for copper pieces. Apply it with a soft cloth, buff it off, done. Takes maybe 10 minutes every 3-4 months.
If you’ve got outdoor pieces, check them seasonally for any rust spots or finish damage. Catch it early and you can usually touch it up with matching spray paint.
The sculptural elements can collect dust in all their crevices. I use a soft paintbrush to get into the detailed areas, then follow up with compressed air if needed. My cat loves watching me do this for some reason, just sits there staring.
Common Mistakes I See People Make
Hanging it too high – these look best at eye level or slightly above, not way up near the ceiling where you can’t appreciate the details.
Not considering the shadow it casts – these dimensional pieces create really cool shadows when light hits them, but if you put it in a spot with no interesting light sources, you’re missing half the effect.
Ignoring the room’s existing metal finishes – if all your light fixtures and hardware are brushed nickel, a bright copper sun might look out of place unless you’re intentionally going for that eclectic mix.
Forgetting about the rays when placing furniture – I’ve seen people put these above sofas and then the top of the couch blocks half the bottom rays. Give it space to breathe.
Oh and not reading the indoor/outdoor specifications. Indoor metal won’t hold up outside and will rust or corrode quickly.
Where to Actually Buy These
I’ve had good luck with Etsy for unique handcrafted pieces – you can message sellers about custom sizes and finishes. Wayfair has a huge selection in the mid-range price point. West Elm and CB2 carry more modern minimalist versions if that’s your vibe.
For outdoor-specific pieces, I check garden centers and outdoor decor specialists. They’ll have properly sealed and weather-resistant options.
Estate sales and antique shops sometimes have vintage metal suns that are incredible – proper patina, unique designs you won’t find anywhere else. I found a 1970s brass sun at an estate sale for $45 that would easily cost $300+ retail.
Just make sure wherever you buy from has a decent return policy because these really do look different in person than in photos, and you might need to try a couple before finding the perfect one. I’m still learning this stuff myself honestly – just installed one in my hallway last month and I’m already thinking about swapping it for something with more dramatic rays because I’m apparently never satisfied.