
Wall Art Guide, Wall Art Tutoriels
Large Outdoor Wall Art: Oversized Garden Yard Statement
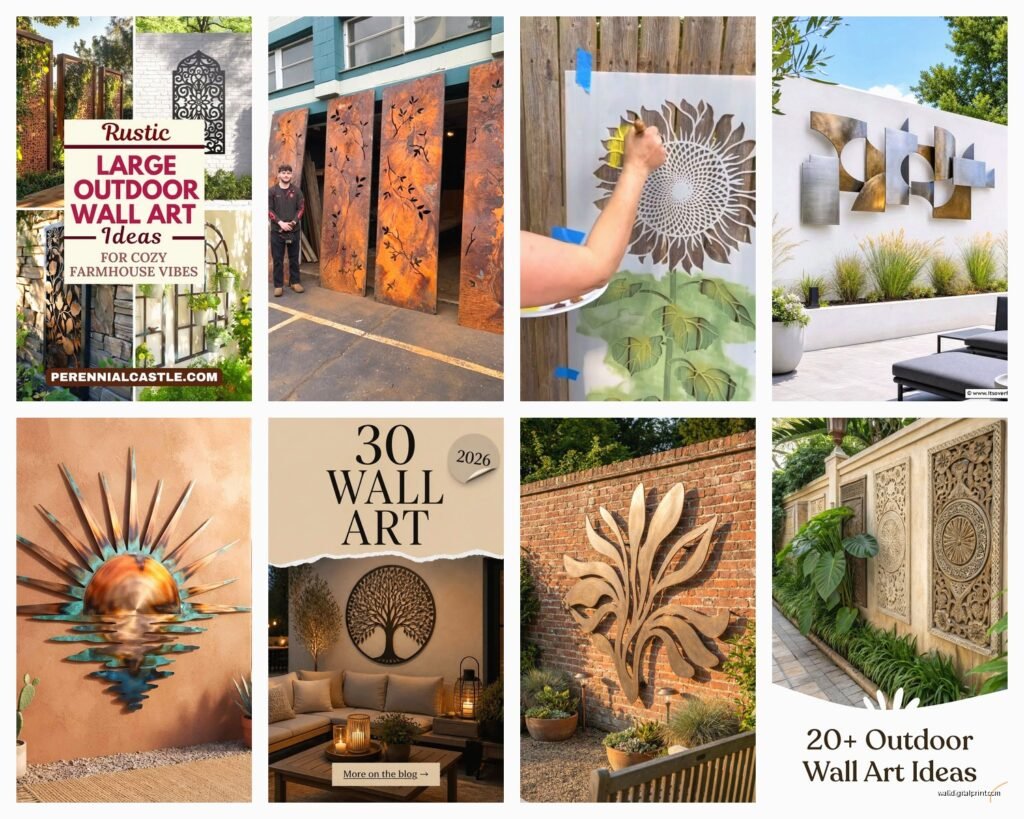
Nov
So I basically spent all last weekend installing this massive metal sculpture on my client’s garden wall and honestly, I learned SO much about what actually works versus what looks good on Pinterest but is a total nightmare in real life.
Size Actually Matters More Than You Think
Okay first thing, everyone underestimates the size they need. Like, you’re standing in your yard thinking “oh a 24×36 piece will look great” and then it arrives and it’s just… lost. The rule I use now is measure your wall space, then go at least 30% bigger than what feels right. I’m serious. Outdoor spaces eat up visual impact in a way indoor rooms don’t because there’s so much competing for attention, trees, sky, all that stuff.
For reference, my client’s wall was about 12 feet wide and we went with a 6-foot wide piece. That felt HUGE when we ordered it but once it was up? Perfect. Anything smaller would’ve looked like we were trying to decorate a cathedral with a postcard.
Material Choices Because Weather is Mean
This is where I’ve seen people waste so much money. That gorgeous wooden piece you found on Etsy? It’s gonna warp. I don’t care what the seller says about weatherproofing, wood and constant outdoor exposure are not friends long-term.
Here’s what actually holds up:
- Powder-coated metal – this is my go-to, comes in tons of designs, rust-resistant if done properly
- Outdoor-rated composite materials – newer option, surprisingly durable
- Ceramic tiles or mosaics – if properly sealed, these last forever
- Cor-ten steel – that rusty-looking stuff that’s actually designed to rust in a protective way
- Marine-grade stainless steel – pricey but literally won’t budge
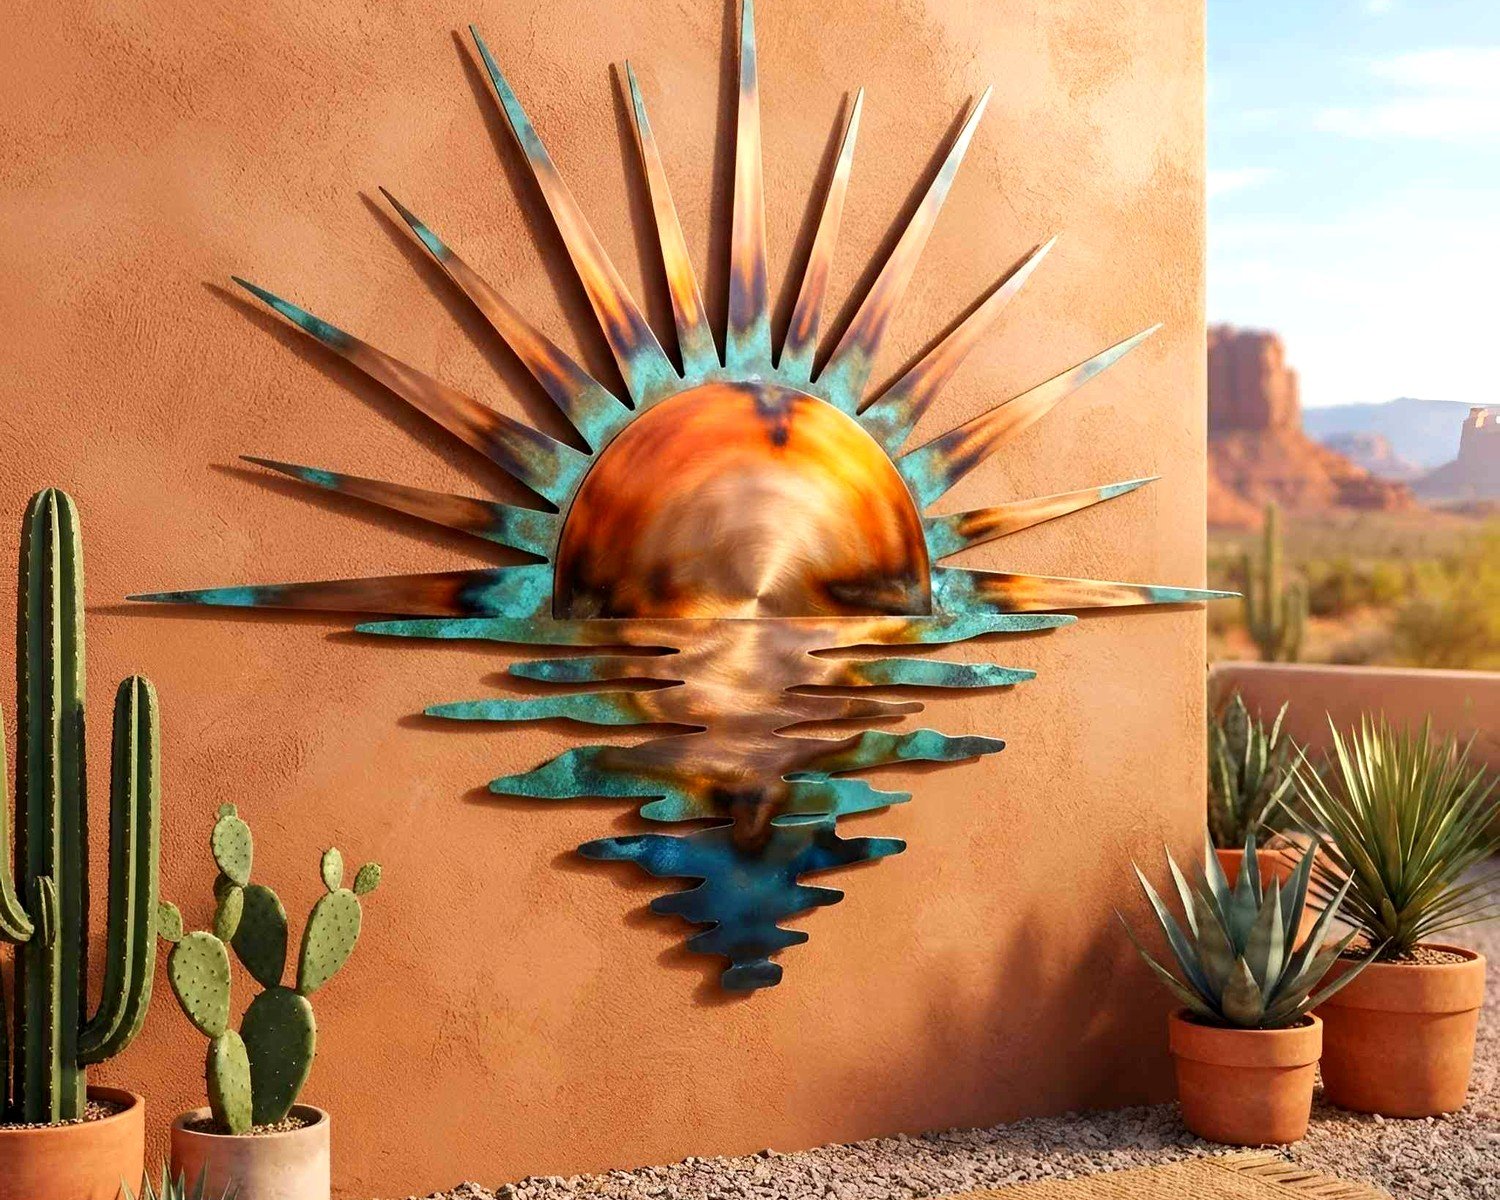
I tried this beautiful copper piece last year and within three months it had this green patina that looked cool in a weird way but definitely not what my client paid for. Just something to keep in mind if you’re going with natural metals that oxidize.
The Weather-Proofing Reality Check
Oh and another thing, even “outdoor rated” doesn’t mean invincible. I learned this the hard way when a supposedly weatherproof canvas print got completely destroyed after one winter. Now I always add an extra layer of marine-grade sealant to anything that’s not metal. Takes like 20 minutes, costs maybe $15, saves you from replacing a $400 art piece.
Installation is Where Everything Goes Wrong
Okay so funny story, my first big outdoor piece I tried to hang it like a regular indoor frame with those picture hanging hooks. It lasted exactly four days before a windstorm took it down. Outdoor installation is a whole different beast.
What You Actually Need
Forget those adhesive strips or regular screws. Here’s my current setup that hasn’t failed me:
- Masonry anchors if you’re going into brick or concrete – the expanding kind, not those cheap plastic ones
- Lag bolts for wood surfaces – minimum 3 inches long
- Stainless steel hardware everything – regular screws will rust and stain your wall
- Heavy-duty picture wire rated for way more than your piece weighs
- A level that’s longer than you think you need
My dog kept trying to steal my level during the last installation which made everything take twice as long but anyway.
The weight thing is serious. If your piece weighs 30 pounds, use hardware rated for 60+ pounds minimum. Wind creates way more force than you’d expect, and that decorative metal sun that seems light will act like a sail in a storm.
Mounting on Different Surfaces
Brick or stone walls are actually the easiest because they’re stable. Use a hammer drill with a masonry bit, insert your anchors, and you’re solid. Just make sure you’re not drilling into the mortar lines, always go into the brick itself.
Wood fencing is trickier because it moves and shifts. I always attach to the actual posts rather than the fence panels. Find where the structural supports are, that’s where your weight should hang from. And if the fence is old? Maybe reconsider or reinforce it first because a collapsing fence with your art attached is not a good look.
Stucco walls make me nervous honestly. They seem solid but they’re often just a thin layer over mesh. You gotta find the studs or solid backing behind the stucco. I use a stud finder but also just knock around until I hear a solid thunk instead of a hollow sound.
Design Choices That Work Outside
This is gonna sound weird but, abstract and geometric designs hold up better visually than detailed realistic pieces. I think it’s because outdoor lighting changes so much throughout the day, and detailed work gets lost in shadows or washed out in direct sun.
My current favorites:
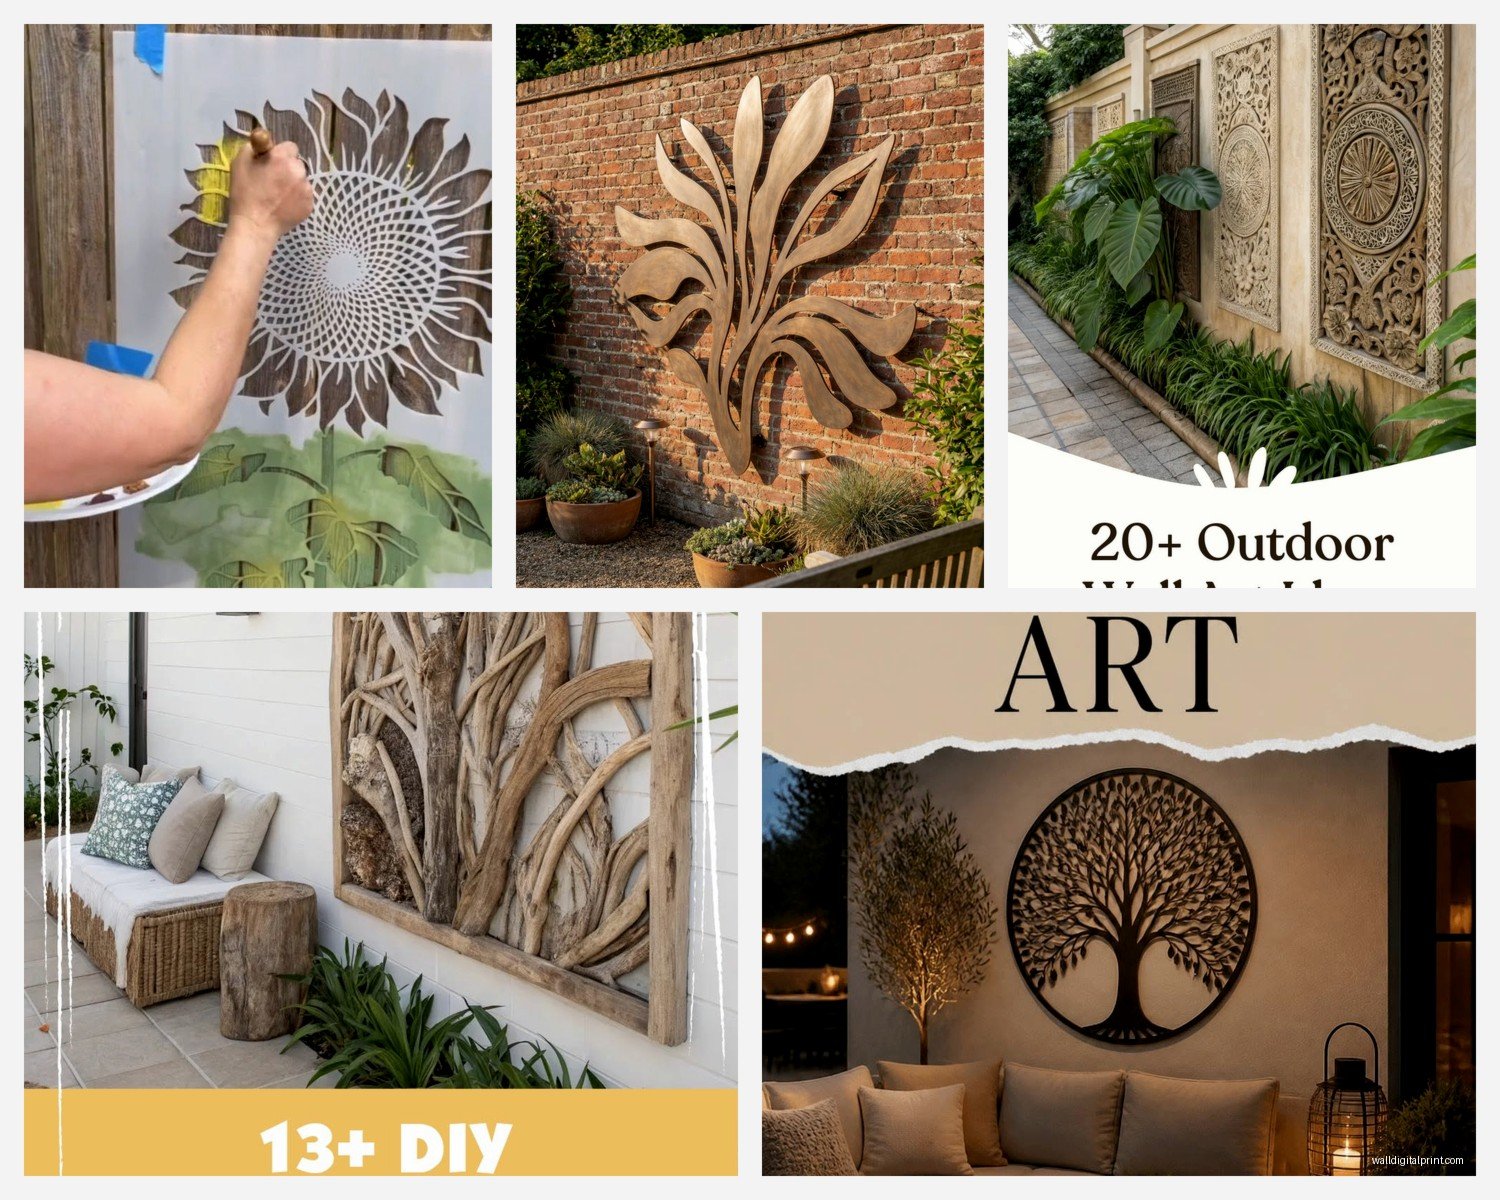
- Large metal tree silhouettes – classic but they work
- Geometric patterns with cutouts – the shadows they cast add extra visual interest
- Oversized single elements like a huge metal leaf or flower
- Mosaic murals in bold colors
- Minimalist line art in dark metals
Wait I forgot to mention, color matters differently outside too. What looks like a beautiful subtle blue indoors will basically disappear on an outdoor wall. Go bolder than you think. That bright turquoise or deep rust orange that feels too intense inside? Probably just right for outdoor spaces.
Lighting Makes or Breaks It
Okay so this isn’t technically part of the art itself but trust me, add lighting. Even the most amazing piece looks like nothing at night without it. I usually install uplights at the base or use wall-mounted spots that graze across the surface.
Solar lights are tempting because no wiring, but they’re honestly pretty weak. If you want actual impact, go with low-voltage LED fixtures. The installation is easier than you think, my client’s husband did it himself by just running wire from their existing outdoor lighting system.
The lighting also helps with depth perception. Outdoor walls can look flat and boring, but when you add light that creates shadows and highlights the texture of your art piece, suddenly the whole space feels more dimensional.
Maintenance You Gotta Actually Do
I’m not gonna lie and say outdoor art is maintenance-free because it’s not. But it’s not terrible either if you pick the right materials.
Metal pieces need checking maybe twice a year for rust spots. If you catch them early, just sand lightly and touch up with outdoor paint or clear sealant. Once rust really sets in, it’s basically over.
Any sealed pieces, like treated wood or canvas, need resealing every year or two depending on your climate. I’m in a pretty humid area so I do it annually. Takes maybe an hour.
Clean everything at least once a year. Just hose it down, maybe use a soft brush for textured pieces. Bird poop and pollen buildup is real and it’s gross.
Budget Real Talk
You can totally do this on different budget levels, I’ve seen it work from $100 to $5000+. But here’s where to spend versus save:
Spend money on: the mounting hardware, weatherproofing materials, and the actual art piece if you want it to last more than a season or two.
Save money on: you don’t need fancy installation unless it’s super heavy or you’re mounting on a difficult surface. Most pieces you can DIY with basic tools.
The cheapest route I’ve done that still looked amazing was a client who found old metal headboards at estate sales, had them powder-coated black, and mounted three of them in a row on her garden wall. Total cost maybe $200 and it looked like a $2000 installation.
Where to Actually Buy This Stuff
- Wayfair has a huge outdoor art section, prices all over the place
- Local metal workers or artists, often custom pieces for less than you’d think
- Architectural salvage yards for unique vintage pieces
- Home Depot actually has decent oversized metal art now
- Etsy for custom or handmade, just really grill them about outdoor durability
I found this insane 8-foot metal tree sculpture at a salvage yard for $150 that probably would’ve been $800 retail. Just needed some rust treatment and new mounting brackets.
Common Mistakes I See Constantly
Mounting too high. Eye level means something different outdoors where you’re usually standing further back. I usually go lower than feels right initially.
Forgetting about scale in relation to plantings. That art looks great now, but in three months when your climbing roses fill in, will you still see it? Think about growth patterns.
Using indoor art outside with just a “waterproof” spray. Stop. Just stop. It doesn’t work, I’ve tried it, everyone’s tried it, it always ends badly.
Not considering the view from inside. If you can see this wall from your living room window, make sure the art works from that angle too.
Going too matchy-matchy with your garden decor. The art should complement but also stand on its own as a statement.
The Wind Factor Nobody Talks About
This almost deserves its own section because wind damage is the number one reason outdoor art fails. That flat metal piece is basically a sail. The more surface area, the more wind force.
For anything over 3 feet in any dimension, I add extra mounting points beyond what the manufacturer suggests. And for really large pieces, sometimes I’ll drill small holes in less visible areas to let wind pass through rather than pushing against a solid surface.
Also consider your specific location. Is this wall in a wind tunnel between buildings? Near the coast with constant breeze? Sheltered by trees? That determines how aggressive you need to be with mounting.
My own backyard has this weird wind pattern where one corner gets blasted constantly, learned that after a lightweight metal butterfly decoration became a projectile. Now everything in that zone is either super heavy or has wind-through design.
Seasonal Considerations
Some pieces you might want to take down for winter depending on where you live. I have clients in harsh winter climates who treat outdoor art like patio furniture, store the really nice pieces and leave up only the ultra-durable stuff.
UV fade is real too. Even powder-coated metal can fade over years of direct sun exposure. Positioning your art on a wall that gets morning sun but afternoon shade helps a lot. Or just accept that outdoor art ages and consider it part of the character.
There’s honestly something cool about pieces that show weather wear, like that’s part of their story. But if you want pristine forever, maybe outdoor art isn’t the move or you gotta be really particular about placement and maintenance.
Making It Feel Cohesive
Your outdoor art shouldn’t just float there randomly. I usually tie it in with either the home’s architecture, the garden style, or existing outdoor furniture. Like if you’ve got modern clean-lined furniture, geometric metal art makes sense. Cottage garden style? Maybe a more ornate or nature-inspired piece.
Color coordination helps too but don’t overthink it. Picking up one accent color from your cushions or planters is enough. My client had these rust-colored pots so we went with a cor-ten steel piece and it just clicked together perfectly.
Oh and another thing, odd numbers usually look better than even for multiple pieces. Three panels instead of two, that kind of thing. I don’t know why it works but it does.
Anyway that’s basically everything I wish someone had told me before I started doing outdoor installations, hopefully some of it helps you figure out what’ll actually work for your space.
