Wall Art Guide, Wall Art Tutoriels
Living Wall Art: Plant Green Vertical Garden Installation
Nov
So I’ve been installing living walls for like three years now and honestly the first one I did was a total disaster because I thought “how hard can it be” and didn’t account for the water drainage situation at all. My downstairs neighbor was NOT happy when water started dripping through her ceiling during my client’s dinner party.
Let me just tell you what actually works because I’ve tested pretty much every system out there at this point.
Pick Your System First Because They’re Not All The Same
Okay so there are basically three types and they each have their own annoying quirks. Modular pocket systems are the easiest for beginners – they’re like felt pockets you mount on a frame and stick plants in. I use Florafelt a lot because their irrigation actually works, unlike some cheaper ones I tried from Amazon that just… the water goes everywhere except where you need it.
Then there’s the tray systems which are more structured, good if you want a really clean geometric look. Woolly Pocket makes decent ones but they’re pricey. And hydroponics which is a whole thing I wouldn’t recommend unless you’re really into monitoring pH levels and nutrient solutions every week.
For your first wall I’d go modular pockets, 100%.
The Watering Thing That Everyone Messes Up
This is gonna sound weird but the watering is actually the hardest part, not the plant selection. You need either a drip irrigation system or you need to be okay with hand watering like twice a week minimum. I installed a wall in my own kitchen without irrigation thinking I’d just water it myself and yeah that lasted about two months before half the plants died because I kept forgetting.
Drip systems aren’t that complicated honestly. You need a timer, some quarter-inch tubing, drip emitters, and a water source. I use Raindrip timers because they’re like $30 and they work. Run the tubing along the top of your wall and put emitters at each pocket or plant. The water trickles down through all the pockets if you set it up right.
But here’s the thing nobody tells you – you NEED a drainage system at the bottom. I use a rain gutter or a custom tray that slopes toward one end with a drain hole. First time I didn’t do this properly… well I already told you about my neighbor’s ceiling situation.
Setting Up Irrigation Without Making It Look Ugly
Hide the tubing behind the top row of plants or paint it the same color as your wall. I’ve also run it behind a decorative wood frame which looks pretty good actually. My cat keeps trying to chew through the tubing though so watch out if you have pets.
Get a reservoir if you can’t connect directly to a water line. I use 5-gallon buckets hidden behind furniture for smaller walls. You’ll need a small pump in the reservoir – aquarium pumps work fine.
Which Plants Actually Survive Vertical Life
So everyone wants to put succulents in their living wall because they look cool and trendy but succulents actually hate being vertical? They need way less water than other plants and when you’re irrigating a whole wall system they end up getting overwatered and rotting.
What actually works:
- Pothos – literally can’t kill these, they grow like crazy
- Philodendrons – same energy as pothos, super forgiving
- Ferns – if you have decent humidity, maidenhair ferns look amazing but need more attention
- Peperomia – compact, lots of variety, tolerate the vertical thing well
- Creeping fig – grows fast, fills in gaps nicely
- Spider plants – produce babies that dangle down which looks really cool
- Small prayer plants – the patterns are gorgeous but they’re fussier about humidity
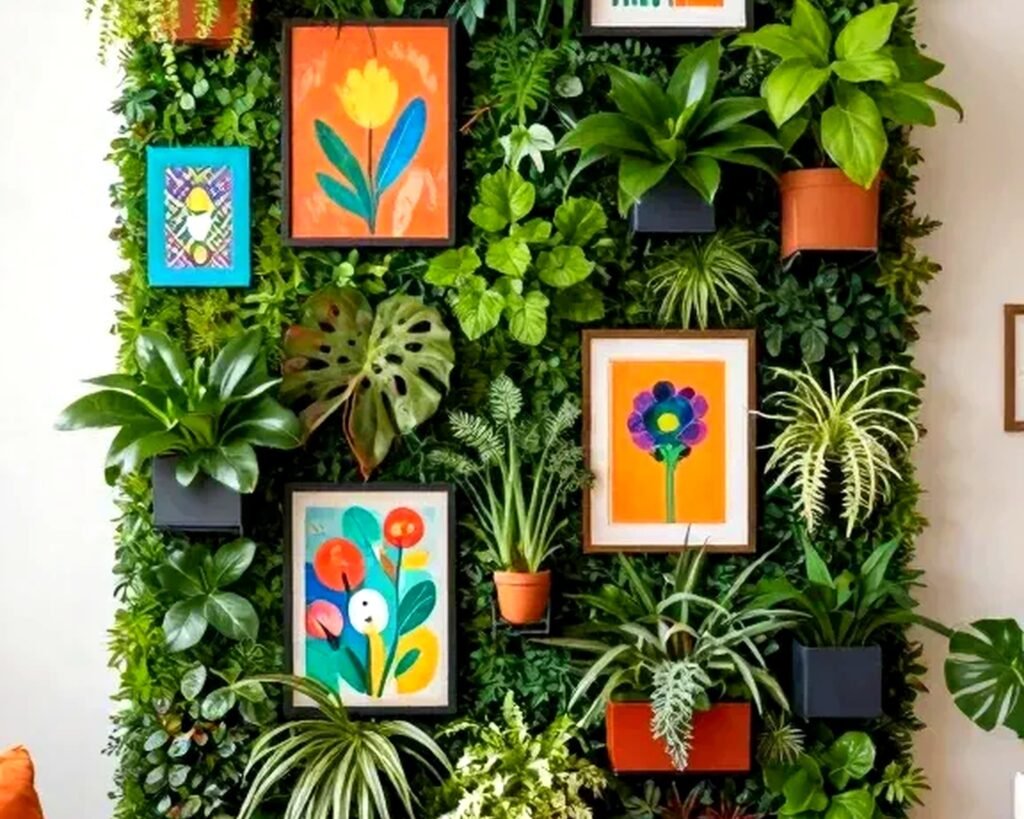
I usually mix like 60% pothos and philodendrons as the backbone, then add in more interesting plants as accents. The vining plants will fill in bare spots naturally over time.
Oh and another thing – buy smaller plants than you think you need. 2-inch or 4-inch pots max. They establish better in the pockets and you’re not wrestling with giant root balls.
The Actual Installation Process
Right so you’ve got your system picked out and your plants ready. Here’s how this actually goes down:
Wall Prep
You need a moisture barrier between your wall and the living wall system. I use thick plastic sheeting or pond liner. Just staple it or tape it to the wall. This seems excessive but trust me, you don’t want moisture against your drywall for months on end.
Find the studs. Your living wall is gonna be heavy when it’s full of wet soil and plants – we’re talking like 8-10 pounds per square foot. Use a stud finder and mark them with painter’s tape.
Mounting The Frame
Most modular systems come with a frame or you build one from 1×4 lumber. I prefer building my own because I can customize the size exactly. Mount it to the studs with 3-inch wood screws. Use a level because if this is crooked the whole thing looks wonky and also water doesn’t drain right.
Leave like 2-3 inches of space between the wall and the frame for airflow. I use furring strips as spacers.
Adding The Pockets or Modules
If you’re using felt pockets, staple them to the frame or use the attachment system that came with them. Start at the bottom and work up so each row overlaps the one below – helps with water flow.
Make sure the pockets are actually… pocketing? Like they need to hold soil, sounds obvious but I’ve seen people install them too tight against the frame and then there’s nowhere for the roots to go.
Installing Irrigation Before Planting
Do this now, not after. Run your main line across the top, add your emitters, test everything. Let it run for like 10 minutes and watch where the water goes. You’ll probably need to adjust some emitters.
I set my timers for twice a day, 2-3 minutes each time, but this totally depends on your climate and plant selection. Start conservative and adjust based on how the plants look.
Actually Planting
Use a good potting mix, not garden soil. I mix in some coco coir for water retention. Fill each pocket about halfway, nestle the plant in, add more soil around it. Pack it in there pretty firmly – you don’t want plants sliding out over time.
This part takes forever. Like a 4×6 foot wall took me almost 3 hours to plant. Put on a podcast or something.
Water thoroughly by hand after planting even if you have irrigation set up. This helps everything settle.
Maintenance Real Talk
Okay so funny story, I told a client their wall would need “minimal maintenance” and then had to go over there like every two weeks for the first three months because plants were dying or growing too crazy or the irrigation clogged.
Here’s what you actually need to do:
Check the irrigation weekly at first, then monthly once you trust it. Emitters get clogged with mineral deposits or algae. Keep extra emitters on hand.
Trim plants monthly. The pothos especially will try to take over everything. I just trim them back and propagate the cuttings in water to fill in any bare spots that develop.
Rotate plants seasonally if some are struggling. Not everything will thrive in every spot even if they’re supposedly the same light conditions.
Fertilize with a diluted liquid fertilizer every 2-3 weeks during growing season. I use fish emulsion even though it smells terrible because it works really well. Mix it like half-strength though because you’re fertilizing frequently.
Watch for pests – aphids and spider mites love indoor living walls. I spray with neem oil solution monthly as prevention.
When Plants Die
They will die sometimes, just accept it. Pull them out, check the pocket for root rot or weird smells, maybe let it dry out a day, then pop a new plant in. I keep backup plants in regular pots nearby so I always have replacements ready.
Light Situation
You need decent light for most plants to actually thrive vertically. I won’t install a living wall unless there’s either a big window nearby or the client is willing to add grow lights.
For grow lights I use LED strips or panels – the purple ones look weird but plants love them, or get full-spectrum white LEDs if you want it to look more normal. Mount them above the wall or on sides. Plants need like 12-14 hours of light daily.
I was watching this documentary about vertical farming while installing a wall last month and realizing I’m basically doing the same thing just… decorative? Anyway.
Cost Breakdown So You’re Not Shocked
A 4×4 foot living wall with irrigation will run you:
- Frame materials: $30-50
- Modular pocket system: $100-200
- Plants (like 30-40 small ones): $150-250
- Irrigation supplies: $50-80
- Potting mix and amendments: $30-40
- Grow lights if needed: $60-150
So you’re looking at $400-700 total for a decent setup. You can go cheaper with DIY solutions but honestly the time investment might not be worth it unless you really enjoy building things.
Quick Troubleshooting Because You’ll Need This
Plants turning yellow: Usually overwatering. Reduce irrigation frequency or check that drainage is working.
Plants wilting: Not enough water or roots couldn’t establish. Check soil moisture, increase watering.
Algae growing on pockets: Too much moisture and light hitting the growing medium. Reduce watering slightly, increase airflow, or add more plants to shade the pockets.
Whole sections dying: Probably an irrigation issue – clogged line or emitter not working. Also check for pests.
Water pooling at bottom: Drainage isn’t working right. You gotta fix this immediately before you have water damage.
The wall in my studio apartment has been going strong for like 18 months now and honestly it’s the best thing I’ve added to my space. Makes such a difference in air quality too, or at least it feels like it does.
Just start small if you’re nervous – even a 2×3 foot wall makes an impact and you can always expand later once you figure out your system. The learning curve isn’t that steep once you get past the watering logistics.