Wall Art Guide, Wall Art Tutoriels
Animal Wall Art: Wildlife Zoo Safari Creature Decor
Nov
So I’ve been obsessing over animal wall art lately and honestly it started because this client wanted to turn their boring hallway into something that felt like a safari lodge but without being cheesy, you know? And I fell down this whole rabbit hole of wildlife prints and now I’m gonna dump everything I learned on you because some of it was actually surprising.
First Thing – Figure Out Your Vibe
Okay so this sounds obvious but like, animal art comes in SO many styles and you gotta narrow it down or you’ll end up with analysis paralysis. I’m talking watercolor elephants versus black and white photography versus those geometric low-poly animals versus vintage naturalist drawings. They all hit completely different.
I usually tell people to scroll their phone camera roll and see what colors already dominate their space. If you’ve got a lot of neutrals and natural wood, those realistic wildlife photography prints work amazing. But if your space is more eclectic or colorful, you can go wild with illustrated pieces or even pop art style animals.
The Styles That Actually Work
Realistic Photography – This is what I use most often for clients who want that National Geographic vibe. You want high resolution prints here, like seriously don’t cheap out because a blurry lion just looks sad. I found this one seller on Etsy (gonna find the name hold on) who does these incredible close-ups of animal eyes and they’re weirdly captivating. The detail makes all the difference.
Watercolor and Painted – These soften a space really nicely. Great for nurseries obviously but also I put a set of watercolor safari animals in a client’s bedroom last month and it made the whole room feel calmer? The loose, flowing style just has a different energy than sharp photography.
Line Drawings and Minimalist – Perfect if you’re into that Scandinavian minimal thing. Single line elephant drawings, simple silhouettes. They work great in groups of three or five. My apartment has three line drawing birds in the entryway and my sister’s constantly asking where I got them.
Vintage Naturalist Prints – Okay this is gonna sound weird but those old-school scientific illustration style prints are having a MOMENT. Think like Victorian era botanical drawings but animals. They add instant sophistication and work in traditional or modern spaces somehow.
Size Matters More Than You Think
This is where people mess up constantly. They buy art that’s too small for the wall and then it just floats there looking lost. I learned this the hard way in my first apartment where I hung these tiny 8×10 prints on a massive wall and it looked ridiculous for like six months before I admitted defeat.
For above a sofa or bed, you want your art to take up about two-thirds to three-quarters of the furniture width. So if your couch is 90 inches, you’re looking at 60-68 inches of art width total. That can be one large piece or a gallery wall situation.
Single statement pieces work best at like 30×40 inches minimum for a focal wall. I’ve been loving the oversized animal portraits lately – like a 40×60 giraffe that just commands the whole room. But your ceiling height matters here too. Standard 8-foot ceilings can’t really handle anything over 48 inches tall or it overwhelms the space.
Gallery Wall Configurations
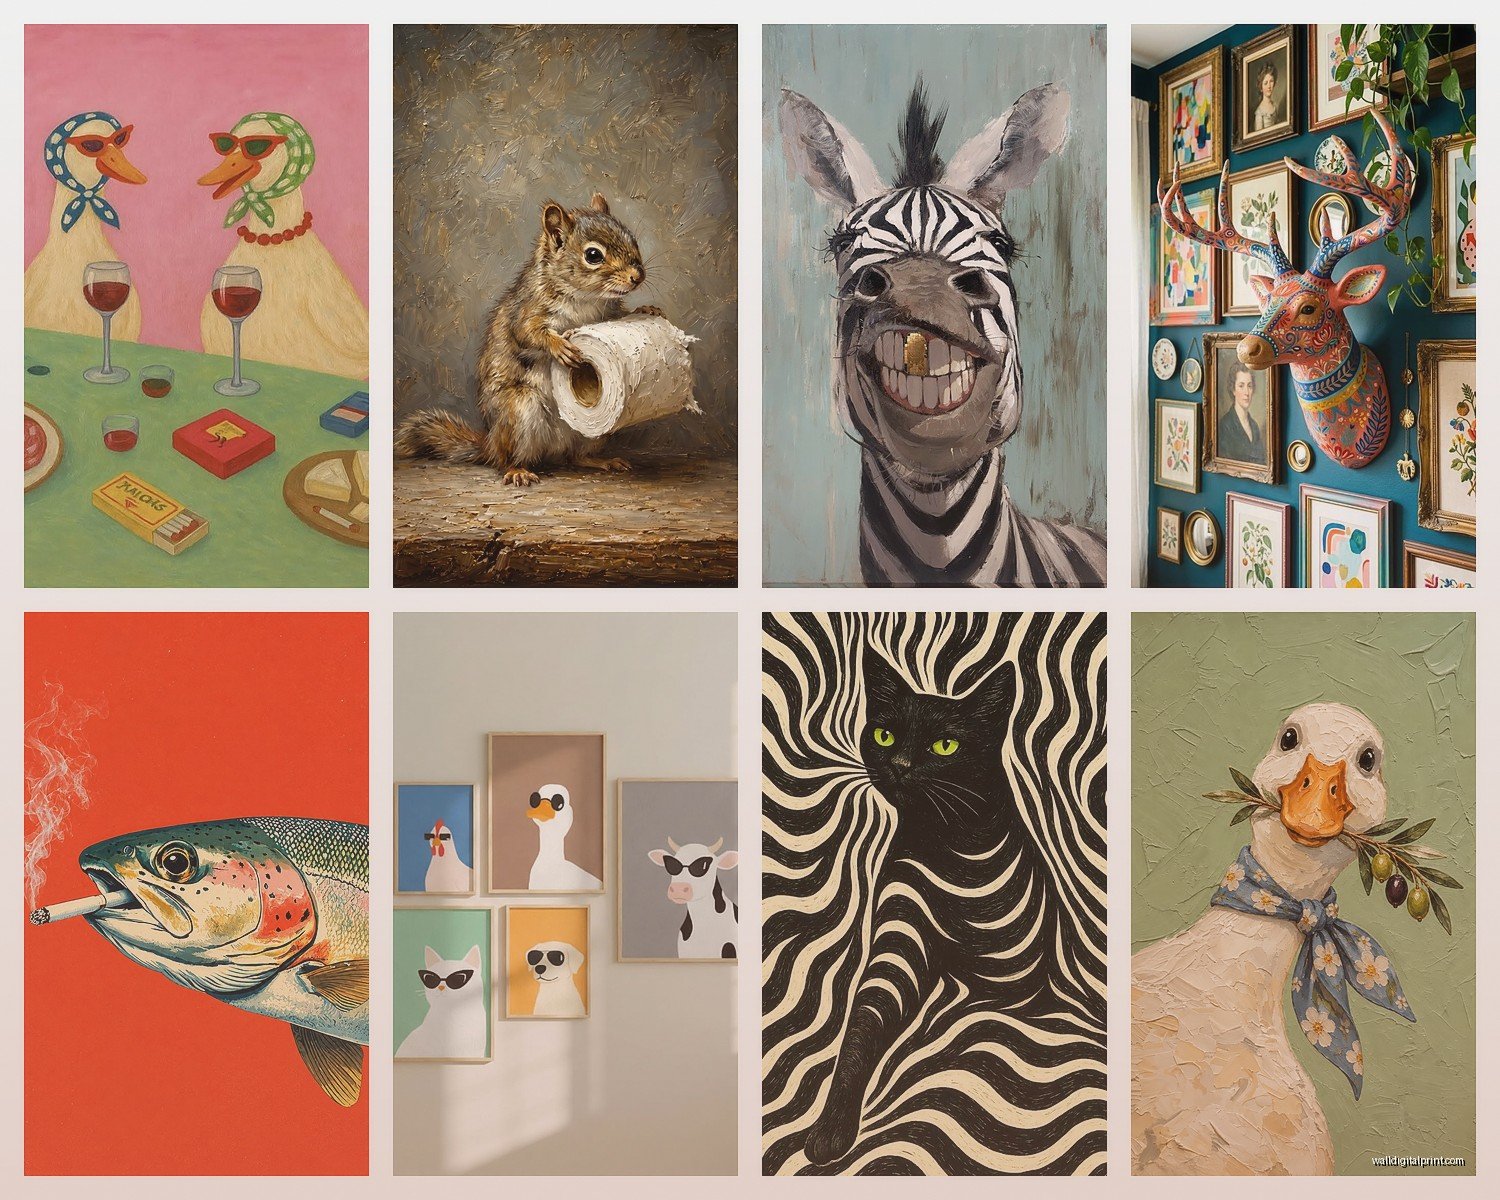
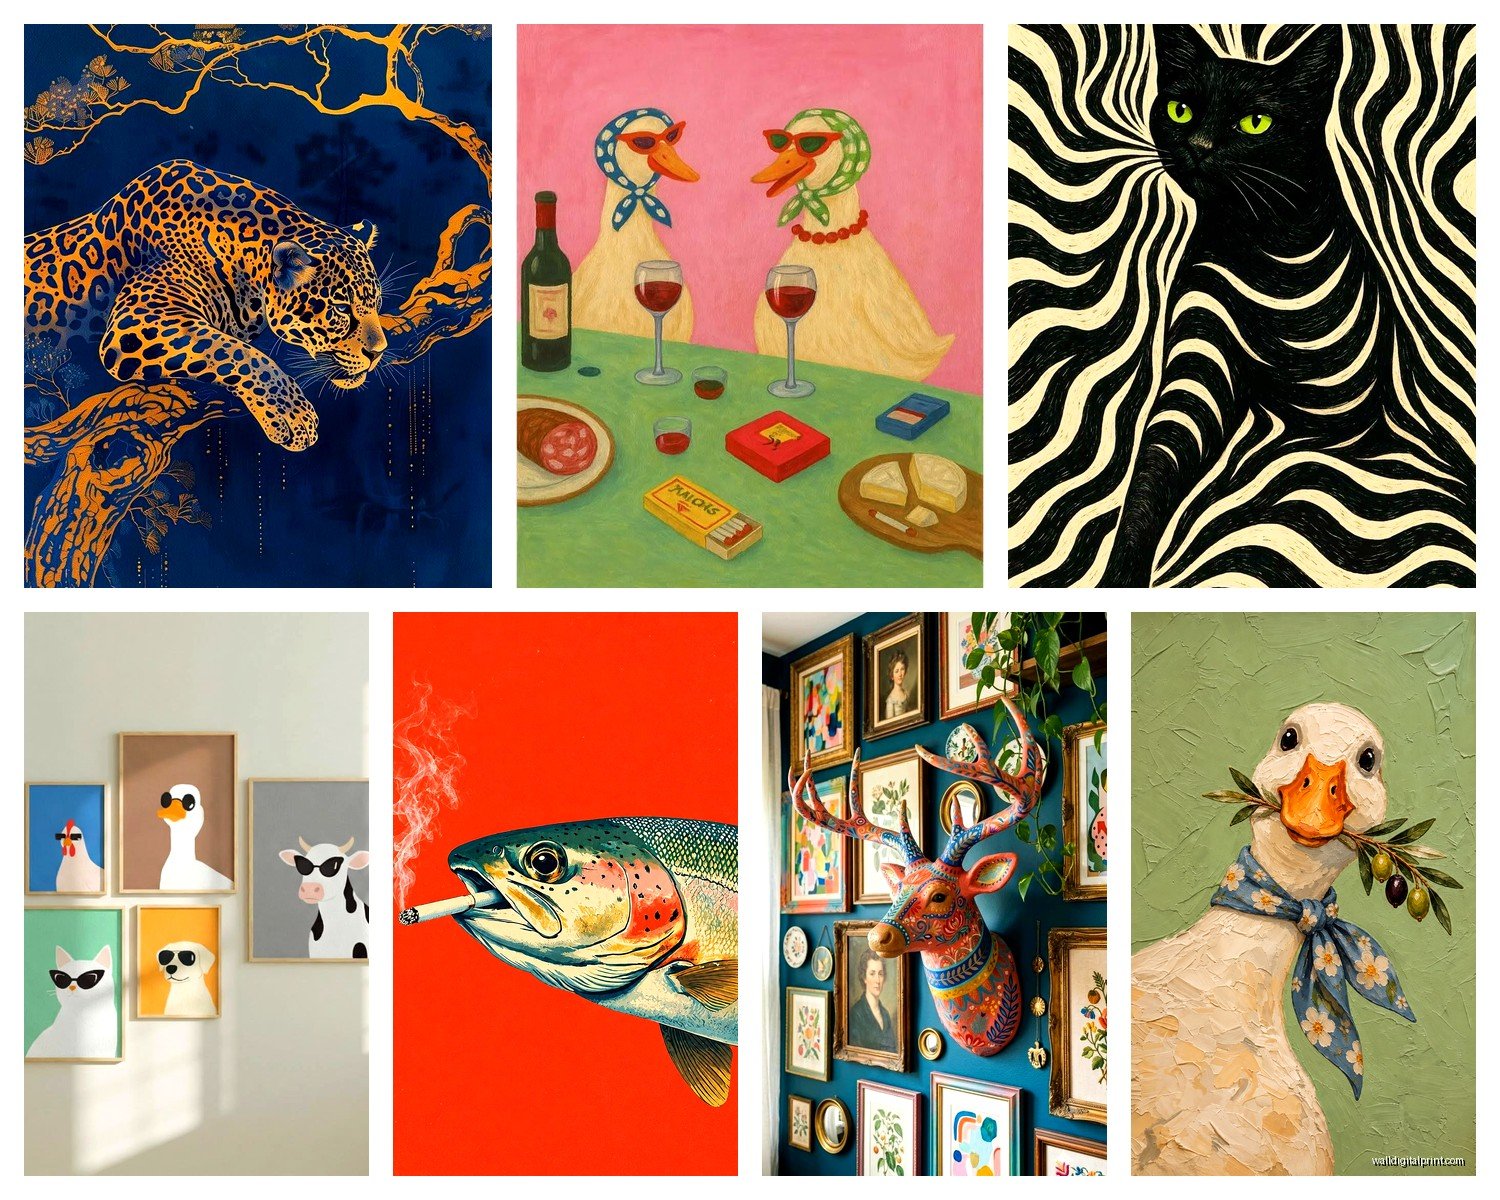
Oh and another thing – if you’re doing multiple pieces, odd numbers look more natural. Three, five, seven pieces. Your brain likes asymmetry apparently? I usually do a cluster of different sized frames with a mix of animals that make sense together geographically. Like don’t put a polar bear with a zebra unless you’re going for a whimsical zoo vibe.
I map these out on the floor first with painter’s tape on the wall showing where frames will go. Sounds tedious but it saves so many nail holes. My walls look like Swiss cheese from before I started doing this.
Color Coordination That Actually Matters
So here’s something I didn’t expect – the color of the animal matters less than the background and mat colors. A lion print with a cream background reads completely different than the same lion with a dark green background.
For cohesive spaces, pull 2-3 colors from your existing room palette and make sure those show up in your animal art somehow. Could be in the mats, the frames, or the background. I did a nursery last year with navy and mustard yellow as the main colors and found these illustrated safari animals with mustard accents and navy mats – tied the whole room together.
Black and white animal photography is the cheat code though. Works with literally everything and adds drama. I probably use black and white prints in 60% of my projects because they’re foolproof. High contrast zebra stripes, elephant textures, close-ups of fur patterns – all money.
Where to Actually Buy This Stuff
Okay so I’ve tested a bunch of sources and here’s the real talk:
Etsy – Best for unique illustrated pieces and vintage prints. You can find digital downloads which are cheap but you gotta print them yourself. I use a local print shop for anything over 16×20 because home printers can’t handle it. Search terms that work: “safari nursery print,” “wildlife line drawing,” “vintage animal illustration.”
Society6 and Redbubble – Good for trendy styles and they print on demand so quality varies. I’ve had better luck with Society6 honestly. They do framing too which is convenient but adds up fast. Wait I forgot to mention – they have sales constantly so never pay full price.
Minted – More curated, higher price point, but the quality is consistently good. Their animal photography collection is actually impressive and they have this cool feature where you can preview art in different frame styles.
Amazon – Hear me out. There are some surprisingly good canvas prints on Amazon if you read reviews carefully. Search for specific animals + “canvas wall art” and filter by 4+ stars. I’ve ordered probably ten pieces for clients from Amazon and the hit rate is like 70% good quality. The other 30% went back.
Local Art Fairs and Artists – This is where you find truly unique pieces. I have a painted zebra from a street fair three years ago that still gets compliments. Supporting local artists and you won’t see the same print in every other house on Pinterest.
Framing Strategy Because It’s Actually Important
Pre-framed is easier but limits your options. Buying prints separately and framing them yourself gives you way more control over the final look and honestly saves money if you’re doing multiple pieces.
My go-to frame sources: Michaels when they have 70% off sales, IKEA for basic modern frames (the RIBBA and KNOPPANG lines), and Framebridge for anything special that I want custom matting on.
Frame colors that work with animal art:
- Natural wood – warm and safari-appropriate, goes with everything
- Black – modern and dramatic, makes colors pop
- White – clean and gallery-like, softens the look
- Gold/brass – adds elegance, works surprisingly well with wildlife photography
I usually stick to one frame color per room or at least per wall. Mixing frame colors can work but it’s tricky and often reads as chaotic rather than intentional.
Mat or No Mat
Mats add breathing room and make pieces look more expensive. Standard rule is 2-3 inches of mat on all sides but you can go wider on top and sides with less on bottom for a gallery look. White and cream mats are safe bets. I’ve been experimenting with colored mats lately though – a sage green mat around a botanical-style monkey print looked incredible.
No mat with a thin frame works for a modern minimal vibe. Canvas prints obviously don’t need mats.
Placement Heights and Spacing
Center of the artwork should be at eye level, which is roughly 57-60 inches from the floor. That’s the museum standard and it actually works in homes too. But if you’re hanging above furniture, you want 6-8 inches between the furniture top and bottom of the frame.
For gallery walls, keep spacing between frames consistent – I use 2-3 inches between pieces. Any more and it looks disconnected, any less and it feels cramped.
My dog knocked over a ladder while I was planning a gallery wall last week and honestly the chaos of frames on the floor actually helped me visualize the arrangement better so… silver lining?
Theme Combinations That Work
You don’t have to stick to one animal. Actually mixing animals from similar habitats looks more interesting. Here are combos I use all the time:
African Safari: Lions, elephants, giraffes, zebras, rhinoceros. This is the most popular request I get. Works in literally any room – living rooms, offices, bedrooms, even bathrooms if the prints are properly sealed.
Forest Creatures: Bears, deer, foxes, owls, wolves. More subdued vibe, great for cabins or rustic-leaning spaces. I did a whole “woodland nursery” thing that was very Pinterest but the parents loved it.
Tropical/Jungle: Monkeys, parrots, toucans, jaguars, sloths. Pairs well with plants and bold colors. These spaces feel more energetic and playful.
Ocean/Coastal: Whales, dolphins, sea turtles, fish, seals. Obvious choice for beach houses but also works in bathrooms and anywhere you want a calmer vibe.
Birds Only: This is my personal favorite lately. Mixing different bird species in various styles creates this collected-over-time look that feels sophisticated. Flamingos, peacocks, hummingbirds, eagles – there’s so much variety in bird art.
The Mistakes I See Everyone Make
Hanging everything too high. I swear every house I walk into has art that’s like 6 inches too high on the walls. It makes the room feel off even if you can’t pinpoint why.
Buying art last. People finish decorating and then try to find art to match everything else. It’s so much easier to start with one or two statement pieces you love and build around those colors and vibes.
Matching too perfectly. Your animal prints don’t all need to be the same style or have the same color palette. Some variation actually makes a space feel more curated and personal. I mixed a realistic elephant photo with an illustrated zebra and geometric giraffe for a client and it shouldn’t have worked but totally did.
Ignoring scale in the actual images. A close-up of a tiger face has totally different energy than a full-body tiger in a landscape. Think about what feeling you want – intimate and dramatic versus peaceful and expansive.
Lighting Your Animal Art
Oh wait I forgot to mention lighting earlier but it matters so much. Natural light is great but can fade prints over time, so use UV-protective glass for anything valuable or in direct sunlight.
Picture lights are having a renaissance and they work beautifully with animal portraits. Those little brass lights mounted above the frame add instant sophistication. Battery-operated ones exist now so you don’t need to hire an electrician.
Track lighting or adjustable spotlights let you highlight specific pieces. I put spotlights on three large safari photographs in a client’s hallway and it transformed the space into a legit gallery vibe.
Budget Real Talk
You can do this at basically any price point which is honestly refreshing. Digital download prints start at like $5-15, you print them at Costco or a print shop for another $10-30 depending on size, frame from IKEA for $15-50. You’re looking at $30-95 per piece all-in for the budget route.
Mid-range is buying pre-printed art from places like Minted or Society6, maybe $80-200 per framed piece. Quality is better, more convenient, looks professional.
High-end custom framing, original art, or large-format professional photography prints run $300-1000+ per piece. Worth it for statement pieces in main living areas but definitely not necessary for every wall.
I mix price points constantly. A couple expensive showstopper pieces mixed with affordable supporting prints looks just as good as all expensive art, honestly sometimes better because there’s more personality.
Maintenance and Longevity
Keep prints out of direct sunlight if possible or they’ll fade. I learned this the hard way with a beautiful watercolor elephant that turned basically beige after two years in a sunny spot.
Dust frames regularly because it builds up faster than you’d think. Microfiber cloth, nothing wet on the glass.
If you’re hanging in humid areas like bathrooms, make sure prints are sealed properly or go with canvas/acrylic prints instead of paper. Mold is not cute and will ruin paper prints.
Kids’ rooms – mount everything securely because toddlers are tiny chaos agents. I use those heavy-duty picture hangers rated for way more weight than needed. Better safe than sorry when a 40-pound frame could fall on someone.
Okay I think that covers most of what I’ve figured out through trial and error over the years. The main thing is just start with one piece you genuinely love and build from there instead of trying to plan a whole perfect gallery wall right away. Your style will evolve anyway and you don’t wanna be stuck with a theme you’re over in six months.