Wall Art Guide, Wall Art Tutoriels
Bathroom Wall Art Modern: Contemporary Bath Designs

Apr
So I’ve been obsessing over bathroom wall art lately because honestly the bathroom is the ONE room people forget to actually design, and it’s such a missed opportunity. Like you’re gonna be staring at those walls every morning, why make them boring?
Materials That Actually Work in Humid Spaces
Okay first thing—not everything survives in a bathroom. I learned this the hard way when a client put this gorgeous watercolor print in their guest bath and within three months it was literally warping off the mat board. Total disaster.
Here’s what actually holds up:
- Acrylic prints – these are my absolute favorite for bathrooms. The image is printed directly onto or behind acrylic glass, so moisture literally can’t touch the actual print. I’ve had one in my own bathroom for like four years now and it still looks perfect
- Metal prints – the image gets infused into a coated aluminum sheet. Super modern looking and completely waterproof. They’re lightweight too which matters when you’re hanging stuff on drywall
- Canvas with proper sealing – regular canvas is gonna absorb moisture and get gross, but if it’s sealed with a UV protective coating it can work. Just keep it away from the shower spray
- Framed prints under glass – this works BUT you need to seal the back completely. I use that framers tape stuff on the back edges so steam can’t get behind the glass
- Ceramic tile art – obviously waterproof, looks amazing in a modern bath
What doesn’t work: anything with exposed paper, unprotected fabric, wood without serious sealing, basically anything porous that you wouldn’t want to get splashed.
Size and Placement Without Making It Weird
This is where people mess up constantly. They either go too small and it looks like an afterthought, or they hang things in the weirdest spots.
For above the toilet (the most common spot), you want something that’s roughly 2/3 to 3/4 the width of the tank. So if your toilet is 20 inches wide, you’re looking at art that’s around 14-16 inches wide. Could be one piece or a series of smaller pieces grouped together.
Hang it about 6-8 inches above the tank. I see people put it way too high all the time and it just floats up there looking lost. My dog knocked into my measuring tape last week and I had to remeasure like three times but that’s the sweet spot—6 to 8 inches.
Above the bathtub is trickier because of moisture exposure. I usually go bigger here since you’ve got more wall space—think 30-40 inches wide for a standard tub. But keep it at least 12 inches above the tub edge so you’re not getting direct splashing.
The Opposite Wall Thing
Okay so funny story, I was working with this couple who had a narrow bathroom and we put this amazing abstract piece on the wall opposite the vanity. Game changer. You see it in the mirror while you’re doing your makeup or whatever, and it completely changes the vibe of the space. Just make sure it’s something you actually wanna look at because you’ll see it CONSTANTLY.
Modern Styles That Don’t Look Dated in Two Years
I’m gonna be real with you—some “modern” bathroom art trends are already dying. Those “wash your hands” typography prints? Already feeling overdone. Here’s what’s actually staying power:
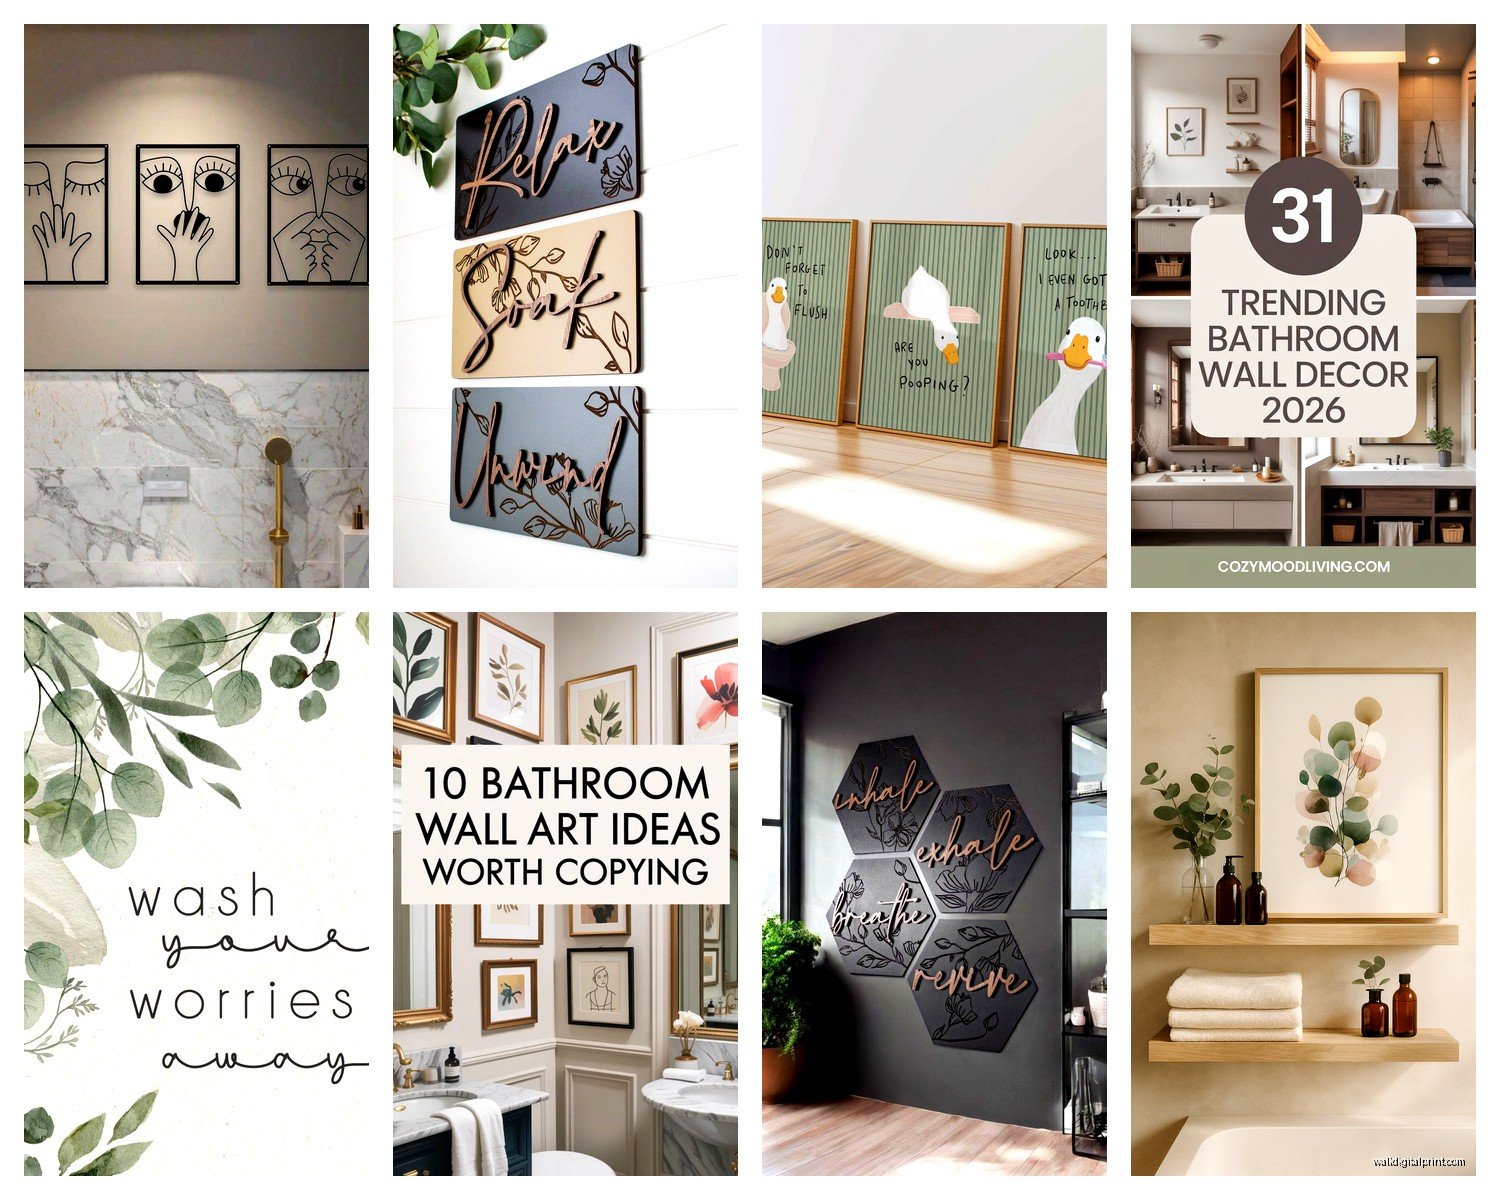
Abstract geometric shapes in black and white or with one accent color. Clean lines, simple forms. This style has been working since like the 1960s and it’s not going anywhere. I just installed three pieces in a client’s bathroom—simple line drawings in black on white acrylic—and it looks so crisp.
Organic shapes and curves that mirror modern bathroom fixtures. Like those kidney-shaped mirrors everyone’s obsessed with right now? Art with similar flowing shapes complements that really well without being matchy-matchy.
Minimalist photography—but NOT the typical beach sunset stuff. Think architectural details, close-ups of natural textures, negative space compositions. I found this series of concrete texture photos printed on metal and they’re stunning in a modern bath.
Single-line drawings of faces or bodies. Very trendy right now but the good ones have staying power because they’re based on classical figure drawing. Just avoid anything too literal or cutesy.
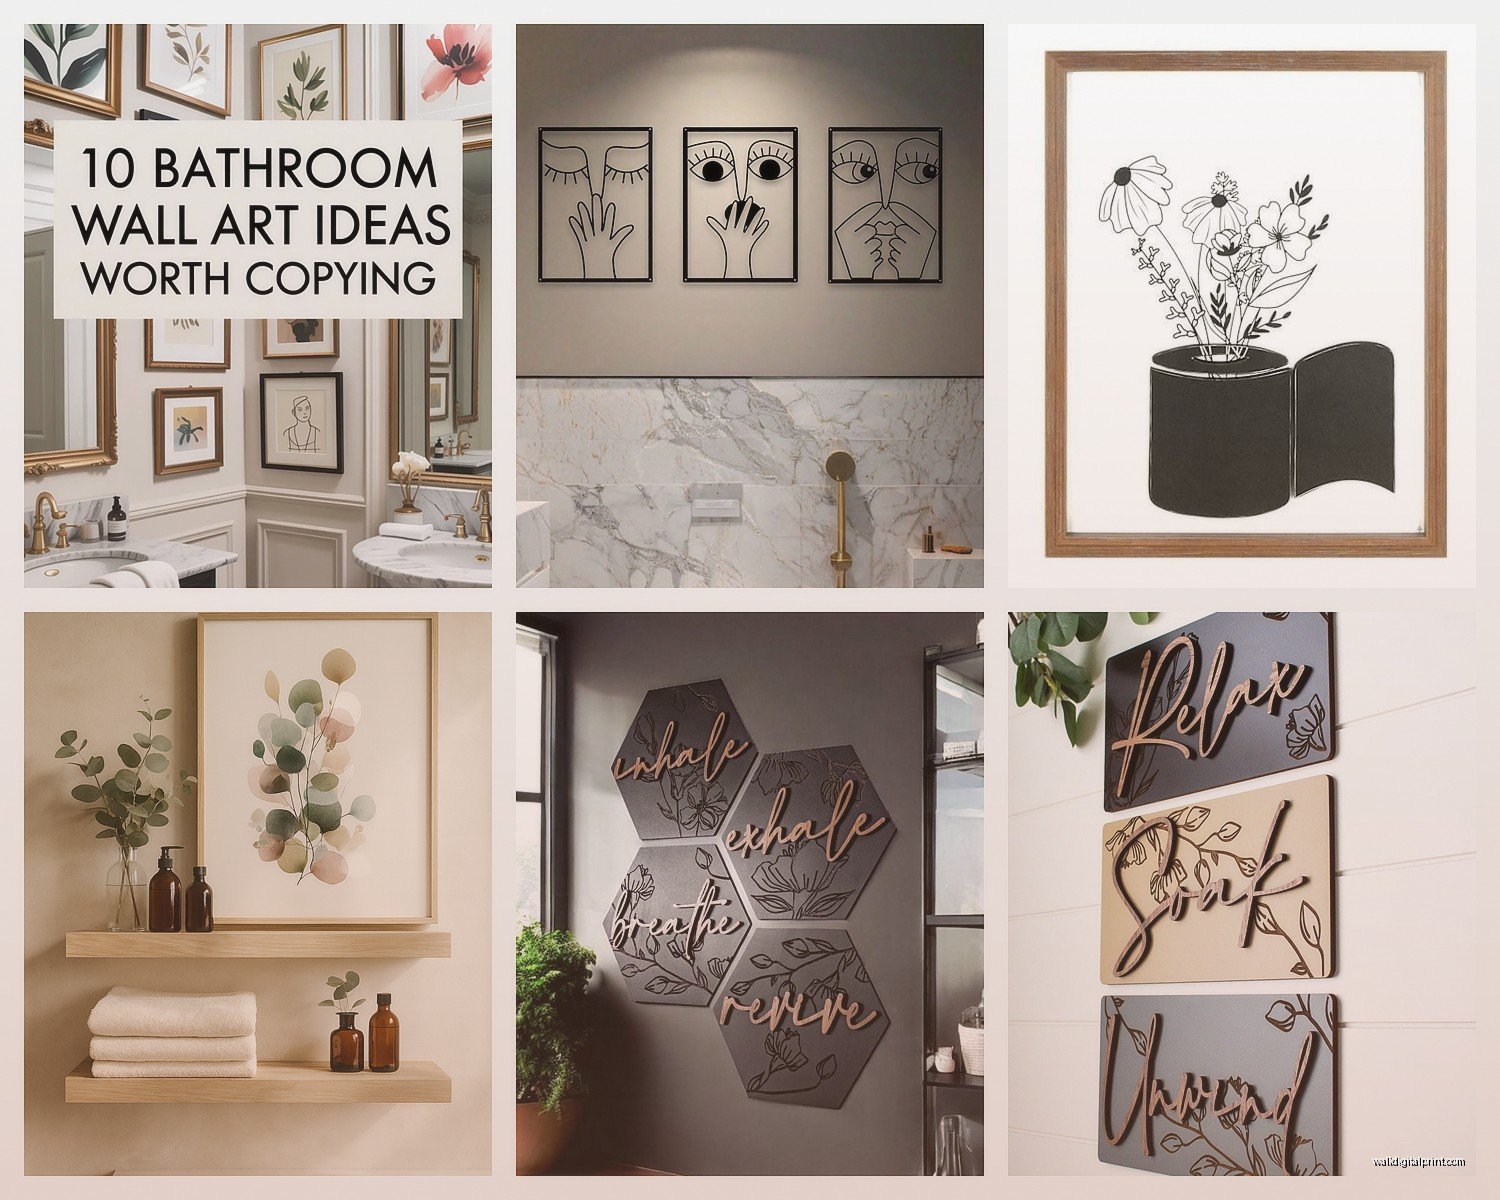
Botanical prints with a modern treatment. Not your grandma’s ferns—I’m talking high-contrast, simplified plant forms. Maybe just the shadow of a monstera leaf or an abstract interpretation of eucalyptus branches.
Color Considerations That Actually Matter
Your bathroom probably has a color scheme already whether you planned it or not. White walls, chrome fixtures, maybe some colored towels or a shower curtain.
If you’ve got a mostly neutral bathroom—white, gray, beige—you can either keep the art neutral too for that super clean minimalist look, or use it as your ONE color moment. I did this in my powder room with an all-white space and one bright coral abstract piece. It’s the only color in there and it works.
For bathrooms with colored tile or fixtures, pull one of those existing colors into your art. Not exactly matching but in the same family. Like if you have sage green tile, maybe art with deeper forest greens or olive tones.
Metallic accents in art—gold, copper, silver—can tie into your fixture finishes. But this can go wrong fast if you’re not careful. Warm metals with warm metals, cool with cool. Don’t mix brushed nickel fixtures with gold-accented art unless you’re really confident in your design eye.
Practical Installation Stuff Nobody Tells You
Okay so you’ve picked your art, now you gotta actually get it on the wall without destroying anything.
For lightweight pieces (under 5 pounds), those 3M Command strips are honestly fine. I use them all the time. The trick is cleaning the wall really well first with rubbing alcohol and letting it dry completely. Bathroom walls can have this weird film from steam and products that prevents good adhesion.
For heavier pieces, you need actual wall anchors or screws into studs. I use a stud finder—mine’s this cheap yellow one from the hardware store that works perfectly fine. If you’re going into drywall without a stud, get those self-drilling anchors that can hold like 50 pounds. They’re worth it.
Here’s something I learned from a contractor: in bathrooms with tile walls, DO NOT try to drill through tile unless you have the right bit and you really know what you’re doing. The tile can crack so easily. I’ve seen it happen and it’s expensive to fix. Use adhesive mounting systems designed for tile instead, or plan your layout so art goes on the drywall sections.
The Ventilation Thing
Wait I forgot to mention—even with waterproof art materials, ventilation matters. If your bathroom doesn’t have good airflow, moisture builds up on everything including your walls and art. Run that exhaust fan during showers and for like 20 minutes after. Or crack a window. This isn’t really about the art itself but about keeping the whole space from getting musty and gross.
Specific Product Recommendations Because You Probably Want Actual Names
I’m not sponsored by anyone (sadly), these are just things I’ve actually used:
Fracture makes good acrylic prints, you upload your own photos. I’ve used them for client bathrooms probably a dozen times. They print edge-to-edge so you don’t need framing.
Minted has a decent selection of modern art prints and they offer acrylic and framing options that work for bathrooms. Their search filters are actually useful—you can sort by color and style.
Society6 for more affordable options, lots of independent artists. Quality varies though so read reviews. Their metal prints have been hit or miss for me.
Etsy obviously, but you gotta be careful about materials. Search specifically for “acrylic bathroom art” or “metal print bathroom” so you’re getting appropriate materials. I found this artist who does minimalist line drawings printed on sealed wood panels that are perfect for bathrooms.
For high-end stuff, Saatchi Art has original pieces by emerging artists. You can filter by size and price which helps. I bought a small abstract original on canvas (sealed) for a client’s master bath and it became the whole focal point of the room.
The Gallery Wall Approach
Okay this is gonna sound complicated but it’s really not—gallery walls work great in larger bathrooms. The key is keeping it cohesive.
Pick ONE unifying element: same frame color, same mat color, same color palette in the art, or same subject matter. Not everything has to match exactly but there needs to be something tying it together or it looks chaotic.
I usually do 3-5 pieces for a bathroom gallery wall. More than that gets cluttered in a small space. Lay them out on the floor first, take a photo, live with it for a day. Then measure and mark everything before you start putting holes in the wall.
For spacing, 2-3 inches between frames is standard. I tend to go closer to 2 inches in bathrooms because the space is usually tighter.
Pro tip that saved me so much time: make paper templates of each frame, tape them to the wall with painter’s tape, adjust until it looks right, then mark your nail holes through the paper. Remove paper, install hardware, hang art. So much easier than trying to measure and level everything in your head.
Dealing with Small Bathrooms
My apartment bathroom is literally 5×7 feet so I feel this struggle. You can’t go big, but you also don’t want it to look like you gave up on decorating.
One medium piece is usually better than several small ones in a tiny bath. Like 12×16 inches or 16×20 inches. Big enough to make a statement without overwhelming the space.
Vertical orientation can make low ceilings feel higher. I’ve got this tall narrow piece above my toilet that draws your eye up and somehow makes my bathroom feel less cramped.
Light colors and simple compositions keep small bathrooms from feeling closed in. Heavy, dark, detailed art can make a small room feel even smaller. Save that for bigger spaces.
Maintenance Reality Check
Even waterproof art gets dusty and needs cleaning. Acrylic and metal prints are super easy—just wipe with a damp microfiber cloth. I do this maybe once a month? Whenever I notice dust building up.
Glass-covered frames need glass cleaner obviously, but spray it on your cloth not directly on the frame. You don’t want cleaner seeping behind the glass or into the frame joints.
If you notice any moisture getting behind glass or under protective coatings, remove the piece immediately and let it dry out completely. Then figure out if you need better ventilation or if the art needs to move to a different wall farther from the moisture source.
Check your hanging hardware every few months. Humidity can corrode certain metals over time. If you see rust or weakening, replace it before your art crashes down at 2am and gives you a heart attack.
Budget Breakdown That’s Actually Realistic
You can do this at literally any price point, just being honest about what you get:
Under $50: Small prints from Society6 or printable art you frame yourself. Gonna look fine but probably not super unique. Good for renters or starter pieces.
$50-150: Better quality prints, small acrylic or metal pieces, nice frames. This is where I usually land for client projects. Good balance of quality and cost.
$150-500: Larger custom pieces, higher-end materials, limited edition prints, small original works. Worth it if this is your forever home and you’re really investing in the design.
Over $500: Original art, commissioned pieces, large-scale installations. I’ve done this for luxury bath renovations but it’s definitely not necessary for a great looking space.
The frame matters more than people think btw. A $30 print in a $80 frame looks better than a $80 print in a $30 frame. If you’re on a budget, spend more on framing and less on the art itself.
Things I Wish Someone Had Told Me
The “perfect” piece doesn’t exist, just pick something you like and commit. I spent three weeks going back and forth on art for my bathroom and honestly once it was up I couldn’t remember what I’d been so stressed about.
You can always change it later. It’s not a tattoo. If you hate it after living with it for a month, take it down and try something else.
Natural light vs. artificial light will make colors look completely different. If your bathroom has a window, check how the art looks at different times of day before permanently installing.
Matte finishes show fewer water spots than glossy finishes if your bathroom tends to get really steamy. Just something to consider.
Sometimes the second choice ends up being the better choice anyway. I had this whole vision for a client’s bathroom with this expensive abstract piece, it sold out, we went with option #2, and it ended up working even better with the space. Just roll with it.