Wall Art Guide, Wall Art Tutoriels
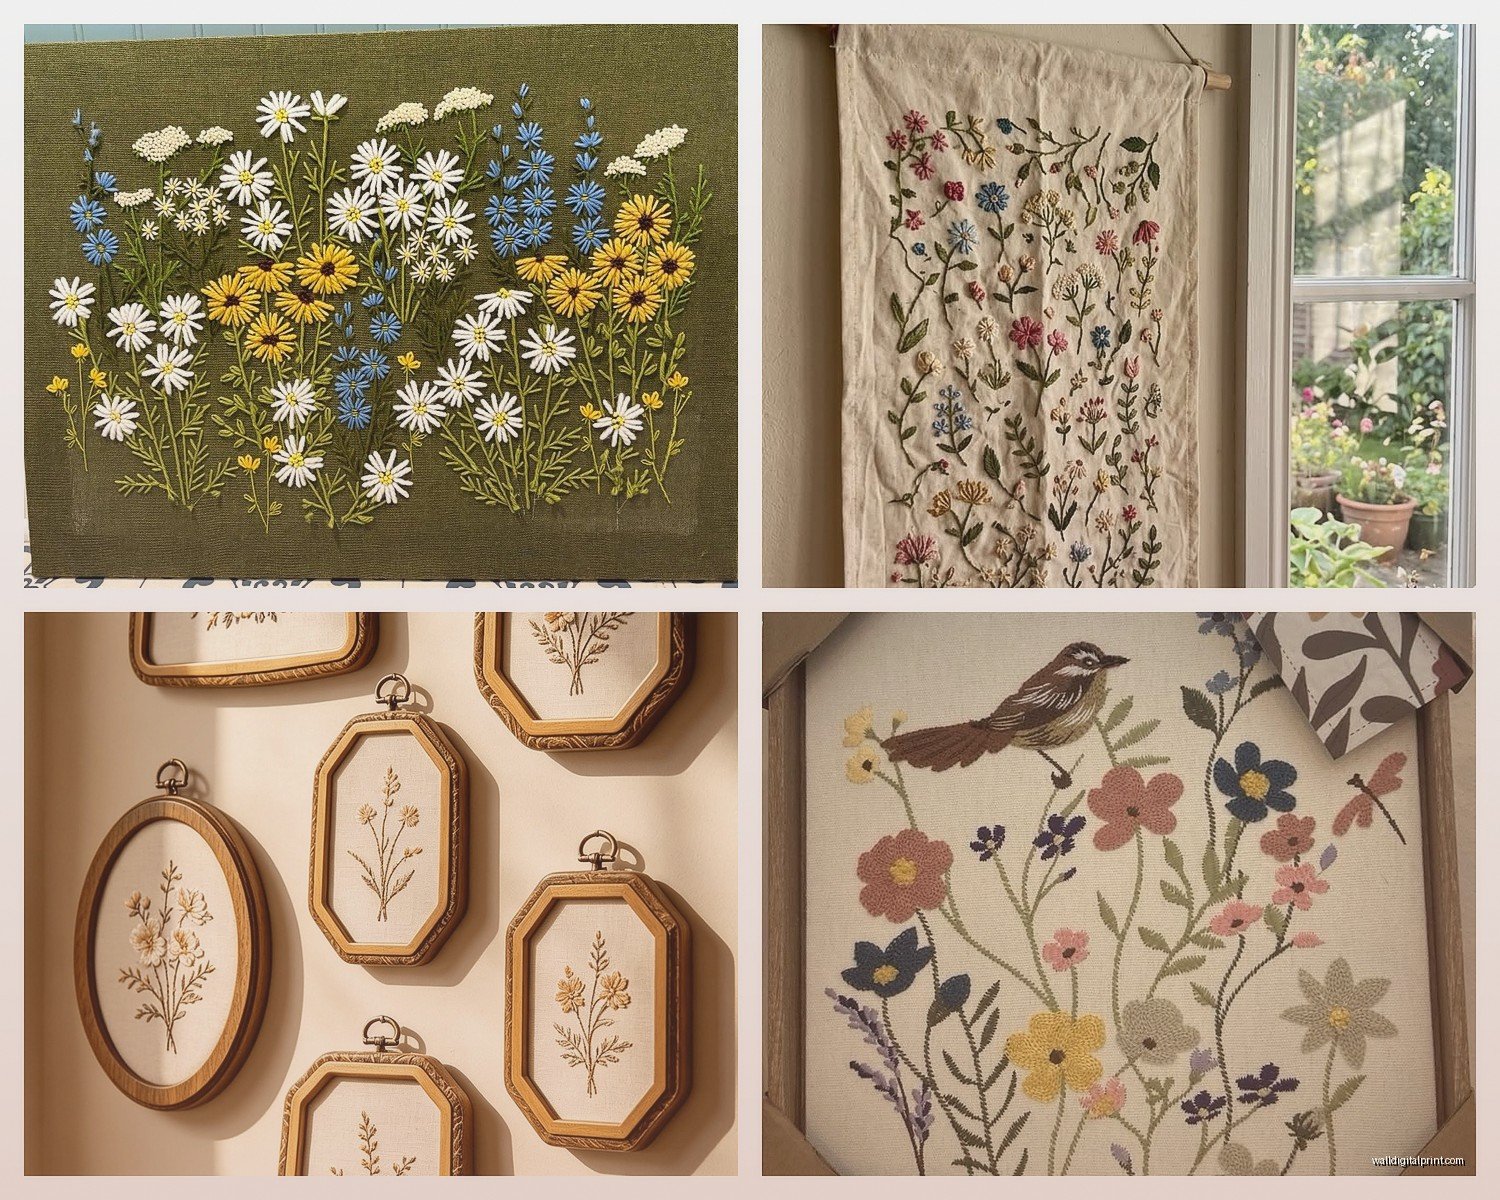
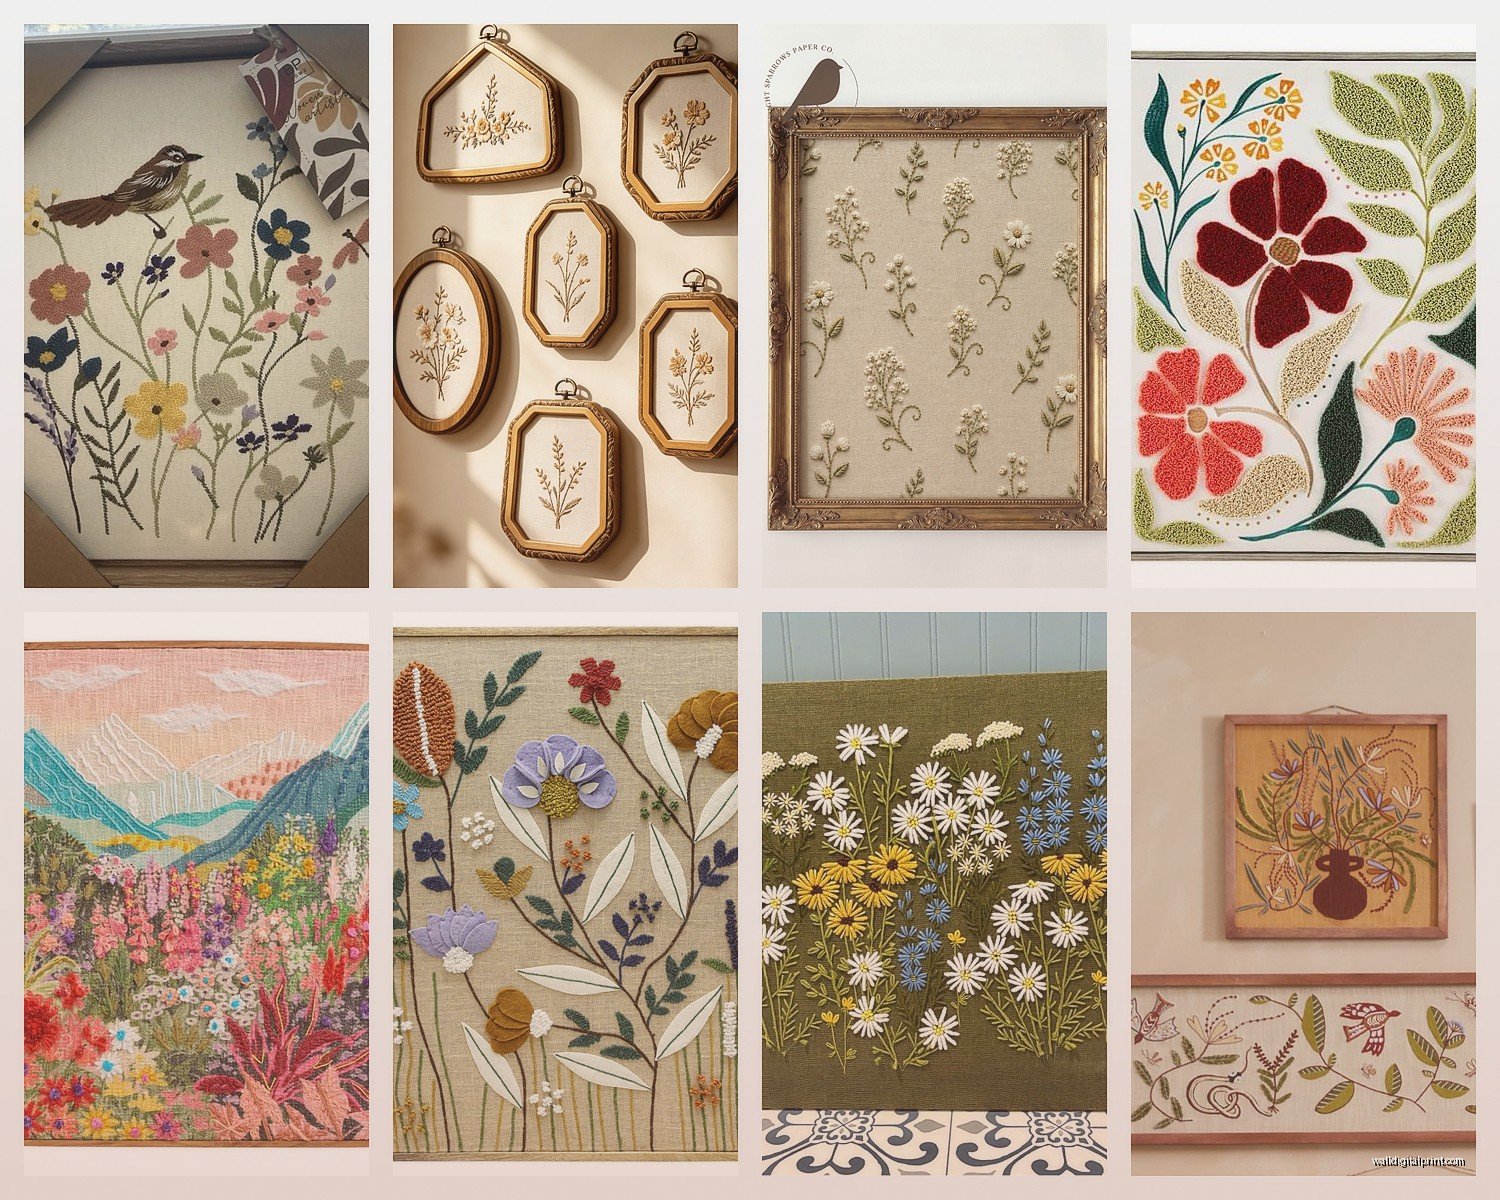
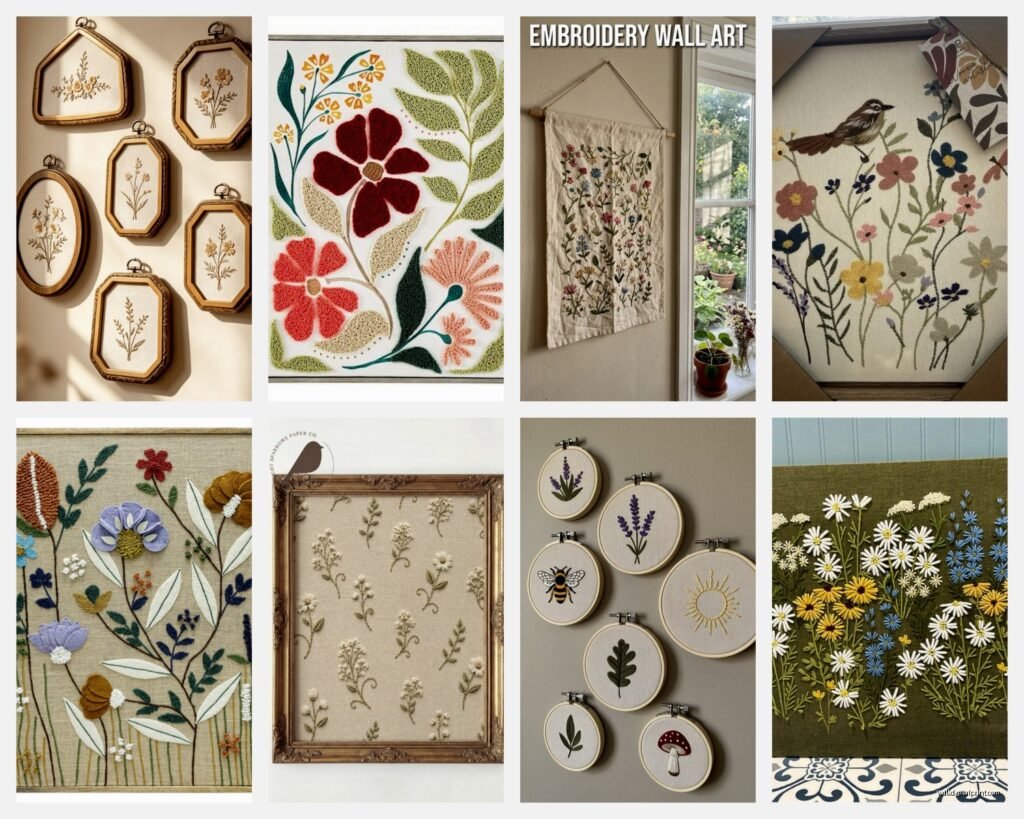
Embroidered Wall Art: Stitched Textile Thread Fabric Art
Aug
So I’ve been completely obsessed with embroidered wall art lately and honestly it started because I needed to fill this massive blank wall in a client’s dining room and paintings felt too expected, you know? Let me tell you everything I’ve figured out because I’ve made basically every mistake possible.
What Actually Works for Embroidered Wall Art
First thing – you gotta decide if you’re buying finished pieces or making them yourself. I’ve done both and they’re totally different vibes. Buying is obviously faster but making your own means you can get exactly the colors and size you need which has saved me so many times when client spaces have weird dimensions.
For buying ready-made pieces, Etsy is gonna be your best friend but also your worst enemy because you’ll lose three hours just scrolling. I look for sellers who show the back of their hoops because that tells you if they actually know what they’re doing. Messy backs aren’t always a dealbreaker but super neat backs usually mean the front will hold up better over time.
If You’re Making Your Own
Okay so funny story, I thought embroidery was just like… needlepoint? Turns out they’re different and I bought the wrong supplies first time around. My dog ate one of the hoops while I was figuring this out so that was a whole thing.
You need:
- Embroidery hoops in whatever size you want the final piece (I usually do 8-10 inches for gallery walls, bigger for statement pieces)
- Fabric – quilting cotton is easiest to start with, linen looks fancier
- Embroidery floss (DMC brand is standard, comes in like a million colors)
- Needles specifically for embroidery, they have bigger eyes
- Pattern or design – you can print these or draw your own
- Transfer pen or paper
The fabric choice matters more than I thought it would. I used some random fabric from my stash once and it was too stretchy and the whole thing puckered weird. Stick with woven cotton or linen that has some structure. You want it tight in the hoop, like drum-tight.
Getting Your Design on the Fabric
This part stressed me out initially but there’s like five different methods so one will work for you. The transfer pen method is what I use most – you trace your design onto the fabric with this special pen and it disappears after washing or with water. But here’s the thing, test it first on a scrap because some pens don’t actually disappear completely and that’s annoying.
Iron-on transfers are easier if you’re not confident with tracing. You print the design, iron it onto fabric, done. They’re reversed though so if you’re doing text you gotta flip it before printing.
Window method is free – tape your pattern to a window, tape fabric over it, trace with pencil. Works great during the day, terrible at night obviously.
Basic Stitches You Actually Need
I spent way too long learning fancy stitches before realizing you can make gorgeous wall art with like three basic ones. My client canceled last month so I spent an hour comparing different stitch tutorials and honestly most “advanced” stitches are just combinations of simple ones.
Backstitch is your workhorse for outlines and text. It makes a solid line. You’re basically going backward with each stitch to fill gaps. Super simple.
Satin stitch fills in areas with smooth parallel stitches. Takes practice to keep them even but looks really professional when you get it right. I still mess this up sometimes if I’m watching TV while stitching.
French knots add texture and dimension. They’re fiddly at first – you wrap the thread around the needle and poke it back through near where it came up. I watched probably ten YouTube videos before mine stopped looking like sad little tangles.
Oh and another thing – split stitch is underrated. It’s like backstitch but you pierce through the previous stitch and it creates this rope-like texture that’s really nice for organic shapes.
Thread Management
Embroidery floss comes with six strands twisted together and you separate them to use 2-3 strands usually. This confused me for weeks because nobody tells you this clearly. More strands = thicker line. I use two strands for most detail work, three for bolder areas.
Don’t make your thread too long or it’ll tangle and you’ll want to throw the whole project across the room. I learned this the hard way. Like 18 inches max.
Design Ideas That Look Expensive
Abstract line art is everywhere right now and super forgiving for beginners. One continuous line faces, botanicals, that kind of thing. The imperfections actually add to the handmade charm.
Geometric patterns work great too – you can use ruler and compass for perfect shapes then stitch them in contrasting colors. I did a series of overlapping circles in different jewel tones for a client’s office and people thought she’d spent hundreds on them.
Text pieces are having a moment. Song lyrics, quotes, inside jokes. The key is picking a good font – hand lettering looks cool but is harder to transfer. I usually find fonts I like online, blow them up huge, print and transfer.
Color Theory Stuff
This is gonna sound weird but I plan my thread colors the same way I’d plan a room’s color palette. Pick 3-5 colors max unless you’re going for a chaotic rainbow vibe which can also work.
Monochromatic (different shades of one color) looks sophisticated and modern. I did an entire botanical piece in just blues once and it’s still one of my favorites.
Complementary colors (opposite on color wheel) create drama. But like, don’t go full intensity on both or it’ll vibrate weird. Tone one down.
Analogous colors (next to each other on wheel) are easiest to work with and always look harmonious. Can’t really go wrong here.
Finishing and Displaying
Okay so you’ve stitched your piece and now what. If you’re keeping it in the hoop (most common for wall art), you need to finish the back properly or it looks messy.
Trim the fabric leaving about an inch beyond the hoop. Some people glue this down with fabric glue, I usually hand-stitch it in a gathering stitch to pull it tight and flat. Then cut a circle of felt slightly smaller than the hoop and glue it over the back to hide everything. Makes it look professional.
The hanging mechanism matters – those hoops have a screw closure at the top which can work for hanging but it’s not super secure. I add a proper hanging loop. You can sew a ribbon loop onto the back, or use those little sawtooth hangers meant for frames.
Framing Options
Wait I forgot to mention – you don’t have to use hoops at all. You can frame embroidery like regular art. Stretch it over mat board or foam core, secure the back with lacing or staples, frame it. This looks more traditional and works better for formal spaces.
I’ve also mounted embroidery on canvas stretcher bars which gives you that gallery wrap look. The fabric wraps around the edges so you don’t need a frame at all.
Buying vs Making Cost Breakdown
Since you’re probably wondering about budget… Making your own is cheaper per piece but requires time investment obviously.
Basic supplies to start:
- Hoop: $3-8 depending on size
- Fabric: $5-10 per yard (you’ll get multiple pieces)
- Thread: $0.50 per color but you need several
- Needles: $3 for a pack
- Transfer supplies: $5-10
So like $30-50 gets you started and you can make multiple pieces. Each additional piece costs maybe $8-12 in materials.
Buying finished pieces ranges wildly. Small hoops from independent artists on Etsy run $30-80. Larger statement pieces can be $100-300. Custom work is obviously more.
Common Problems I’ve Had
The fabric puckers while you’re stitching – you’re pulling too tight or the fabric wasn’t tight enough in the hoop to start. Re-tighten constantly.
Stitches look uneven – practice helps but also make sure you’re splitting your strands properly and not fighting with tangled thread.
Colors look different than expected – this happens a lot actually. Thread looks different under different lighting and against different fabric colors. I always test stitch a small sample first now.
The hoop won’t stay tight – cheap hoops do this. Invest in better ones with actual screw mechanisms, not just that metal closure thing. Or wrap the inner hoop with bias tape for better grip.
Caring for Embroidered Art
Don’t hang them in direct sunlight because the thread will fade over time. I learned this after a piece I made for my own living room got noticeably lighter after like six months.
Dust them occasionally with a soft brush or lint roller. If they get actually dirty, you can gently hand wash most pieces (test the fabric and thread first though). Lay flat to dry, re-stretch in the hoop while damp.
Taking It Further
Once you’ve got basics down, there’s so much you can experiment with. Mixed media is really cool – combining embroidery with watercolor or ink on the fabric first, then stitching over it.
Beading adds dimension. Just sew beads or sequins into your design. I did this for a client who wanted something that caught light and it turned out gorgeous.
Layering – using multiple hoops at different depths creates a 3D effect. Haven’t tried this myself yet but it’s on my list.
Oh and you can embroider on unconventional materials. I’ve seen people do it on felt, cork, even paper if you’re careful. The texture variations are really interesting.
Where to Find Patterns and Inspiration
Pinterest is obvious but gets repetitive. I follow embroidery artists on Instagram for more unique ideas – @makerskeepsakes and @hoffeltandhooperco are good starting points.
Vintage embroidery pattern books from thrift stores are goldmines. The designs are out of copyright so you can use them freely and they have this retro charm.
Nature walks honestly. I take photos of leaves, flowers, branches and simplify them into line drawings for patterns. Costs nothing and the designs are unique to you.
The thing about embroidered wall art is it adds texture to your walls in a way that prints just can’t. And if you make it yourself, you can customize literally everything – colors to match your room exactly, size to fit that weird narrow wall, subject matter that actually means something to you.
I’ve got like fifteen pieces going right now because I keep starting new ones when I get ideas and my workspace is chaos but whatever. It’s such a good mindless activity for when you need to think through design problems or just decompress after dealing with difficult clients all day.
Start with something small and simple though, don’t be like me and attempt a huge complicated piece first. A 6-inch hoop with a simple botanical or geometric pattern will teach you everything you need to know and you’ll actually finish it instead of getting frustrated and giving up.