Wall Art Guide, Wall Art Tutoriels
Extra Large Landscape Wall Art: Oversized Nature Prints
May
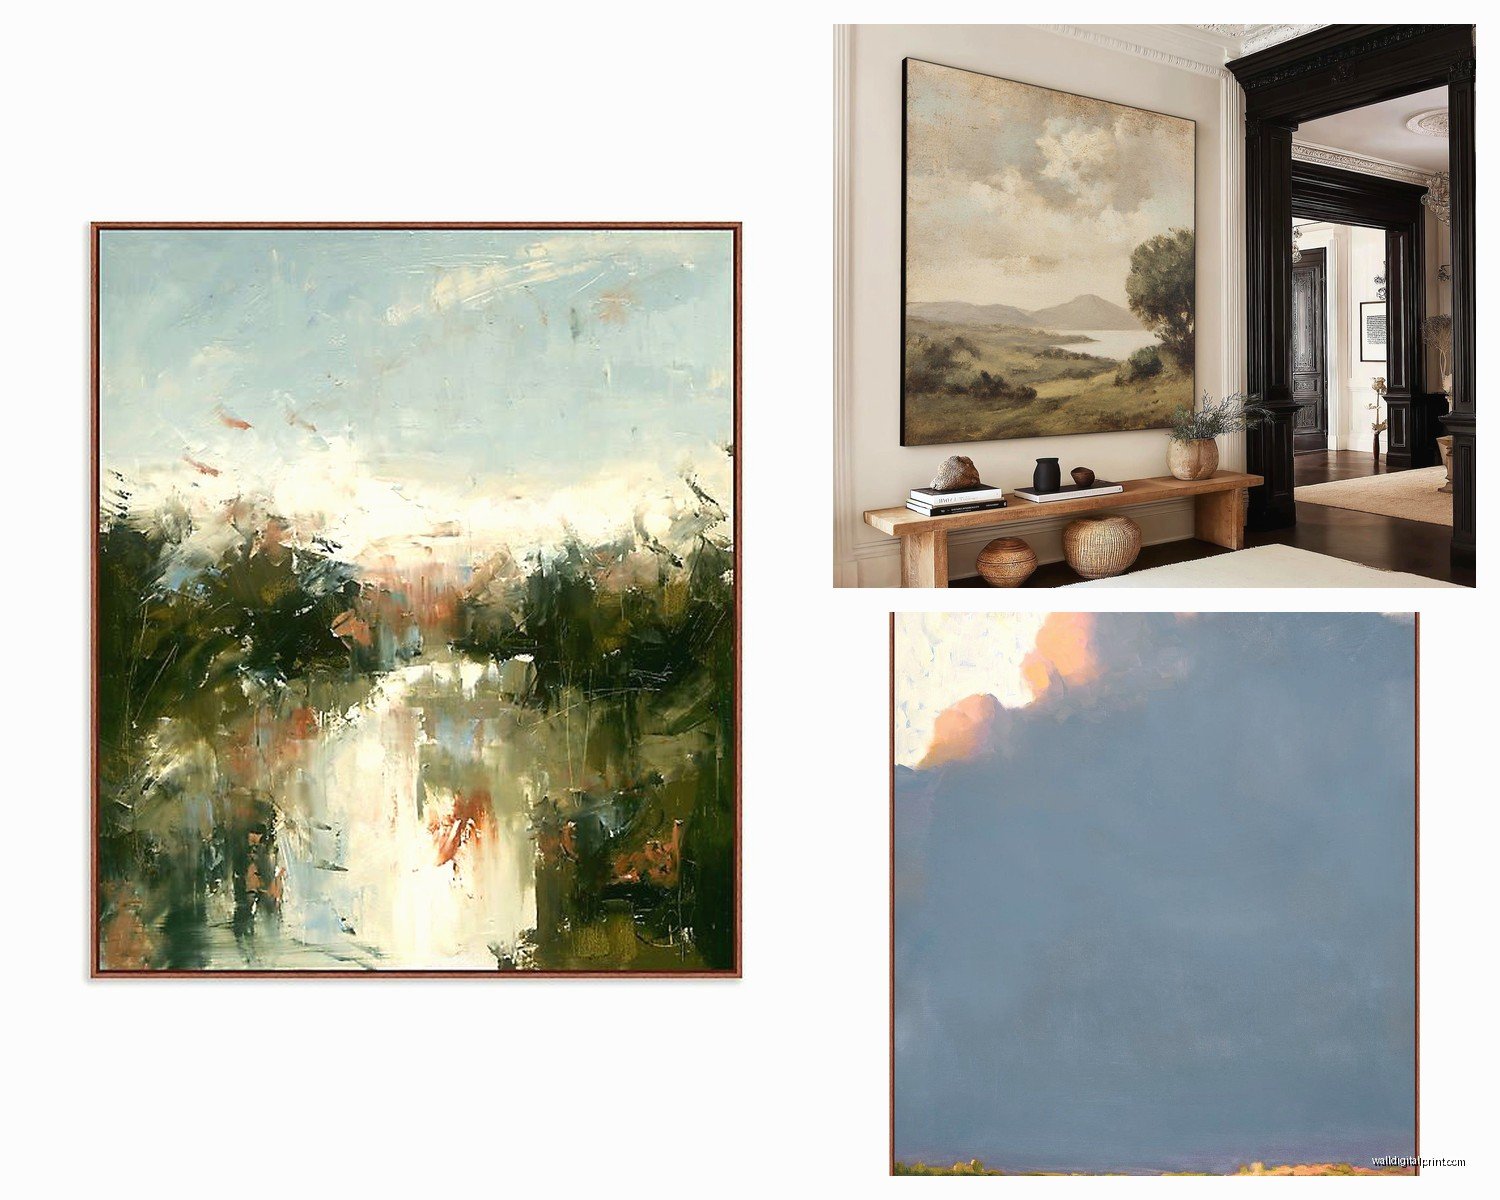
So I literally just hung this massive 72×40 inch mountain landscape in a client’s living room yesterday and my arms are still sore, but okay let me tell you what I’ve learned about these oversized nature prints because I’ve been basically obsessed with them for like three years now.
The Size Thing Everyone Gets Wrong
First thing – everyone thinks they want bigger than they actually need. I know that sounds backwards but hear me out. You walk into a gallery or you’re scrolling online and you see this enormous piece and you’re like YES that’s what my living room needs, but then you measure your wall and… it’s actually not as big as you thought?
The rule I use (and I stole this from my mentor back when I was curating gallery shows) is that your art should take up about 60-75% of the width of your furniture below it. So if you’ve got an 8-foot sofa, you’re looking at roughly 58-72 inches wide for your art. But here’s where it gets tricky with extra large stuff – you also gotta think about the height of your ceilings because a 60-inch tall print on an 8-foot ceiling is gonna feel like it’s crushing the room.
I made this mistake in my own apartment like five years ago. Got this gorgeous forest canopy print, 48×72 inches, and hung it in my bedroom which has these old 1920s 8.5 foot ceilings and it literally looked like the trees were falling on me. Ended up moving it to my living room with 10-foot ceilings and suddenly it was perfect.
Material Choices That Actually Matter
Okay so funny story – I used to think canvas was always the way to go for landscape prints because it has that gallery vibe right? But then I discovered acrylic face-mounting and my whole world changed.
Canvas prints are great for traditional landscapes, anything with a painterly quality. They hide imperfections in the image better and they’re lighter which matters SO much when you’re hanging something that’s like 50 pounds. The texture adds this organic feel that works perfectly with nature scenes. Downside is they can look flat in certain lighting and if you get them cheap, they’ll sag over time. I learned this the hard way with a beach sunset print that started drooping at the top after like 18 months.
Acrylic or plexiglass mounting – this is where you print on paper or metallic paper and then mount it behind a thick piece of acrylic. The colors are INSANE. Like, so vibrant and deep. I used this for an Iceland waterfall scene in a corporate office and people literally stop to look at it. But they’re heavy (we’re talking 60+ pounds for a 60×40 inch piece) and expensive. You need professional installation usually.
Metal prints work amazing for modern landscapes – deserts, architectural nature scenes, anything graphic. The dye sublimation process makes the colors super saturated. I’ve got a metal print of Joshua Tree in my office and the way it catches light throughout the day is *chef’s kiss*. They’re also the most durable if you’re putting them in a humid room or somewhere with temperature changes.
Framed photographic prints under museum glass are my choice for fine art landscapes when someone has the budget. The clarity is unmatched and you can actually see the detail in the shadows and highlights. But we’re talking serious money here – a 60×40 inch print properly framed can run you $2000-3500 depending on the frame and glass quality.
Where to Actually Buy These Without Going Broke
Wait I forgot to mention – before you buy anything, figure out if you want a photograph or a more artistic interpretation. Because that changes everything about where you shop.
For photographic landscapes I love browsing Etsy but you gotta be careful. Look for sellers who do their own photography and print in-house or use quality labs. I’ve found some incredible large format prints from photographers in the Pacific Northwest who specialize in mountain scenes. Usually runs $300-800 for extra large sizes which is reasonable.
Society6 and Redbubble are hit or miss. The selection is huge which is great, but quality varies wildly. I’ve ordered probably 15 large prints from Society6 over the years – maybe 10 were great, 5 were just okay. Their canvas quality has gotten better though. Good for when you want something trendy or if you’re not super picky about archival quality.
Minted is where I send clients who want something polished and don’t wanna think too hard about it. Their large format prints are consistently good quality, they offer framing, and their customer service actually responds. Pricier than Etsy but less risky. My client just got a 54×40 inch coastal scene from them and it’s beautiful.
Oh and another thing – local photographers. I cannot stress this enough. Most landscape photographers will do custom large format prints if you ask. I worked with a guy here who shoots the Rockies and he printed a custom 80×40 inch panorama for a client’s great room for less than what we would’ve paid for something generic online. Plus you get a unique piece and you’re supporting actual artists which feels good.
The Hanging Process Is No Joke
This is gonna sound weird but I actually practice hanging heavy pieces with my partner because we’ve had some near-disasters. Anything over 30 pounds needs serious consideration.
You absolutely need to hit studs for extra large pieces. Those toggle bolts and anchors might say they hold 50 pounds but I don’t trust them with expensive art. I use a good stud finder (the Zircon MultiScanner i520 is worth it, the cheap ones lie) and heavy duty picture hanging hardware rated for way more weight than I actually need.
For pieces over 40 pounds I use French cleats. It’s this system where you attach one piece of hardware to the wall and another to the back of your art, and they lock together. Sounds complicated but it’s actually easier than wire and hooks for heavy stuff because you can adjust the positioning more easily and it distributes weight better. Plus the art sits flat against the wall which looks more professional.
Also – measure from the floor, not the ceiling. Ceilings are never level even in new construction. I learned this the hard way when I hung three large prints in a row and they looked drunk because I measured from the ceiling. The center of your art should generally be at eye level, which is usually around 57-60 inches from the floor, but for extra large pieces you might need to adjust because you want the visual center at eye level, not the actual center of the piece.
Placement Ideas That Actually Work
My cat just knocked over my water bottle sorry, anyway…
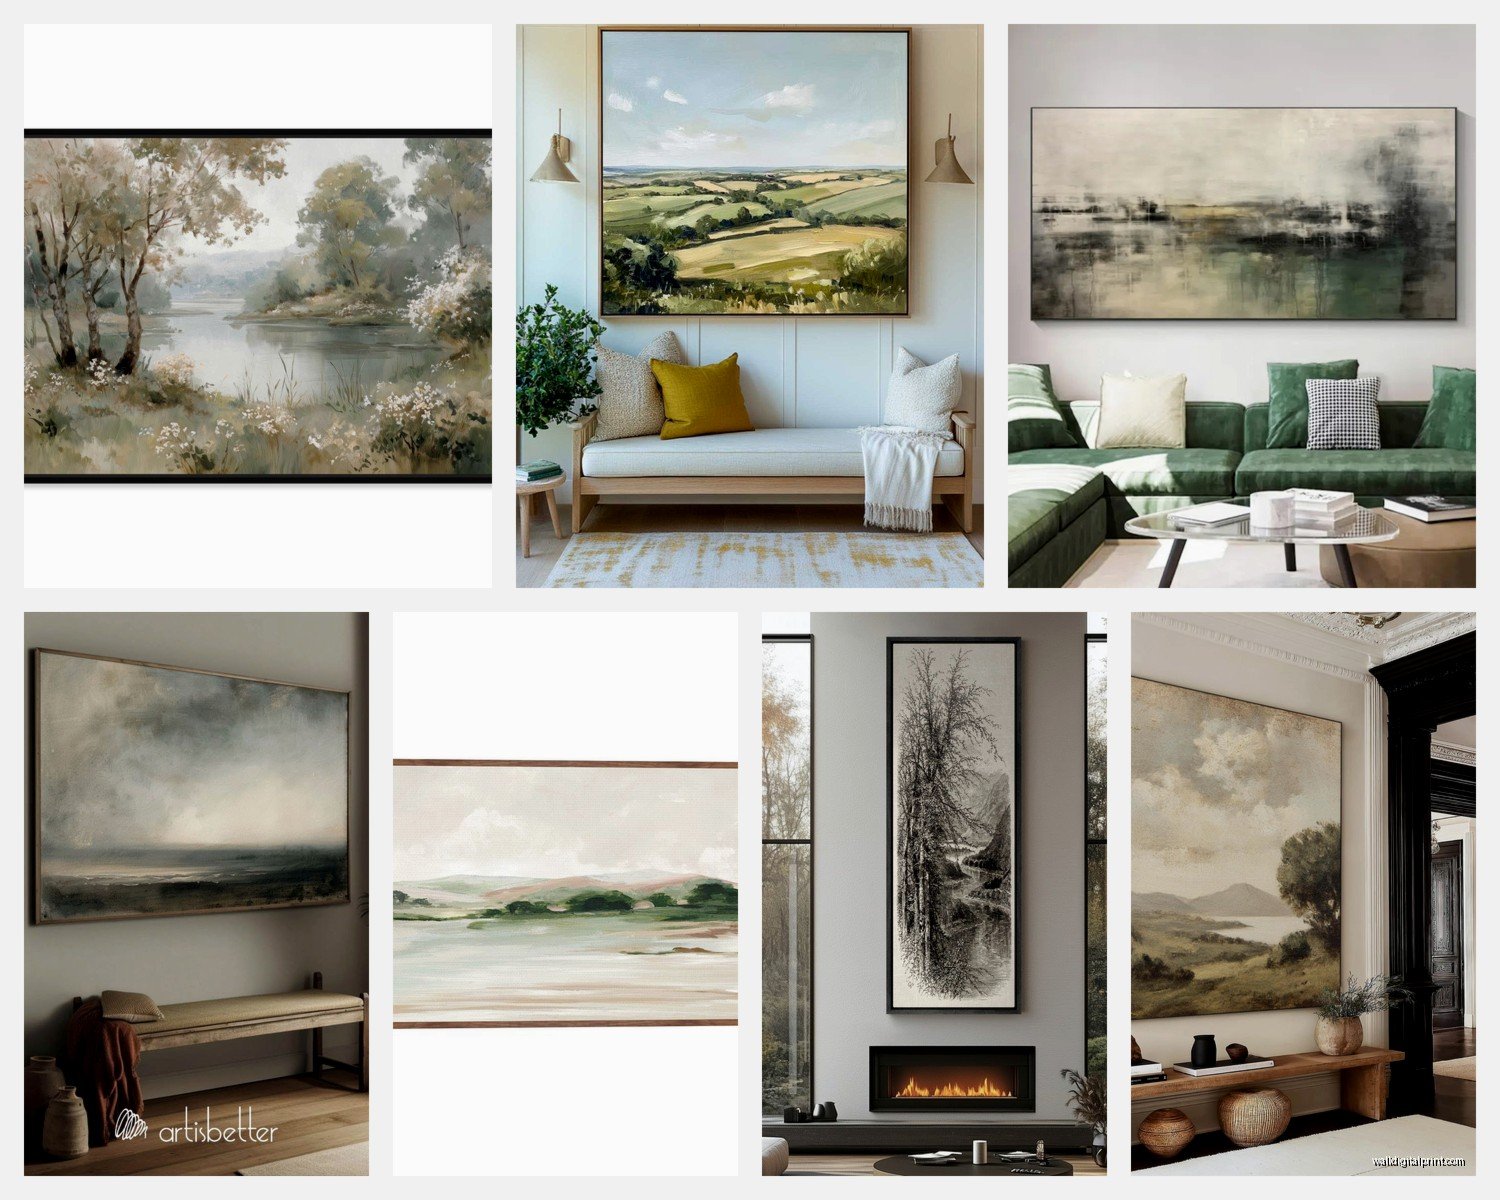
Above the sofa is classic for a reason. That 60-75% width rule I mentioned earlier really does work. Leave like 6-10 inches between the top of your sofa and the bottom of the art. I see people hang it too high all the time and it looks disconnected from the furniture.
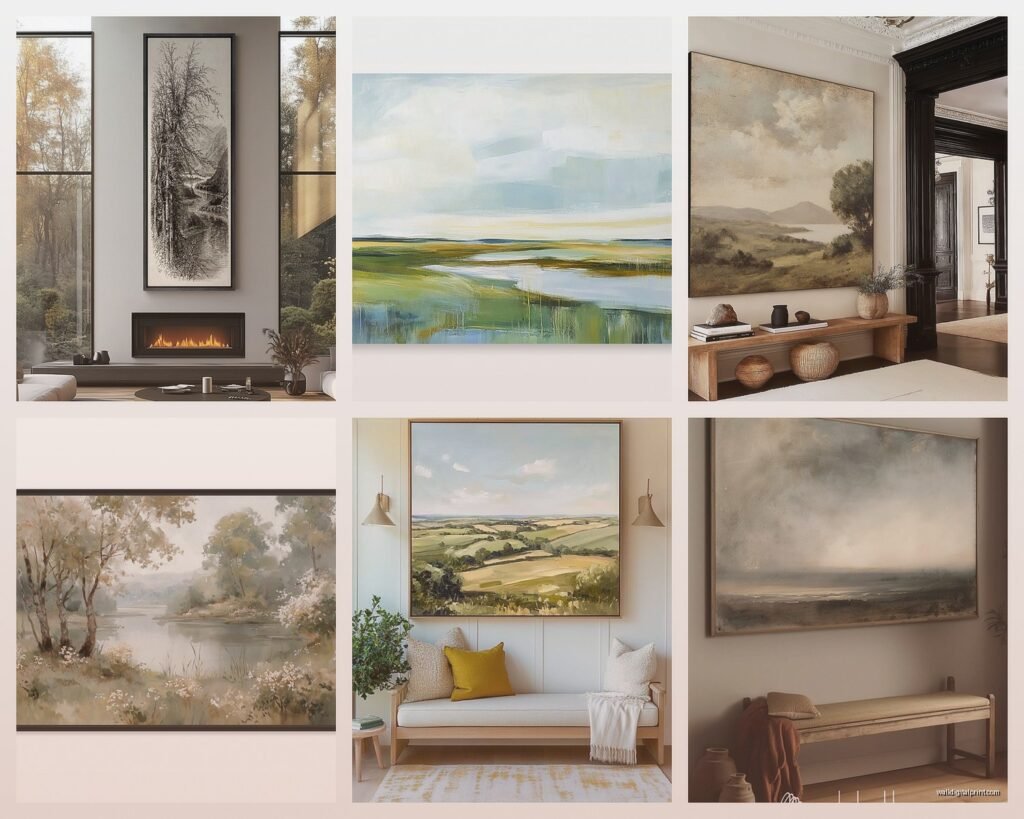
In the dining room is underrated for landscape art. Think about it – you’re sitting there for extended periods, you want something peaceful to look at. I hung a massive 72×48 inch Yellowstone landscape in a client’s dining room and it became the focal point of their whole first floor. Just make sure it’s not directly behind where the host sits because then only guests see it which seems backwards.
Bedroom accent walls work great with oversized nature prints, especially calming scenes like forests, oceans, mountains at dusk. I’ve got a 60×40 inch print of a misty forest above my bed and it’s genuinely relaxing to wake up to. Pro tip though – avoid scenes that are too stimulating or have a lot of red/orange tones because color psychology is real and you want your bedroom calm.
Stairwell walls are perfect for vertical panoramas or tall landscape shots. Those awkward tall walls that nobody knows what to do with? A 40×72 inch vertical forest or waterfall print is your answer. Just be prepared for the installation to be annoying because ladders on stairs are a whole thing.
Lighting Makes or Breaks the Whole Thing
Okay so this is where I see people mess up constantly. You spend $800 on this gorgeous oversized landscape print and then you just… hang it and walk away? No lighting consideration?
Natural light is tricky with large prints. Direct sunlight will fade them over time, even with UV protective glass or coatings. I always recommend UV filtering window film if you’re hanging expensive art on a wall that gets afternoon sun. It’s like $80 for enough film to cover a window and it’ll save your art.
For artificial lighting, picture lights are the obvious choice but they don’t always work with extra large pieces. You need a light bar that’s at least 2/3 the width of your art to light it evenly. I like the LED ones from Cocoweb – they’re pricey but the light quality is chef’s kiss.
Track lighting or recessed spotlights work better for really oversized pieces in my opinion. Position them about 3-4 feet from the wall, angled at about 30 degrees. This gives you even coverage without glare. I just did this in a client’s living room with a 80×48 inch desert landscape and the shadows and depth in the image really pop now.
The Color Coordination Thing Nobody Talks About
Look, you don’t need your landscape print to match your throw pillows exactly. That’s actually kinda tacky? But you do want to think about the overall color temperature of your room versus your print.
If you’ve got a warm room – lots of wood tones, warm whites, brass fixtures – then a landscape with golden hour lighting or warm earth tones is gonna feel cohesive. I love sunset desert scenes, autumn forests, golden field landscapes for these spaces.
Cool rooms with gray walls, chrome fixtures, blue or green accents – go for landscapes with cooler tones. Mountain scenes with snow, ocean prints, forests with that blue-green misty quality, overcast coastal scenes.
I had a client who insisted on a warm Tuscany vineyard print (all gold and amber tones) in a room with gray walls, white trim, and chrome everything. It looked so out of place. We ended up switching to a dramatic black and white mountain landscape and suddenly the whole room made sense.
Maintenance Stuff You Should Know
Canvas prints need dusting regularly. I use a microfiber cloth or a soft brush attachment on the vacuum (on low). Never use cleaning products on canvas unless you hate your art.
Acrylic and glass can be cleaned with glass cleaner but I prefer just distilled water and a microfiber cloth because some cleaners leave streaks. Also never spray directly on the surface – spray the cloth first because liquid can seep behind the edges.
Metal prints are basically indestructible. I wipe mine down with a damp cloth when they get dusty and that’s it.
My Current Favorites for Different Rooms
For living rooms I’m really into dramatic mountain landscapes right now. Specifically the Dolomites or Patagonia – those jagged peaks with the moody skies. They make a statement without being too busy. I just sourced a 72×48 inch Patagonia print for a client and it’s become THE conversation piece in their home.
Bedrooms need something calmer. I’ve been using a lot of forest canopy shots lately, where you’re looking up at the trees. Also love misty coastal scenes – beaches at dawn with that soft light. Anything that feels expansive but peaceful.
Home offices work well with inspiring but not distracting landscapes. I’ve been using a lot of desert scenes – something about that vast open space helps with focus apparently? Also mountain ranges, especially minimalist compositions with lots of negative space.
Wait I forgot to mention – if you’re renting or you move a lot, consider extra large prints that come in multiple panels instead of one huge piece. Like a triptych or a 3-panel split. Much easier to transport and you have more flexibility with placement. I’ve got a 3-panel forest scene that’s 72 inches wide total and I’ve moved it twice without issues.
The last thing I’ll say is don’t be scared of going big. I see so many people get timid and buy something too small for their space and then it just looks lost on the wall. If you’ve measured and you think you need a 60-inch wide print, you probably do. Trust your instincts and remember you can always return it if it doesn’t work, most places have decent return policies now.
Anyway I need to finish editing photos from yesterday’s install but hopefully this helps you figure out what you actually need for your space!