Wall Art Guide, Wall Art Tutoriels
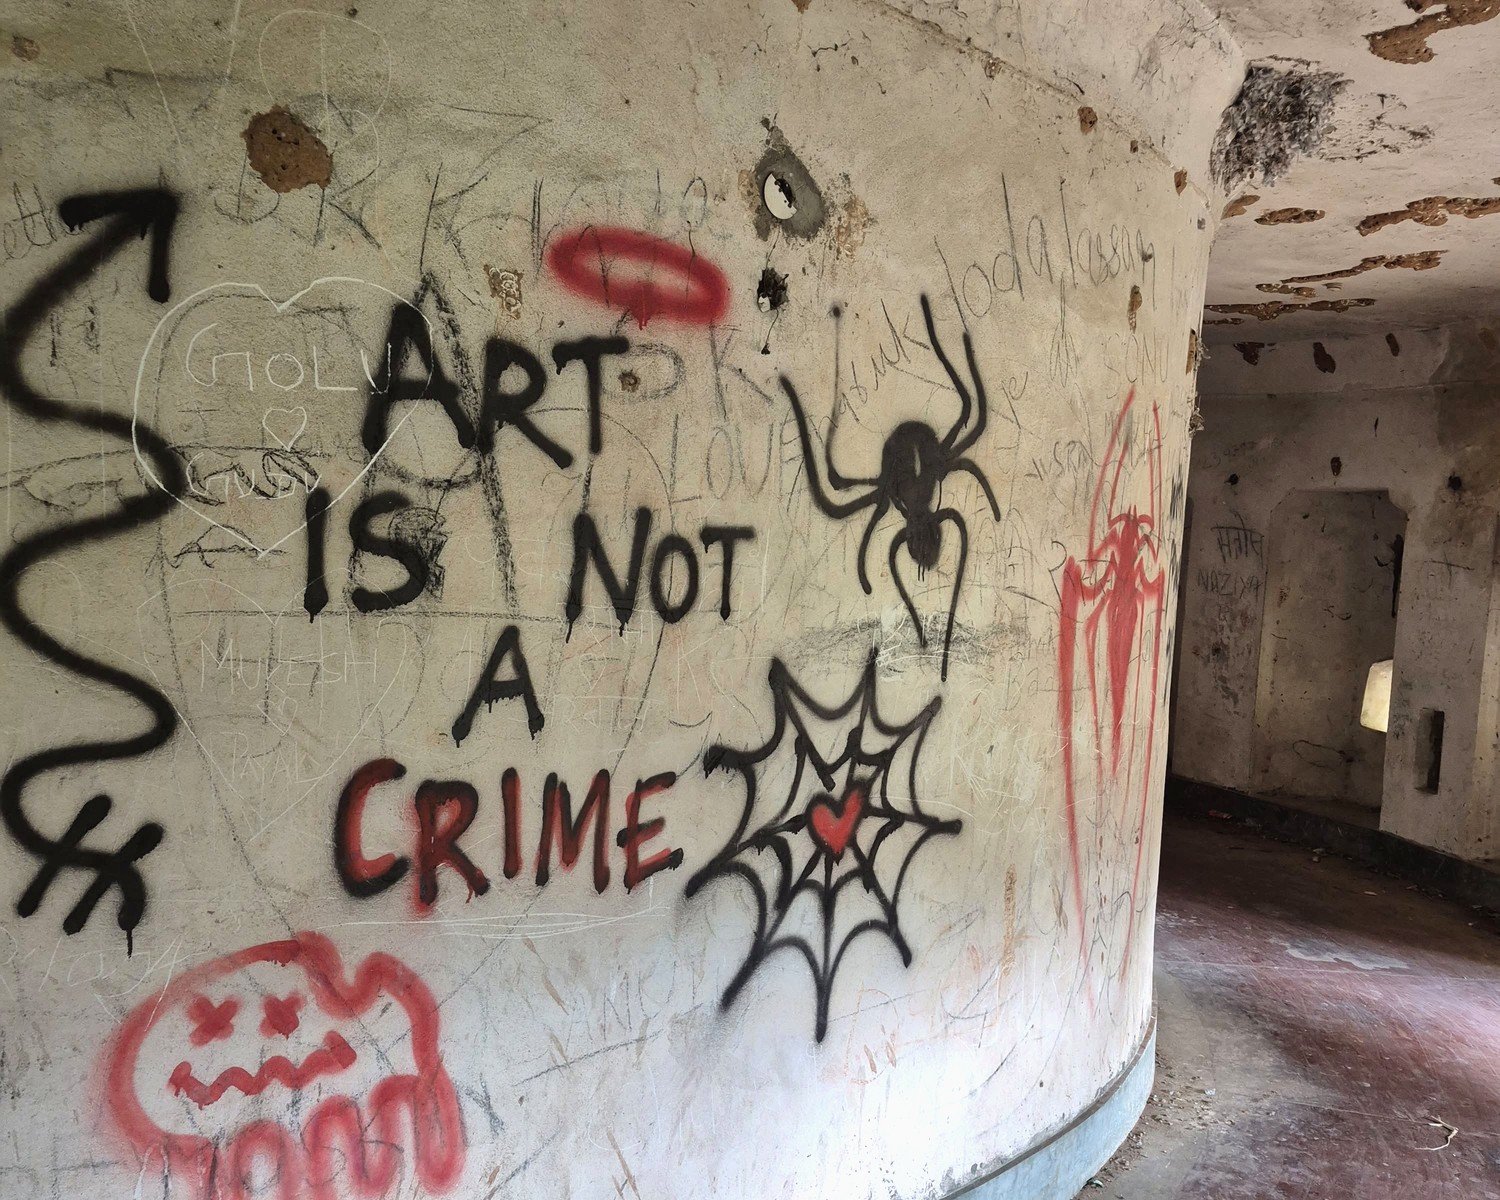
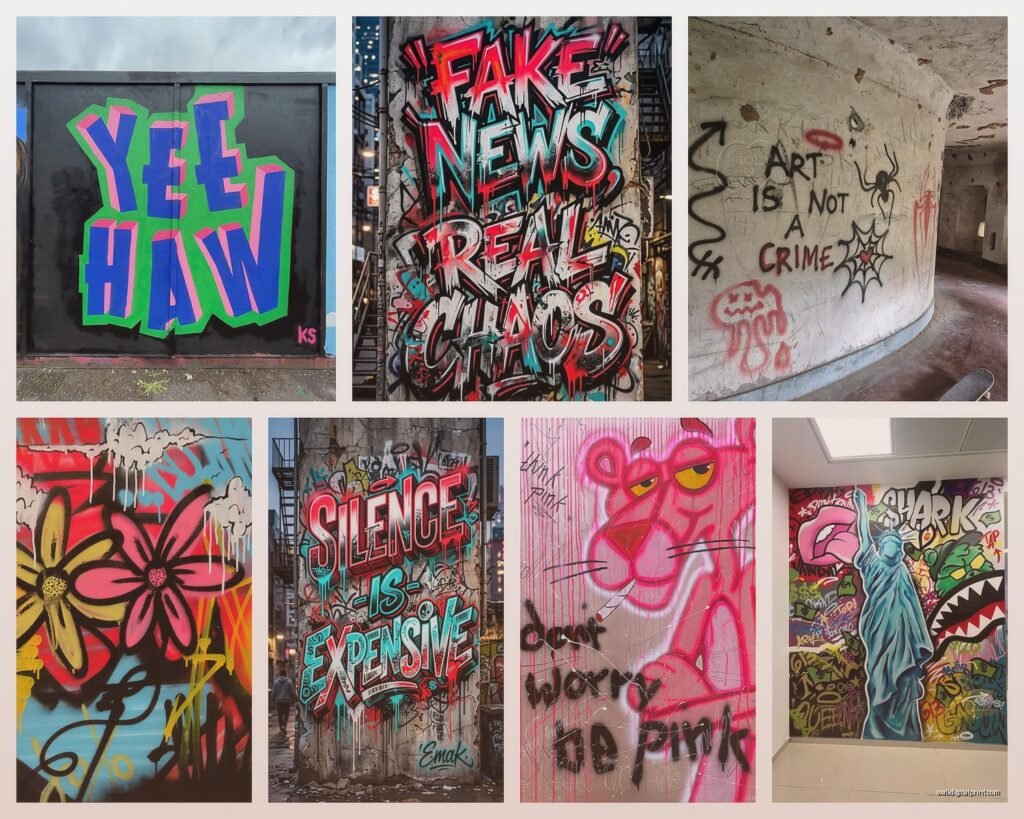
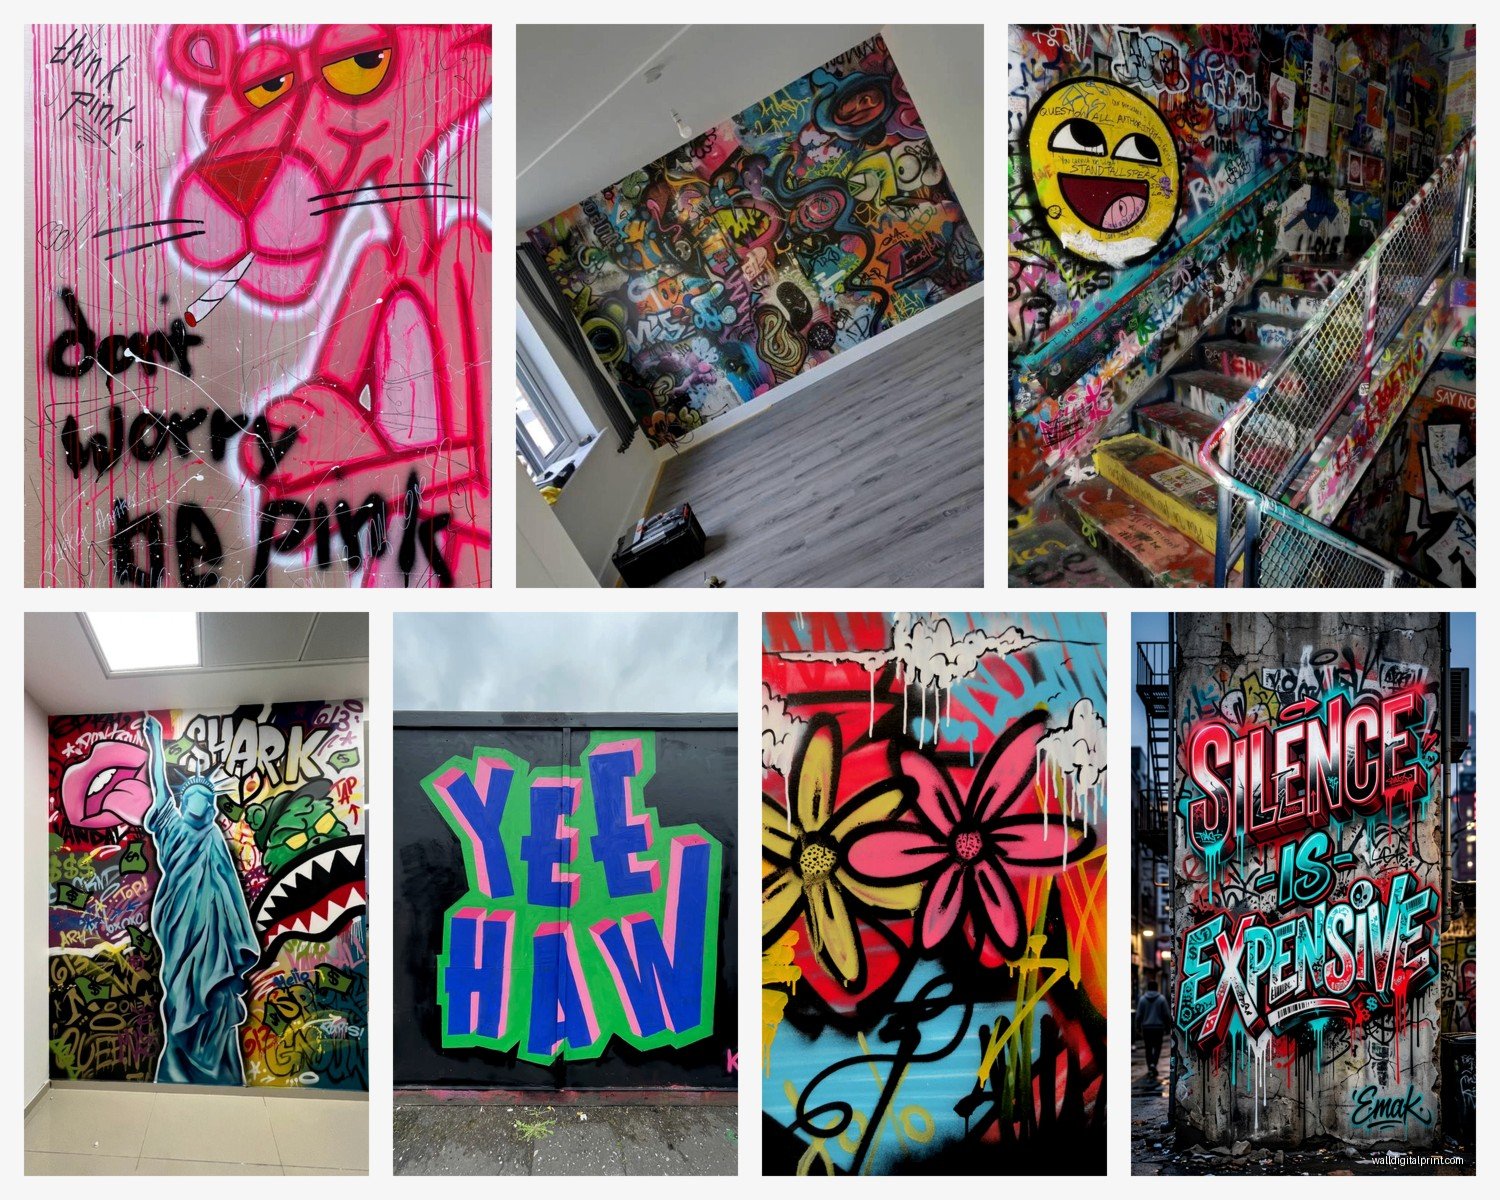
Graffiti Wall Art: Urban Street Spray Paint Designs
Jul
So I’ve been absolutely obsessed with graffiti wall art lately and honestly it’s transformed like three different spaces I’ve been working on this month. My cat keeps walking through the room when I’m planning these installations and I swear she judges my color choices but whatever.
Getting Started With Graffiti Art In Your Space
Okay so first thing – you gotta decide if you want actual spray painted murals or if you’re going with printed/vinyl versions. I’ve done both and they each have their place. Real spray paint gives you that authentic texture and depth that you just can’t replicate, but it’s messier and you need the right artist. The printed stuff is way more forgiving if you’re renting or not ready to commit.
I worked with this amazing street artist last year on a client’s loft space and watching him work was insane. The layering process alone took like six hours for a 10-foot wall. But the result? Absolutely worth it. You could see every drip, every color transition, the way the paint built up in certain areas. That’s what makes real graffiti special.
Finding The Right Artist
Instagram is honestly your best friend here. Search hashtags like #graffitiartist #muralartist #spraypainter plus your city name. I found three incredible artists just scrolling through #streetartnyc one night when I couldn’t sleep. Look at their portfolio obviously but also check how they handle different styles – some artists are amazing at photorealistic pieces but can’t do abstract tags to save their life.
Ask to see their process videos too. This is gonna sound weird but the way an artist moves with a spray can tells you everything. Confident strokes, controlled drips, how they layer colors. I passed on one artist because all their work looked too… clean? Like it was missing that raw energy.
Color Schemes That Actually Work
Everyone thinks graffiti means bright neon chaos but that’s not always the vibe. I’ve done monochromatic pieces that look incredibly sophisticated. Black and white with maybe one accent color – usually red or gold – can be absolutely stunning in a modern space.
My favorite combo right now is deep blues and purples with silver metallics. Sounds random but it reads as both urban and luxurious somehow. I used this in a home office last month and my client literally cried when she saw it finished.
For warmer spaces I go with:
- Burnt orange and deep red with black outlines
- Golden yellows layered with brown and cream
- Terracotta tones with sage green accents
Cooler vibes need:
- Steel blue with white and silver
- Mint green with charcoal gray
- Purple gradients from lavender to deep plum
The trick is picking one dominant color family and then adding contrast. Too many competing bright colors just looks like a mess unless you’re going for that specific chaotic energy.
Placement Considerations
Don’t just slap graffiti on any wall and call it a day. I learned this the hard way. The piece needs breathing room – surrounding it with too much other decor kills the impact. Think of it as a statement piece like a massive painting.
Living rooms work great if you have a large blank wall, preferably the one behind your sofa or opposite the entrance. Bedrooms can handle graffiti but keep it on one accent wall max. I did a client’s bedroom with graffiti on all four walls once and it was… a lot. She loved it but I wouldn’t recommend it for most people.
Dining rooms are underrated for this. A bold graffiti piece behind a simple dining table creates such a cool contrast. The formal furniture against the street art aesthetic? *Chef’s kiss*
Oh and another thing – hallways and entryways are perfect if you have the wall space. It’s the first thing people see and it immediately sets the tone for your entire home.
DIY vs Professional Installation
Look, I’m all for DIY but real spray paint graffiti requires skill. If you’ve never used a spray can before, don’t start with your living room wall. I’m serious. The learning curve is steep.
That said, there are options for DIYers. Graffiti stencils are your friend. You can buy them or make your own, tape them to the wall, and spray through them. It’s way more forgiving and you can still get that layered look by using multiple stencils.
I spent like three hours last week testing different stencil techniques on poster board in my studio (okay fine, my spare bedroom) and found that the key is light coats. Everyone wants to spray heavy to get full coverage fast but that’s how you get drips everywhere. Multiple thin layers look infinitely better.
Materials You Actually Need
If you’re going the DIY route with stencils:
- Montana Gold or MTN 94 spray paint – these are artist grade, not hardware store cans
- Painter’s tape and drop cloths (like, way more than you think)
- Respirator mask because those fumes are no joke
- Gloves unless you want rainbow hands for a week
- Primer if your wall isn’t already painted in a neutral base
- Clear coat sealer to protect the finished piece
Professional artists bring their own supplies but you might need to provide lifts or scaffolding for high walls. That’s something to budget for that people always forget about.
Style Variations To Consider
Graffiti isn’t one thing. There are so many different styles and understanding them helps you articulate what you want.
Wildstyle is that elaborate interlocking letter design that’s honestly hard to read but looks incredible. Super complex, lots of arrows and connections. This works best in larger spaces because the detail gets lost on small walls.
Throw-ups are those bubble letters you see everywhere. More readable, usually two or three colors max, can be done faster. These are great for a casual, playful vibe.
Stencil art like Banksy-style political or whimsical images. These read more as fine art and work well in sophisticated spaces.
Abstract/freestyle is my personal favorite lately. No words, just color and movement and energy. This is what I recommend for people who want the graffiti aesthetic without literal graffiti.
I did an abstract piece in my own place last year – just flowing shapes in blues and greens – and every single person who visits asks about it. It’s become such a conversation starter.
Working With Typography
If you want actual words or names in your graffiti, font choice matters SO much. I worked with a client who wanted their family name in graffiti style and we went through like fifteen different letter designs before finding the right one.
Rounded bubble letters feel playful and accessible. Sharp angular letters read as more aggressive and edgy. Script styles can actually be really beautiful if done right but they’re harder to execute.
Whatever you choose, make sure it’s readable. I’ve seen too many pieces where the letters are so stylized that nobody can actually tell what they say. That’s cool for pure decoration but frustrating if the text has meaning.
The Vinyl Alternative
Okay so real talk – sometimes vinyl decals are the smarter choice. I use them probably 40% of the time now. They’re removable, they don’t require ventilation, and you can get incredibly detailed designs that would take an artist days to paint.
The trick with vinyl is finding high-quality prints. Cheap vinyl looks cheap. It peels, it fades, the colors look flat. I order from specialty shops that print on thick matte vinyl with UV-resistant inks.
Application is actually kinda meditative if you take your time. I was watching this terrible reality show the other night while applying vinyl to a canvas panel and it turned out perfect because I wasn’t rushing. You need squeegees, patience, and a willingness to start over if you get bubbles.
Mixing Real And Printed Elements
This is where it gets interesting. You can have an artist do the main mural and then add vinyl elements for details or accents. Or do the reverse – vinyl background with hand-painted highlights.
I did this in a teenager’s room recently where we printed a cityscape silhouette and then had an artist add spray-painted graffiti “tags” over it. The combination of precise printing and loose spray paint created this perfect balance.
Protecting And Maintaining The Work
Once your piece is done, it needs protection. Real spray paint will fade over time, especially in rooms with lots of natural light. Clear coat sealers help but they’re not magic.
Matte sealers preserve that authentic flat spray paint look. Gloss sealers make colors pop more but they can look artificial. I usually go with satin which is right in between.
For cleaning, just dust gently with a microfiber cloth. Don’t use cleaning products directly on the paint. If something gets on it, damp cloth only. I learned this when a client’s kid got chocolate on their mural and they tried to scrub it with all-purpose cleaner. Took some of the paint right off.
Vinyl is more forgiving – you can actually wipe it down with mild cleaner. But still be gentle because the edges can start to lift if you’re too aggressive.
Budget Reality Check
Professional murals aren’t cheap. I’m talking $25-50 per square foot minimum for a good artist, more for complex designs or established names. A 10×10 wall could easily run you $2500-5000.
DIY with stencils and good spray paint might cost $200-400 depending on how many colors you use. Vinyl decals range wildly from $50 for small simple designs to $800+ for large detailed pieces.
My advice? Start smaller than you think. A 4×6 section of graffiti art can have just as much impact as a whole wall if it’s well-placed. You can always expand later.
Common Mistakes To Avoid
Don’t put graffiti art in rooms where it doesn’t make sense with the rest of your style. I had someone want a massive wildstyle piece in their super traditional formal dining room and I had to gently redirect them. It can work if you’re intentionally doing eclectic maximalism but usually it just looks confused.
Also don’t skimp on ventilation if you’re doing real spray paint. Open windows aren’t enough. You need fans, proper airflow, and honestly you should probably clear out of the space for a few hours after. The smell lingers and those VOCs are not something to mess with.
And please don’t try to spray paint over textured walls. It’ll just look weird and eat through your paint. Prime and smooth the surface first or accept that you need to work with the texture somehow.
Oh wait I forgot to mention – lighting is crucial. Graffiti art needs proper lighting to show all those layers and details. Track lighting or directional wall washers work best. Regular overhead lighting can make it look flat.
The goal is to create something that feels authentic to you while respecting the art form. Graffiti comes from a real culture and history, so approach it with some awareness even when you’re adapting it for interior design. That authenticity is what makes these pieces work in residential spaces – they bring that raw creative energy inside without trying to be something they’re not.