Wall Art Guide, Wall Art Tutoriels
Hexagon Wall Art: Six-Sided Geometric Honeycomb Pattern
Sep
So I’ve been completely obsessed with hexagon wall art lately and honestly it started because I needed to fill this awkward wall space in my dining room and regular frames just looked… wrong? Like I tried the gallery wall thing and it was fine but something about the geometric pattern of hexagons just clicked.
Okay first thing you gotta know is there are basically three ways to do this and they’re all totally different price points and effort levels. You’ve got the pre-made hexagon tiles which are probably the easiest, the DIY wooden hexagons which I actually tried last month, and then there’s the painted version where you just paint hexagons directly on your wall which sounds scary but isn’t really.
The Pre-Made Tile Route
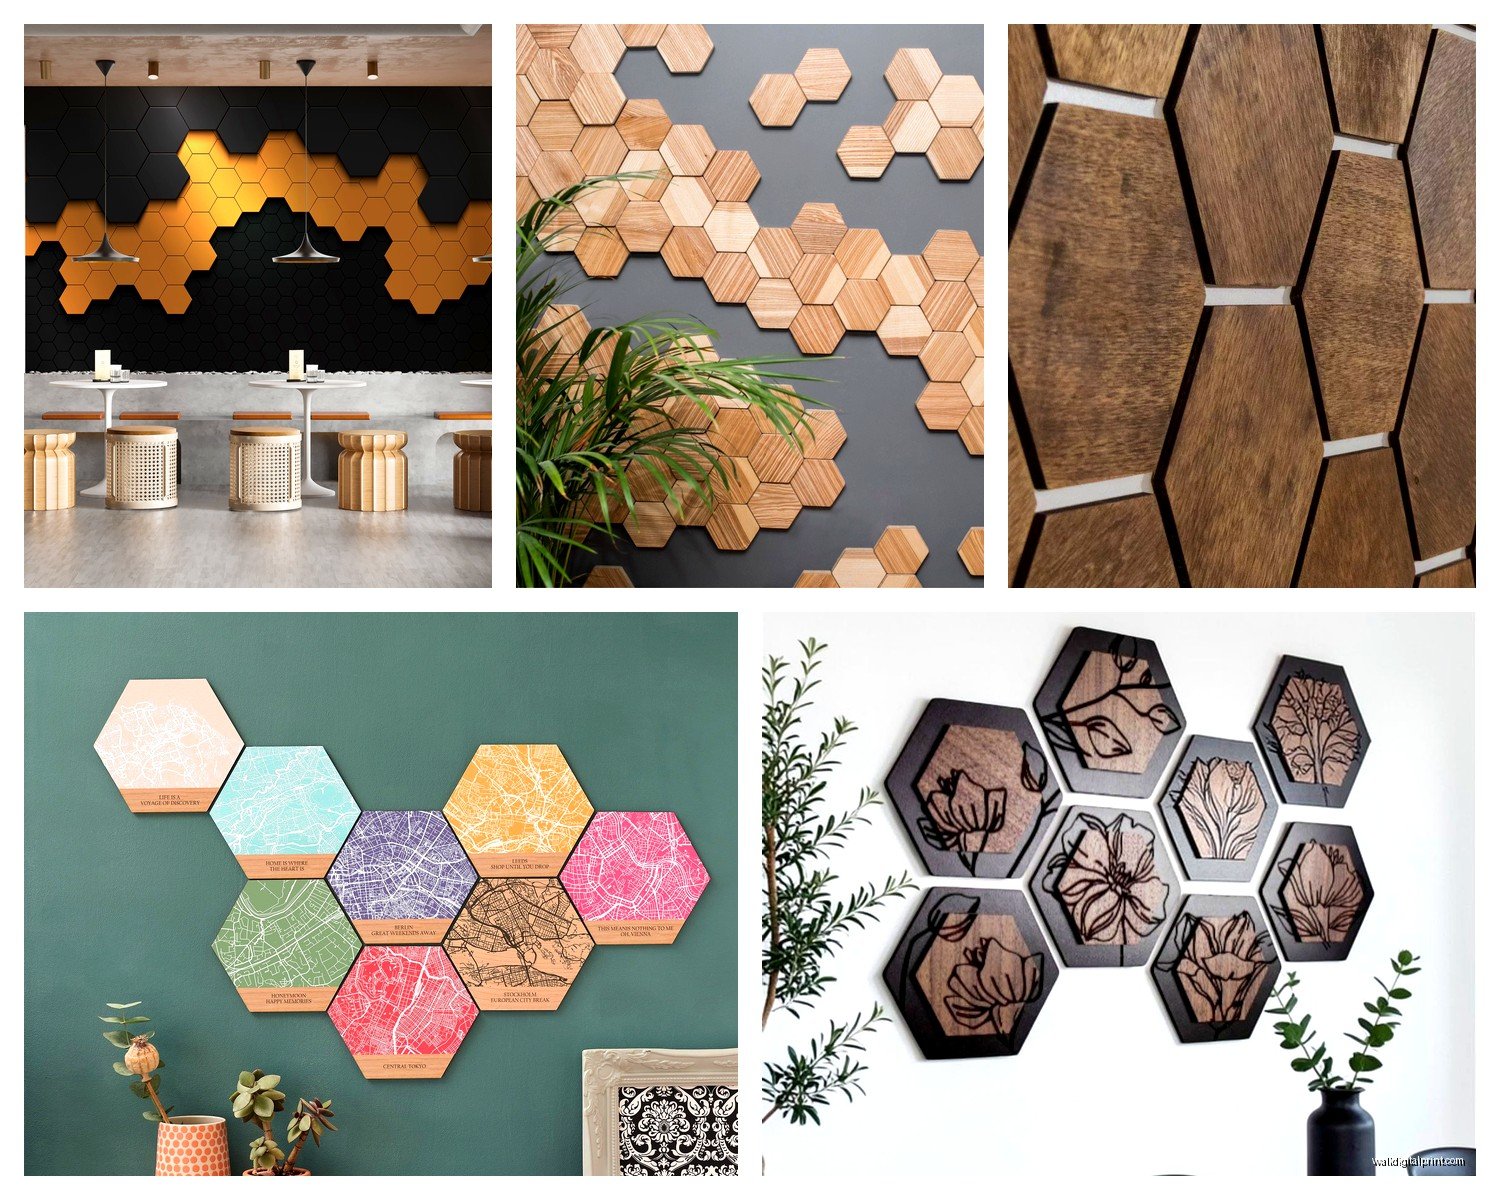
So pre-made hexagon tiles are everywhere right now. I found mine on Etsy but also saw decent ones at Target and West Elm has some fancy cork ones that are actually pretty nice. The cork ones are like $8-12 per hexagon which adds up fast but they double as a pinboard which is kinda genius if you’re putting them in an office or kids room.
What you need to figure out first is your pattern. This is where I messed up initially because I just started slapping them on the wall and then realized I didn’t buy enough and the pattern looked unfinished. My cat knocked over my coffee while I was doing this and I had to stop anyway so maybe that was a sign.
Planning Your Layout
Take painter’s tape and actually mark out where each hexagon goes. I know it seems extra but trust me on this. Hexagons are weird because they tessellate in this specific way and if you’re off by even half an inch the whole thing looks wonky. I use this method where I start with one central hexagon and build outward in rings. Like the center is one, then six around it, then twelve around that, and so on.
The most popular patterns I’ve done for clients are:
- The honeycomb cluster – just a tight group of 7-19 hexagons all touching
- The scattered gradient – hexagons spread out with varying sizes and colors that fade from dark to light
- The geometric fade – all same size but colors transition across the wall
- The corner cascade – starts dense in one corner and disperses as it moves across
For adhesive, most pre-made ones come with command strips or double-sided tape already attached but honestly those aren’t always strong enough especially if your hexagons are wood or metal. I add extra 3M command strips to the back, the medium size ones. They hold up to 3 pounds each and you can remove them without damaging paint which is crucial if you’re renting.
The DIY Wooden Hexagon Situation
Okay so this is where it gets fun but also requires some actual work. I made like 30 wooden hexagons for my office wall and it took a full Saturday but they came out amazing and cost maybe $40 total?
You need:
- Pine boards from Home Depot (I used 1x4s and 1x6s for size variety)
- A miter saw or honestly you can have Home Depot cut them
- Sandpaper (120 grit is fine)
- Wood stain or paint in whatever colors you want
- Command strips for hanging
The cutting is the tricky part because hexagons have six sides at 120-degree angles. But here’s the hack – you cut six trapezoid pieces and glue them together, OR you can trace a hexagon template onto the wood and cut it as one piece with a jigsaw. I did the jigsaw method because I’m impatient.
Making the Template
Go to any free online hexagon generator and print out templates in the sizes you want. I did 6-inch, 8-inch, and 10-inch hexagons for variety. Tape the paper template to your wood, trace it with pencil, then cut along the lines with your jigsaw. It’s gonna be rough at first but you sand it smooth after.
The sanding takes forever and my arm was so sore the next day but it’s necessary otherwise they look obviously homemade in a bad way. Sand all the edges smooth, then wipe off the dust with a damp cloth.
Finishing Options
This is where you make them actually look good. I tried a bunch of different finishes:
Wood stain – gives that natural wood look and you can layer different stain colors for depth. I did some in dark walnut and some in weathered oak and the variation is really nice.
Acrylic paint – I used sample pots from the paint store which are like $3 each and perfect for this. Did a whole gradient from navy to pale blue to white. Let each one dry completely before handling, takes about an hour.
Whitewash technique – mix white paint with water (like 1:3 ratio) and brush it on then wipe it off immediately with a rag. Gives this cool rustic look.
Oh and another thing, you can add texture before painting. I took a wire brush to some of them to create grooves in the wood grain and it looks so much more expensive than it was.
The Painted Wall Method
Wait I forgot to mention this earlier but if you don’t wanna deal with physical objects on your wall you can literally just paint hexagons directly on the wall. I did this in my nephew’s nursery and it turned out so good.
You need painter’s tape, a level, paint in 2-3 colors, and a lot of patience. The key is making a template first. I cut a hexagon shape out of cardboard in the size I wanted, then traced it onto the wall lightly with pencil. Once you have all your hexagons traced, you tape off the edges with painter’s tape.
This is gonna sound weird but press down the tape edges with a credit card or something flat. This prevents paint bleed which will ruin the whole crisp geometric look you’re going for. Then paint inside the lines, let it dry completely, and remove the tape.
Color Combinations That Actually Work
I’ve tested this with probably twenty different color schemes at this point and here’s what doesn’t look terrible:
- Navy, gold, and cream (classic and not too trendy)
- Blush pink, grey, and white (works for nurseries or bedrooms)
- Forest green, sage, and off-white (very 2024 but whatever it’s pretty)
- All white with different sheens (matte, satin, glossy creates subtle dimension)
- Black, charcoal, and light grey (moody and dramatic)
The all-white-different-sheens thing is actually my favorite because it’s so subtle but when light hits it you get this really cool effect. Plus it works with literally any decor style.
Sizing and Spacing Real Talk
Okay so this is where people mess up the most. Your hexagons need to be sized appropriately for your wall. I see people put tiny 4-inch hexagons on a massive wall and it just looks like polka dots from far away.
For a standard 8-foot wall, I recommend hexagons that are at least 8-10 inches across. If you’re doing a statement wall behind a bed or sofa, go even bigger like 12-16 inches. You can mix sizes but keep them within a similar range, like don’t do 4-inch and 20-inch together because the scale is too different.
Spacing depends on the look you want. Touching hexagons in a honeycomb pattern create that dense geometric feel. Spaced out hexagons (like 2-4 inches apart) feel more modern and airy. I did a mix for a client where some touched and some were spaced out and it created this cool organic feeling even though it was totally planned.
Three-Dimensional Hexagons
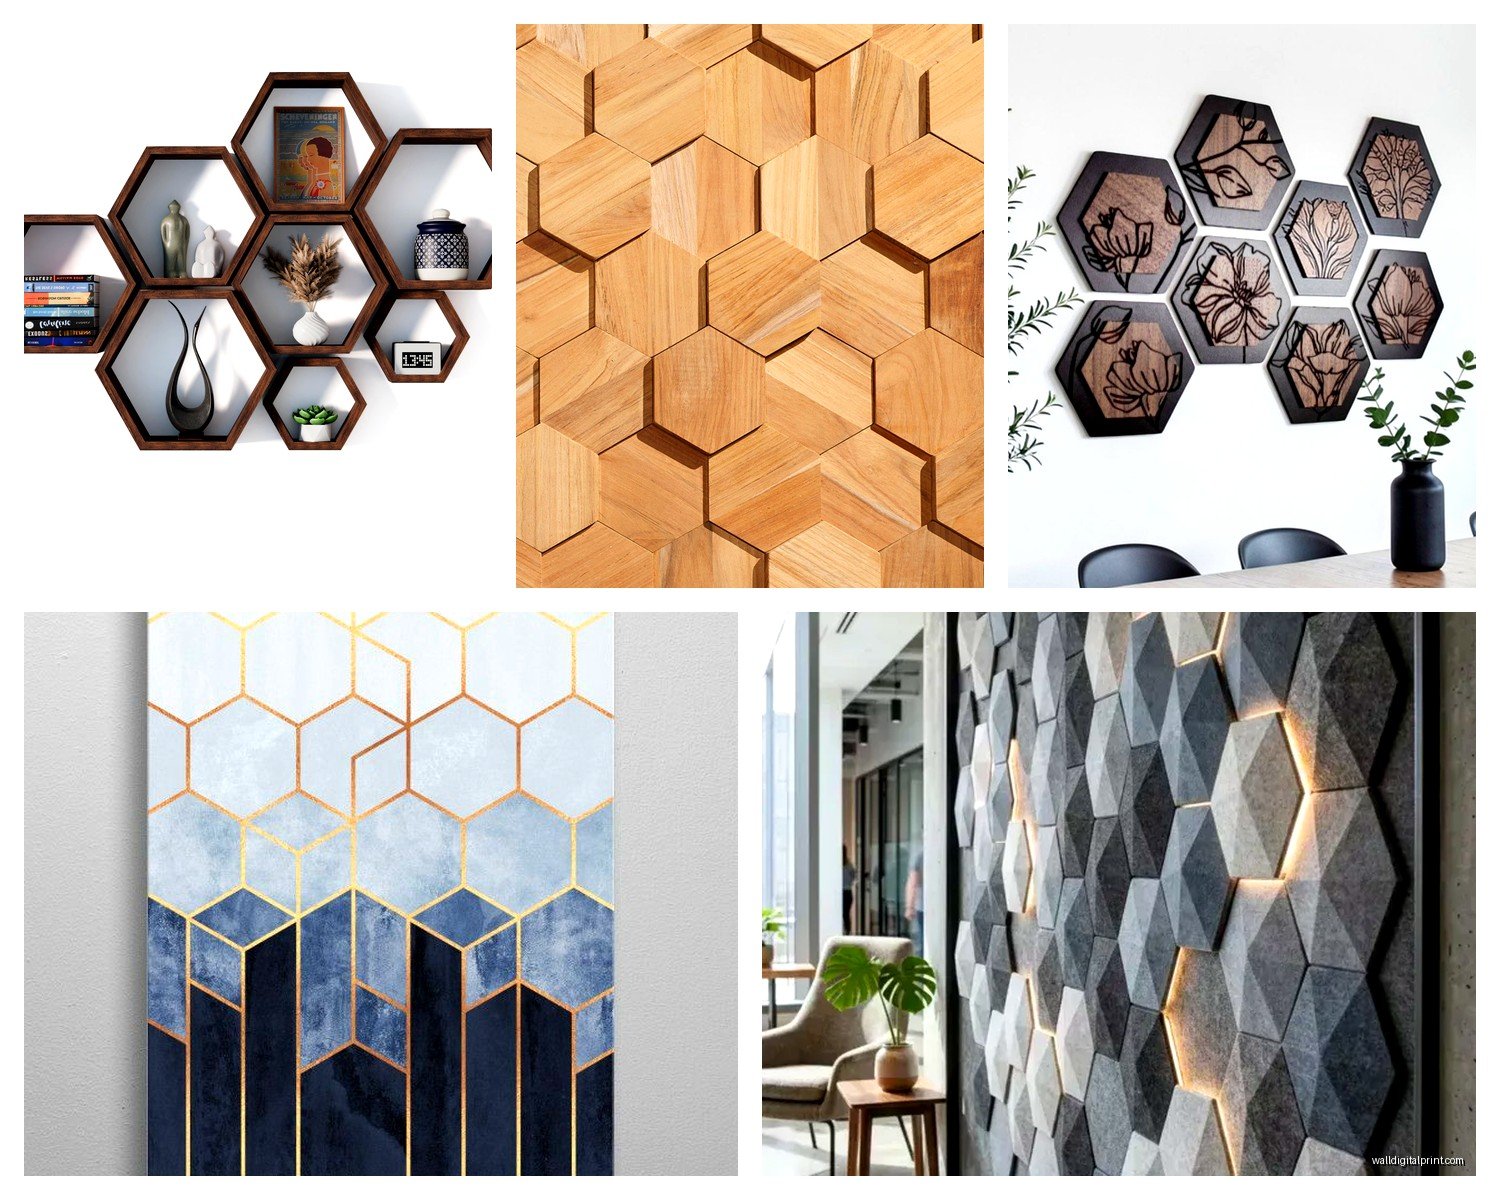
There’s also these 3D hexagon shelves you can get which are super functional but also look cool. I have a set from IKEA in my bathroom holding plants and they were like $15 for three. You can also make them if you’re handy with a miter saw.
The DIY version involves cutting six pieces of wood at 30-degree angles, gluing them into a hexagon frame, then adding a back piece. Sand, paint, and mount to the wall. They’re perfect for displaying small plants, crystals, photos, whatever. I put air plants in mine because I was watching that documentary about tillandsia or whatever and got inspired.
Styling the Shelves
Don’t just stick random stuff in them though. I learned this the hard way when a client’s wall looked like a cluttered mess. Keep it minimal – one or two items per hexagon max. Small succulents work great, or those mini brass figurines, or even just leave some empty for negative space.
Group odd numbers together like three, five, or seven hexagon shelves. Even numbers look too symmetrical and formal unless that’s specifically what you’re going for.
Mixed Media Approach
My favorite recent project combined painted hexagons on the wall with a few wooden 3D ones and some mirror hexagons. The mirrors were from Amazon, like six small hexagon mirrors for $25, and they reflect light around the room which makes the space feel bigger.
You can also do fabric-wrapped hexagons using foam board as a base. Cut hexagons from foam board, wrap them in fabric (I used velvet and linen textures), and secure the fabric on the back with hot glue. These add softness to the geometric shapes which is a nice contrast.
Common Problems I’ve Dealt With
Hexagons won’t stick to textured walls – Yeah command strips don’t work great on really textured drywall. Use small nails instead or those picture hanging strips that are more aggressive. Or sand down the wall texture in just those spots if you’re committed.
The pattern looks off-center – Use a level and measuring tape constantly. I mean constantly. Measure from the ceiling, from the corners, from the floor. Hexagons are unforgiving if they’re crooked.
Paint bled under the tape – Next time, paint a thin layer of the base wall color over the tape edges first, let it dry, then paint your hexagon color. The base color seals the tape edge so the hexagon color can’t bleed through. Game changer.
Not enough hexagons – Always buy or make more than you think you need. I calculate the pattern on paper first and then add 20% more. You can always use extras elsewhere or return them.
Installation Tips Nobody Tells You
Start from the center of your wall and work outward, not from one side. This keeps the pattern centered and balanced. I mark the center point with a small piece of tape.
Use a laser level if you have one or can borrow one. Trying to keep hexagons level with just a regular level is frustrating because you’re constantly measuring and adjusting. A laser level projects a straight line across the wall and you just align to it.
Step back every few hexagons and look at the overall pattern from across the room. What looks good up close might look weird from the actual viewing distance. I learned this after finishing a wall and realizing from the doorway it looked lopsided.
If you’re using command strips, press firmly for like 30 seconds per strip. The instructions say to but people never actually do it long enough and then wonder why their hexagons fall off.
Oh and wait 24 hours before hanging anything heavy on 3D hexagon shelves. The adhesive needs time to cure fully even though it feels stuck right away.
So yeah that’s basically everything I’ve learned from doing probably fifteen different hexagon wall projects. The pre-made route is easiest if you just want it done, DIY wooden ones are the most satisfying and customizable, and painted is best if you’re renting or want something really large-scale without the weight. Start small with like seven hexagons in a cluster and see how you feel before committing to a whole wall because it’s definitely a specific look that isn’t for everyone.