Wall Art Guide, Wall Art Tutoriels
Lips Wall Art: Mouth Kiss Beauty Fashion Statement
Aug
So I’ve been obsessing over lips wall art lately and honestly it started because a client asked me to find something “bold but not tacky” for her bedroom and I fell down this whole rabbit hole of mouth and kiss prints. Now I have like three different pieces in my own apartment and I’m gonna walk you through what actually works vs what looks cheap.
The Vibe Check: What Actually Looks Good
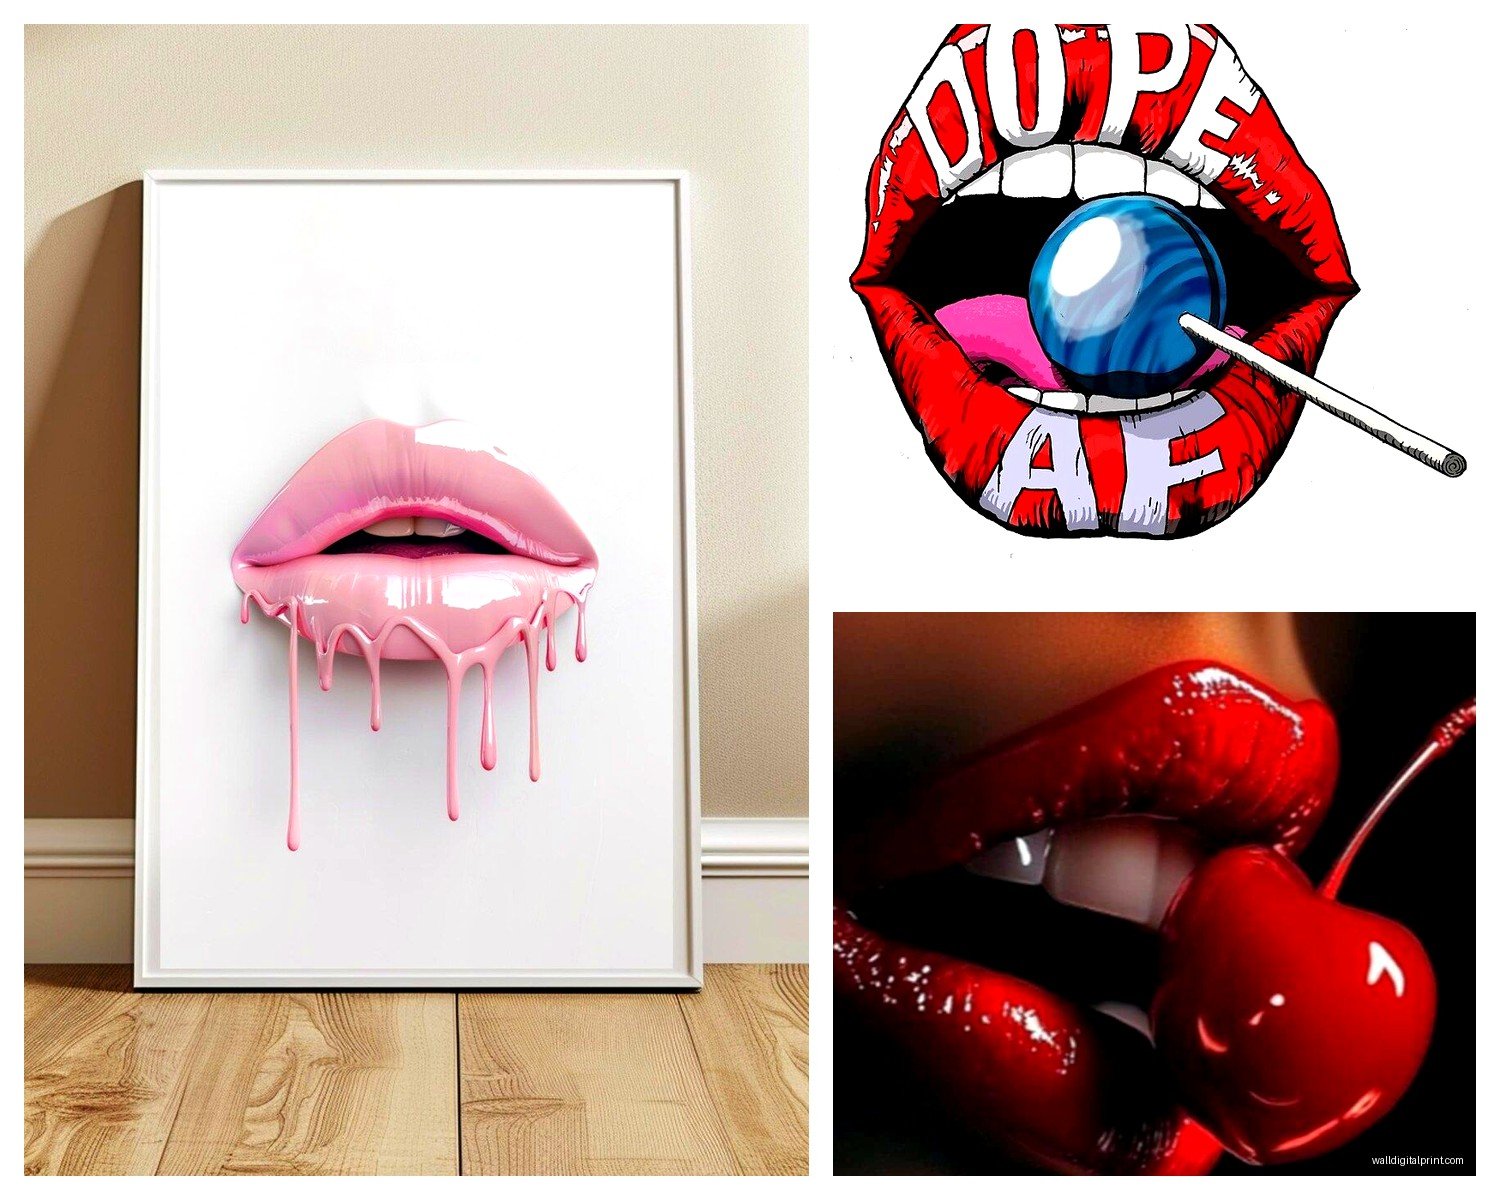
Okay so first thing, lips art can go really wrong really fast. You know those super shiny, bright red glossy prints that scream “2008 dorm room”? Yeah, we’re avoiding that energy. What actually works right now is more about the style and execution than just slapping any mouth print on your wall.
The abstract line art versions are *chef’s kiss* – like those single-line continuous drawings of lips that look almost sketch-like. I found this amazing one on Etsy from a seller who does custom colors, and I put it in my hallway in a terracotta shade instead of the expected red or pink. Game changer. It reads as sophisticated instead of… I dunno, juvenile? My cat knocked it off the wall twice before I finally used proper mounting hardware, so learn from my mistakes there.
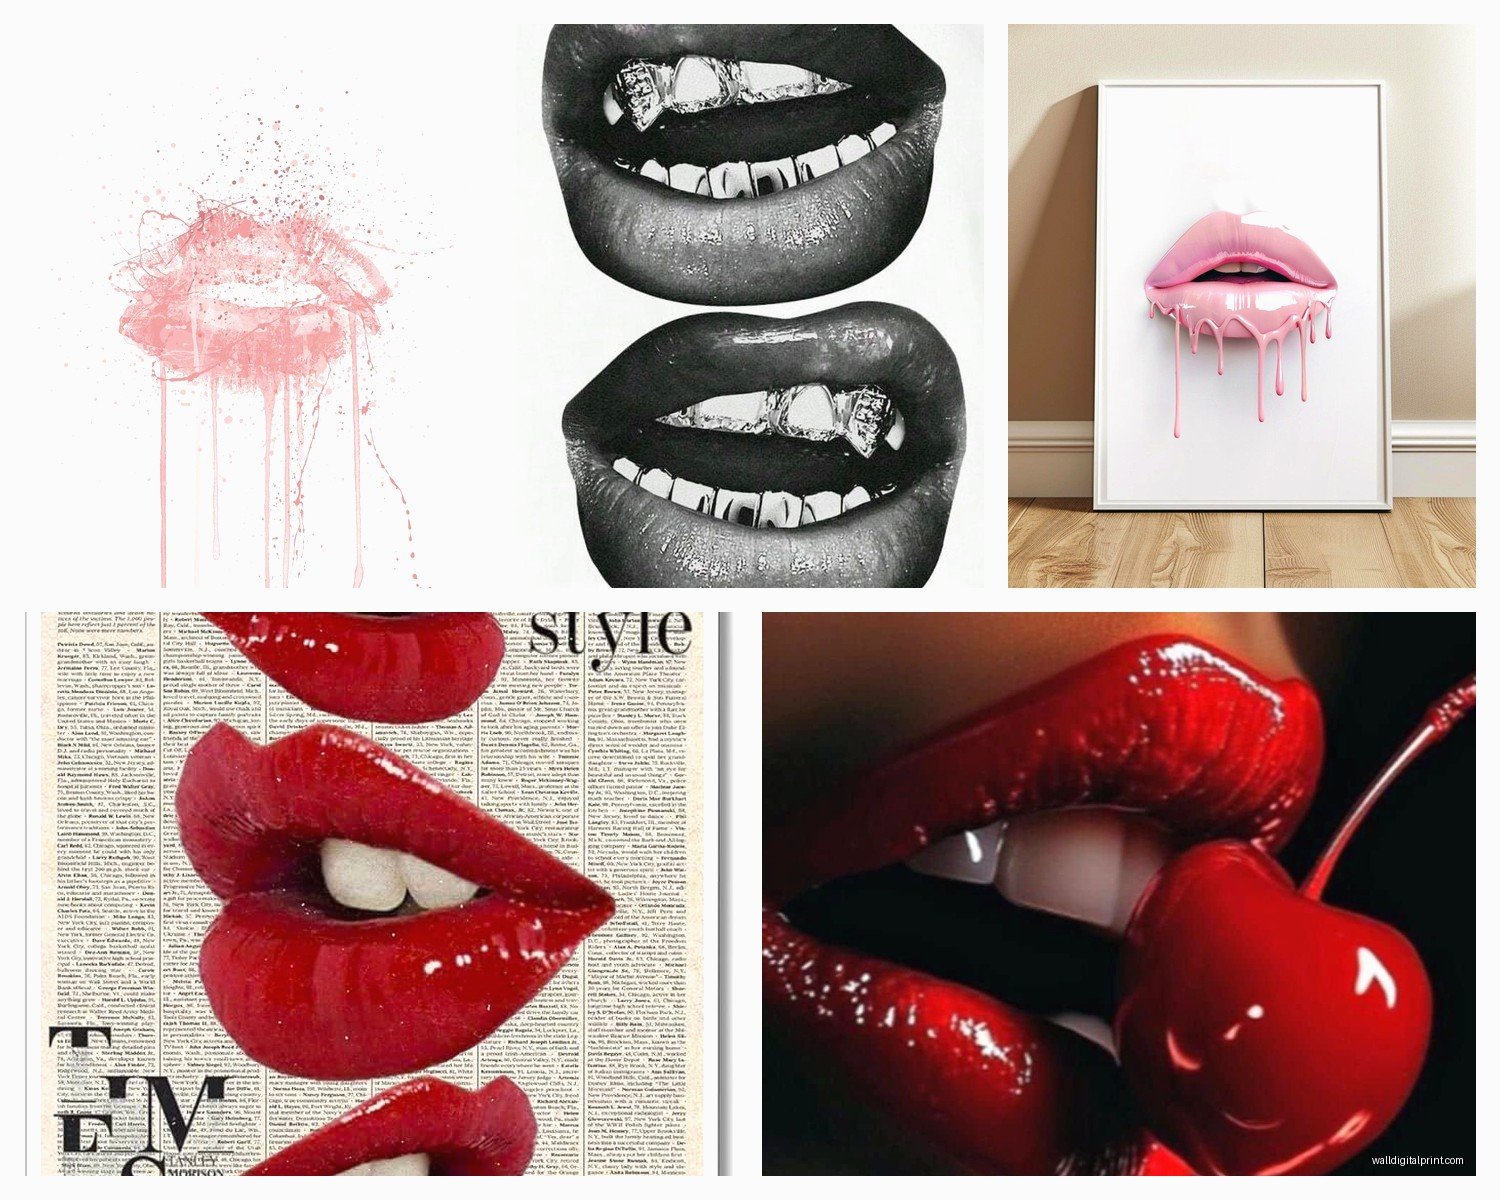
Watercolor lips are hit or miss. The really washy, soft ones with barely-there pigment can look gorgeous in a bedroom or dressing area, but you gotta make sure the paper quality looks legit. I tested this by buying a cheap print from Amazon and a pricier one from an actual artist, and the difference was SO obvious. The cheap one had this weird pixelated quality up close and the colors looked flat.
Metallics and Texture
Oh and another thing – metallic or foil prints are having a moment. Gold lips on black or navy backgrounds? Stunning. I hung one above my vanity and it catches the light in the morning and just makes getting ready feel more… extra in a good way. Rose gold also works if your space has warm metals already.
Textured canvases where you can see the brushstrokes or mixed media pieces with like, collage elements or actual gold leaf – these elevate the whole concept beyond basic wall art. They’re gonna cost more but they look intentional and curated instead of impulsive HomeGoods purchase.
Size and Placement Strategy
This is where people mess up constantly. A tiny 8×10 lips print on a huge empty wall looks lost and awkward. I learned this the hard way in my own living room – had this cute little kiss print that just disappeared against my wall.
For bedroom above the bed: go big or go home. Like minimum 24×36 inches, or do a set of three smaller prints (16×20 each) in a horizontal line. The triptych thing works really well with lips art because you can do different angles or colors of the same mouth.
Bathroom or powder room: this is actually the perfect spot for lips art because it’s kinda cheeky and beauty-related anyway. A medium-sized print (like 16×20) works here. I did a vintage-style lipstick ad print in my guest bathroom and everyone comments on it.
Entryway or hallway: go vertical if you have narrow walls. A tall, skinny print of lips in profile can work beautifully in those awkward slim spaces.
Wait I forgot to mention – gallery walls with lips art mixed in can be amazing but you need other elements to balance it. I did one for a client with a large lips print as the anchor, then surrounded it with abstract art, a small mirror, and some black and white photography. The lips piece becomes a focal point without overwhelming everything.
Color Psychology and Room Matching
Okay so funny story, I once hung a bright fuchsia lips print in a client’s office and she called me two days later saying she couldn’t concentrate. We swapped it for a muted mauve version and suddenly it worked. Color matters SO much with this type of art.
Red lips prints: Classic but intense. Use these in spaces where you want energy – entryway, dining room, maybe a dressing area. Avoid in bedrooms unless you’re going for a specific sexy vibe. The shade of red matters too – blue-based reds look modern, orange-based reds feel vintage.
Pink variations: Millennial pink is kinda over but dusty rose and mauve are still going strong. These work in bedrooms, closets, bathrooms. Softer and more versatile than red.
Black and white: This is your safest bet honestly. Works in literally any room, any style. I have a black and white lips print in my kitchen (random, I know, but it’s near my coffee station and makes me smile).
Unconventional colors: Navy, emerald green, terracotta, even black lips on white – these are more editorial and fashion-forward. Great if your space is already pretty neutral and you want one statement piece.
Matching Your Existing Decor
If you’ve got a minimalist Scandinavian thing going, stick with line art lips in black or a single muted color. Simple frames, clean lines.
Mid-century modern spaces can handle more playful, retro-inspired lips art – think vintage lipstick ads or pop art style prints. I’m watching this show about 1960s advertising right now and the aesthetic is *so* good for inspiration.
Bohemian or eclectic rooms can do watercolor, mixed media, or even a series of different lip prints in various colors. Layer it with other art and it’ll fit right in.
Modern glam – this is where metallic lips, high-contrast prints, and dramatic sizes work best. Think black and gold, oversized prints, fancy frames.
Frame Selection Actually Matters
This is gonna sound weird but I’ve literally re-framed the same print three times before getting it right. The frame can make or break lips art.
Thin black frames keep it modern and let the art be the star. This is my go-to for line art or black and white prints.
Gold or brass frames add instant luxury – perfect for metallic prints or if you’re going for that glam vibe. But make sure the gold tone matches other metals in your room or it’ll look off.
White or natural wood frames soften the whole thing. Good for watercolor lips or if your room is very light and airy.
No frame/canvas wraps work for more casual spaces or if you want a gallery-style look. Just make sure the print quality is good enough to stand on its own.
Matting – I almost always use it. Creates breathing room around the art and makes even smaller prints look more substantial. White or cream mats are safe, but I’ve used black mats with gold frames and it looked so good.
Where to Actually Buy Quality Pieces
I’ve tested SO many sources at this point. Here’s what I’ve learned:
Etsy: Best for finding unique, artist-made pieces. You can often request custom colors which is clutch. Quality varies wildly though – always read reviews and zoom in on photos. I’ve found some of my favorite pieces here but also received some duds.
Minted: Consistently good quality, lots of styles, but pricier. Their framing service is excellent if you don’t wanna deal with it yourself. They have this cool feature where you can preview art in different room styles.
Society6: Good middle ground for price and quality. The artists on here are usually pretty talented. I’ve ordered several prints and they’ve all been solid.
Local art fairs and markets: If you can find original lips art from a local artist, do it. It’s gonna be more expensive but you get something truly unique and you’re supporting actual artists.
Avoid: Those dropshipping sites with suspiciously low prices. The quality is terrible and the images are usually stolen from actual artists anyway.
DIY Options If You’re Crafty
My client canceled last Tuesday so I spent an hour comparing DIY options because I was bored. If you’re into making your own stuff:
You can literally paint your own lips art – it’s more forgiving than you’d think. Get a canvas, some acrylic paint, and either freehand it or use a projector to trace a lips image. I did this in a wine-and-paint situation and mine actually turned out decent enough to hang.
Printables from Etsy are super affordable – you buy the digital file, print it at a local print shop or even at home if you have a good printer, and frame it yourself. Just make sure you’re printing at the right resolution or it’ll look blurry.
Lipstick kiss prints are a fun DIY – literally put on lipstick and kiss a canvas or good paper. Sounds silly but if you do multiple kisses in a pattern or use different lip colors, it can look really cool and personal. I did this as a gift for a friend and she loved it.
Styling Around Lips Art
Once you’ve got your lips art up, you gotta style around it properly. It shouldn’t just float there on the wall.
Add a small shelf underneath with beauty-related objects – vintage perfume bottles, a pretty jewelry dish, some coffee table books about fashion or beauty. This creates a vignette.
Balance with other wall art nearby – don’t make the lips print the only thing on that wall unless it’s really large. I usually add 1-2 smaller complementary pieces.
Lighting is key. A picture light or even just making sure there’s good ambient lighting in that area makes the art look more intentional. I added a small sconce above my lips print in the bedroom and it totally changed the vibe.
Consider what’s across from it – if you can see the lips art reflected in a mirror, make sure that looks good too. Sounds obvious but I’ve had to rearrange rooms because the reflection was weird.
Common Mistakes to Avoid
Hanging it too high – the center of the art should be at eye level, roughly 57-60 inches from the floor. I see people hang art way too high all the time and it throws off the whole room.
Going too literal with the beauty theme – like, you don’t need to put lips art in a room that’s already super girly with pink everything and vanity tables and… you know what I mean. Sometimes contrast works better.
Buying cheap prints thinking no one will notice – they will. The quality difference is so obvious, especially with art that’s this graphic and bold.
Not considering the long-term – trends change. If you’re investing in larger pieces, make sure it’s something you’ll still like in a few years. The super trendy styles might feel dated quickly.
Multiple Lips Art Pieces
If you’re obsessed like me and want multiple pieces, spread them throughout your home instead of clustering them all in one room. I have one in my bedroom, one in the hallway, and one in my bathroom, and it feels cohesive without being overwhelming.
Or do a dedicated gallery wall with ONLY lips and mouth art in different styles – this can be really striking if done right. Mix line art with photography with painted pieces, vary the sizes and frame styles slightly. I’ve only pulled this off once for a client’s walk-in closet and it was stunning but it takes careful planning.
Just finished hanging a new piece last weekend actually – got this gorgeous abstract lips print in burnt orange and it’s living above my credenza. Totally different from my other pieces but somehow it all works together because I stuck with a similar level of artistic quality across all of them.
The whole key with lips wall art is committing to the choice without being embarrassed about it. Yeah, it’s bold and a little cheeky, but if you style it right and choose quality pieces, it reads as confident and fashion-forward instead of trying too hard. Test placements before you commit to drilling holes, live with it for a few days, and trust your gut on whether it feels right in your space.