Wall Art Guide, Wall Art Tutoriels
Mosaic Mirror Wall Art: Reflective Tile Glass Designs
Oct
So I’ve been obsessing over mosaic mirror pieces lately and honestly it started because I was watching this restoration show on Netflix and they had this gorgeous vintage mosaic mirror in the background and I just… fell down the rabbit hole. Now I’ve got like three projects going and can probably tell you way too much about adhesives.
Getting Started With Your First Mosaic Mirror
Okay so first thing – you gotta decide if you’re buying pre-made tiles or cutting your own mirror pieces. I’ve done both and honestly? For your first project just buy the pre-cut mosaic tiles from the craft store. I tried cutting mirror glass myself with one of those glass cutters and it was a disaster. Tiny shards everywhere, my cat tracked them into the bedroom, not fun.
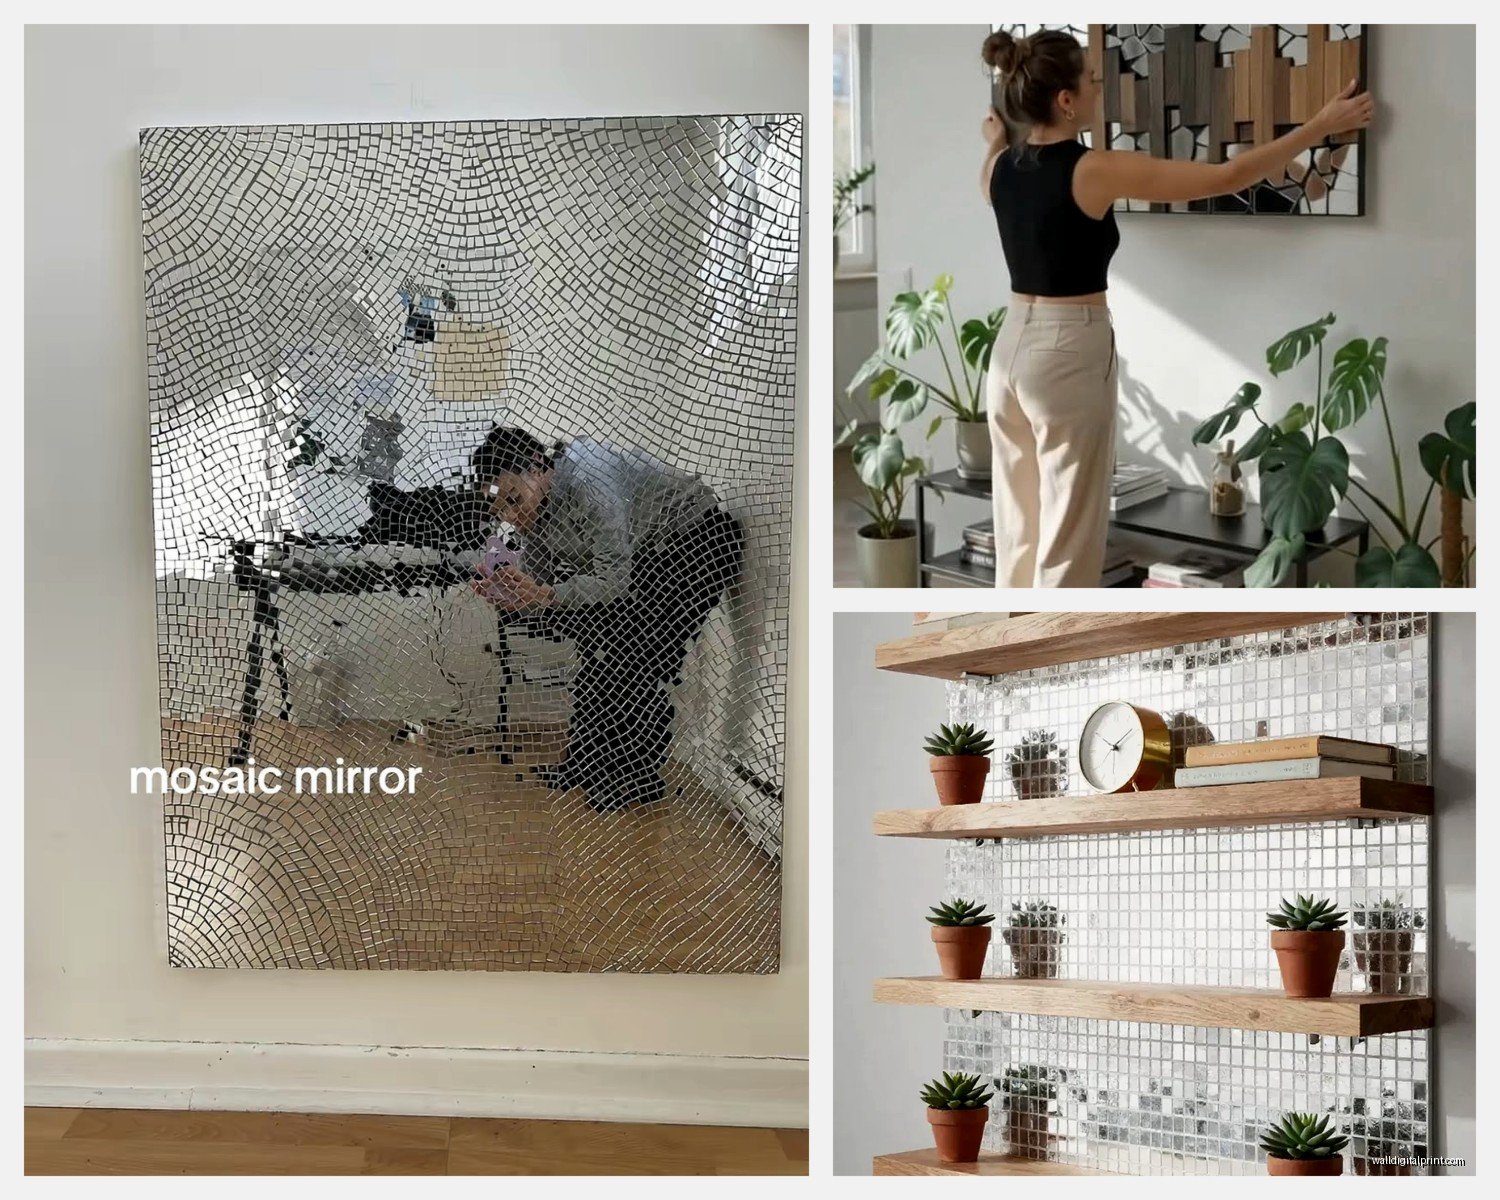
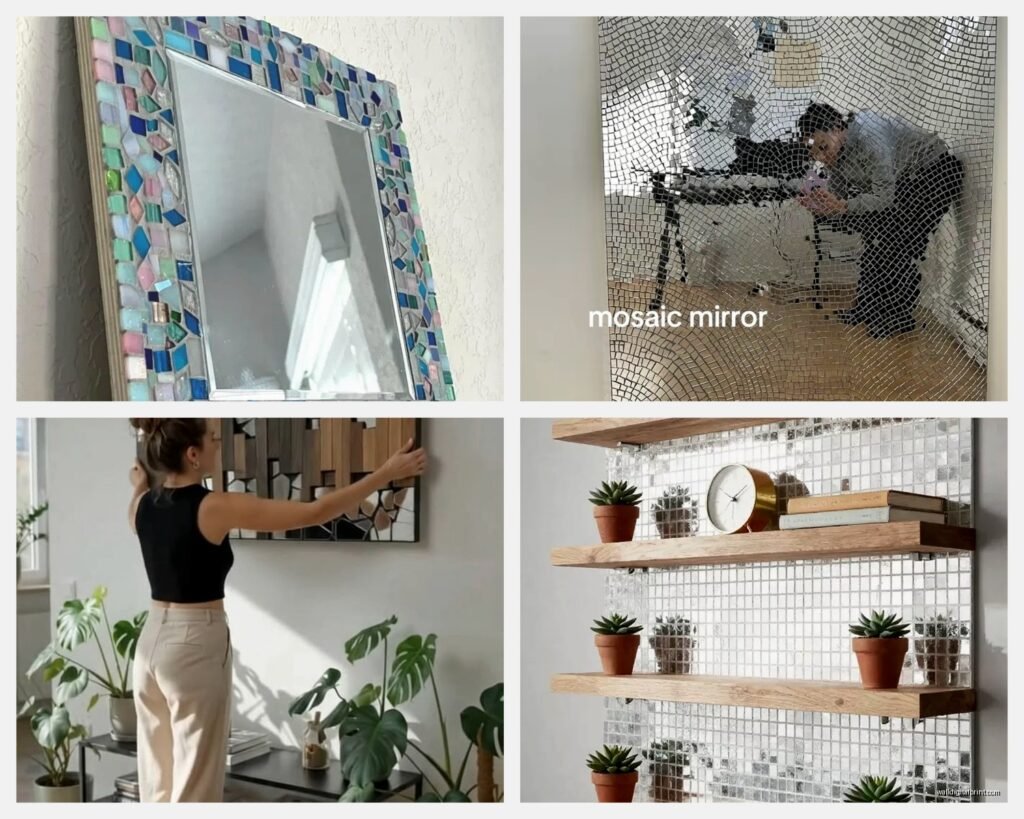
The pre-cut tiles come in these mesh sheets usually, and they’re already uniform which makes your life SO much easier. You can find them at Michaels, Hobby Lobby, or honestly Amazon has a ridiculous selection. I like the 1-inch square mirror tiles for beginners because they’re forgiving and you can create patterns without too much planning.
What You Actually Need to Buy
Here’s my actual shopping list from my last project:
- Mirror tiles or broken mirror pieces
- A base – this can be wood, an old mirror frame, MDF board, whatever
- Mirror adhesive or E6000 glue (not regular craft glue, learned that the hard way)
- Grout – sanded or unsanded depending on gap size
- Grout sealer
- Mixing container for grout
- Rubber gloves because grout is rough on your hands
- Sponge and rags
- Painter’s tape
- Safety glasses if you’re cutting
The adhesive thing is important. I used regular Elmer’s glue on my first attempt thinking it would be fine and literally three tiles fell off within a week. Mirror adhesive or E6000 is what you want – it stays flexible and handles the weight of glass.
About the Base Material
Wood works great but you need to seal it first. I use a basic primer or even just paint the surface because raw wood can warp with all the moisture from grout. MDF is actually my favorite now because it’s flat, cheap, and doesn’t warp as easily. You can get a sheet cut at Home Depot for like five bucks.
Oh and another thing – make sure your base is sturdy enough. I made a huge piece once, probably 3 feet across, and used this thin plywood and it bowed in the middle from the weight. Had to start over. So annoying.
Design Planning (Or Winging It)
Some people sketch everything out first with graph paper and I respect that but I’ve never done it. I usually lay out my tiles on the base without glue first, take a photo with my phone, then start gluing. The photo is key because you WILL forget your pattern halfway through.
For patterns you can do:
- Random scattered pieces for that artsy chaotic look
- Geometric patterns with uniform tiles
- Gradient effect using different colored mirror tiles
- Border frame around a central mirror
- Radiating sunburst pattern from the center
I’m currently obsessed with the sunburst pattern where you angle rectangular mirror pieces outward from a central round mirror. Saw it at this boutique hotel and had to recreate it. It’s actually not that hard once you get the spacing figured out.
Working With Different Tile Sizes
Mixing tile sizes adds dimension but it’s tricky. You’ll have weird gaps that you need to fill with smaller pieces. I keep a bag of tiny mirror chips for exactly this – you can buy them pre-broken or make your own by putting mirror tiles in a heavy-duty plastic bag and tapping them with a hammer. Wear safety glasses though, seriously.
The Actual Assembly Process
Okay so once you’ve got your design laid out, time to glue. Work in small sections, maybe like a 6-inch square area at a time. Squeeze out adhesive, press tile firmly, hold for like 10 seconds. Some adhesives are instant, others need pressure.
Leave a little gap between tiles for grout – usually about 1/8 inch. This is where beginner me messed up because I placed tiles right next to each other thinking it would look cleaner. Nope. Looks unfinished without grout lines and also the tiles can crack if they’re pressed together too tight.
Wait I forgot to mention – tape off any areas you don’t want adhesive on. I got E6000 on the mirror surface once and that stuff does NOT come off easily. Had to scrape it with a razor blade very carefully.
Let everything dry completely. Like overnight at minimum. The adhesive needs to cure before you add wet grout on top. I’ve rushed this before and had tiles shift when I was grouting. Learn from my mistakes.
Grouting Is Messier Than You Think
This is gonna sound weird but grouting is my favorite part now even though it’s messy. There’s something satisfying about spreading it over all your work and watching the gaps fill in.
Mix your grout according to package directions – it should be like thick peanut butter consistency. Not too wet or it’ll be runny and weak. I use unsanded grout for mirror projects because sanded can scratch the glass surface. Your tiles are probably close together anyway so unsanded works fine.
Application Steps
Scoop grout onto your mosaic and spread it with a rubber float or honestly I use a old credit card sometimes. Push it into all the gaps, working diagonally across the tiles so you’re not pulling grout out of the lines you just filled.
Once you’ve covered everything, wait like 10-15 minutes for it to start setting up. You’ll see it get a bit hazy. Then take a damp sponge (not soaking wet, wring it out) and start wiping away excess grout from the tile surfaces. Rinse your sponge constantly.
This part takes forever. You’ll think you’re done and then the grout dries and there’s this haze all over the mirrors. Just keep wiping with a clean damp cloth. It eventually comes off.
Dealing With Grout Haze
Okay so funny story – my first project I couldn’t figure out why the mirrors looked so cloudy after grouting. Turns out there’s this thing called grout haze that’s like a film left behind. You can buy special grout haze remover but honestly white vinegar works. Mix it with water, spray it on, wipe it off. Makes a huge difference.
Some people polish their mirrors with glass cleaner at the end and yeah, it does make them shinier. I use regular Windex.
Sealing and Finishing
After the grout is totally dry – usually 24-48 hours – you should seal it. Grout is porous and will absorb moisture and stains without sealer. I use a brush-on grout sealer, just paint it over the grout lines. Try not to get it on the mirror tiles but if you do it’s not the end of the world, just wipe it off.
You need to seal grout in bathrooms especially. Learned this when I made a mosaic mirror for my bathroom and didn’t seal it and the grout got moldy. Gross. Had to redo the whole thing.
Mounting Hardware
For hanging your finished piece, use proper hardware. D-rings screwed into the back work well, or sawtooth hangers for smaller pieces. Make sure whatever you use is rated for the weight. These mosaic mirrors get heavy fast with all that glass and grout.
I use wall anchors in the wall too, not just nails. Especially for bigger pieces. My client canceled last week so I spent an hour comparing different wall anchor systems at the hardware store and honestly the self-drilling ones are worth the extra cost.
Advanced Techniques I’ve Tried
Once you get comfortable with basic square tiles you can experiment more. I’ve been playing with these techniques:
Layering pieces: Gluing smaller mirror pieces on top of base tiles to create dimension. It catches light differently and looks really cool.
Mixed materials: Adding glass gems, beads, or colored glass tiles with the mirror pieces. I did one with turquoise glass tiles mixed in and it’s stunning.
Shaped bases: Instead of rectangular frames, cut your base into a circle, sunburst shape, or organic blob shape. Makes the whole piece more sculptural.
Antiqued mirrors: You can buy mirror tiles that are already antiqued with that vintage spotted look, or make your own with mirror removal spray. Adds character.
Working With Broken Mirror Pieces
If you wanna go full artsy and use irregular broken pieces instead of uniform tiles, it’s definitely doable but more time-consuming. You’ll spend ages fitting pieces together like a puzzle. But the result is more organic and unique.
Safety is even more important here. Wear gloves when handling sharp pieces, work on a surface you don’t care about scratching, and have a plan for disposing of tiny sharp bits. I keep a specific box for glass scraps.
Color and Light Considerations
Where you hang your mosaic mirror matters a lot. These things are designed to catch and reflect light so putting one across from a window is ideal. It’ll bounce natural light around the room and create interesting patterns on your walls.
I have one in my hallway that catches the afternoon sun and it throws these little rainbows on the ceiling. Totally unplanned but my favorite thing about it.
You can also use colored mirror tiles – they come in gold, bronze, smoky gray, even pink and blue. Mixing metallic tones creates depth. My current project uses silver mirror with gold accent pieces and it’s giving very glam vintage vibes.
Common Problems I’ve Run Into
Tiles falling off: Usually means wrong adhesive or not enough drying time. E6000 is your friend.
Grout cracking: This happens if you mixed it too dry or if your base flexed after grouting. Make sure your base is rigid.
Uneven surface: When tiles stick up at different heights. This is from applying adhesive unevenly. Try to keep a consistent thickness.
Grout color disappointment: Grout looks darker when wet and lightens as it dries. Test a small area first if you’re picky about color.
Running out of materials: Always buy more tiles and grout than you think you need. I’ve had to stop mid-project and wait for shipping so many times.
Maintenance and Cleaning
Once your mirror is done and hanging, maintenance is pretty easy. Just wipe it down with glass cleaner occasionally. The grout should stay clean if you sealed it properly.
If you didn’t seal and the grout gets stained, you can try cleaning it with a grout cleaner or even a magic eraser. For stubborn stains you might need to reseal after cleaning.
Cost Breakdown
People always ask me if it’s cheaper to DIY or buy one. Honestly depends on the size. For a small piece maybe 12×12 inches you’re looking at:
- Tiles: $15-25
- Base: $5
- Adhesive: $8
- Grout: $10
- Sealer: $12
- Tools if you don’t have them: $20
So maybe $70 total for your first project including tools. After that it’s cheaper because you have the tools and adhesive. Meanwhile buying a decent mosaic mirror can run $150-300 easy, so yeah DIY saves money if you’re gonna make more than one.
The time investment though is real. My first small mirror took me probably 6 hours total spread over two days. Now I can do one in maybe 3-4 hours because I know what I’m doing.
Ideas for Different Spaces
I’ve made these for pretty much every room at this point. In bathrooms they’re perfect above the sink – just make sure to seal that grout really well. Entryways look great with a statement mosaic mirror, catches light when you open the door.
For bedrooms I like them above dressers or as part of a gallery wall. Living rooms can handle bigger dramatic pieces. I saw someone use tiny mosaic mirrors as coasters once which is extra but kinda genius.
You can also make them as gifts. I made small ones as bridesmaid gifts last year and they were a hit. Much more personal than buying something generic.
Oh and another thing – these work really well in spaces that need more light. That dark hallway or windowless bathroom suddenly feels brighter with a mosaic mirror reflecting whatever light is available.
The nice thing about making your own is you can customize size, shape, color to exactly what your space needs. Can’t find the right thing at the store? Just make it. That’s been my whole philosophy with this and honestly it’s so satisfying when you hang up something you created yourself.
Just start with something small and manageable, don’t try to create a masterpiece on your first attempt, and accept that it’s gonna be messy and take longer than you think but totally worth it.