
Wall Art Guide, Wall Art Tutoriels
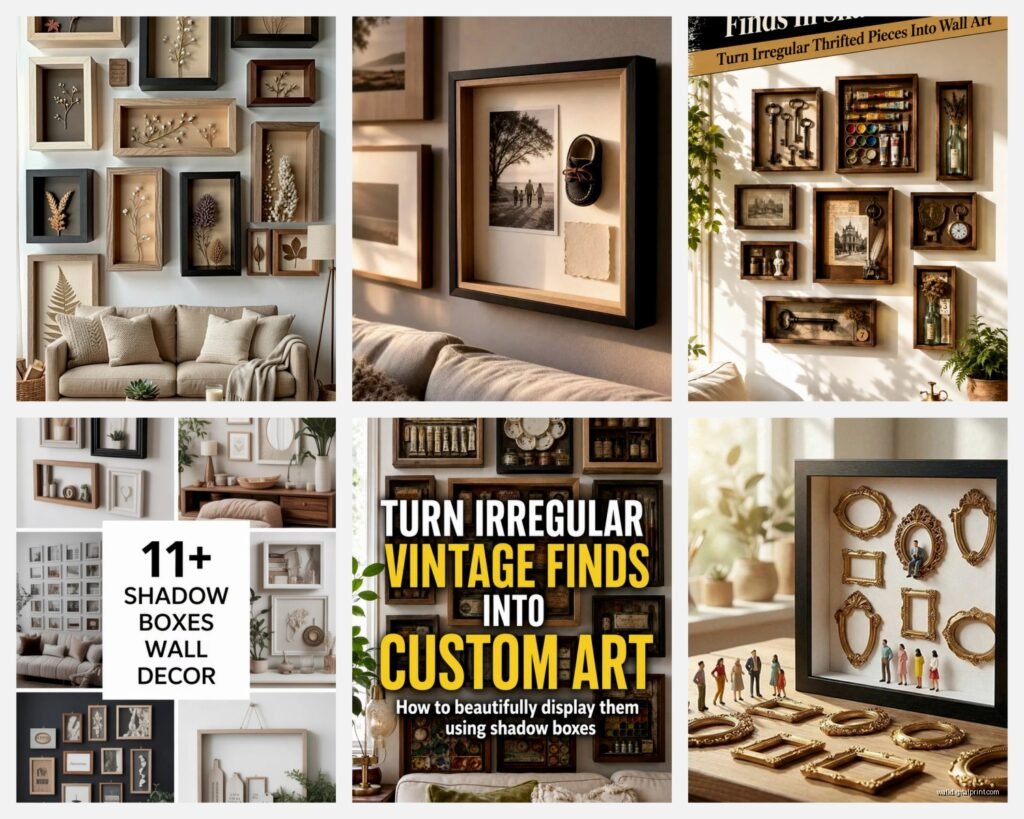
Shadow Box Wall Art: Deep Frame Dimensional Display
Oct
So I’ve been completely obsessed with shadow boxes lately and honestly it started because I bought this vintage butterfly collection at an estate sale and had no idea what to do with it. Like, you can’t just pin that stuff to regular frames, right?
The whole point of shadow boxes is that depth. You’re working with anywhere from 1 to 4 inches usually, sometimes more if you’re getting custom. I learned this the hard way when I tried to frame a ceramic bird (don’t ask, it was a phase) in a regular deep frame and the glass kept touching it. You need that space.
What Actually Makes a Good Shadow Box
Okay so the frame itself needs to be solid wood, not that MDF stuff that warps if you breathe on it wrong. I’ve tested probably 15 different brands at this point because my clients keep asking for these and I gotta say, Pottery Barn’s aren’t worth the money. They look nice but the backing is weird and hard to work with.
The ones from Michael’s are actually decent if you catch them on sale, which is like every other week. Their Belmont collection goes pretty deep, maybe 2 inches? But here’s the thing nobody tells you, the glass needs to be actual glass, not acrylic, especially if you’re putting anything with texture in there. Acrylic gets scratched so easily and then your whole display looks cloudy.
Depth Measurements That Actually Matter
- 1 inch deep: good for medals, coins, thin jewelry, paper ephemera
- 2 inches: most versatile, handles small 3D objects, thicker collectibles
- 3 inches: vintage cameras, dolls, chunky memorabilia
- 4+ inches: you’re getting into custom territory, sports equipment, shoes (yes people frame shoes)
I measured everything in my studio last month when my dog knocked over a shadow box and broke it, had to replace the whole thing. Turned into this whole research project at midnight ordering samples.
The Backing Situation
This is gonna sound weird but the backing material is like 60% of whether your shadow box looks professional or crafty in a bad way. Most boxes come with this thin cardboard backing and it’s trash. You want foam core, the acid-free kind if you’re preserving anything valuable.
What I do is cover the foam core with fabric or decorative paper first. Linen works really well, or velvet if you want it fancy. You can use spray adhesive but honestly I just use a glue stick for smaller projects because I’m lazy and it works fine. My art curator background is screaming at me for saying that but whatever, it holds.
For the color, think about contrast. I did a whole series for a client’s beach house with coral and shells, used navy blue fabric behind everything and it made the pieces pop like crazy. White or cream is safe but sometimes boring? Depends on what you’re displaying.
Mounting Methods Nobody Explains Properly
Okay so funny story, I once used hot glue for a shadow box with vintage spoons and they literally all fell off during transport to the client’s house. Nightmare. Here’s what actually works:
For flat-ish items: Museum putty or those 3M command strips cut into tiny pieces. The putty is reusable which is great if you change your mind every five seconds like I do.
For heavier objects: You need wire or fishing line. Poke holes through the backing, thread the wire through, secure the object. I keep a leather punch tool specifically for this, makes clean holes without tearing.
For delicate stuff: Pins work but they have to be the right kind. Entomology pins are actually perfect because they’re super thin and long. You can get them on Amazon for like $8.
Sometimes I layer things at different depths within the box and that’s where it gets fun. You can glue small wooden blocks or use foam spacers behind certain elements to create even more dimension. Did this with a Beatles memorabilia box where I had the vinyl record in back, ticket stubs in the middle, and a guitar pick on a tiny pedestal in front.
The Glass Problem
Wait I forgot to mention, UV-protective glass is worth it if you’re framing anything that might fade. Concert tickets, photographs, fabric, watercolors. Regular glass lets UV light destroy your stuff slowly. I learned this from conservation work and it’s one of those things where you don’t notice until like two years later everything’s faded.
You can get UV glass cut at most frame shops. It costs more, maybe double? But if you’re putting in the effort to create a whole shadow box display you might as well protect it.
Design Layout Tips That Actually Help
So here’s what I do before I commit to anything. I photograph the arrangement. Just use your phone, take a pic, look at it. Your eye catches things in a photo that you miss when you’re staring at the actual objects. Spacing issues, balance problems, whatever.
The rule of thirds applies here like it does with regular art. Don’t center everything unless you’re going for a really formal symmetrical look. Odd numbers of objects look more natural than even numbers, I don’t make the rules, that’s just how human brains work.
Leave negative space. This was hard for me to learn because I always want to fill every inch but sometimes less is more, ugh I hate that phrase but it’s true. If you cram too much in there it just looks cluttered and nothing stands out.
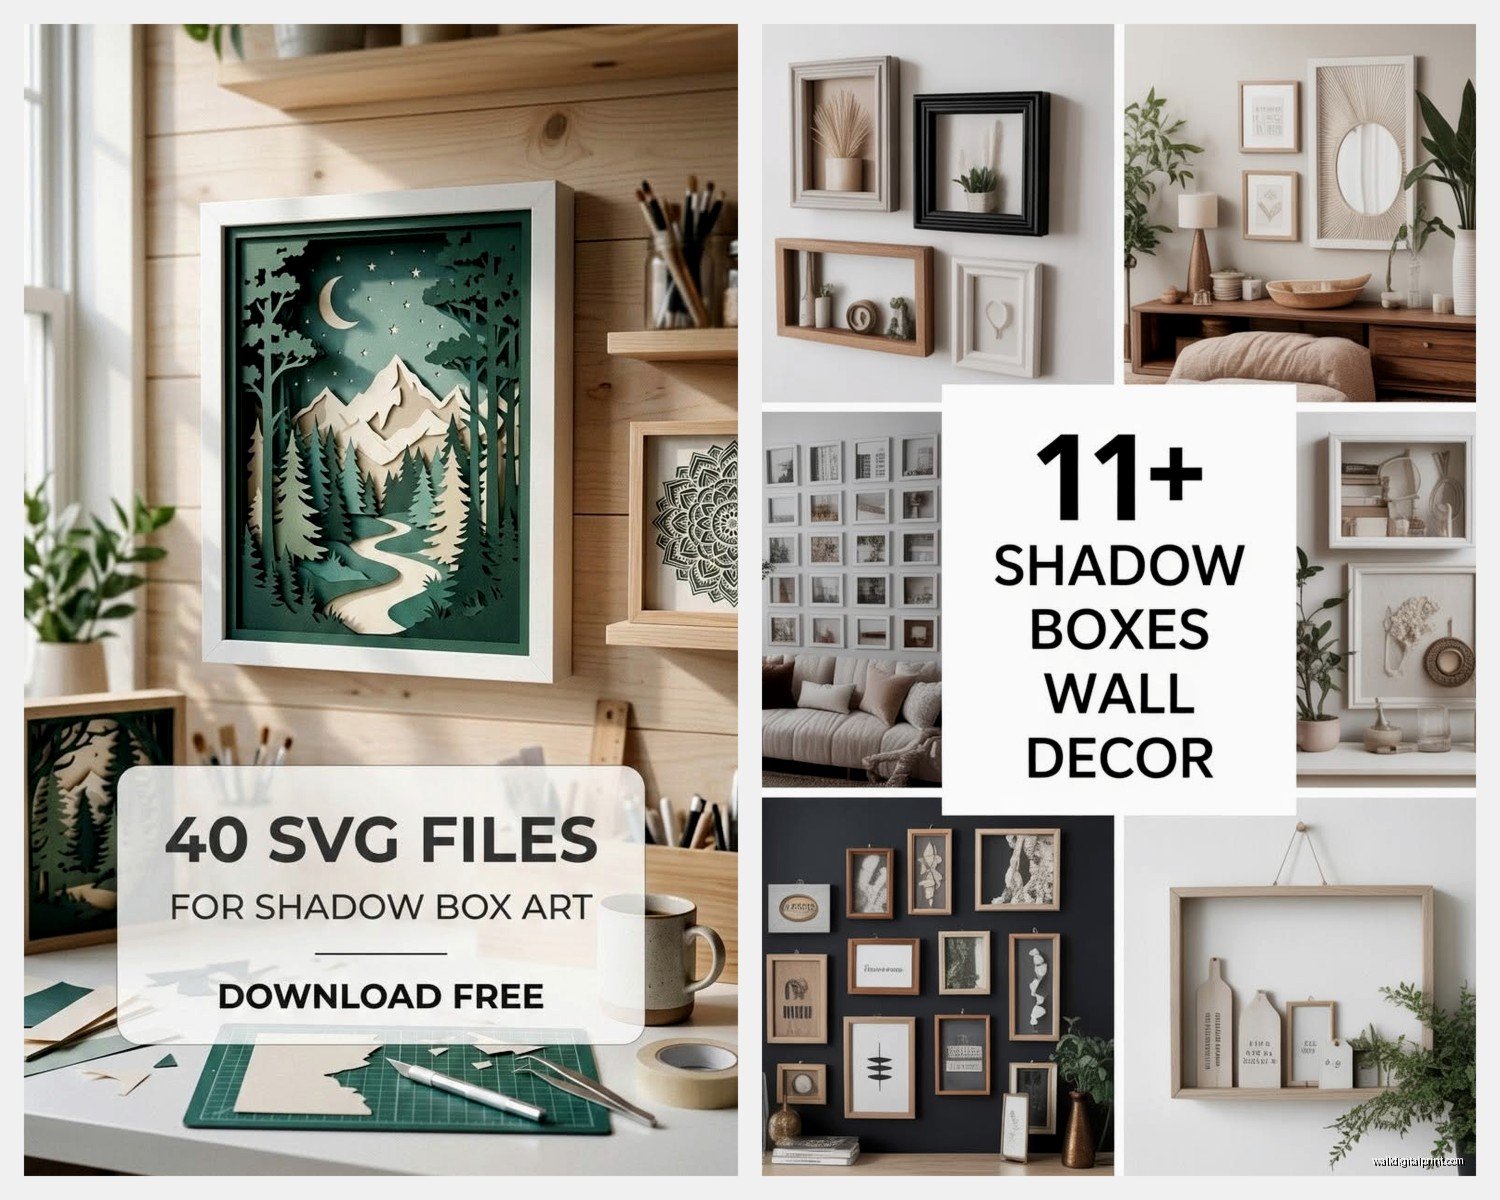
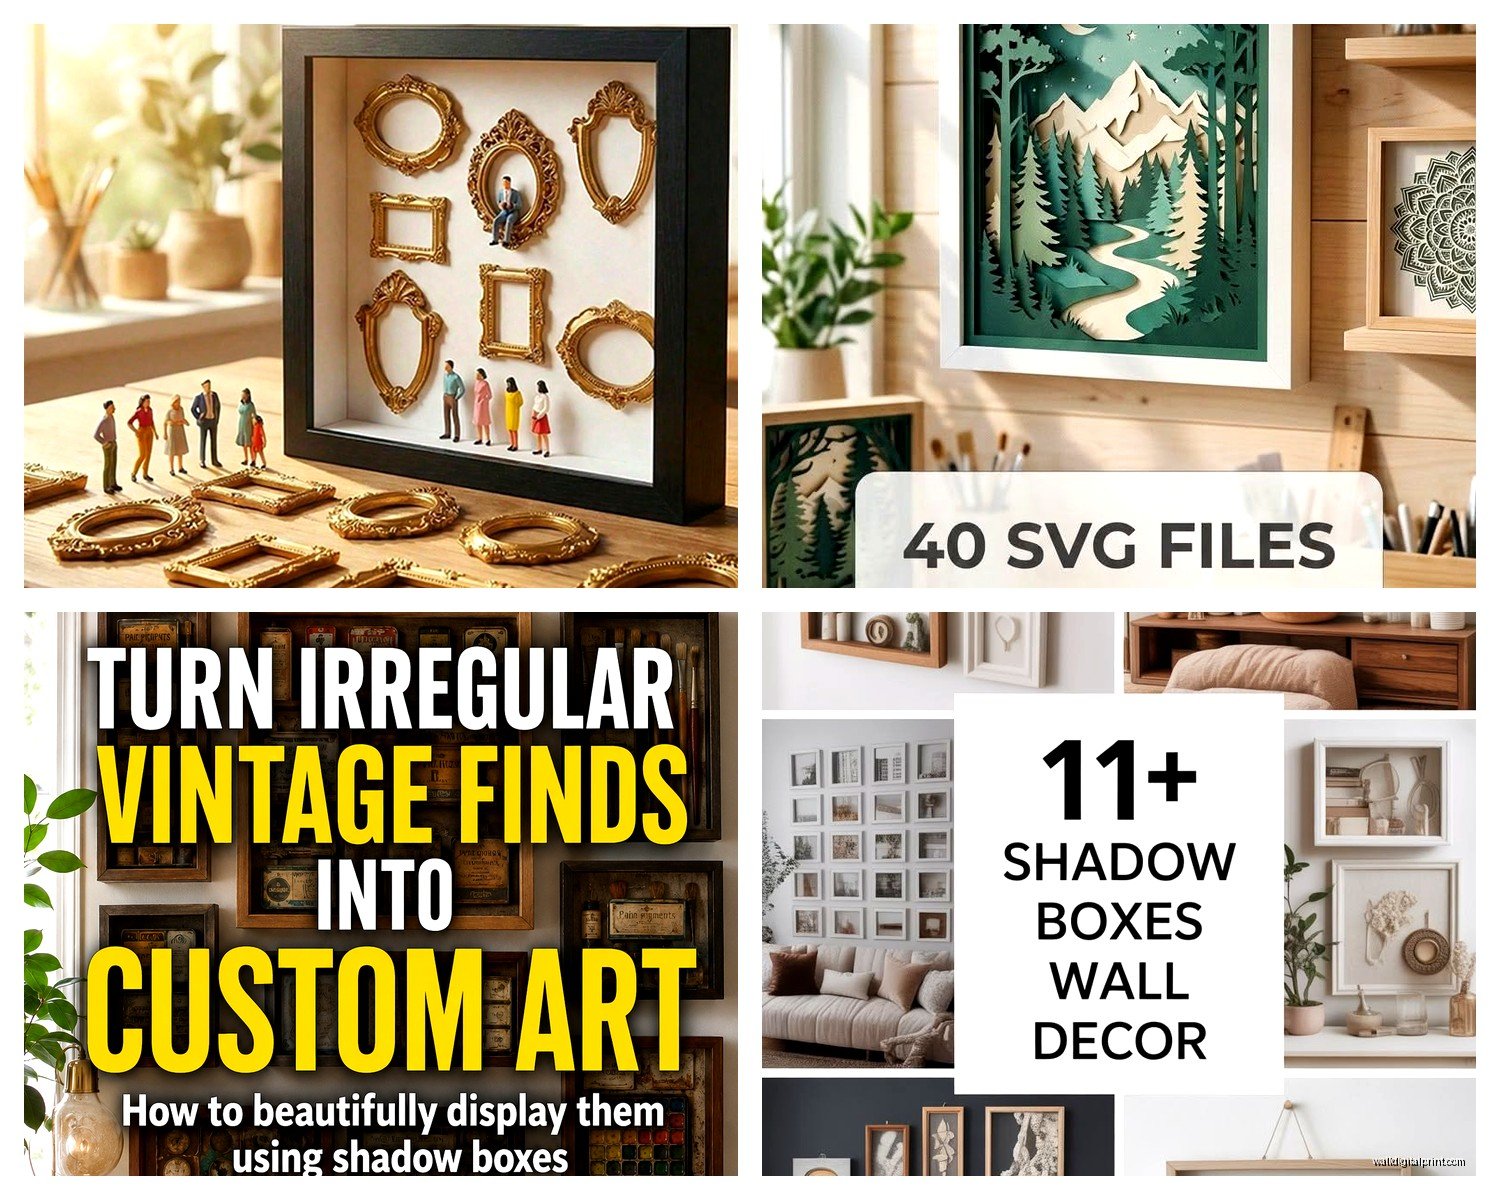
For collections like stamps or coins, grid layouts work great. You can buy pre-made display cards with little pockets. For more artistic arrangements, think about creating a visual flow, like your eye should travel through the piece naturally.
Theme Ideas I’ve Actually Done
- Travel shadow box with passport, foreign currency, tiny souvenirs from one trip
- Baby’s first year with hospital bracelet, first shoes, monthly milestone cards
- Vintage sewing notions, thread spools, old buttons, measuring tape
- Military medals and insignia with folded flag corner
- Dried wedding bouquet with invitation and photo
- Antique keys collection on vintage map backing
- Seashells arranged by size with sand and small driftwood
The wedding bouquet one is tricky by the way, you gotta dry the flowers properly first or they’ll rot inside the frame which is absolutely disgusting. Silica gel method works best, takes about two weeks.
Where to Actually Buy Shadow Boxes
Michael’s when they’re 50% off, seriously wait for the sale. Hobby Lobby has some good options too but their hours are weird. IKEA has the RIBBA frames which aren’t technically shadow boxes but they’re deep enough for smaller projects and they’re like $15.
Online, I order from American Frame sometimes for custom sizes. Their build quality is solid and you can choose your exact dimensions, depth, mat color, everything. Takes a few weeks to ship though.
Thrift stores are hit or miss but I’ve found amazing vintage shadow boxes at estate sales. The old ones from like the 70s are actually built better than a lot of modern stuff, real wood and thick glass.
Custom vs Pre-Made
If your object is a standard size, pre-made is fine and way cheaper. But if you’re framing something specific like a weirdly shaped instrument or a large textile piece, you’re gonna need custom. I have a framer I work with who charges by the inch, usually ends up being $150-300 for custom shadow boxes depending on size and materials.
The benefit of custom is you control everything. The depth, the type of glass, the finish, whether you want it to hang or stand. For client projects I always go custom because it needs to be perfect, but for my own house I mix it up.
Hanging These Heavy Things
Shadow boxes are heavier than regular frames because of the depth and thicker glass. You need proper wall anchors, not just nails. I use the heavy-duty picture hangers rated for like 50 pounds even if the frame is lighter, better safe than sorry.
For drywall, get the threaded anchors or toggle bolts. For plaster walls (older homes), you want those plastic anchors that expand. Studs are always best if you can find them obviously.
Two mounting points are better than one for larger shadow boxes, keeps them level and distributes weight. Some boxes come with D-rings on the back, some have wire. I actually prefer D-rings because you have more control over positioning.
Maintenance and Long-Term Care
Dust accumulates on top of the frame and somehow gets inside over time, I don’t understand the physics of it but it happens. Clean the glass with regular glass cleaner but make sure it doesn’t seep into the edges where it could damage whatever’s inside.
If you notice condensation inside the glass, that’s a problem. Means moisture is getting in somehow. You’ll need to open it up and reseal it, otherwise you risk mold or deterioration.
Check the mounting points every year or so especially if you live somewhere humid where wood expands and contracts. I had a shadow box crash at 3am once and it scared me so bad, turned out the wire had corroded through.
Common Mistakes I See All the Time
Using tape directly on photographs or paper items. The adhesive yellows and damages them. Use photo corners or mounting strips instead.
Not considering the weight distribution. If everything heavy is on one side, the frame tilts over time and looks weird.
Forgetting about light exposure. Don’t hang shadow boxes in direct sunlight, it fades and damages everything inside.
Overcrowding the space. Just because you have 10 things doesn’t mean they all need to go in one frame.
Using cheap frames for valuable items. I get wanting to save money but if you’re preserving something meaningful, invest in quality materials.
Oh and another thing, think about scale. A tiny shadow box on a huge wall looks lost. A massive one in a small space overwhelms the room. I usually suggest 8×10 or 11×14 for medium walls, go bigger for statement pieces.
The whole process from planning to hanging takes me maybe 3-4 hours for a simple project, longer for complex arrangements. It’s one of those things where you can spend 30 minutes or 3 days depending on how particular you’re being.
I’ve got like six shadow boxes in my own house now and I keep finding more things I want to display this way. Currently trying to figure out how to frame this vintage camera without it looking too museum-y, might need to add some old film strips or something to make it more interesting, still working on it.
