
Wall Art Guide, Wall Art Tutoriels
Sneaker Wall Art: Shoe Collector Streetwear Hypebeast
Aug
So I’ve been completely obsessed with sneaker wall art lately and honestly it started because my friend Marcus kept sending me pics of his collection just sitting in boxes and I was like dude what are you doing, those belong on your walls.
The Actual Display Methods That Don’t Suck
Okay so first thing, you gotta decide if you’re displaying the actual shoes or going with prints/posters. I’ve done both in my own space and helped clients with their streetwear rooms and each has its vibe.
For actual sneakers on the wall, those acrylic floating shelves are honestly your best bet. I got mine from Container Store but Amazon has cheaper versions that work fine. The key is getting ones deep enough, like at least 10 inches because some chunky Jordans or Yeezys need that space. Mount them with heavy duty anchors, not those flimsy plastic ones that come in the box because I learned that lesson when a pair of Off-White Chicago 1s crashed down at 3am and scared the hell out of my cat.
The spacing matters more than you’d think. I usually do about 12-14 inches between shelves vertically, but honestly it depends on your ceiling height. My studio apartment has 8 foot ceilings so I can’t go crazy, but if you’ve got those tall ceilings you can stack them higher and it looks insane in a good way.
Shadow Boxes vs Open Display
Shadow boxes are gonna protect your shoes better but they’re pricier and honestly kind of a pain to install. I used IKEA Ribba frames for a client’s Jordan collection and we had to get creative because the shoes didn’t quite fit, so we did this thing where we removed the back cardboard and mounted them directly to the wall, then put the frame around them. Looked sick but took like three hours because we’re perfectionists.
Open shelving is cleaner looking imo and you can actually grab the shoes if you wanna wear them, which like, that’s the whole point right? Unless you’re keeping deadstock pairs as investments which is a whole different conversation.
Wall-Mounted Shoe Racks That Don’t Look Like Dorm Room Furniture
There’s this brand called Sneaker Throne that makes these minimalist metal racks and they’re expensive but god they look good. Like $40-60 per rack but they hold the shoe at an angle so you see the profile. I used them in a client’s bedroom and we did a grid pattern, 4 across and 3 down, all matching racks with his Dunk collection.
If that’s too much money, there’s DIY options. You can use those IKEA Lack shelves, the skinny ones, and mount them in creative patterns. I saw someone on Reddit do this diagonal pattern that looked way better than it should’ve for being so cheap.
The Lighting Situation
Oh and another thing, you NEED lighting or it just looks like shoes on a wall in the dark. LED strip lights are your friend here. I put them under each shelf pointing up and it creates this glow effect that makes even GR releases look limited edition. The ones with the remote where you can change colors are fun if you’re into that aesthetic, but I usually stick with warm white because it doesn’t mess with the shoe colors.
Track lighting works too if you’re bougie. My friend installed track lighting in his sneaker room and points each light at a different shelf. Very gallery vibes but he spent like $400 on the setup so.
Poster and Print Options For When You Don’t Wanna Mount Actual Shoes
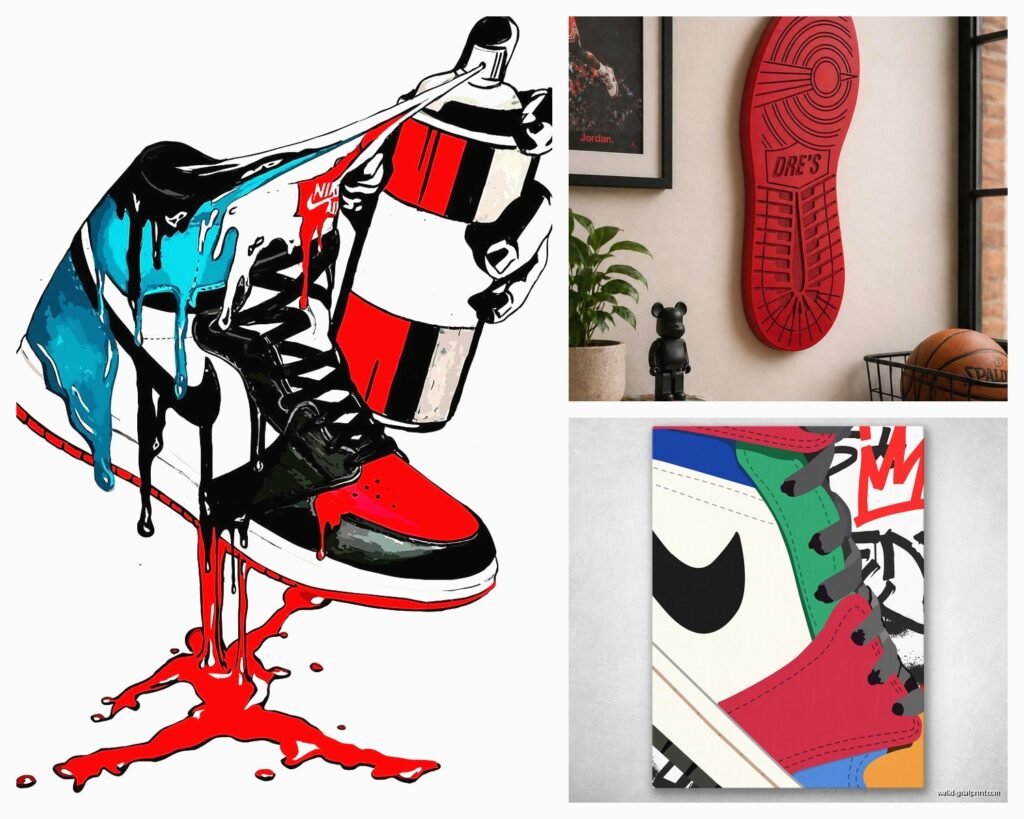
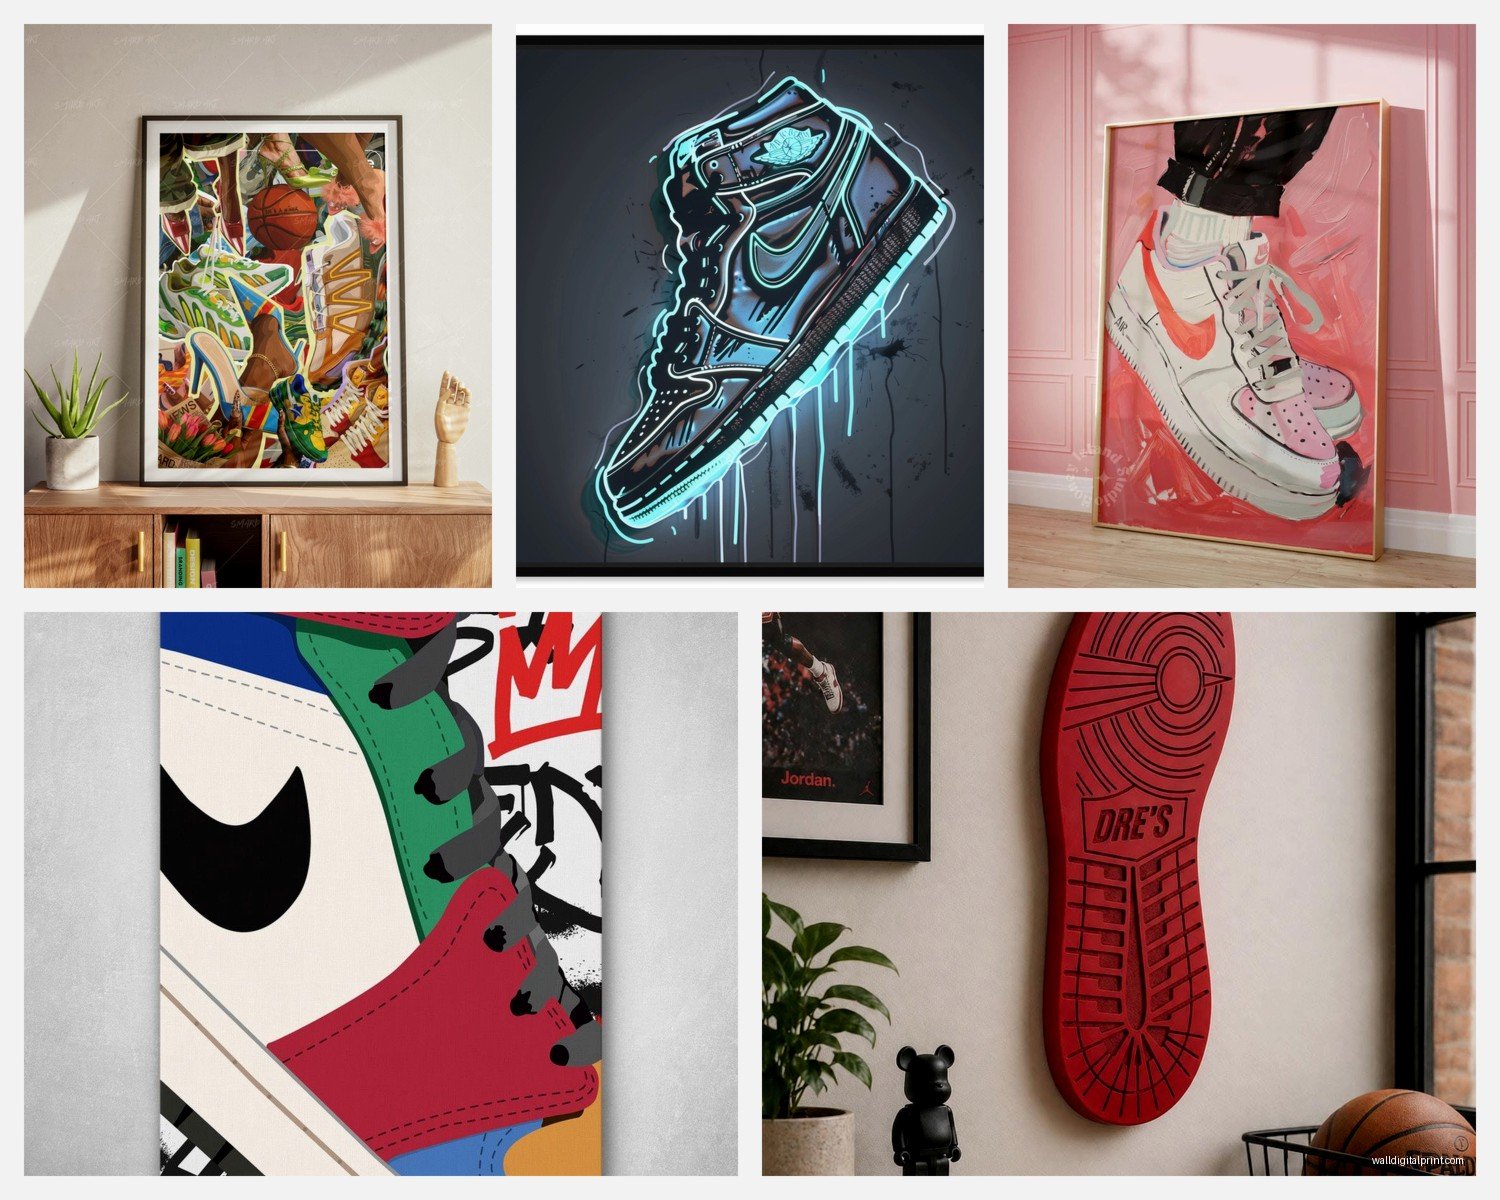
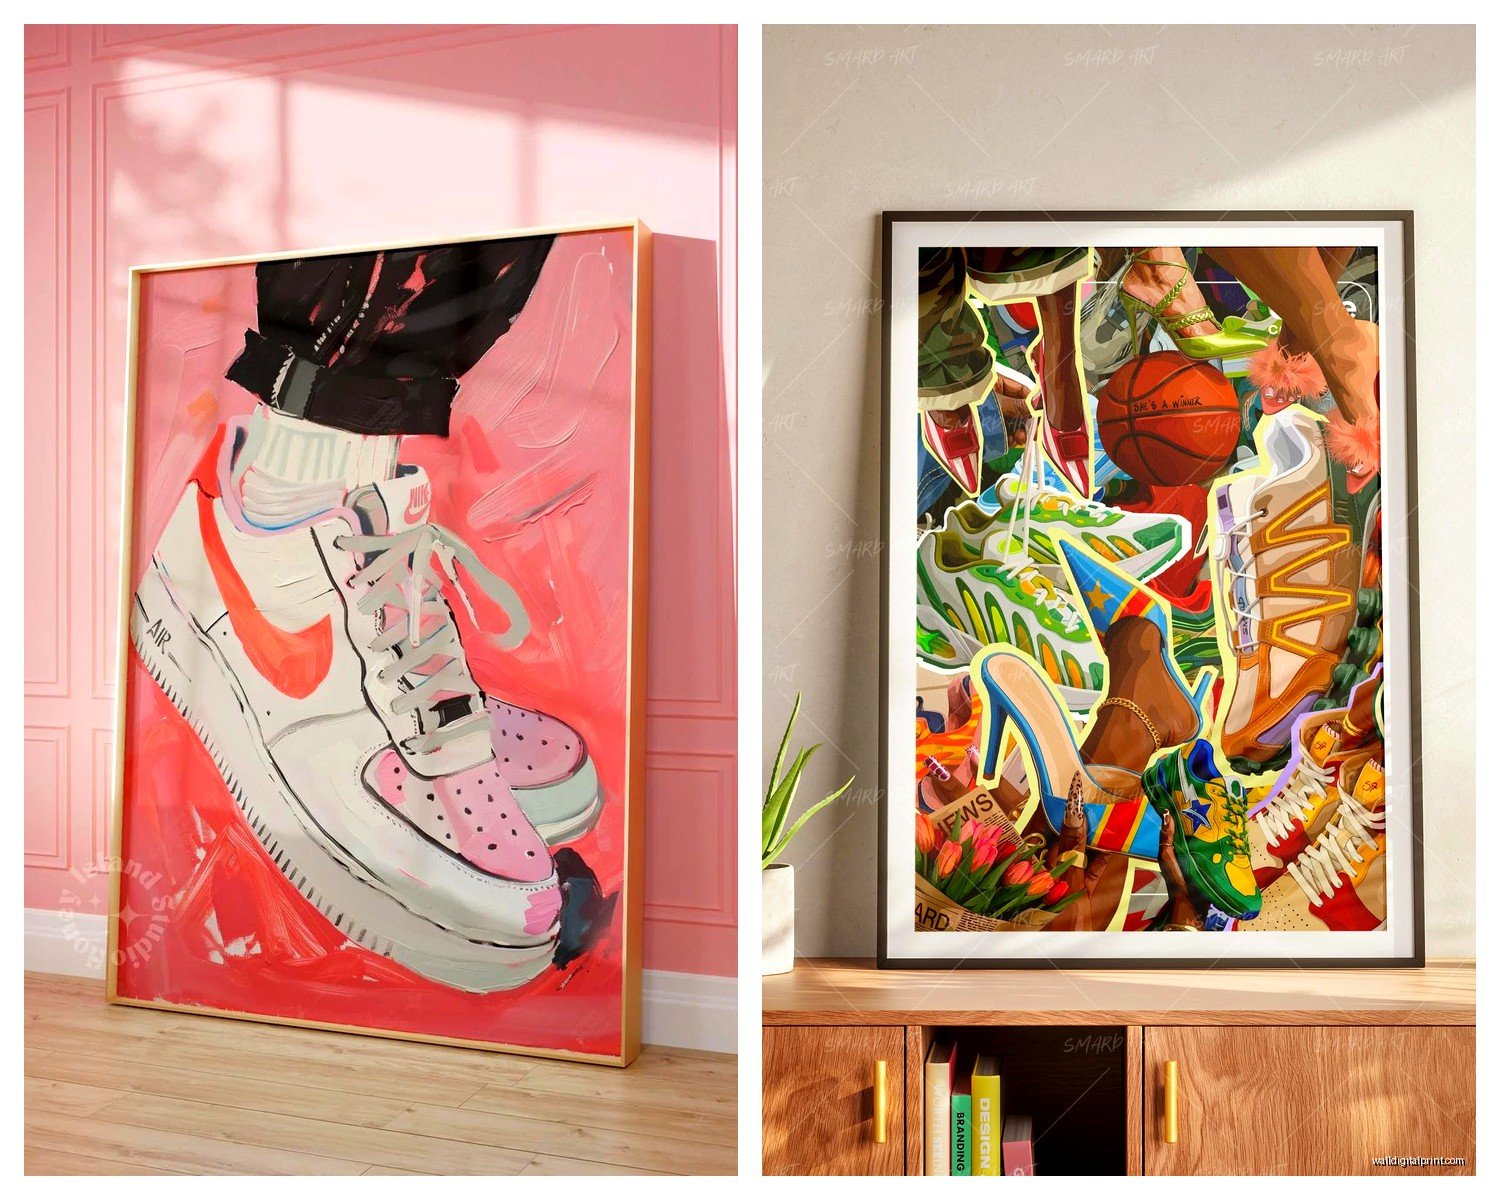
Okay so if you’re renting or just don’t wanna deal with the weight of actual sneakers, there’s tons of sneaker art out there now. Society6 has some cool illustrated sneaker prints, same with Etsy. I found this artist who does watercolor versions of classic Nikes and bought three for my office.
The key with prints is going big or going home. Small 8×10 prints of sneakers look kinda sad honestly. I go minimum 16×20, preferably 24×36 if you’ve got the wall space. And please get them framed properly, not with those clip frames from Target. A proper frame makes it look intentional instead of dorm-poster-core.
Custom Photo Prints of Your Own Collection
This is gonna sound extra but hear me out. I took professional photos of my favorite pairs, like really styled them with good lighting and everything, then got them printed at this local print shop on nice matte paper. Framed them in simple black frames and now I have personalized sneaker art that’s literally my shoes. Cost maybe $150 total for three large prints and frames.
You don’t need a fancy camera either, just good natural light by a window and a clean background. I used white poster board from the dollar store as my backdrop. Take the photo straight on and from the side profile. The side profile shots always look best for wall art.
The Grid Layout vs Chaos Energy
So there’s two schools of thought here. The perfectly aligned grid layout is super satisfying and looks very curated. I did this in my living room with six pairs in identical shadow boxes, all evenly spaced. Very symmetrical, very Instagram-worthy.
But sometimes the asymmetrical gallery wall approach works better, especially if you’re mixing actual shoes with prints and maybe some streetwear accessories like hats or vintage tees in frames. I helped my client do this in his game room and we just kinda… placed stuff until it felt right. Started with the biggest piece in the center and worked outward. Took forever but looked organic.
Wait I forgot to mention, if you’re doing the gallery wall thing, lay everything out on the floor first. Trace the frames on kraft paper, tape the paper to the wall, then you can see the layout before making holes. Learned this trick from an actual gallery curator and it saves so much time and wall damage.
Color Coordination That Actually Matters
You can organize by color which looks really striking. Like all red shoes together, then blue, then neutrals. Or you can go by silhouette, all Jordan 1s together, all Dunks together. Or chronologically if you’re a sneaker history nerd.
I personally like mixing it up but keeping a color story. Like my wall has mostly earth tones and creams with one pop of red (the Union Jordan 1s) as the focal point. Creates visual interest without being overwhelming.
Protection and Maintenance Because Dust Is Real
Nobody talks about this enough but dust accumulates on wall-displayed sneakers like crazy. If you’re doing open shelving, you gotta dust them regularly. I use one of those Swiffer dusters every couple weeks. For shadow boxes, the glass protects them but you still gotta clean the glass or it looks cloudy and defeats the purpose.
UV protection is also real. Direct sunlight will yellow your soles and fade colors. I learned this the hard way with a pair of cream Yeezys that got hit by afternoon sun through my window for like six months. Now I use UV-protective acrylic for any shoes facing windows, or just position them on walls that don’t get direct sun.
The Rotation System
If you’ve got more shoes than wall space, which like, most collectors do, rotating them seasonally makes sense. Summer kicks go up in summer, winter boots in winter. Keeps the display fresh and you’re not looking at the same setup year-round. I swap mine out every three months or so, usually when I’m bored on a Sunday and my client calls canceled so I’ve got time.
Budget Breakdown From Someone Who’s Actually Done This
Okay real talk about costs because this can get expensive fast. Here’s what I spent on my own setup:
- Six acrylic floating shelves: $120
- Heavy duty wall anchors and screws: $25
- LED strip lights with remote: $35
- Three shadow box frames for special pairs: $90
- Two large format prints: $60
- Black frames for prints: $40
So about $370 total for displaying 10 pairs of shoes plus two prints. Not cheap but also not insane considering some of those shoes cost more than the entire display setup.
If you’re on a tighter budget, you can definitely do it for under $150. Use IKEA shelves exclusively, skip the fancy lighting and just rely on your room’s existing lights, and maybe do half actual shoes and half printed photos you take yourself and print at Walmart for like $3 each.
The Stuff That Didn’t Work For Me
Pegboard systems looked cool in theory but were annoying in practice. The hooks kept falling out and it just felt unstable. Maybe I did it wrong but I returned all that stuff.
Those tension rod systems that go from floor to ceiling? Didn’t work in my apartment because my ceilings are textured and the rods wouldn’t grip properly. They might work for you if you have smooth ceilings but test it first.
Command strips for anything heavier than a poster. Just don’t. They say they hold a certain weight but I don’t trust them with $200+ shoes. I’ve had too many things fall.
Renters’ Specific Solutions
If you’re renting and can’t make a million holes, there’s workarounds. I’ve used those picture hanging strips for lightweight shadow boxes, max two pairs. For more shoes, a freestanding ladder shelf that leans against the wall works and you can take it with you when you move. West Elm has one that’s overpriced but looks good, or DIY one from lumber if you’re handy.
Another option is getting a large pegboard or corkboard, mounting THAT to the wall with minimal holes, then attaching everything to the board. When you move, you just patch a few holes instead of dozens.
Making It Look Intentional Not Cluttered
The difference between sneaker wall art that looks curated versus hoarder-ish is honestly just spacing and restraint. Don’t fill every inch of wall space. Leave breathing room. I usually do the rule where the display takes up about 2/3 of the wall width and is centered, with empty space on either side.
Also mixing in other elements helps. A small plant on one of the shelves, or a framed Supreme box logo, or vintage concert posters. It tells a story about your style instead of just being a shoe warehouse vibe.
This is gonna sound weird but, I sometimes add a single book or small sculpture on the shelves too. Breaks up the repetition and adds dimension. Like one shelf has shoes, the next has shoes plus a small ceramic piece I got in Japan, the next is just shoes again. Creates rhythm.
The Actually Cool Accessories
Small LED spotlights that clip onto shelves are like $15 on Amazon and add drama. Point them at your grails.
Riser platforms within shadow boxes give shoes different heights and make the display more dynamic. I use small acrylic blocks.
Labels or small plaques with the shoe name and release date if you’re really into it. I did this for a client who’s a sneaker historian type and it added an educational element that guests actually found interesting.
Oh and if you’re displaying boxes too, the Container Store has these box holders that attach to walls. You can show the box art which is sometimes as cool as the shoes themselves, especially vintage Nike boxes.
Common Mistakes I See All The Time
Hanging shoes by their laces from nails or hooks. Stretches out the laces and looks kinda college-dorm. There’s better ways.
Not considering the rest of the room. Your sneaker wall should complement your space, not clash with it. I helped someone who had this beautiful mid-century modern bedroom and he wanted to do a sneaker wall, so we went with walnut floating shelves and minimal frames to match his aesthetic instead of doing chrome and acrylic which would’ve looked off.
Putting the display too high or too low. Eye level is around 57-60 inches from the floor. Center your main focal point there.
Mixing too many styles of display methods. Pick one or two and stick with them. Like floating shelves plus shadow boxes works. Floating shelves plus shadow boxes plus pegboard plus ladder shelf plus prints all on one wall is chaos.
Not using a level. Please use a level. Crooked shelves make me twitch and you’ll notice it every single day once they’re up.
Anyway that’s basically everything I’ve learned from doing this in my own place and probably a dozen client projects at this point. The main thing is just start with your favorite pair, get it on the wall in a way that makes you happy, then build from there. You don’t gotta do the whole wall in one day. I’m still adding to mine like two years later whenever I find a new piece that fits.
