Wall Art Guide, Wall Art Tutoriels
Talavera Wall Art: Mexican Ceramic Tile Colorful Pottery
Oct
So I just finished installing these gorgeous Talavera tiles in my client’s kitchen backsplash and honestly, I’m still thinking about how perfect they turned out, which is why I’m probably the right person to bug about this at whatever hour you’re reading this.
What Actually Makes Talavera Different
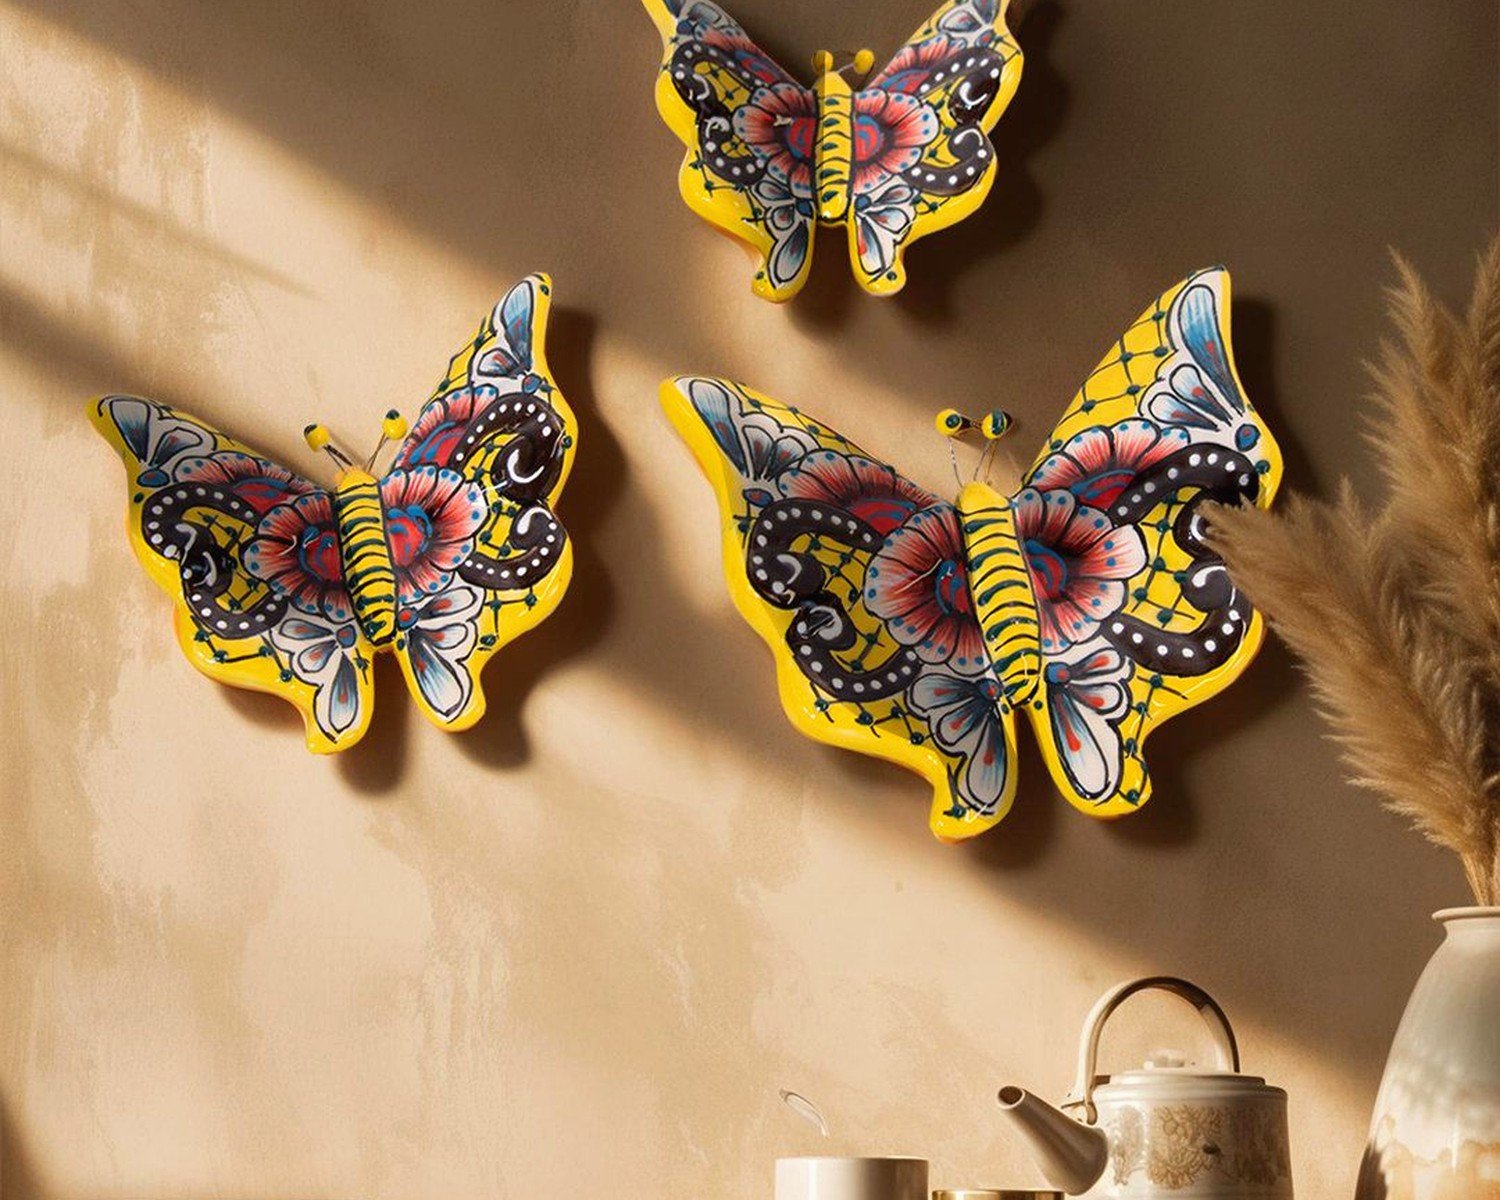
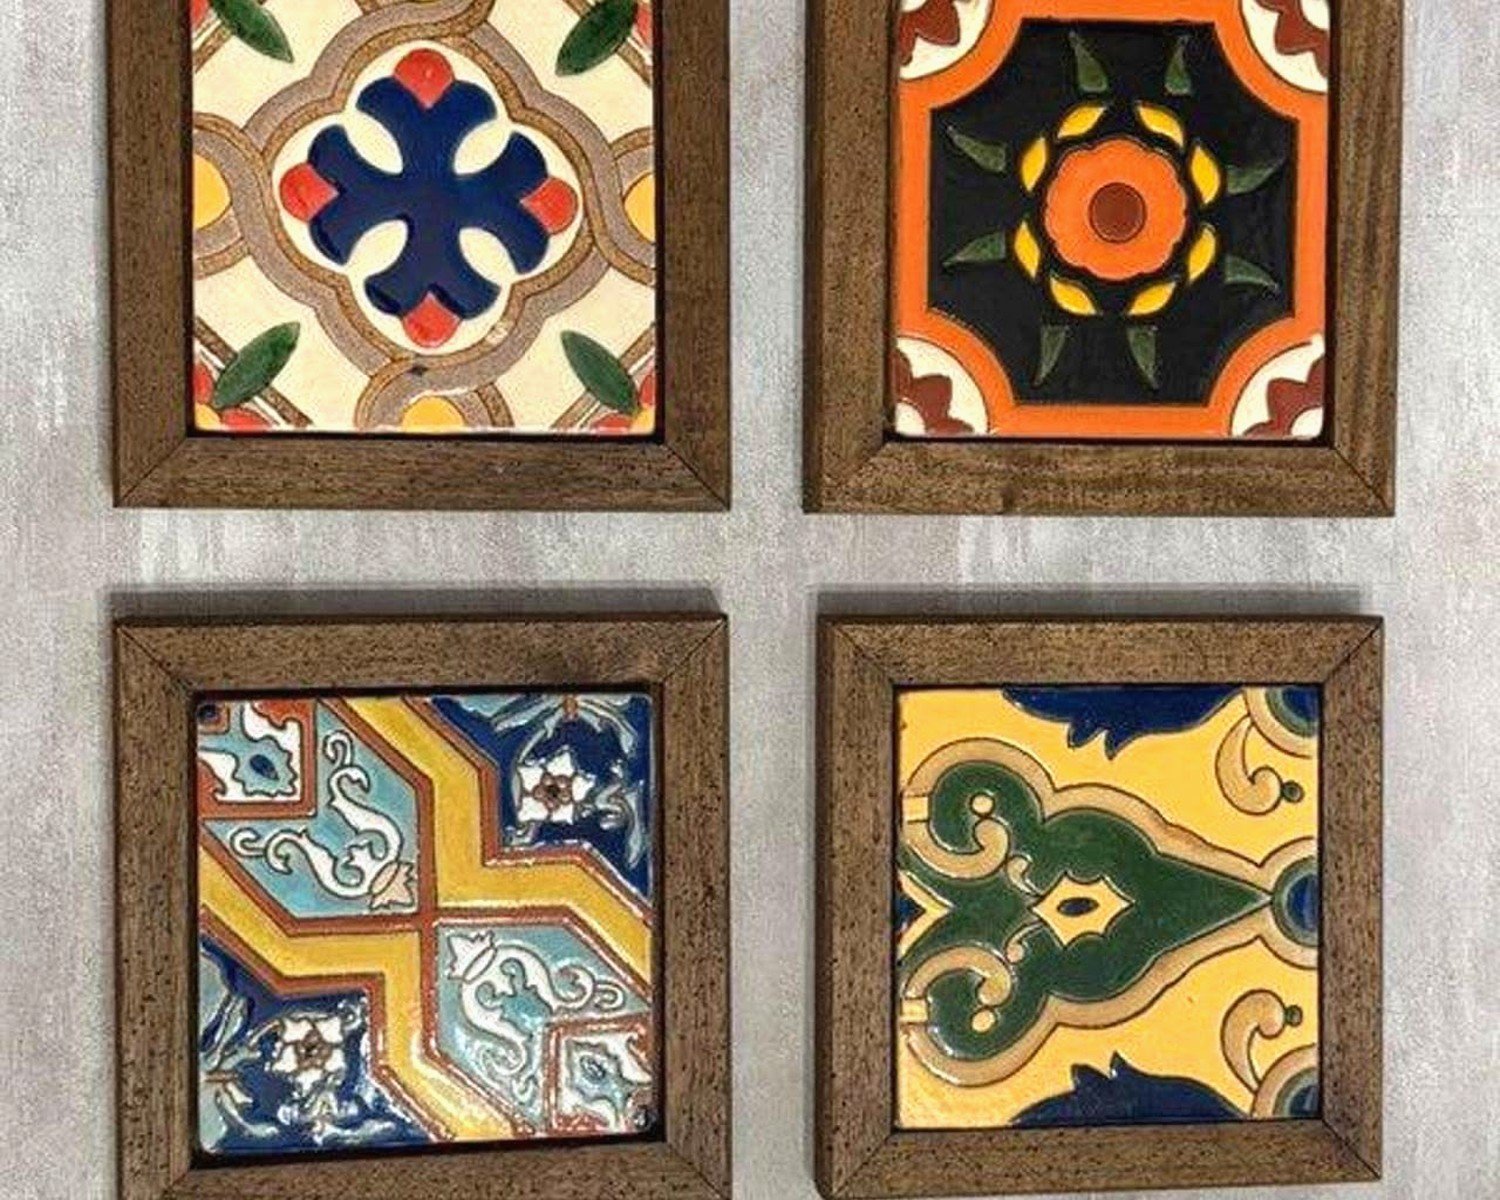
Okay so first thing – real Talavera isn’t just “colorful Mexican tiles.” It’s a specific type of majolica pottery that comes from Puebla and Dolores Hidalgo in Mexico. The authentic stuff is hand-painted, which means no two pieces are exactly identical. I learned this the hard way when a client wanted “matching” tiles and I had to explain that the slight variations are literally the point.
The colors are insane though. Like, you get these deep cobalt blues, sunny yellows, terracotta oranges, and this specific shade of green that I can’t find anywhere else. My dog knocked over a sample tile last week and I genuinely got upset because that particular pattern was discontinued.
Spotting Authentic vs Mass-Produced
Real Talavera has this stamp on the back – either from Puebla or certified workshops. The glaze should be slightly uneven if you look close, and the colors kinda bleed into each other at the edges. If everything looks too perfect and machine-precise, it’s probably not authentic. Not that there’s anything wrong with reproductions if that’s your budget, just know what you’re getting.
Where to Actually Buy Them
I’ve ordered from like six different places at this point. Mexican Tile Designs and Tierra y Fuego are solid for authentic pieces – expect to pay anywhere from $8 to $25 per 4×4 tile depending on complexity. The really intricate patterns with lots of colors cost more because they take longer to paint.
Oh and another thing, Etsy has some great sellers shipping directly from Mexico, but read the reviews carefully. I got burned once with tiles that arrived completely shattered because the packaging was basically just bubble wrap and hope. Look for sellers who use wooden crates.
For reproductions that still look good, Wayfair and Overstock carry decent options. They’re more like $3-5 per tile. My friend used these in her rental property and honestly from three feet away you can’t really tell the difference.
Planning Your Wall Installation
This is gonna sound weird but I always tell people to live with their tile samples for at least a week before committing. Tape them to the wall where you’re planning to install. The colors shift SO much depending on your lighting. That gorgeous cobalt blue might look almost purple in north-facing light, or washed out if you have those yellow-toned LED bulbs.
How Many Tiles You Actually Need
So basic math time – measure your wall space in square feet, then add 15% for mistakes and breakage. With Talavera specifically, I always add more like 20% because if you need to reorder, getting the same dye lot is basically impossible with handmade tiles.
Standard Talavera tiles come in 4×4 inches, but you can also find 2×2, 6×6, and these rectangular 2×4 ones that are perfect for borders. I just used the 2×4 size last month to frame out a bathroom mirror and it looked so much better than I expected.
Design Patterns That Actually Work
Okay so you’ve got options here. The all-over pattern where every tile is different but coordinating – this is like the classic look. Very busy, very Mexican restaurant vibes, which some people love. I did a powder room like this and it’s basically a jewel box.
Then there’s the accent approach where you use solid colored tiles (usually white or cream) and scatter the decorative Talavera pieces throughout. This is more modern and honestly easier to live with long-term. Less visually overwhelming.
Wait I forgot to mention – you can also do a focal point design. Like a mural or specific pattern in the center of your backsplash or behind the stove, with simpler tiles around it. This is my go-to for clients who want Talavera but are nervous about going full maximalist.
Color Coordination Without Losing Your Mind
Pick a main color family first. Blues and whites are classic and easiest to work with. Then add one or two accent colors max. I see people trying to use every color available and it just looks chaotic, not curated.
My current obsession is pairing the traditional patterns with really modern fixtures. Like Talavera backsplash with matte black hardware and concrete countertops. The contrast is *chef’s kiss*.
Actually Installing These Things
If you’re DIYing this, you gotta be more careful than with regular ceramic tiles. The handmade ones can vary slightly in thickness, so you might need to adjust your thinset depth as you go.
Use white thinset mortar, not gray. The tiles are translucent enough that gray shows through and dulls the colors. I learned this from a contractor who had to redo an entire kitchen backsplash because it looked muddy.
Tools You Need
- Notched trowel – 3/16 inch works for most wall applications
- Tile spacers – I use 1/8 inch for tighter grout lines with Talavera
- Tile cutter or wet saw – rent the wet saw if you’re doing a big area
- Grout float
- Sponges, lots of sponges
- Level because even though it seems obvious, people forget
Start from the center of your wall and work outward. This ensures your pattern stays centered even if you need to cut tiles at the edges. Use painters tape to mark your center lines before you start.
The Grout Situation
This is where people make mistakes. The grout color matters SO much with Talavera. I default to either bright white or a light gray that’s almost white. Darker grout can look really heavy and turns the whole thing medieval-looking instead of fresh and vibrant.
Some designers use colored grout to match one of the tile colors but honestly that’s advanced mode. Stick with white until you’re super confident.
Seal your grout after it cures. Like actually do this, don’t skip it. I was watching this documentary on medieval art while sealing grout lines last week and it took forever but it’s worth it. Talavera walls get splashed, especially in kitchens and bathrooms.
Application Tips
Work in small sections, maybe 2×2 feet at a time. The thinset starts setting up and you don’t want to rush. Press each tile firmly but not so hard that thinset squishes up into the grout lines.
If you’re mixing different patterns, lay them out on the floor first. Take a picture. Reference that picture constantly while installing because once they’re up, moving them is a pain.
Non-Traditional Ways to Use Talavera
Okay so beyond the obvious kitchen backsplash and bathroom walls, I’ve done some cool stuff with these tiles. Stair risers look incredible – each step becomes this little surprise of color and pattern. Did this in a Spanish colonial revival house and the homeowner literally cried happy tears.
Table tops – you can create a mosaic coffee table or side table. Use a wooden frame, tile the top, grout it, seal everything really well. I made one for my balcony and it’s held up through two winters.
Fireplace surrounds are having a moment with Talavera. The heat doesn’t damage them and the colors pop against the black firebox opening.
Oh and headboards. This sounds extra but mounting tiles to a board behind your bed creates an instant focal point. Use lighter weight reproductions for this though, not heavy authentic pieces.
Outdoor Applications
Talavera works outside in most climates. They’re frost-resistant if they’re authentic (the firing process makes them super durable). I’ve seen gorgeous outdoor fountains, garden walls, house number plaques, even pool surrounds.
Just make sure you use exterior-grade adhesive and grout. And in places with serious freeze-thaw cycles, check that your specific tiles are rated for that.
Maintenance Reality Check
These tiles are pretty low maintenance actually. Wipe them down with regular dish soap and water. Don’t use harsh chemicals or anything acidic – it can dull the glaze over time.
The grout lines need more attention than the tiles themselves. Reseal every year or two depending on location. Kitchen backsplashes near the stove might need it more often because of grease buildup.
If a tile cracks or chips, replacement is tricky with authentic pieces because of the whole matching issue. This is why I always tell clients to buy extras and store them somewhere safe. I keep mine in a plastic bin in my closet, labeled by project.
Styling Around Your Talavera
Keep the rest of the space relatively simple. The tiles are the star, so you don’t need a ton of other decorative elements competing for attention. White or neutral walls, natural wood, maybe some wrought iron accents.
Plants look amazing with Talavera. Something about the handmade quality of the tiles pairs perfectly with organic elements. I always add a few potted herbs or succulents nearby.
Lighting matters more than you’d think. Under-cabinet lighting for backsplashes makes the glazes shimmer. For wall installations, consider adding picture lights or sconces to highlight the patterns at night.
Budget Breakdown Reality
For a standard kitchen backsplash (around 30 square feet), you’re looking at:
- Authentic Talavera tiles: $240-750 depending on complexity
- Adhesive and grout: $50-75
- Tools if you don’t have them: $100-200 to buy, or $50 to rent a wet saw
- Professional installation if you’re not DIYing: $300-600
Reproductions cut the tile cost down to maybe $100-150 for the same space. Still looks good, just not the same depth of color and craftsmanship.
Common Problems I’ve Encountered
Lippage – when tiles sit at different heights – happens more with handmade Talavera. You gotta constantly check with your level and adjust the thinset depth. It’s tedious but necessary.
Color variation between batches is real. If you’re doing a large area, try to order all your tiles at once from the same production run.
Some of the cheaper reproductions have really thin glaze that scratches easily. Run your fingernail across a sample – if it leaves a mark, the glaze isn’t thick enough for high-traffic areas.
The hand-painted details can bleed slightly during firing, which creates this beautiful watercolor effect but also means patterns aren’t crisp. Some people hate this, I think it’s part of the charm.
Anyway, that’s basically everything I wish someone had told me before my first Talavera project. It’s really not that complicated once you get the hang of it, and the result is so worth the effort. The colors genuinely make me happy every time I see them, which sounds cheesy but it’s true.