
Wall Art Guide, Wall Art Tutoriels
Wall Art Stickers for Living Room: Removable Main Space Vinyl
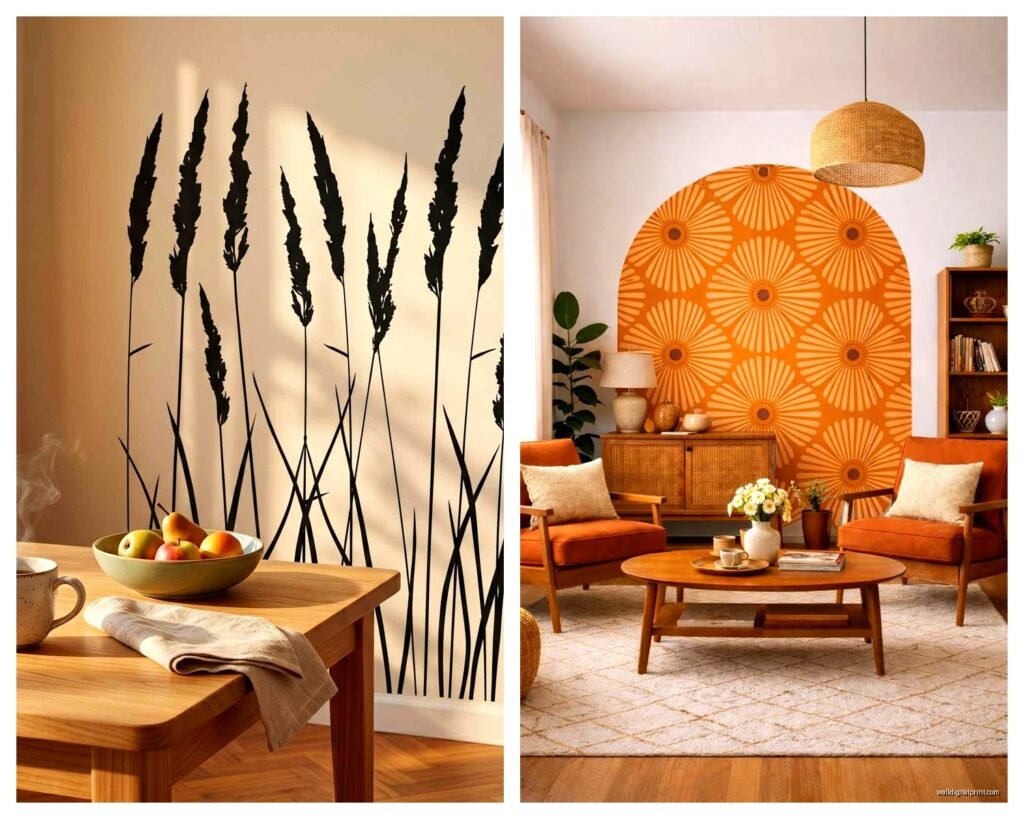
Aug
So I’ve been totally obsessed with wall stickers lately because my friend Sarah completely destroyed her rental’s wall trying to remove regular decals and I ended up helping her fix it at like midnight on a Tuesday, and honestly that’s when I realized most people are doing this completely wrong.
The Stuff That Actually Matters When You’re Shopping
Okay so first thing, not all vinyl is created equal and this is gonna sound weird but I learned this after my cat knocked over my coffee onto a sample sheet. The cheap stuff from those random Amazon sellers? It basically disintegrated. The good vinyl is actual PVC material, and you want to look for stuff that specifically says “removable” not just “peel and stick” because those are NOT the same thing.
I’ve tested probably like 30 different brands at this point because I got weirdly into it after a client project went sideways, and the ones that work best are:
- Matte finish vinyl (doesn’t show fingerprints, doesn’t glare)
- Thickness around 3-4 mil (thicker isn’t always better, trust me)
- Water-resistant but not fully waterproof (the waterproof ones leave residue)
- Self-adhesive with repositionable backing for the first like 10 minutes
The repositionable thing is HUGE because you will absolutely mess up the placement. I don’t care how many YouTube videos you watch, you’re gonna put it crooked the first time.
Wall Prep That Nobody Talks About
Wait I forgot to mention this earlier but it’s actually the most important part. Your wall needs to be properly prepped or you’re just wasting money. I learned this the hard way when I put a gorgeous geometric pattern on a wall that I’d just painted like three days before and the whole thing fell off overnight.
Here’s what you gotta do:
Clean the wall with just warm water and a tiny bit of dish soap. Not Windex, not those fancy cleaners, just soap and water. Let it dry COMPLETELY, like wait a full day. I know that sounds excessive but painted walls hold moisture longer than you think.

If your paint is fresh, wait minimum two weeks. A month is better. The paint needs to fully cure and off-gas, otherwise the sticker won’t stick or it’ll pull the paint off when you remove it. My client‘s wall? Fresh paint. Total disaster.
Textured walls are tricky. Like those popcorn ceilings or orange peel walls? You can still use stickers but you need to really press them in and honestly they won’t last as long. I use a credit card wrapped in a microfiber cloth to really work them into the texture.
The Temperature Thing
This is gonna sound random but room temperature matters SO much. I was installing some botanical stickers in January and my apartment was freezing because my radiator broke, and the adhesive just would not stick properly. The sweet spot is like 65-75 degrees Fahrenheit. Too cold and the adhesive is stiff, too hot and it gets too sticky too fast.
Actually Applying These Things Without Losing Your Mind
Okay so funny story, I was watching The Great British Bake Off while doing my first big installation and I totally messed it up because I got distracted during the technical challenge. You need to actually focus for this part.
Most stickers come in three layers: the backing paper, the actual sticker, and a transfer tape on top. Some cheaper ones don’t have transfer tape and those are honestly harder to work with for anything larger than like 6 inches.
Here’s my actual process that works:
Step one: Lay the whole sheet on a table and use a credit card or squeegee to really press the transfer tape onto the sticker. You’re making sure the sticker will stick to the transfer tape instead of the backing paper.
Step two: Peel the backing paper off slowly, like painfully slowly. If the sticker starts to stick to the backing instead of the transfer tape, lay it back down and squeegee it more.
Step three: Use painter’s tape to make a hinge at the top of where you want it. Seriously, the hinge method changed my life. You tape the top edge of your sticker to the wall, then you can lift it up and down to check placement before committing.
Step four: Once you’re happy with placement, start from the center and squeegee outward. You’re pushing out air bubbles and making sure it adheres evenly. I use this yellow squeegee I got from a car tinting place and it works better than any craft store tool.
Step five: This is where people mess up, wait like 30 minutes before removing the transfer tape. Let the adhesive really grab onto the wall. Then peel the transfer tape off slowly at a 45-degree angle, like you’re peeling a banana.
The Bubble Situation
You will get air bubbles, it’s literally impossible not to. Small ones usually disappear on their own after a few days as the air works its way out. For bigger ones, I use a pin to poke a tiny hole and then squeegee the air out through that hole. Don’t use a needle, too big. A straight pin is perfect.
What Works in Living Rooms Specifically
Oh and another thing, living rooms are tricky because they usually have the most varied lighting. I’ve found that:
Large-scale designs work better than small intricate ones. From across the room, you want impact. Those tiny delicate patterns just look like wall dirt from the couch.
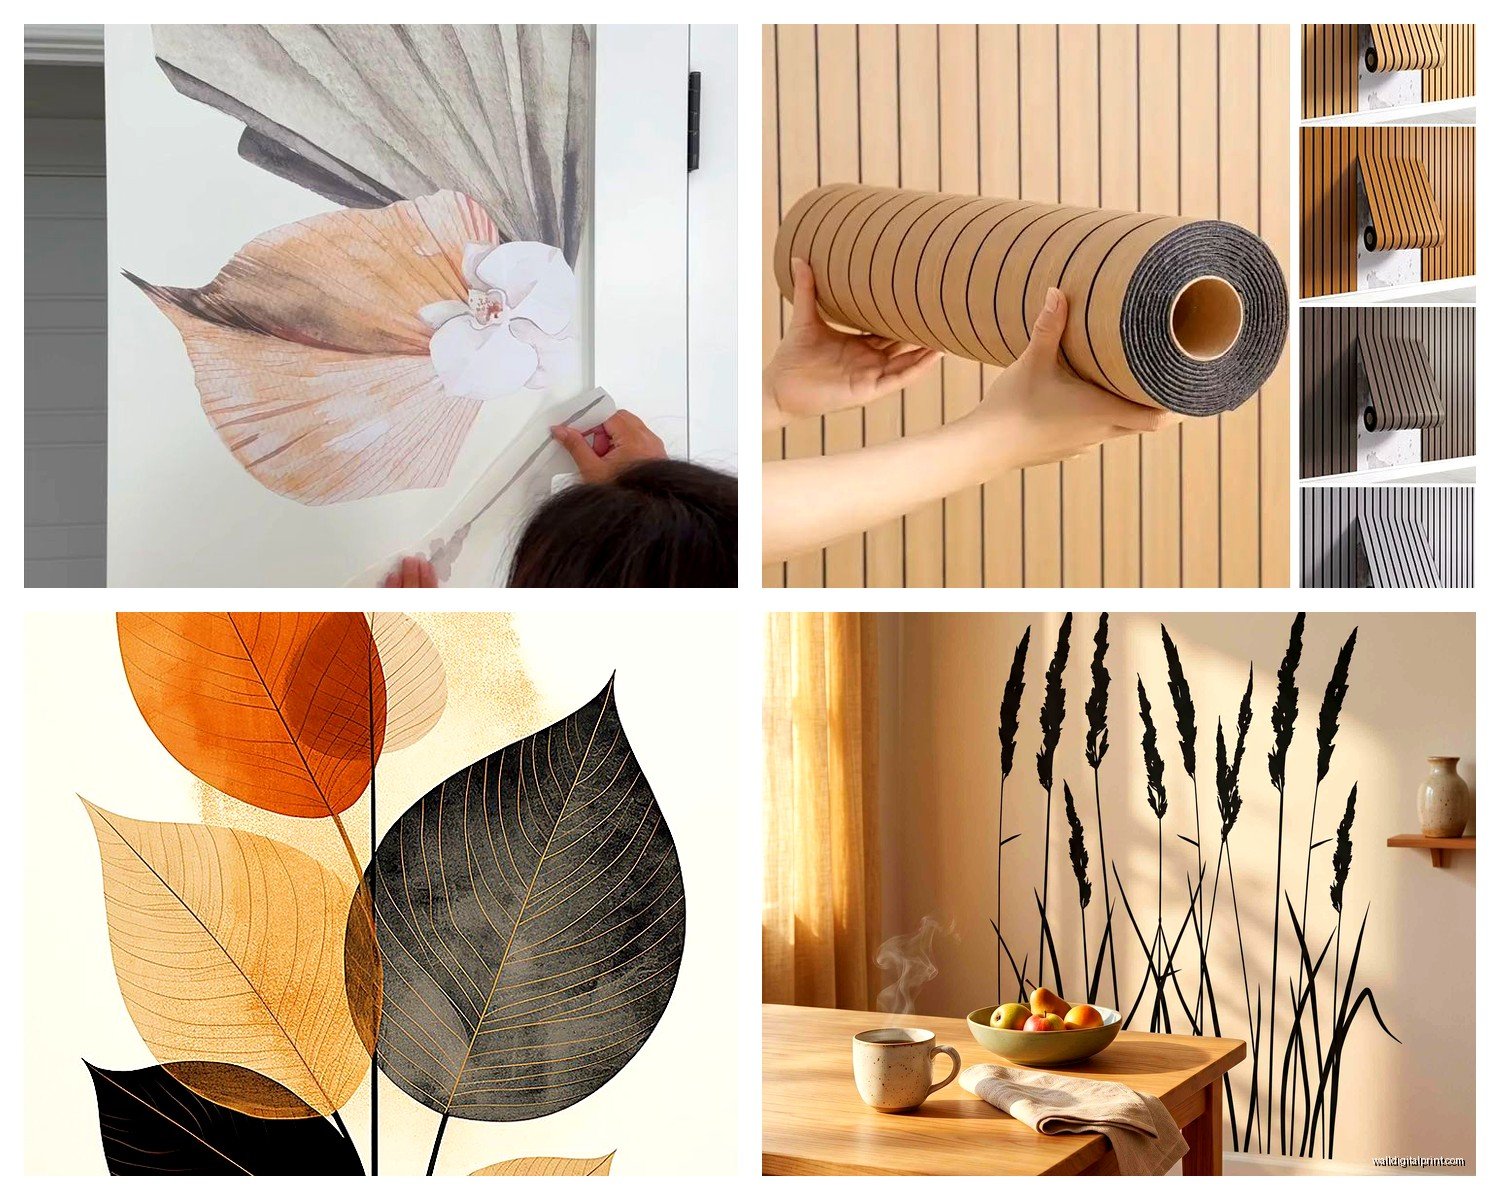
Stick to 2-3 colors max if you’re doing multiple stickers. I see so many people create this chaotic rainbow situation and it just looks cluttered. My living room has black geometric shapes and one gold accent piece and that’s it.
Consider your furniture placement. I once put this amazing mountain range silhouette behind where a client’s couch was gonna go and you literally couldn’t see half of it. Measure your furniture heights before you commit to placement.
Behind the TV vs Above the Couch
These are the two main spots people ask me about. Behind the TV only works if you have a mounted TV with space around it, otherwise you’re just creating visual clutter. I actually prefer a clean wall behind the TV and then doing a statement wall on the adjacent wall or above the couch.
Above the couch is classic for a reason but here’s the thing, you want the bottom of your sticker to be about 6-8 inches above the couch back. Not right on top of it, not way up high. That middle ground is where it looks intentional instead of random.
Removal Without Crying
So when you eventually want to remove these, and you will because tastes change or you’re moving or whatever, here’s what actually works:
Heat is your friend. I use a hair dryer on medium heat and warm up a corner, then slowly peel while continuing to heat the area I’m peeling. The heat softens the adhesive and it comes off so much cleaner.
Go slow. I cannot stress this enough. Fast peeling = paint damage. Slow peeling = clean walls. It takes me like 20 minutes to remove a large decal but my walls are always perfect afterward.
If there’s any residue left (there usually isn’t with good quality vinyl but sometimes), a little bit of rubbing alcohol on a cloth takes it right off. Don’t use Goo Gone or those harsh removers, they can damage paint.
The Brands I Actually Buy
Okay so you’re probably wondering which ones to actually purchase. I’m gonna be honest, I have my favorites but I’ve also used cheaper options that worked fine for short-term situations.
For permanent-ish installations: I like Urban Walls and Blik. They’re pricier but the quality is insane. The vinyl is thick, the colors are accurate to the website photos, and they’ve lasted years in my own apartment.
for temporary stuff or if you change your mind a lot: Wallums and RoomMates are solid mid-range options. I’ve used RoomMates stuff in client homes and had zero complaints. They’re usually available at Target which is convenient.
Budget friendly: There are some Etsy sellers who do custom vinyl cutting and honestly some of them are great. Just read reviews carefully and ask about the vinyl type they use. If they can’t tell you, skip them.
Custom vs Pre-Made Designs
Pre-made is obviously easier and usually cheaper, but custom is where you can really make your space unique. I had someone cut custom botanical silhouettes based on my own plant photos and it cost like $80 but looks absolutely incredible.
For custom work, you need to provide high-resolution images, preferably vector files if you have them. Most cutting services can work with good JPEGs though. Just make sure your image has clear edges and good contrast.
Common Mistakes I See All The Time
Putting stickers on textured walls without understanding they won’t last as long. It’s not that you CAN’T do it, just know you’re probably looking at 6 months to a year instead of several years.
Not measuring before ordering. I’ve had people order these massive tree decals that don’t fit their wall and then they’re stuck with it. Measure your wall height and width, then subtract a few inches on each side for visual breathing room.
Mixing too many styles. Like you can’t do geometric shapes AND floral patterns AND quotes all in the same room. Pick a vibe and commit.
Applying them in humid conditions. Your bathroom after a shower? Nope. Kitchen while cooking? Nope. The adhesive needs dry conditions to properly bond.
Oh wait, another thing, people forget about light switches and outlets. You’ll need to cut around these and it’s honestly annoying. I usually plan my designs to avoid these areas entirely, but if you can’t, you’ll need a sharp craft knife and patience.
Design Placement That Actually Looks Good
This is where my interior styling background comes in handy. The rule of thirds works here just like in photography. Imagine your wall divided into a 3×3 grid, and place your main focal point at one of the intersecting points. Not dead center, that’s boring.
For corner placements, I love putting organic shapes like vines or branches that flow from the corner across the wall. It creates movement and makes the room feel bigger somehow.
Gallery wall approach: Use multiple smaller stickers arranged like you would art pieces. Odd numbers work better, so think 3, 5, or 7 pieces. I did this with simple circle stickers in varying sizes and it looks way more expensive than it was.
Scale matters more than people think. A tiny sticker on a huge wall just looks lost. Go bigger than you think you need, like genuinely I tell people to size up and they’re always glad they did.
Dealing With Mistakes Because They Will Happen
I’ve messed up more installations than I can count. The good news is that within the first few minutes, most removable vinyl is actually repositionable. You can peel it up and try again.
If you’ve already removed the transfer tape and realize it’s crooked, you can usually still peel it off if it’s been less than an hour or so. Use the hair dryer trick to warm it up first and it’ll come off easier.
For tears or damaged stickers, sometimes you can actually hide small issues with strategic furniture placement or by adding another small sticker element to cover it. I’ve definitely done this and no one ever notices.
The worst is when you get wrinkles. If you catch them immediately, you can sometimes peel back to that section and reapply. But honestly if it’s a big wrinkle and the adhesive has set, you might be better off just ordering a replacement piece. I keep backup pieces of my main designs for exactly this reason.
Just remember these aren’t supposed to be stressful, they’re literally the easiest way to change up your space without painting or putting holes in walls, and if you mess up you can just remove them and try again tomorrow.
