Wall Art Guide, Wall Art Tutoriels
Welcome Wall Art: Entryway & Front Door Greeting Signs
Jun
So I’ve been obsessing over entryway signs lately because my friend Sarah literally texted me a photo of her sad, blank wall next to her front door and was like “help, what do I do with this space” and honestly? It sent me down this whole rabbit hole of welcome signs and greeting art that I’m kinda not mad about.
The Thing About Entryway Art That Nobody Tells You
Okay so first thing – and this is gonna sound obvious but I see people mess this up ALL the time – you need to actually measure your wall before you fall in love with something. I bought this gorgeous “Welcome to Our Home” wood sign last year, super rustic, spent like $120 on it, and it was literally the size of a postcard when it arrived. The listing said 16 inches but I didn’t process that meant 16 inches TOTAL. My entryway wall is like 6 feet wide. It looked ridiculous.
The general rule I tell people is your sign should take up about 2/3 to 3/4 of the wall width. So if you’ve got a 4-foot wide space, you’re looking at something around 30-36 inches wide. Smaller than that and it just floats there looking lost.
Material Matters More Than You Think
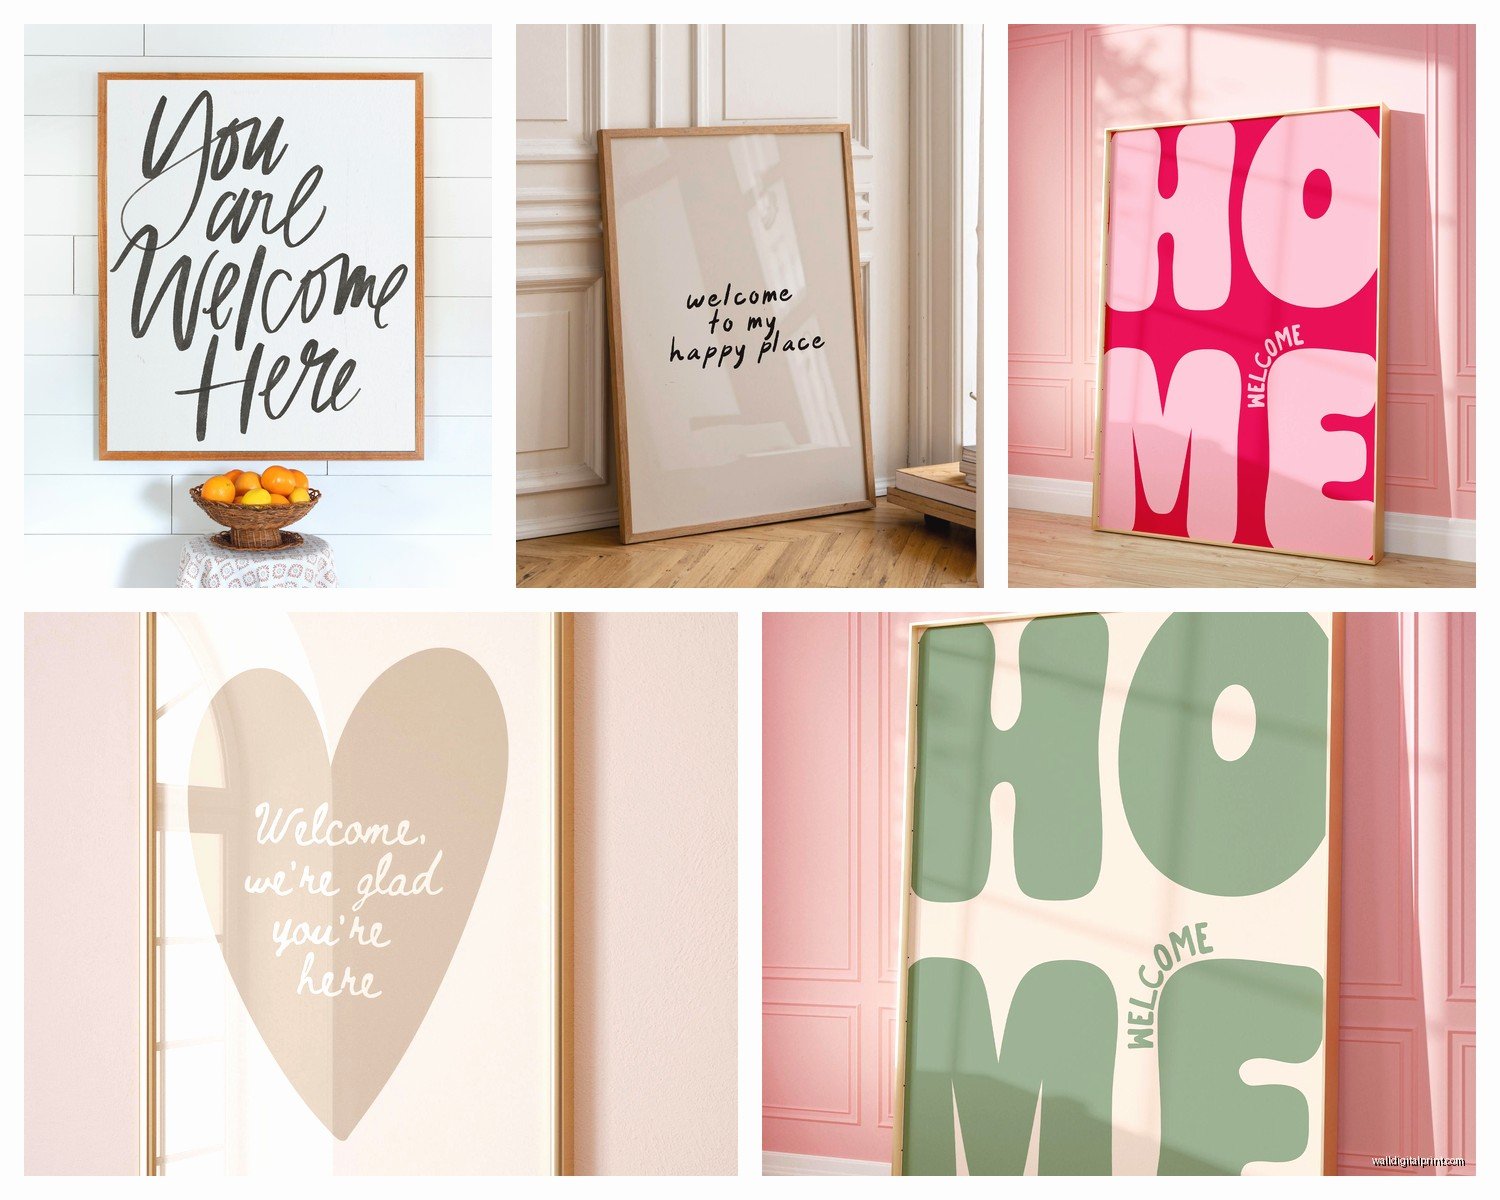
Here’s where I have… opinions. There are basically five categories of welcome signs you’ll run into:
- Wood signs (painted or stained)
- Metal signs (usually black or galvanized)
- Canvas prints
- Vinyl decals that go directly on the wall
- Framed prints or typography
Wood signs are having a MOMENT right now but here’s the thing – if your entryway gets any direct sunlight, painted wood fades SO fast. I watched my client’s beautiful white and navy “Hello” sign turn basically gray-blue over like 8 months. Now I only recommend wood signs for covered porches or interior entryways. The stained wood ones hold up better but they read very farmhouse which isn’t everyone’s vibe.
Metal signs are actually way more durable. I’ve got a black metal “Welcome” script on my own front porch and it’s been through two winters, full sun in summer, and still looks exactly the same. The powder-coated ones are worth the extra $20-30 because the finish doesn’t chip. Just… make sure you’re mounting it into studs or using the right anchors because metal is heavy and watching a $90 sign crash to the ground at 2am is not fun (yes this happened, yes my dog lost his mind).
Canvas Is Trickier Than It Looks
Canvas prints seem like an easy option and they’re definitely affordable, but they’re really only good for interior entryways. Any humidity and they start to warp or the print gets spotty. I learned this the hard way with a gorgeous botanical “Welcome Friends” canvas that got this weird mildew situation going on after one humid summer. It was in a covered entry but apparently that wasn’t enough.
The vinyl decals though… okay so funny story, I was watching The Great British Baking Show and scrolling Etsy at the same time (multitasking fail) and I found these custom vinyl sayings that you just stick directly on your wall. They’re like $25-40 and I was skeptical because it seemed too easy? But I tried one in my mudroom – just said “Hello” in this pretty script – and it’s been up for over a year with zero issues. Super clean look, very modern. You do need a smooth wall surface though, it looks terrible on textured walls.
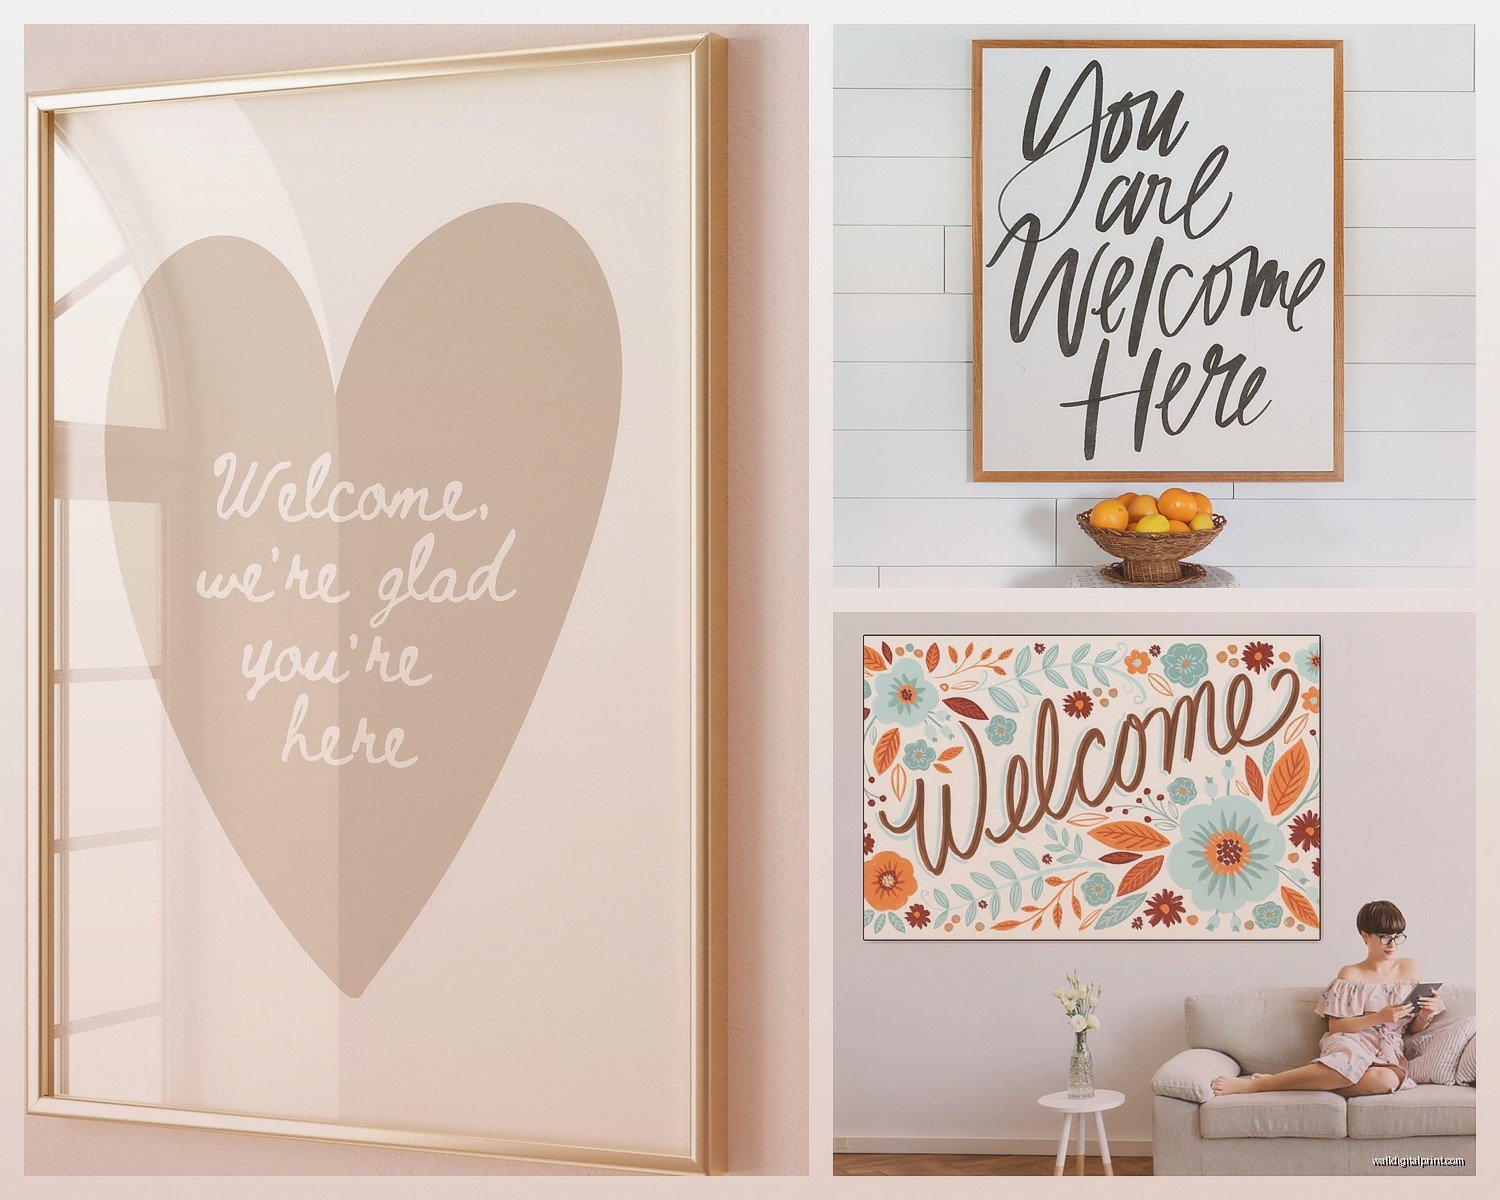
What Should Your Sign Actually Say
This is so personal but I’m gonna give you my breakdown of what works:
Classic options that never look dated:
- Welcome
- Hello
- Gather
- Home
- Your family name (like “The Bennetts”)
Ones that feel a bit trendy right now but I still like:
- Bless This Home
- Welcome to Our Home
- Hello Beautiful
- Love Lives Here
Ones I’m personally over:
- Home Sweet Home (just… it’s been done)
- Anything with “Live Laugh Love” energy
- Super long quotes that you can’t even read from the doorway
The sweet spot is usually 1-3 words. Anything longer and people don’t actually read it, they just see it as decoration. Which is fine! But if you want the message to land, keep it short.
Size and Placement Gets Weird
Okay so you measured your wall, you know what size range you need, but WHERE do you put it exactly?
Eye level is generally 57-60 inches to the center of your artwork. This is like, official gallery standard stuff. But in an entryway it’s a bit different because people are moving through the space, not standing and staring at it. I usually go slightly lower, around 54-56 inches to center, so it catches your eye as you’re walking in.
If you’re putting it on an exterior wall next to your front door, you want it visible from the walkway. I’ve seen people put welcome signs on the HINGE side of the door and it’s like… no one sees it until they’re already inside? Put it on the side where people approach.
Oh and another thing – if you have a covered porch or entryway with a table or console underneath, the sign should be centered over that furniture piece, not over the wall space. Your eye will naturally group the sign with whatever’s below it, so if it’s off-center from the table, the whole vignette looks wonky.
Mixing Welcome Signs With Other Decor
This is where I see people freeze up. They get the sign up and then they’re like “…now what?”
You don’t actually NEED anything else. A single statement sign can totally stand alone. But if you want to build it out, here’s what works:
For a gallery wall approach: Put your welcome sign as the anchor piece (usually center or slightly off-center) and surround it with smaller frames, maybe some greenery in a wall planter, a small mirror. Keep everything within about a 12-inch border around your main sign so it doesn’t get lost.
For a minimalist look: Just the sign plus one simple wreath to the side or above. Done. Clean. My favorite combo right now is a black metal “Welcome” sign with a eucalyptus wreath offset to the upper right. Takes 10 minutes to style, looks intentional.
For a layered shelf situation: If you have a narrow console table or shelf, lean your welcome sign against the wall on the shelf and layer in some candlesticks, a small plant, maybe a decorative bowl. The sign becomes part of the tablescape instead of floating on the wall above it.
Wait I forgot to mention – if you’re doing an outdoor welcome sign, think about lighting. A beautiful sign that you can’t see after 5pm in winter is kinda pointless. I added a simple spotlight aimed at my porch sign and it made such a difference. Those solar ones are like $15-20 and you just stake them in the ground or mount them under the eaves.
Shopping Real Talk – Where to Actually Buy
Etsy is obviously the goldmine for custom and handmade stuff. You can get your family name, custom colors, specific sizes. But the quality is ALL over the place. Always check reviews with photos, and look at how long the shop’s been around. I’ve had the best luck with shops that have at least 500+ sales and 5-star ratings.
For budget-friendly options, Target and Hobby Lobby both have decent welcome sign sections. They’re mass-produced so you might see the same one at your neighbor’s house, but honestly? They’re like $25-40 and they look fine. I got a metal “Hello” from Target that I’ve recommended to probably five people.
Amazon has tons of options but the photos are often super misleading about size and quality. Read the dimensions like three times and check the recent reviews. I’ve noticed a lot of the “handmade wood” signs on Amazon are actually printed on MDF which isn’t necessarily bad, just know what you’re getting.
For high-end stuff, I really like Minted and Pottery Barn. You’re paying more ($80-200+) but the quality is there and they often have customization options. Minted’s foil-pressed signs are gorgeous if you want something with metallic details.
The DIY Question
People always ask me if they should just make their own. If you’re crafty and you have the tools, sure! But be realistic about your skill level. A hand-painted wood sign requires decent lettering skills or a stencil, proper sealing if it’s going outside, and the right type of paint. I’ve seen so many DIY disasters where the paint dripped or the letters are wonky or it’s already peeling after two months.
The easiest DIY is probably a vinyl decal that you apply yourself (you can order custom ones from places like Vinyl Disorder) or a simple framed print that you design on Canva and print at a local print shop. Less room for error.
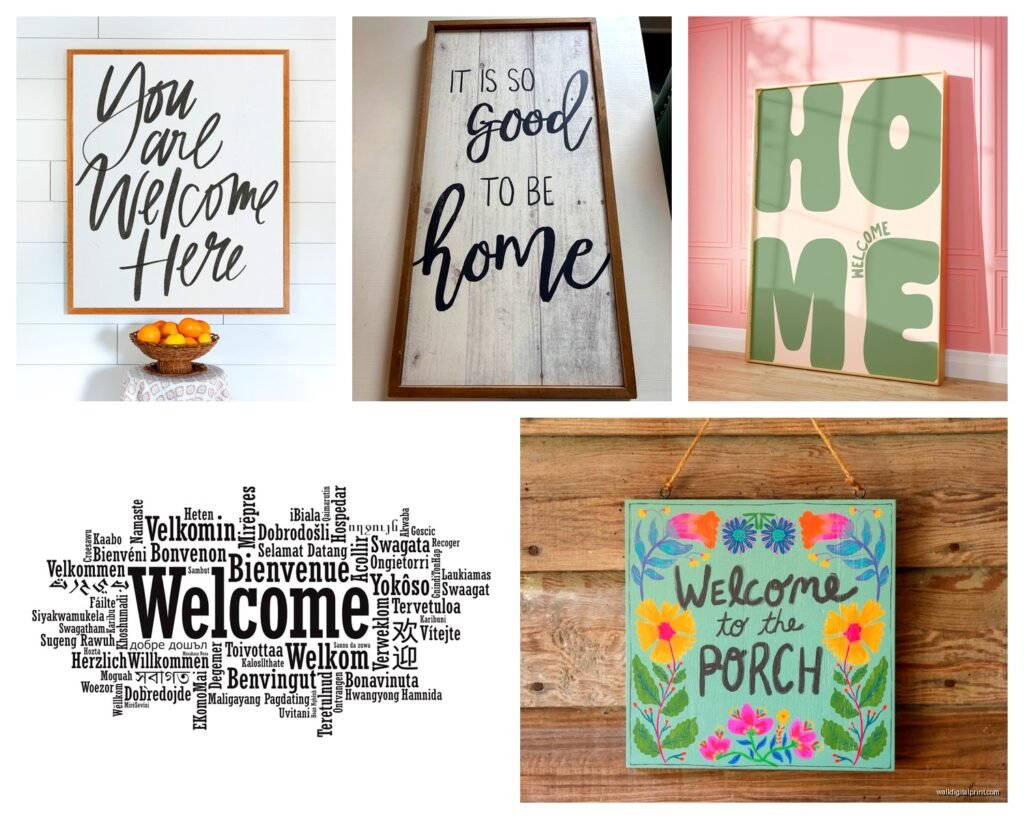
Seasonal Swapping – Is It Worth It
Okay this is gonna sound extra but I actually swap my welcome sign seasonally and I love it. I have a simple black hook system on my porch wall, and I have four different signs that I rotate:
- Spring – floral “Hello” with pastels
- Summer – bright “Welcome” in coral and navy
- Fall – rustic “Gather” with orange/brown tones
- Winter/Holiday – “Let It Snow” or “Merry Christmas”
It takes literally 2 minutes to swap them out and it makes the entrance feel fresh without having to redo the whole space. I store the off-season ones in my coat closet. If you go this route, make sure all your signs are the same size so you’re not constantly readjusting the placement.
That said, if seasonal swapping sounds like a nightmare to you, just get one really good year-round sign in a neutral finish. A simple “Welcome” in black or natural wood works for every season.
What About Apartment Dwellers or Renters
If you can’t put holes in your walls, you’ve still got options. Command strips can hold surprisingly heavy items if you use enough of them and follow the directions properly. I’ve hung a 5-pound metal sign with Command strips and it stayed up for over a year.
Leaning a sign on a console table or bookshelf near your door creates the same welcoming effect without any wall damage. You can also use an easel – there are decorative metal easels that look intentional, not like you’re displaying a kid’s art project.
For outdoor spaces where you don’t have a wall (like if your front door opens right to the street), a flag or a doormat with a greeting serves the same purpose. I actually think a really nice doormat is underrated as a welcome element.
Maintaining Your Sign
Nobody talks about this but welcome signs get dirty, especially outdoor ones. Dust, pollen, spider webs (ugh), bird droppings if you’re unlucky.
For metal signs, I just wipe them down with a damp cloth every few weeks. For wood signs, use a barely damp cloth and dry immediately – you don’t want water sitting on the wood. Canvas or fabric signs can usually be gently vacuumed with a brush attachment.
If your outdoor sign is looking faded or weathered after a year or two, that’s honestly just gonna happen. It’s part of the outdoor life cycle. You can try to refresh painted wood with a new coat of sealer, but sometimes it’s easier to just replace it. I budget for replacing outdoor signs every 2-3 years.
The biggest thing is just checking that it’s still securely mounted. I do a quick tug test every couple months to make sure nothing’s come loose, especially after bad weather.
Anyway I think that’s everything I’ve learned from like… way too many hours thinking about entryway signs. Let me know what you end up getting!