Wall Art Guide, Wall Art Tutoriels
3D Wood Wall Art: Dimensional Carved Natural Relief
Sep
So I’ve been working with 3D wood wall art for like three years now and honestly it completely transformed how I approach texture in spaces, but there’s SO much to know before you just start hanging carved relief pieces everywhere.
Understanding What You’re Actually Getting
Okay first thing – 3D wood wall art isn’t just one thing. You’ve got hand-carved pieces where someone literally chiseled the design, CNC-routed stuff that’s machine-carved (most of what you’ll find online), laser-cut layered pieces that create dimension through stacking, and then these weird hybrid pieces. The price differences are MASSIVE and honestly not always about quality.
Hand-carved pieces start around $300 for something small and can go into thousands. I bought one from this artist in Oregon last year and my dog knocked it off the wall within a week… nearly had a heart attack. CNC pieces though, you can find decent ones for $80-200 depending on size. The laser-cut layered stuff is usually cheapest, like $40-150, but it reads very differently on a wall.
Wood Types Matter More Than You’d Think
This is gonna sound weird but I literally keep samples of different woods in my studio because clients never believe how different they look in person versus photos.
Walnut gives you that rich dark brown with gorgeous grain patterns – it’s my go-to for modern spaces or anywhere you need drama. But it shows dust like crazy, just FYI. Maple is lighter and has this subtle flowing grain that works in Scandinavian or minimalist spaces. Oak has more pronounced grain and comes in red or white varieties – red oak has warmer undertones, white oak is cooler and grayer.
Then there’s pine which is soft and affordable but dents easily. I learned this the hard way in a client’s entryway where their kids kept whacking it with backpacks. Cedar smells amazing and resists moisture so it’s great for bathrooms, though the scent fades over time. Teak is expensive but handles humidity beautifully – I used it in a coastal house and it’s held up perfectly for two years.
Oh and another thing – reclaimed wood pieces have this character that new wood just can’t match, all those nail holes and weathering, but you’re paying a premium for it.
Size and Scale Will Make or Break This
I’ve seen so many people buy pieces that are way too small for their wall and it just looks… sad? Like a postage stamp floating in space.
For above a sofa or bed, you want the art to be at least two-thirds the width of the furniture. So if your couch is 84 inches, you’re looking at 56+ inches of art width. You can do this with one large piece or a grouping, but that’s your minimum.
For a focal wall with no furniture, think about filling roughly 60-75% of the wall width. I did a dining room last month where the wall was 10 feet wide and we used an 7-foot piece – it looked perfect. Any smaller and it would’ve felt timid.
Height-wise, most 3D pieces look best when the center is at eye level, which is around 57-60 inches from the floor. But in rooms with tall ceilings, you can go higher to draw the eye up and make the space feel even bigger.
Depth Considerations
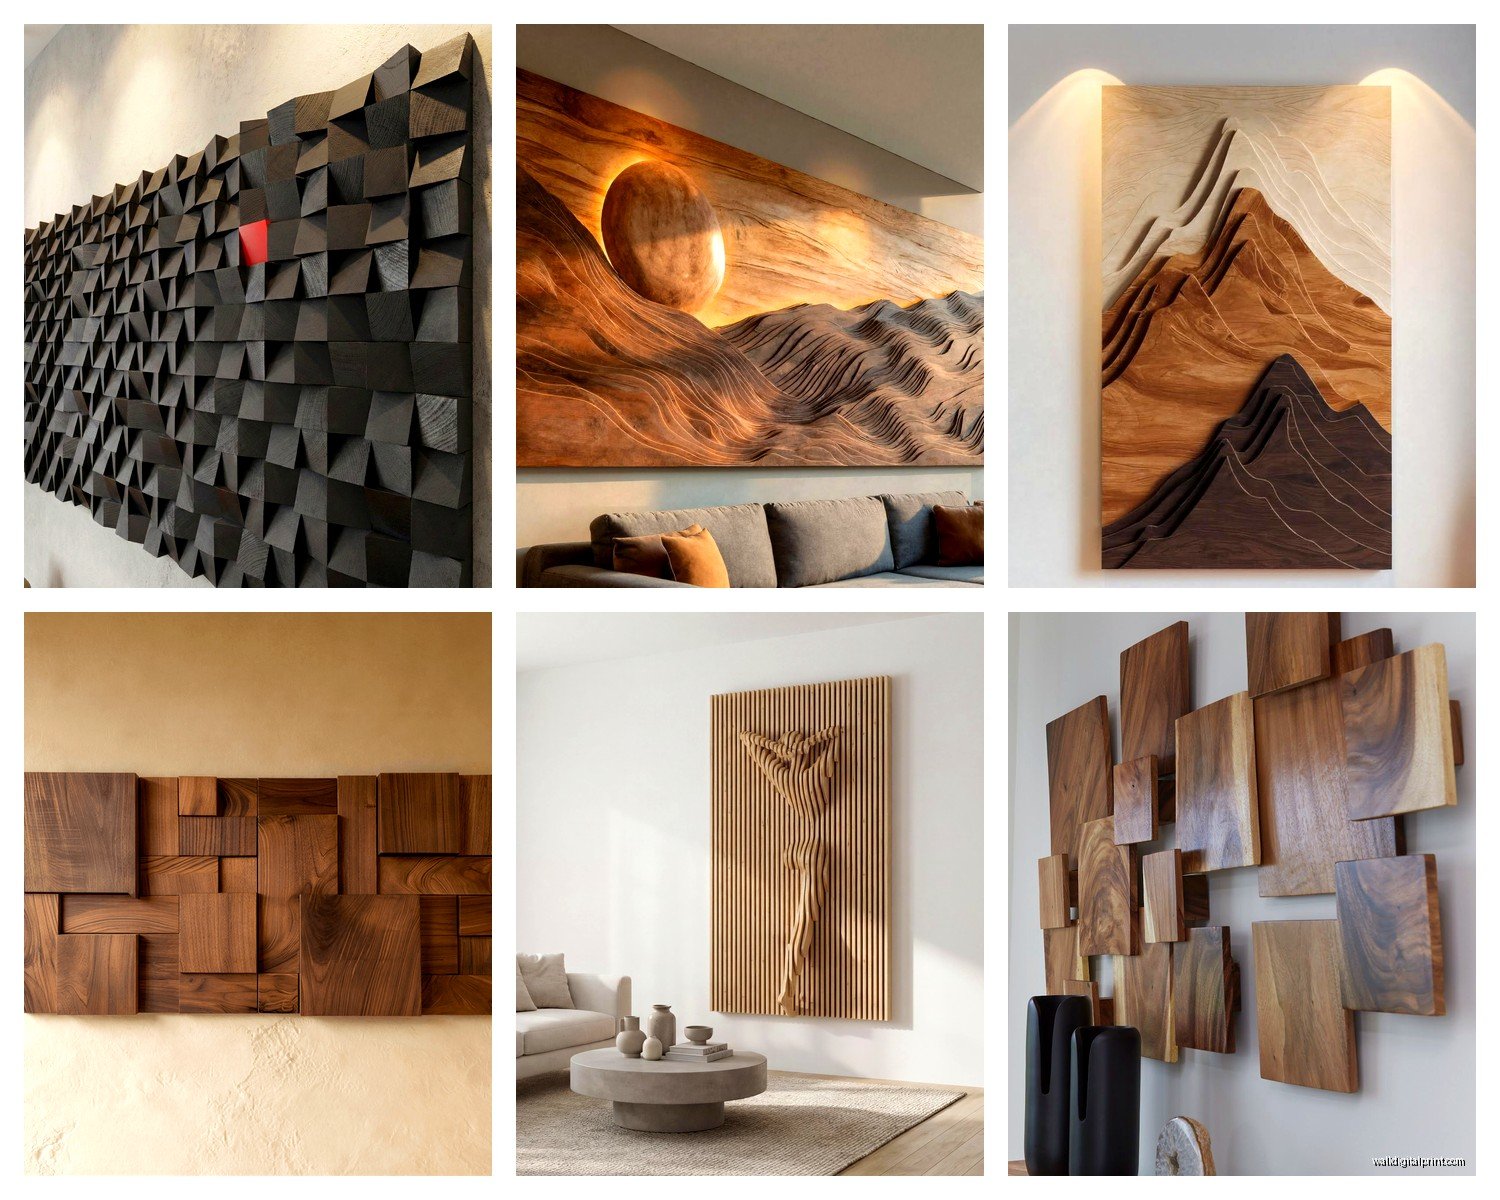
The actual dimensional relief usually ranges from half an inch to like 6 inches of projection. Shallow relief (under 2 inches) is subtle and sophisticated but you need good lighting to see it. Deep relief (3+ inches) creates dramatic shadows and works in larger spaces or as a major focal point.
I have a 5-inch deep piece in my own entryway and people literally reach out to touch it every time – it’s that dimensional. But in a small room it would be overwhelming.
Installation Is Trickier Than Regular Art
Okay so funny story – I once tried to hang a 40-pound carved piece with regular picture hangers and it crashed down at 2am. Scared me so badly I thought someone broke in.
For lightweight pieces (under 15 pounds), you can probably use heavy-duty picture hangers or even command strips designed for heavy frames. But anything heavier needs proper wall anchors or studs.
The Stud Finder Method
Find your studs with a stud finder – they’re like $15 at any hardware store and totally worth it. Mark where the studs are with painter’s tape. If your piece has D-rings or wire on the back, position it so you can screw directly into at least one stud, preferably two.
Use 3-inch wood screws that go through your drywall into the stud. For pieces over 30 pounds, I use two screws per stud for extra security.
No Stud Available
This happens ALL the time because of course the perfect spot for your art never lines up with studs. Toggle bolts or molly bolts are your friends here. Toggle bolts can hold like 50 pounds in drywall – you drill a hole, push the toggle through, and it expands behind the drywall.
French cleats are amazing for really heavy pieces. It’s basically two interlocking pieces of wood – one mounts to the wall (into studs ideally), one attaches to your art. They distribute weight evenly and you can slide the art to adjust positioning.
Lighting Makes These Pieces Sing
I cannot stress this enough – 3D wood art without proper lighting is just… flat. You’re losing like 60% of the visual impact.
Picture lights that mount above the piece work well for smaller art. I like the LED ones that are adjustable because you can change the angle to emphasize different parts of the carving. They’re around $40-80 for decent ones.
Track lighting or spotlights give you more flexibility with larger pieces. Position lights at a 30-degree angle from the wall to create shadows that highlight the dimensional relief. I usually place them slightly to one side rather than dead center – it creates more interesting shadow play.
Wall washers work if you want softer, more ambient lighting that doesn’t create harsh shadows. These are good in bedrooms or spaces where you want calm vibes.
Wait I forgot to mention – avoid direct sunlight on wood art because it’ll fade and can cause warping over time. I learned this in a client’s sunroom where a beautiful carved panel faded unevenly and they were NOT happy.
Style Matching Without Being Too Matchy
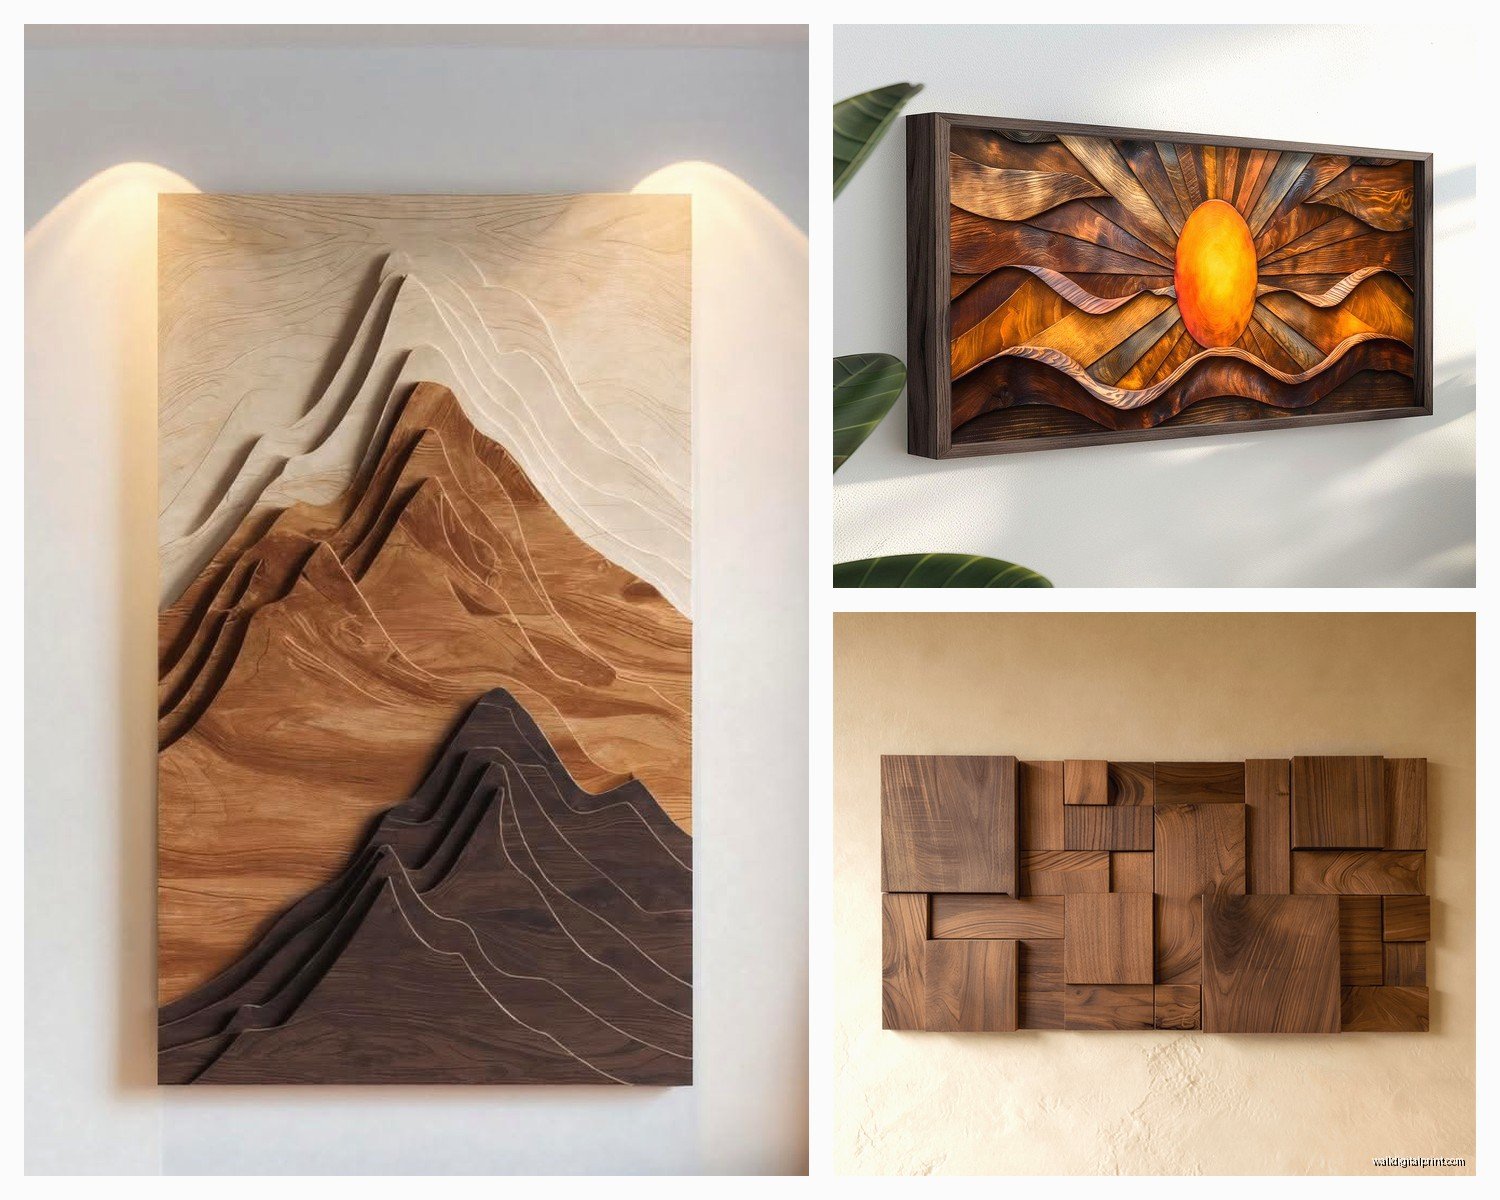
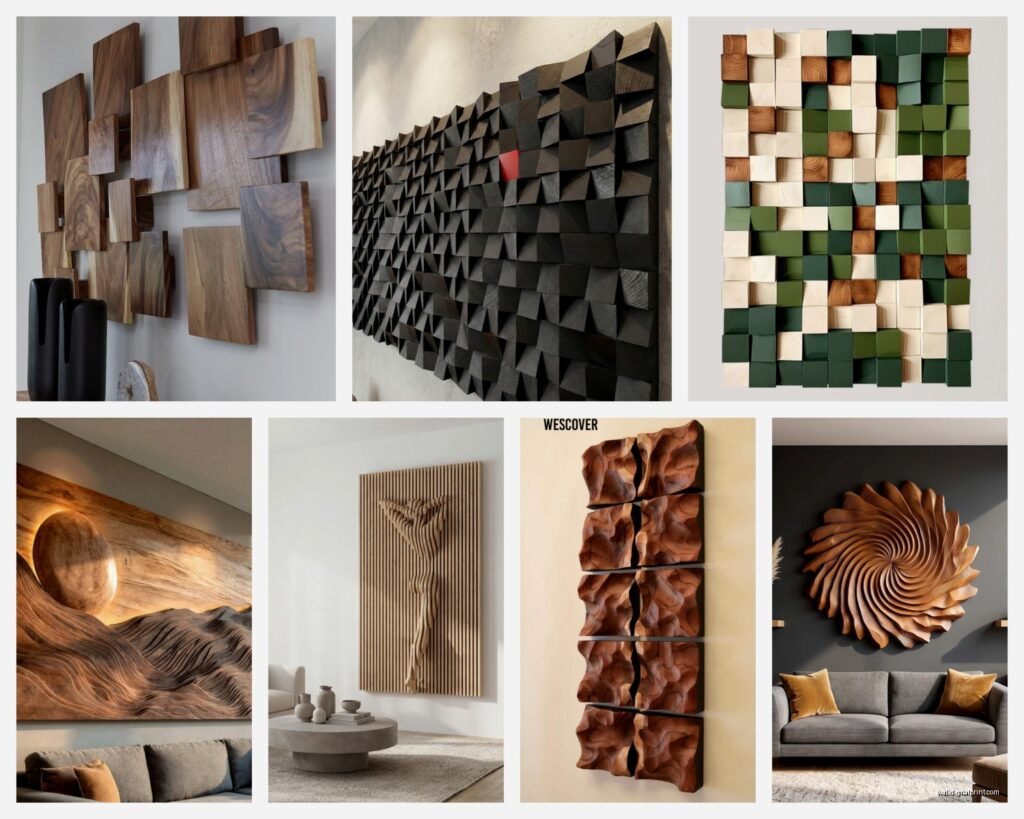
Modern spaces love geometric patterns, abstract organic shapes, or those cool topographical/mountain range pieces. Clean lines, minimal detail, often in lighter woods or painted finishes.
For bohemian or eclectic rooms, look for mandala designs, nature motifs like leaves or waves, or cultural patterns. Mixed wood tones work great here – you’re not trying to match everything perfectly.
Traditional or transitional spaces do well with classic relief patterns – damask, medallions, architectural details. Walnut or cherry woods feel appropriate here.
My living room is kinda industrial and I have this abstract geometric piece in raw oak with the natural edge still visible – it bridges that gap between rustic and modern perfectly. Was watching some show about tiny houses when I ordered it and almost got the wrong size because I wasn’t paying attention.
Color Treatments
Natural wood finish is always safe and shows off the grain beautifully. Just make sure it’s sealed properly – most commercial pieces come pre-sealed but check.
Stained wood lets you adjust the tone while keeping grain visible. Darker stains add drama, lighter stains keep things airy. I’ve used gray stain a bunch lately – it’s really trendy but actually looks good.
Painted wood is more contemporary and can tie into your color scheme. White or cream painted relief is huge right now, especially in farmhouse-style spaces. Black painted wood creates striking contrast on light walls.
Some pieces combine finishes – like natural wood with painted background sections – and these can be really dynamic if done well. I saw one that was horrible though, looked like a craft store explosion.
Maintenance and Long-Term Care
Dust with a soft brush or microfiber cloth every couple weeks. The dimensional surface traps dust in all those crevices and it shows. I use a soft paintbrush to get into carved details – works perfectly.
If it’s sealed wood (most are), you can lightly dampen your cloth but never soak it. Water can damage finishes and warp wood. For unsealed pieces, only dry dust.
Every year or so, check for any loosening in the mounting hardware. Wood expands and contracts with humidity changes, so screws can loosen over time.
If you notice the wood drying out or the finish looking dull, you can apply wood conditioner or furniture polish, but test it in an inconspicuous spot first. Some finishes react weird to certain products.
Where to Actually Buy Quality Pieces
Etsy has tons of independent artists making carved wood art – you’re supporting small businesses and can often get custom sizing. Read reviews carefully though because quality varies wildly. I’ve found amazing pieces and also received stuff that looked nothing like the photos.
Wayfair and West Elm carry curated selections of dimensional wood art at mid-range prices. It’s more commercial but quality control is better than random Etsy sellers.
Local art fairs and craft shows are where I’ve found some of my favorite pieces. You can see them in person, feel the quality, and talk to the artist directly about customization.
For high-end stuff, galleries that specialize in woodworking or contemporary craft are worth checking out. Expect to pay more but you’re getting actual art-quality work.
Oh and another thing – Instagram is surprisingly good for finding wood artists. Search hashtags like #woodwallart or #woodrelief and you’ll find artists who do commissions.
Common Mistakes to Avoid
Don’t hang 3D wood art in super humid areas like directly above a shower or right next to a steamy kitchen stove. The wood will warp eventually. Bathroom pieces should be cedar or teak and positioned away from direct moisture.
Avoid putting these pieces where they’ll get touched constantly. The oils from hands will darken the wood unevenly over time. I had this happen on a piece near a light switch – there’s a darker spot now where everyone touched it.
Don’t use wire hangers on heavy pieces. They can pull out over time and the art can tilt as the wire stretches. Use D-rings or French cleats instead.
Don’t forget to consider the wall color behind your piece. Dark wood on a dark wall loses impact – you need contrast. I almost made this mistake in a client’s navy dining room until we hung samples and realized we needed lighter wood.
Custom vs Ready-Made
Ready-made pieces ship faster and cost less, but you’re limited to existing designs and sizes. Most of what you find online is ready-made, especially CNC-carved stuff. Turnaround is usually 1-3 weeks.
Custom work takes 4-12 weeks typically and costs 30-100% more, but you get exactly what you want in terms of size, design, wood type, and finish. I do custom for probably half my projects now because client spaces have specific requirements.
For custom orders, get a detailed rendering or sketch before the artist starts carving. Make sure you’re on the same page about dimensions, depth, and overall design. I’ve had miscommunications that resulted in pieces that were totally wrong.
Also clarify who pays for shipping damages on custom pieces – this should be in writing because these things are fragile and expensive.
Mixing Multiple Pieces
Gallery walls with 3D elements can be amazing but require planning. Mix shallow and deeper relief pieces to create variation. Keep spacing consistent – usually 2-4 inches between pieces.
You can combine wood relief with flat art, but make sure there’s some visual connection – similar colors, complementary subjects, or consistent framing style. I did a wall last fall with three carved wood panels and two framed botanical prints and it looked really cohesive.
Asymmetrical arrangements often work better with dimensional pieces than perfectly symmetrical layouts. The shadows and depth create enough visual interest that you don’t need rigid symmetry.
Start by laying everything out on the floor in your desired arrangement, take a photo, then recreate it on the wall. Use paper templates taped to the wall to test positioning before making holes.
Anyway that’s basically everything I wish someone had told me before I started working with these pieces – hopefully it helps you figure out what’ll actually work in your space without making the expensive mistakes I made early on.