Wall Art Guide, Wall Art Tutoriels
Large Wall Art Prints: Oversized Poster Photography Gallery
Sep
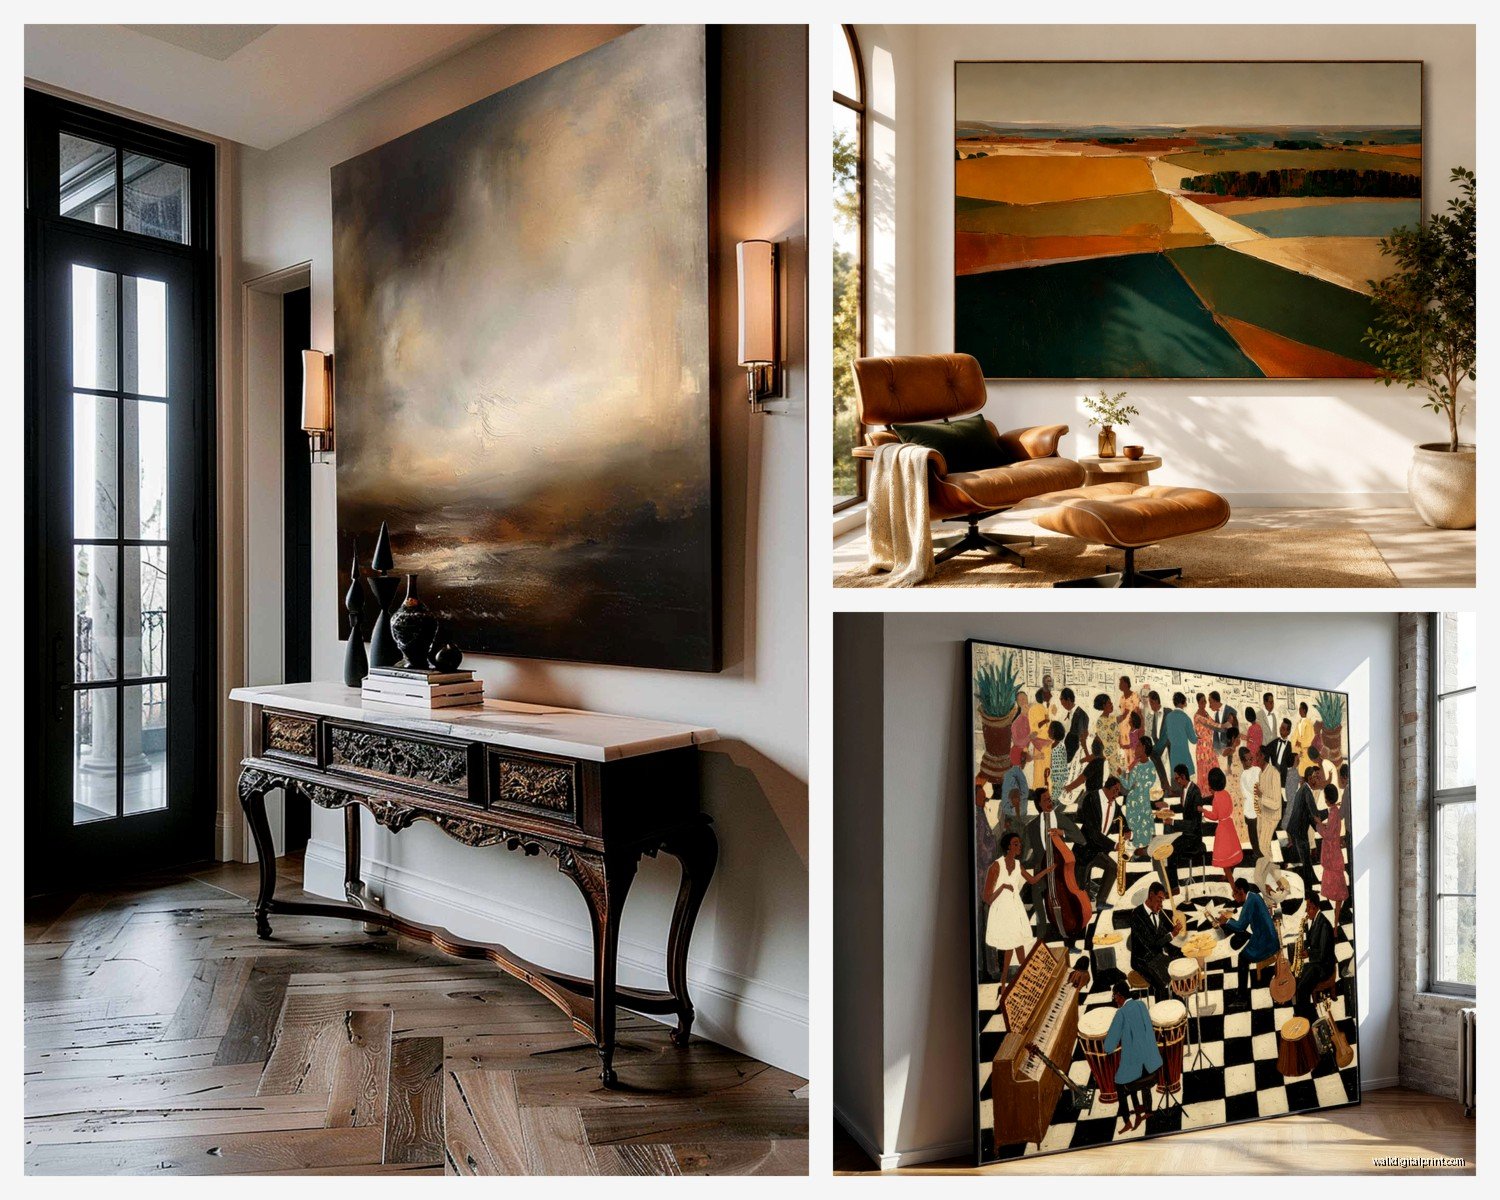
So I’ve been obsessed with oversized wall art lately and honestly it’s kinda transformed how I think about empty walls. Like, you know that feeling when you walk into a room and something just feels… off? Nine times out of ten it’s because the art is too small or there’s just nothing commanding attention on the walls.
Why Size Actually Matters More Than You Think
Okay so here’s the thing about large prints that nobody tells you upfront. When I say large, I’m talking like 40×60 inches minimum. Maybe even bigger. I had this client who kept buying these tiny 16×20 prints from Target and wondering why her living room felt cluttered and small, and I was like… it’s because you have seven small things competing for attention instead of one statement piece.
The rule I generally follow is that your art should take up about two-thirds to three-quarters of the furniture width below it. So if you’ve got a sofa that’s 90 inches wide, you’re looking at art that’s at least 60 inches wide. Sounds huge, right? But trust me when you actually hang it, it looks proportional.
Where to Actually Buy This Stuff Without Going Broke
Let me save you some money here because I’ve literally spent thousands testing different sources.
Printique (used to be Adoramapix) is my go-to for photography prints. Their quality is insane for the price. I got a 40×60 mounted print for like $180 and it looks like something from a gallery. The mounting options are what sold me though – they do this thing where they mount it on rigid board so you don’t even need a frame if you don’t want one.
Printful is great if you’re working with digital files or want to test different sizes first. They do smaller test prints which is actually super helpful because sometimes what looks good on your phone looks terrible at 5 feet wide. Found that out the hard way with a beach photo that seemed crisp but turned out grainy as hell.
Oh and another thing, Fracture does these direct-to-glass prints that are honestly stunning for modern spaces. They’re pricier but the colors are so vibrant. I have one in my hallway and my cat keeps staring at it which is either a good sign or she sees ghosts, hard to say.
The Frame vs No Frame Debate
This is gonna sound weird but I actually prefer no frame for most oversized prints now. Frames at that size get expensive FAST. Like, we’re talking $300-500 for a decent quality frame for a 48×72 print.
What I do instead:
- Canvas wraps that extend around the edges (gallery wrap style)
- Mounted prints on gatorboard or dibond that you can hang directly
- Acrylic face mounting if you want that super sleek modern look
- Floating frames if you really want a frame but want it to look intentional and minimal
The canvas wrap thing is probably the most affordable route. Most print shops will stretch it over wooden bars for you and it arrives ready to hang. Just make sure you ask for 1.5 inch depth minimum so it doesn’t look cheap and flimsy.
Choosing Images That Actually Work at Large Scale
Okay so funny story, I once blew up this gorgeous landscape photo to 60 inches wide and when it arrived you could see the photographer’s fingerprint smudge on the lens. It was mortifying.
For oversized prints you need:
- High resolution files – like minimum 150 DPI at the final print size, but honestly aim for 300 DPI
- Simple compositions that don’t get busy when enlarged
- Strong focal points because at that size, everything gets magnified
Abstract photography works really well. Minimalist landscapes. Architectural details. Bold portraits. What doesn’t work? Busy street scenes with tons of small details, anything with text that wasn’t shot in ultra high res, most phone photos unless they’re from like the newest iPhone in perfect lighting.
I’ve had good luck with Unsplash for free high-res images, but you gotta check the resolution before committing. Some of their photos are big enough, some aren’t. There’s also this site called Reshot that has less picked-over options.
The Photography Style That’s Actually Trending Right Now
So everyone and their mother has that same “Positano coastal view” print from that one Etsy shop. It’s gorgeous but it’s everywhere. What I’m seeing work better lately is moody, atmospheric stuff. Think foggy forests, misty mountains, desert landscapes with dramatic shadows. Black and white photography is also having a moment again – especially architectural shots or abstract nature details.
Oh wait I forgot to mention, if you’re gonna do black and white, get it printed on matte paper or canvas. The glossy finish makes it look like a magazine page blown up which is… not the vibe.
Hanging These Monsters Without Destroying Your Walls
This part stressed me out for months until I figured out a system. Large prints are heavy – like 20-30 pounds sometimes – and you cannot just use a regular nail.
Here’s what actually works:
- Heavy duty picture hangers rated for at least 50 pounds (I use the OOK brand ones)
- Two hanging points instead of one for anything over 40 inches wide
- A level – seriously don’t eyeball it, I learned this the hard way
- Painter’s tape to mark your spots before you commit
The painter’s tape thing is clutch. I put up the tape where I think I want the art, step back, live with it for a day, adjust. My partner thinks I’m crazy but it’s saved me from so many bad placement decisions.
Height-wise, the center of your art should be at about 57-60 inches from the floor. That’s standard gallery height. But honestly if you have high ceilings or low furniture, adjust accordingly. The rule that matters more is that the art should feel connected to the furniture below it, not floating randomly on the wall.
Creating a Gallery Wall with Oversized Pieces
Plot twist – you can actually do a gallery wall with large prints, you just gotta be strategic. I did this in my living room and it’s the thing people always comment on.
The trick is mixing ONE oversized piece (like 40×60) with a few medium pieces (like 24×36) and maybe one or two small ones (16×20). But the large piece is the anchor. Everything else supports it.
Layout options that don’t look chaotic:
- Grid layout – everything aligned and evenly spaced (very modern and clean)
- Salon style but with the largest piece in the center or slightly off-center
- Asymmetrical but balanced – large piece on one side, cluster of smaller pieces on the other
I always map it out on the floor first. Take painters tape, outline the exact sizes on your floor, arrange them until it feels right, then measure the spacing and recreate it on the wall. Takes forever but beats putting 15 holes in your wall.
Color Coordination Without Looking Matchy-Matchy
This is where people get tripped up. You don’t want everything to match perfectly because that looks like a hotel lobby, but you also don’t want total chaos.
What I do is pick a color story – like maybe warm earth tones, or cool blues and grays, or black and white with one accent color. Then I make sure each piece has at least one color that appears in another piece. It creates visual flow without being too coordinated.
Also gonna throw this out there – sometimes breaking your own rules looks amazing. I have a client who has all black and white prints except ONE color photo of a bright yellow door in her gallery wall and it’s literally perfect.
Protecting Your Investment
UV protection is real and matters. I had a gorgeous print above my couch that got direct afternoon sun and within like eight months the colors were noticeably faded. So now I either:
- Use UV-protective glass or acrylic if framing
- Apply UV film to windows in rooms with valuable prints
- Just avoid putting prints in direct sunlight (the easiest option honestly)
For canvas prints, you can spray them with a UV protective spray. Sounds sketchy but it works. I use Krylon UV-Resistant spray and it doesn’t change the appearance at all.
The Mistakes I Made So You Don’t Have To
Real talk, here are the things I screwed up:
Ordering prints without seeing paper samples first. Different papers look SO different. Matte vs glossy vs lustre vs metallic – they all change how the colors appear. Most good print shops will send you samples for free or cheap.
Not accounting for bleed area. If you’re getting a print made from a digital file, make sure important stuff isn’t right at the edges because they’ll trim it and you might lose details.
Choosing trendy over timeless. That super trendy neon palm tree print seemed cool three years ago but now it’s dated. Stick with photography styles that have staying power if you’re investing in something large.
Ignoring the room’s lighting. I bought this beautiful dark moody print and hung it in a room with terrible lighting and you literally can’t see the details. Lighting matters as much as the print itself.
Budget Breakdown Because Money Is Real
Let’s be honest about costs:
Budget option: $50-150 for a canvas wrap from somewhere like CanvasPop or easy Canvas Prints. Quality is decent, not amazing.
Mid-range: $150-400 for a professional photo print, mounted or in a basic frame. This is where I spend most of my money. Printique, Mpix, Nations Photo Lab.
Splurge: $500+ for museum-quality printing with archival materials, custom framing, or fancy mounting. Worth it for special pieces but not necessary for everything.
My advice? Mix it up. Have one or two really high-quality pieces and fill in with more affordable options. Nobody’s gonna inspect every print to see if it’s archival quality.
Oh and keep an eye out for sales. Printique does 40% off sales constantly. Sign up for emails and just wait for the discount codes before ordering.
Wait I forgot to mention – if you’re ordering multiple prints, sometimes it’s cheaper to go through a professional photo lab that designers use, like Bay Photo or White House Custom Colour. You’ll need to set up an account but they offer better pricing on bulk orders and the quality is consistently excellent.
The key thing with oversized prints is just committing to the size. People always go smaller than they should because big feels scary, but then it looks wimpy on the wall and they end up redoing it anyway. Go bigger than feels comfortable and I promise it’ll look better than you think.