Wall Art Guide, Wall Art Tutoriels
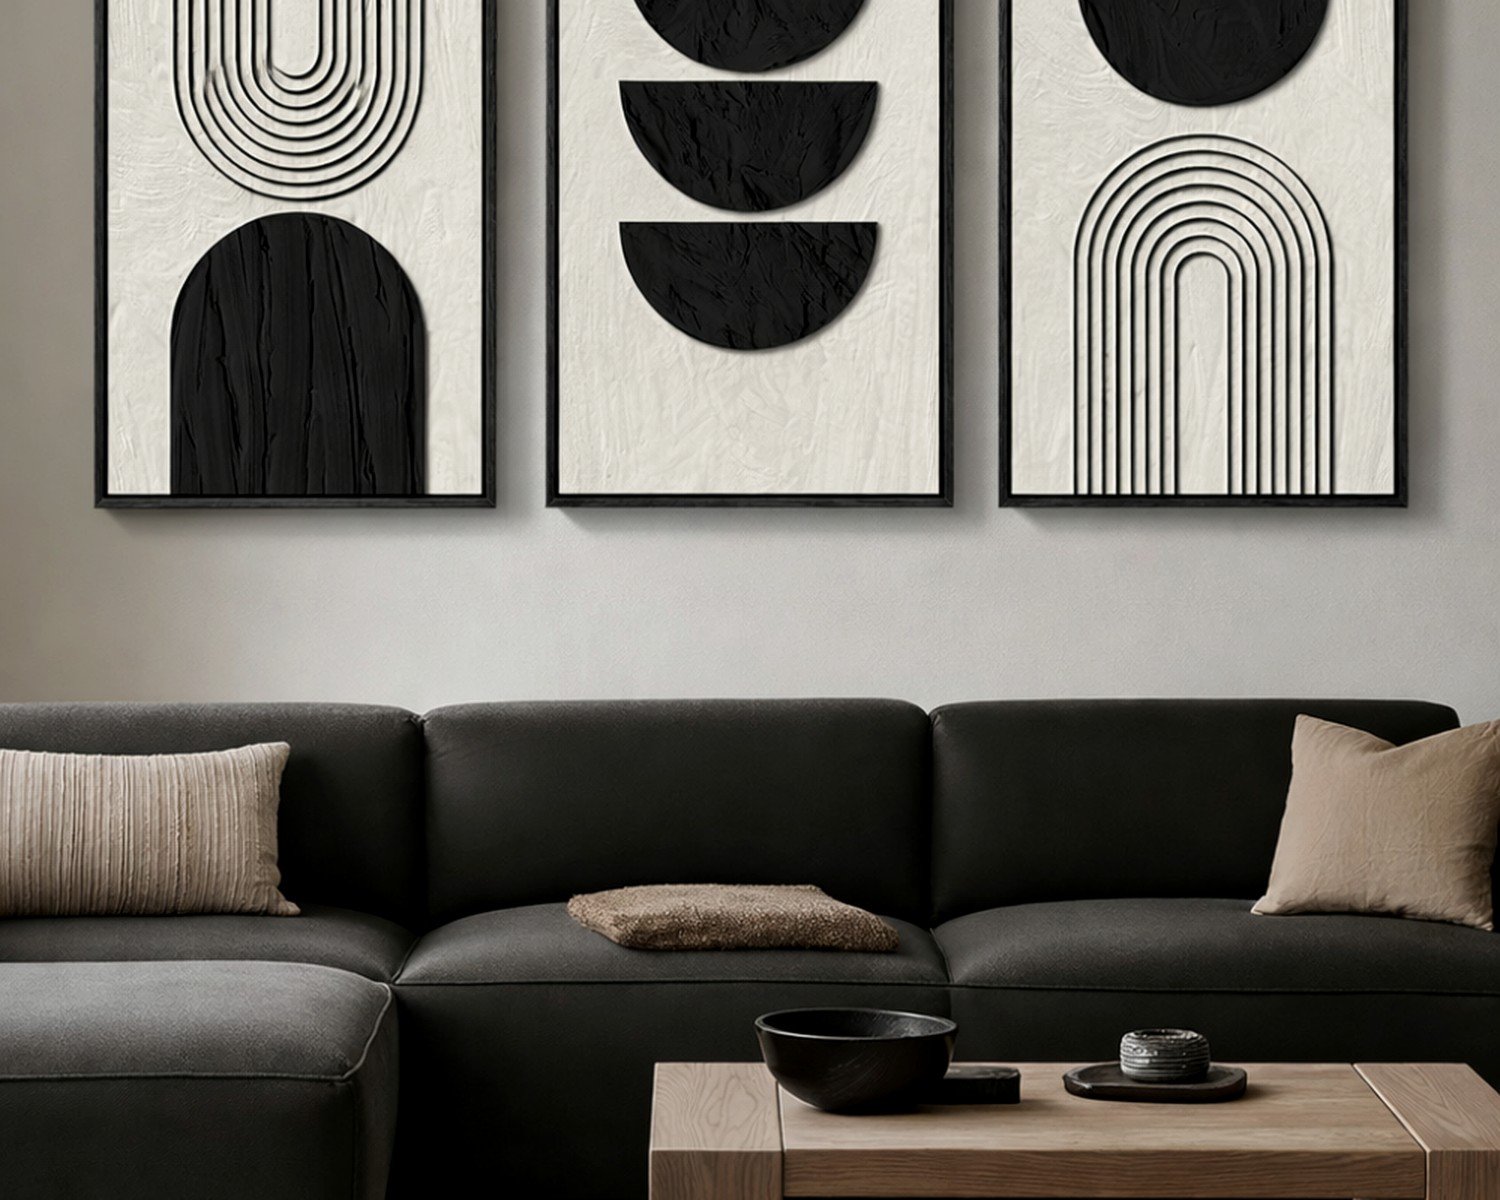
3 Piece Wall Art Black and White: Monochrome Triptych
Mar
So I’ve been hanging three-piece black and white art for like six years now and honestly it’s one of those things that looks super simple until you’re standing there with a pencil and level at 9pm wondering why nothing lines up…
The Spacing Thing Everyone Gets Wrong
Okay so the standard rule is 2-4 inches between panels but that’s actually kinda misleading? I learned this the hard way in my own living room. What really matters is the size of your pieces and how far back you’re viewing them from. If you’ve got smaller pieces like 12×16 inches each, go with 2 inches max. Anything wider starts looking like three separate pieces instead of one cohesive triptych. But if you’re working with larger panels – say 24×36 or bigger – you can push it to 3-4 inches because the visual weight can handle more breathing room.
I measured like fifteen different installations last month (my client canceled so I spent an hour comparing spacing in a gallery downtown) and the sweet spot for most residential spaces is 2.5 inches. Sounds weirdly specific but it just works.
Height Placement Because Eye Level is a Lie
Everyone says hang art at eye level which is technically 57-60 inches to the center of the artwork but here’s the thing – whose eye level? I’m 5’7″ and my partner is 6’2″ so that advice is basically useless. For three-piece arrangements, I aim for 58 inches to the center of the middle panel when it’s going above a sofa or console table.
If you’re hanging these babies in a dining room or hallway where people are mostly standing, bump it up slightly to 60-62 inches. The key is thinking about where people will be when they’re actually looking at it. Above a bed? Go lower, like 6-8 inches above the headboard, because you’re mostly seeing it from a seated or lying position.
The Furniture Gap Rule
This is gonna sound weird but the space between your furniture and the bottom of your art matters more than the actual wall height. I keep it between 6-10 inches above whatever’s below it – sofa, credenza, bed frame, whatever. Less than 6 inches looks cramped and makes the furniture and art compete. More than 10 inches and they stop feeling related to each other, like they’re just randomly floating on the wall.
Actually Measuring and Marking Without Losing Your Mind
You’re gonna need painter’s tape, a level (get the laser one from Amazon for like $25, trust me), a pencil, and a measuring tape. Oh and paper templates if you’re anxious about commitment, which I totally am.
Start by measuring your total wall width. Let’s say you’ve got a 90-inch wall. Your three pieces are each 20 inches wide. That’s 60 inches of art plus two gaps of 2.5 inches each equals 65 inches total. Subtract that from 90 and you get 25 inches of leftover space, which means 12.5 inches on each side. Math is annoying but necessary.
I make paper templates the exact size of each piece and tape them up first. Sounds extra but I’ve avoided so many mistakes this way. Live with the paper version for a day or two, look at it in different lighting, see if it feels right when you walk in the room.
The Actual Hanging Part
Mark your center point first – that middle panel is your anchor. Get that one perfect and the others follow. I use a laser level to draw a horizontal line where the top of all three pieces should align. Some people do the bottom line but I find top alignment easier to visualize.
For hardware, it depends on your wall type. Drywall? Picture hanging strips work great for anything under 10 pounds per panel. I use the Command ones rated for 16 pounds and double them up for extra security. Plaster walls are trickier – you gotta find studs or use proper anchors. I’ve had good luck with those self-drilling drywall anchors for medium-weight pieces.
Choosing Your Actual Triptych Style
This is where it gets fun but also overwhelming because there’s like eight thousand options online. The main categories I work with are:
Photography prints – usually landscapes, architecture, or abstract nature shots split across three panels. These tend to be the most affordable, starting around $60-120 for a decent set from places like Etsy or Society6.
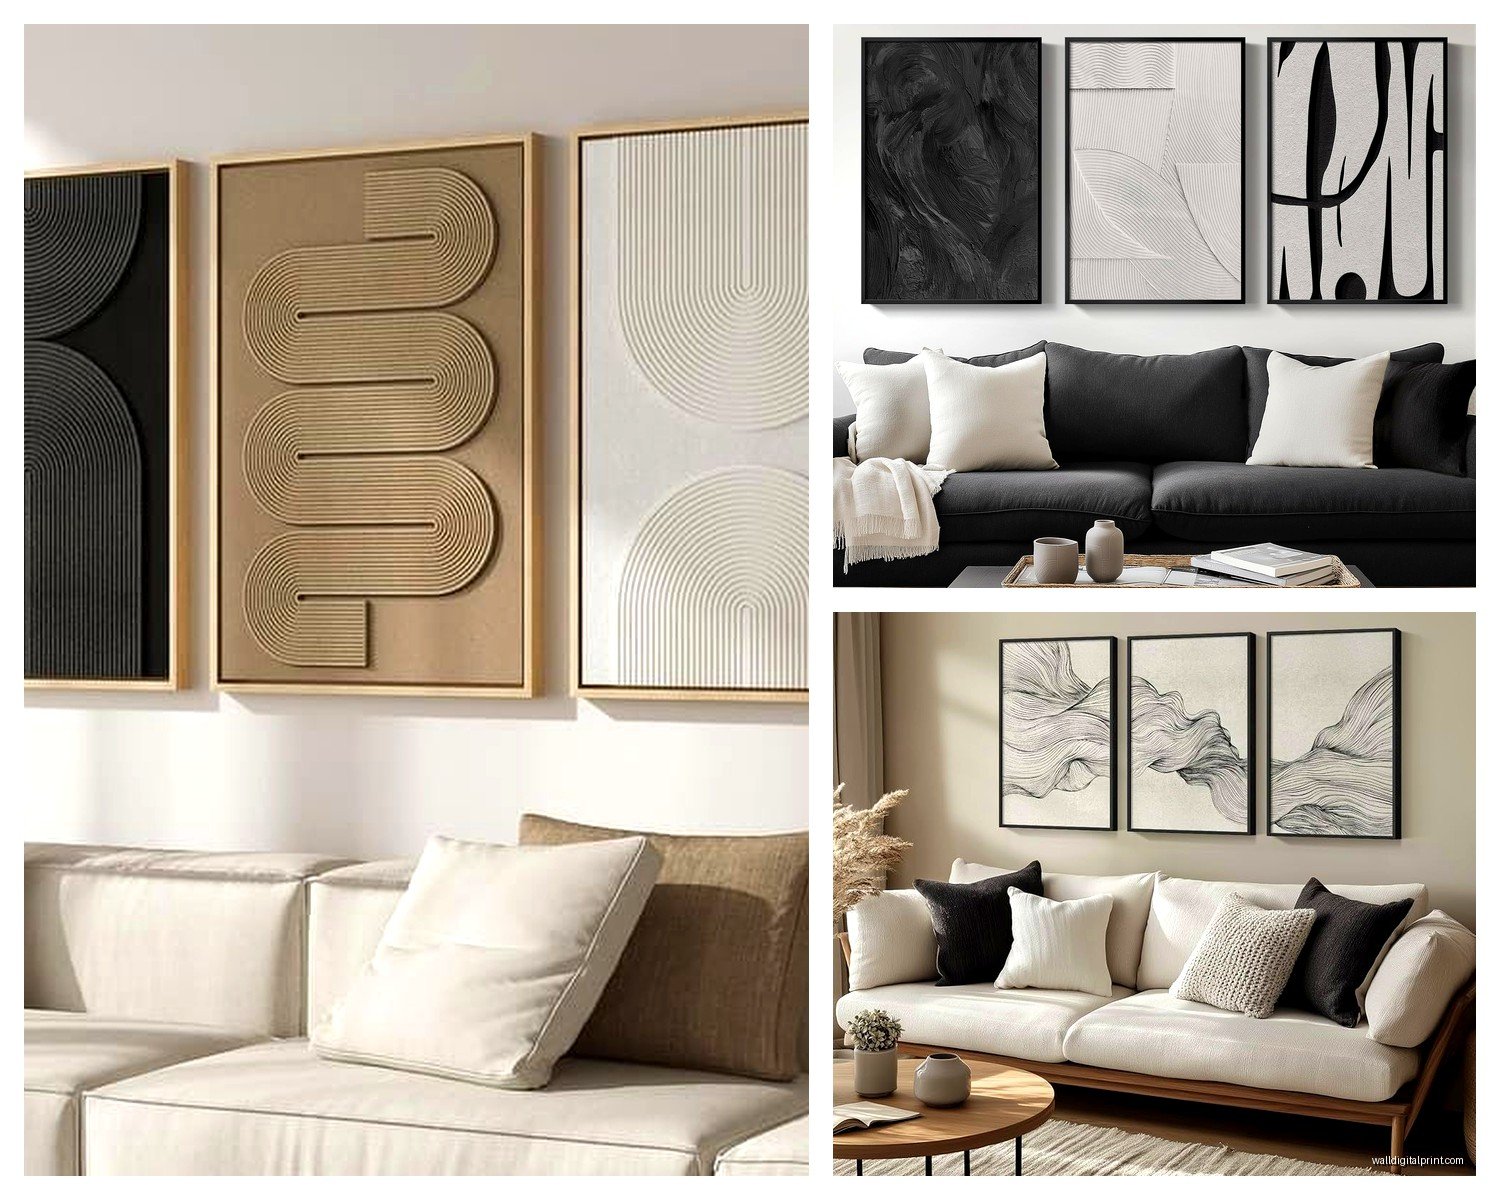
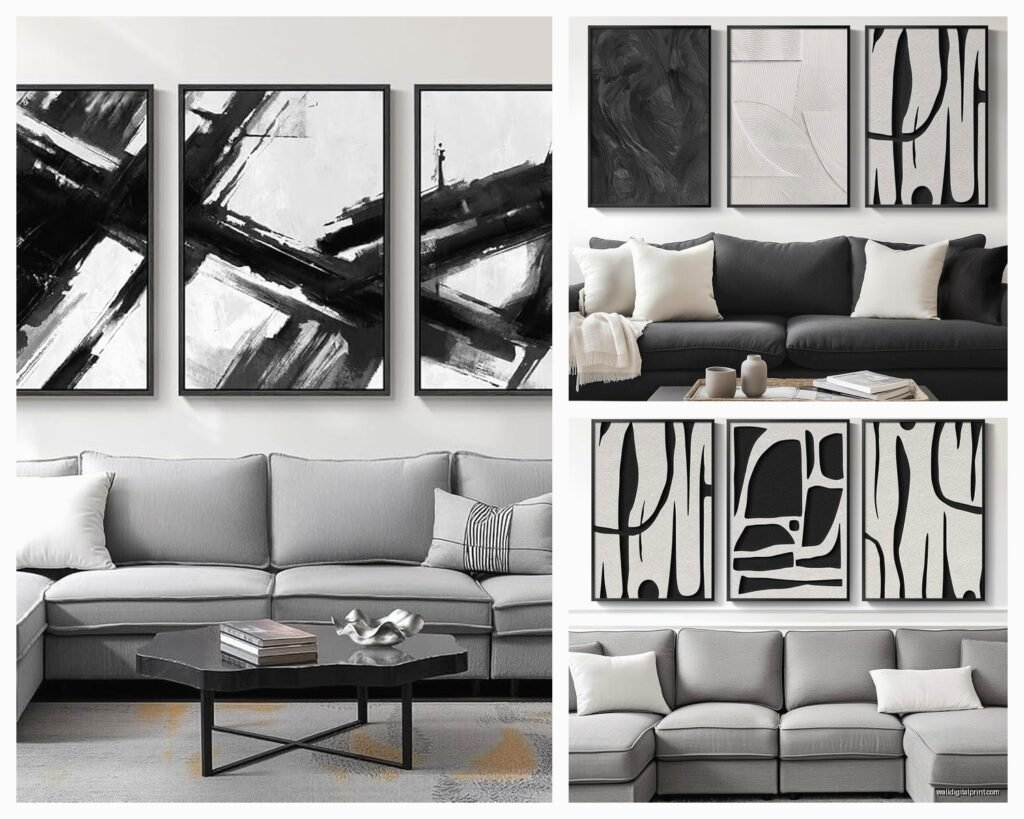
Abstract geometric – minimalist shapes, lines, circles, that whole Scandinavian vibe. Medium price range, $100-250 depending on whether they’re prints or painted canvas.
Line art and sketches – figure drawings, botanical illustrations, architectural sketches. Super popular right now and honestly pretty timeless. You can find good ones for $80-200.
Typography and quotes – not really my thing personally but clients love them for offices and bedrooms. Just make sure the quote isn’t something you’ll hate in six months.
Frame vs Canvas vs Acrylic
Framed prints give you the most flexibility because you can change the art later. Black frames are classic, white frames feel more gallery-like. I lean toward thin black metal frames for modern spaces and thicker wood frames for traditional rooms.
Canvas wraps (where the image continues around the edges) don’t need frames and create this floating effect that’s really clean. They’re my go-to for contemporary spaces. The stretched canvas has depth – usually 0.75 to 1.5 inches – which adds dimension.
Acrylic prints are having a moment and they look incredible with black and white photography. The plexiglass gives this glossy, high-end finish that makes images pop. Downside is they’re heavier and more expensive, starting around $200 for a three-piece set.
Subject Matter That Actually Works
Not all images translate well to the triptych format. You want something with either a natural flow across the three panels or three distinct but related subjects.
Continuous panoramas – a beach scene, mountain range, city skyline – work beautifully because your eye travels across all three pieces. Make sure when you’re buying that the image actually flows and isn’t just randomly chopped up. I’ve seen some really bad crops where important elements get awkwardly split.
Sequential or themed sets – three different architectural details, three types of leaves, three abstract textures. These work when each panel can stand alone but they’re obviously part of a family.
Single focused image with breathing room – like a centered subject on the middle panel with complementary negative space or patterns on the side panels. Very editorial, very chic.
Wait I forgot to mention – avoid anything too busy or detailed in black and white triptychs. The format already creates visual breaks, so if your image has tons of intricate details, it can feel chaotic. Simple, bold compositions work best.
Common Mistakes I See Constantly
Hanging them too far apart – suddenly you’ve got three separate artworks instead of one unified piece. Keep it tight.
Different heights – unless it’s intentional and very carefully planned, uneven heights just look like a mistake. Use that level obsessively.
Wrong scale for the wall – tiny triptych on a huge wall looks lost. Your total width should be roughly 2/3 to 3/4 the width of the furniture below it.
Ignoring the room’s existing lines – if you’ve got strong horizontal elements (like a chair rail or wainscoting), align your triptych with those lines. Fighting against the architecture never works.
Mixing styles within the set – I mean this as in don’t put a photo print next to a charcoal sketch next to an ink drawing. Keep the medium and style consistent across all three panels.
Where to Actually Buy Them
I’ve tested a ridiculous number of sources so here’s my honest breakdown:
Etsy – best for unique finds and supporting independent artists, prices vary wildly, quality can be hit or miss so read reviews carefully. I’ve found amazing stuff here but also received some pretty disappointing prints.
Society6 and Redbubble – good middle ground for price and quality, lots of contemporary designs, print quality is generally consistent. Their black and white abstract section is solid.
Desenio and Juniqe – if you want that Scandinavian minimal aesthetic, this is it. Prints are nice quality, frames are decent but not amazing. Shipping from Europe can take a minute.
Amazon – surprisingly decent options now, especially for canvas sets. Search “black and white triptych canvas” and filter by reviews over 4 stars. I bought a geometric set for my office for $89 and it’s held up great for two years.
HomeGoods/TJ Maxx – total lottery but when you find something good, the prices are unbeatable. I scored a gorgeous three-piece abstract set for $49 last spring.
Frame Bridge or Frameology – if you’ve got your own images you want to turn into a triptych, these services will print and frame them professionally. More expensive but worth it for personal photos or artwork.
The DIY Route
Okay so funny story, I created my own triptych last year using photos I took on a trip to Iceland and it was way easier than expected. Uploaded them to Printique (used to be called AdoramaPix), ordered three 16×20 prints on their premium matte paper, and framed them in simple black frames from IKEA. Total cost was like $110 and it looks custom.
If you’re going this route, make sure your images are high resolution – at least 300 DPI at the size you’re printing. And think about the crop carefully. I used Canva to visualize how the images would look side by side before ordering.
Quick DIY Tips
- Stick to one photo session or location so the lighting and mood match
- Black and white conversion matters – don’t just desaturate, actually adjust contrast and tonality
- Print a test on regular paper first to check composition and sizing
- Standard print sizes (like 16×20 or 11×14) are cheaper than custom sizes
Styling Around Your Triptych
Since black and white art is neutral, you can basically go anywhere with your room colors. I love pairing monochrome triptychs with one bold accent color – like a mustard yellow throw or deep green velvet pillows. The art acts as a visual anchor while the color adds personality.
Keep the area around your triptych relatively clean. Maybe one sculptural object on the console below or a simple plant, but don’t crowd it. The whole point of a triptych is that it’s a statement piece, so let it breathe.
Lighting makes a huge difference too. If you can add picture lights or position track lighting to highlight the panels, do it. Even just making sure there’s no glare from windows helps. My cat knocked over a lamp once and I realized the shadow was hitting one panel weird for like three months and I never noticed until the light moved.
Switching Them Out Seasonally
This might sound excessive but I actually swap my triptychs seasonally in my own place and some client spaces. It’s an easy way to refresh a room without major changes. I keep a few sets – one more architectural and geometric for winter, something with organic forms for spring/summer. They store flat pretty easily if you get the canvas wrap style without frames.
The key is having a solid hanging system that makes swapping simple. Those picture hanging strips are perfect for this because you can remove and replace without making new holes every time.
Just make sure whatever you choose actually reflects your vibe and not just what’s trending on Pinterest right now, because you’re gonna be looking at this every single day and trends fade but good design is… okay I’m starting to sound like an inspiration poster so I’ll stop there.