Wall Art Guide, Wall Art Tutoriels
Coastal Bathroom Wall Art: Beach Ocean Bath Retreat Decor
Apr
So I’ve been redoing bathroom walls for clients for like three years now and the coastal thing is HUGE right now, but here’s what actually works versus what just looks good on Pinterest and then shows up at your door looking cheap.
First thing – and I cannot stress this enough – you gotta think about moisture. Like, I had this whole situation last summer where a client bought these gorgeous watercolor ocean prints from Etsy, didn’t frame them properly, and within two months they were warping. Total disaster. So if you’re getting paper prints, you need either acrylic glazing or you need to keep them far from the shower. I usually tell people to go for the wall opposite the shower or tub, not the wall right next to it.
What Actually Holds Up in a Bathroom
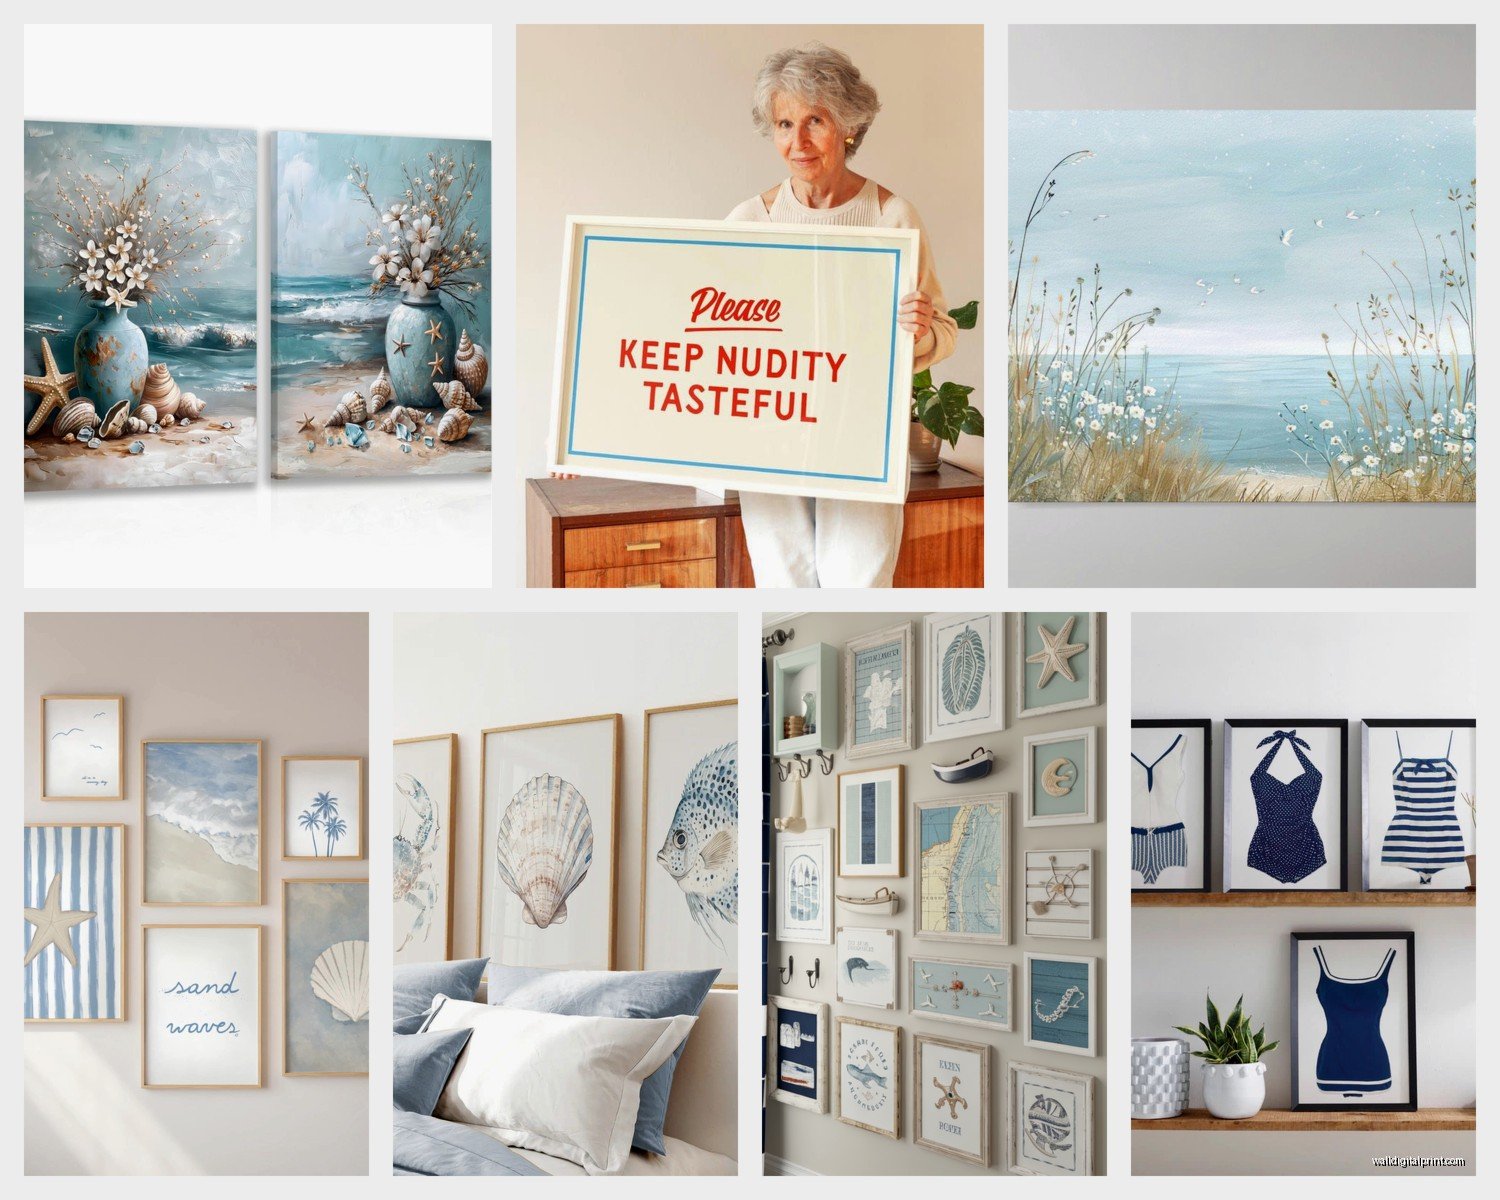
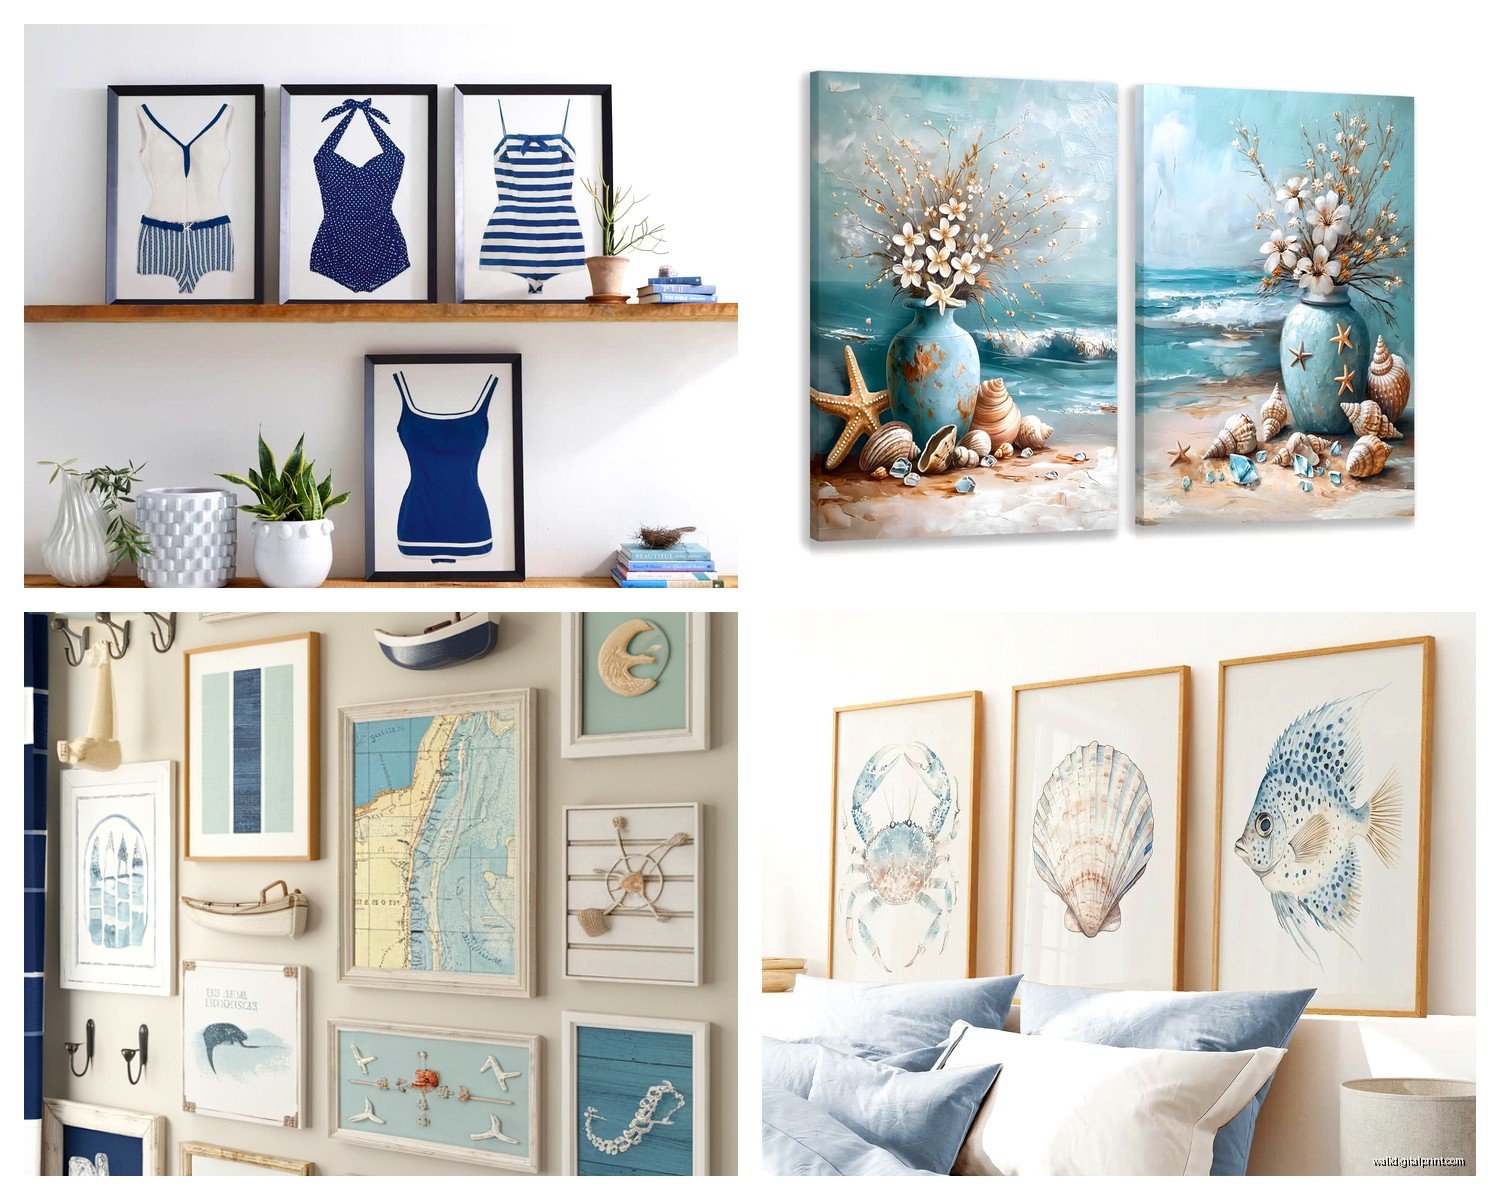
Canvas prints are your friend here. The gallery-wrapped ones where the image continues around the edges so you don’t need a frame? Yeah, those. They handle humidity way better than you’d think. I’ve got a set of three blue abstract ocean ones in my guest bath that have been there for two years and they still look perfect. Got them from this company called iCanvas during a sale for like $120 for all three.
Metal prints are even better honestly. They’re pricier but if you’ve got a smaller powder room and want one statement piece, metal prints of beach photography are stunning. The colors pop differently than on paper and moisture just… doesn’t matter. You wipe them down like a mirror. I used one in a modern coastal bathroom last year – this aerial shot of turquoise water and white sand – and it looked so expensive. Client thought I spent like $500 but it was $180.
Oh and acrylic prints, those are having a moment. They have this depth to them that’s really cool with ocean imagery. The light hits them and there’s this dimensional thing happening. But they’re heavy, so make sure your wall can handle it and use proper anchors.
The Color Thing Everyone Gets Wrong
Okay so funny story, I was watching this HGTV show the other night while eating leftover Chinese food and they did this whole coastal bathroom with like… every shade of blue imaginable plus coral plus seafoam plus sand colors and it was so busy I couldn’t focus.
Here’s what actually works: pick TWO main colors, maybe three if one is neutral.
If your bathroom has white or cream walls, you can go bold with your art – deep navy, teal, those really saturated ocean blues. If you’ve already got colored walls (like that trendy sage green or soft blue everyone’s doing), your art needs to be more subtle. Lots of white in the image, maybe black and white beach photography with just hints of color.
I did this bathroom in April where the client had painted the walls this gorgeous dusty blue, and we did black and white photography of beaches – one of a weathered dock, one of beach grass, one of waves. Tied it together with some brass frames and nautical rope accents. Way more sophisticated than the typical “starfish and coral” situation.
Size and Layout That Doesn’t Look Weird
This is where people mess up constantly. They either go too small or they do that thing where they hang one tiny piece on a massive wall and it just floats there looking sad.
For over the toilet (the most common spot), you want something that’s roughly two-thirds to three-quarters the width of the toilet. So if your toilet is 24 inches wide, you’re looking at art that’s 16-18 inches wide minimum. Or do a gallery wall situation in that space.
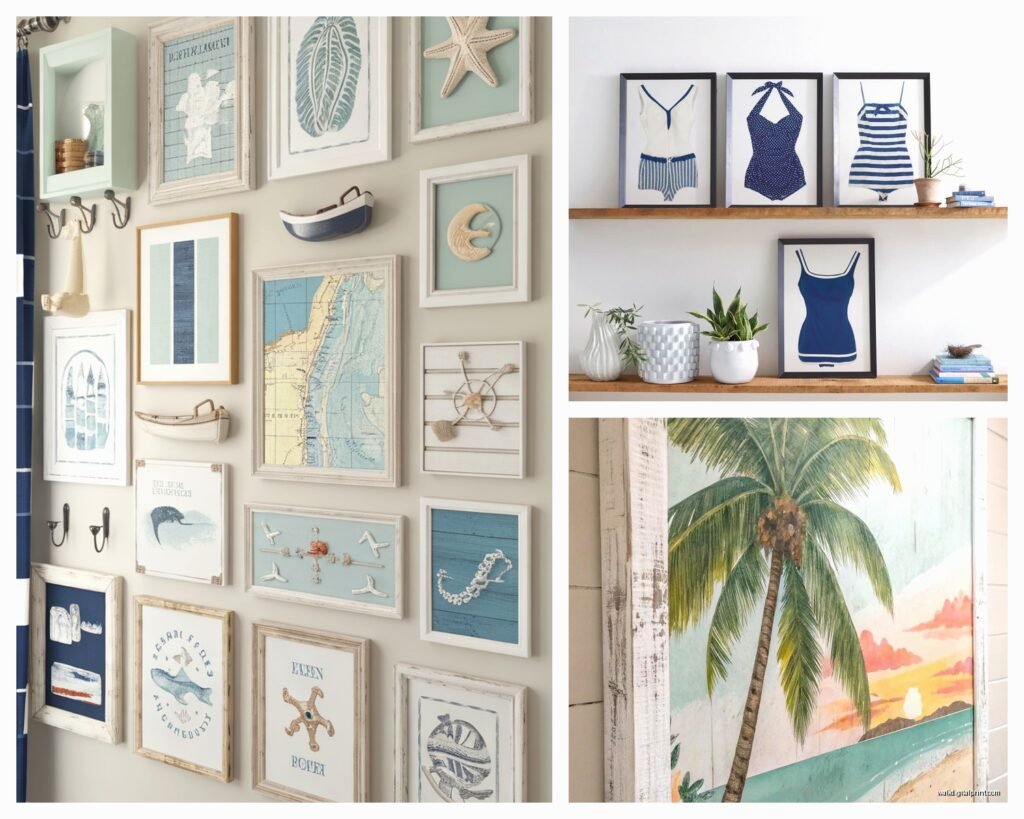
Gallery walls in bathrooms can be tricky though because of the moisture thing I mentioned. If you’re gonna do it, use identical frames (easier to keep clean) and keep the arrangement tight. I love a grid of four or six same-size prints. Super clean, very coastal without being cheesy. My client canceled last week so I spent like an hour comparing different grid layouts on Canva and the 2×3 grid (six pieces) almost always looks better than trying to do that scattered organic gallery wall thing in a small bathroom.
Single large pieces work great over a freestanding tub. Like 40×30 inches or bigger. Makes a statement without needing to do a whole collection.
What to Actually Put on the Walls
Let me break down what works by vibe because not everyone wants the same level of “beachy”:
Subtle Coastal (my personal favorite)
- Abstract ocean art with blues and whites and maybe hints of gold or sand tones
- Minimalist line drawings of waves or shells
- Aerial beach photography – those shots from above showing water and sand patterns
- Black and white beach landscapes
- Watercolor ocean scenes that are more artistic than literal
These work in modern homes, traditional homes, whatever. They give you that coastal feeling without screaming BEACH HOUSE.
Classic Coastal
- Vintage-style beach prints with that faded, sun-bleached look
- Seashell photography or botanical prints of sea grass
- Lighthouse paintings or prints
- Old maps of coastal areas
- Boat or sailboat imagery
This is the Pottery Barn aesthetic basically. Safe, timeless, works in most bathrooms.
Bold Coastal
- Large-scale wave photography with really saturated colors
- Tropical beach scenes with palm trees
- Bright coral and sea life illustrations
- Surfboards or beach huts
- Sunset/sunrise beach scenes with oranges and pinks
This is more fun and energetic. Works great in kids’ bathrooms or if you’ve got a really neutral space that needs personality.
Where to Actually Buy This Stuff
Okay so I’ve ordered from probably 30 different places at this point and here’s my honest breakdown:
Society6 – Great for unique designs from independent artists. Quality is solid. The framing options are decent but not amazing. I use them when a client wants something really specific or artistic. Shipping takes forever though, like plan ahead.
Etsy – Hit or miss. Read the reviews carefully and make sure you’re getting actual quality prints, not just someone downloading images from Google. I’ve found some amazing vintage coastal map prints here and some really beautiful watercolor ocean art. Just… check the shop’s ratings and look at photo reviews from actual buyers.
Minted – Pricier but the quality is consistently good. Their framing is excellent if you wanna splurge. They have this whole coastal collection that gets updated and it’s not all cheesy seashell stuff.
Amazon – Don’t judge me but I’ve gotten some surprisingly good coastal canvas sets here. You gotta wade through a lot of garbage but there are some decent options especially for larger canvas pieces. The brand “Pyradecor” has these blue ocean abstract sets that I’ve used multiple times and they’re like $60-80 for three pieces.
Desenio/Juniqe – European companies but they ship to the US. More modern, Scandinavian-influenced coastal art. If you want that minimalist beach vibe, check them out.
West Elm/CB2 – When clients have budget and want something that’ll definitely look good. Not groundbreaking designs but solid quality and you can see them in person before buying.
wait I forgot to mention – Framebridge is amazing if you already have prints you love but need them framed properly for bathroom humidity. They do custom framing with conservation materials and you can get acrylic glazing instead of glass. Not cheap but worth it for pieces you really care about.
The Actual Hanging Part
Use proper wall anchors, especially for anything over 5 pounds. Drywall alone won’t cut it in most bathrooms. I use the self-drilling anchors for most stuff – way easier than toggle bolts and they hold really well.
Height matters more than people think. The center of your art should be at eye level, which is usually around 57-60 inches from the floor. But if you’re hanging over a toilet or vanity, you want 6-8 inches of space between the furniture and the bottom of the frame.
This is gonna sound weird but I always take a picture with my phone before I commit to the placement. The camera shows you things your eye misses – like if something’s slightly off-center or if the scale is wrong.
Styling Around the Art
Your art shouldn’t exist in a vacuum. It needs to connect with the rest of the bathroom somehow.
If your art has a lot of blue, pull that blue into your towels or a bath mat. If there’s gold or brass in the artwork, echo that in your fixtures or mirror frame. Even just a small brass soap dispenser can tie things together.
I’m not saying you need to match everything perfectly – that actually looks kind of dated. But there should be some thread connecting everything. My cat knocked over this whole styling setup I had on my counter yesterday and honestly it made me realize I had too much stuff anyway, but that’s a different issue.
Shells and coral and all that typical beach stuff? Use it sparingly. Like one vintage piece on a shelf is cool. Seventeen starfish scattered everywhere is not. Your art should do most of the heavy lifting for the coastal vibe.
Plants work surprisingly well with coastal art. Not tropical plants necessarily, but eucalyptus or simple greenery in white or concrete pots. Adds life without competing with your ocean imagery.
What to Avoid
Those mass-produced “Live Laugh Love” style prints but make it beach – you know, “Sandy Toes and Salty Kisses” type stuff. Just… no. Unless that’s really your thing, in which case ignore me, but it reads very 2015 HomeGoods clearance section.
Too many different frame styles in one small space. Pick one finish (black, white, natural wood, brass) and stick with it. Makes everything look more intentional and less chaotic.
Actual 3D stuff on the walls gets dusty and weird in bathrooms. Those big metal fish sculptures or wooden oar decorations? They’re gonna collect moisture and grime. Keep it to actual art.
Budget Breakdown
Since everyone asks about cost… here’s what I typically spend for a standard 5×8 bathroom:
Budget option ($50-100): Three canvas prints from Amazon or one larger piece from Society6, simple matching frames if needed. Totally doable and can still look really good.
Mid-range ($150-300): Mix of a larger statement piece plus a couple smaller coordinating prints, better quality frames, maybe one metal or acrylic print.
Splurge ($400+): Custom framing, large format photography, multiple high-quality pieces, or one really stunning commissioned piece.
I usually tell people to invest in one good piece rather than filling the walls with cheap stuff. One beautiful large canvas or metal print makes way more impact than five mediocre prints scattered around.
Maintenance Real Talk
Dust your art regularly because bathroom dust is different – it’s got hairspray and moisture and stuff. Just use a dry microfiber cloth every couple weeks.
If you’ve got glass or acrylic, you can use glass cleaner but avoid getting cleaner on the frame itself.
Canvas can be gently dusted or if it really needs it, very lightly wiped with a barely damp cloth. Don’t scrub it.
Check your frames every few months to make sure moisture isn’t getting behind the glass. If you see condensation or the matting looks off, you might need to add more space between the art and the shower or improve your bathroom ventilation.
oh and another thing – if you’re renting, use Command strips for lightweight pieces. They make ones that hold up to 16 pounds now and they actually work. I’ve used them in countless rentals and never had issues. Just follow the directions exactly.
The whole point is creating a space that feels like a retreat without looking like a souvenir shop exploded in there. You want to walk in and feel calm and maybe a little bit like you’re on vacation, but in a sophisticated way. The art sets that tone more than anything else in the room honestly, so it’s worth spending some time getting it right.