Wall Art Guide, Wall Art Tutoriels
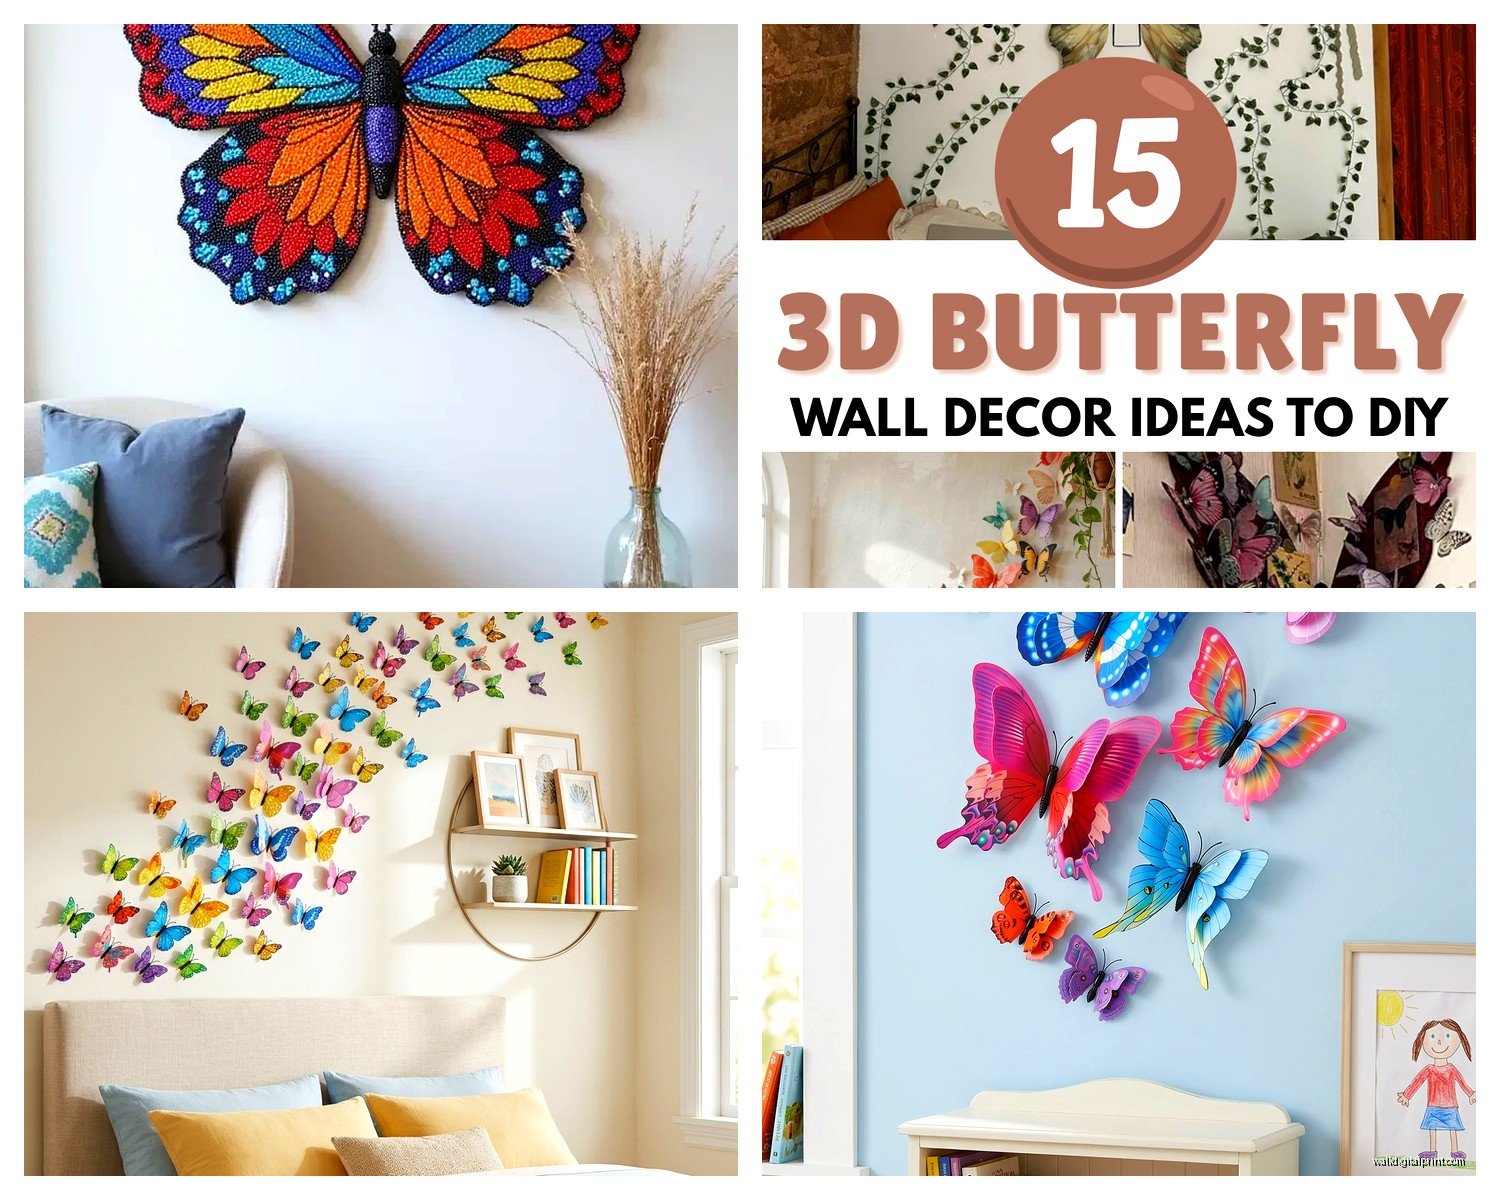
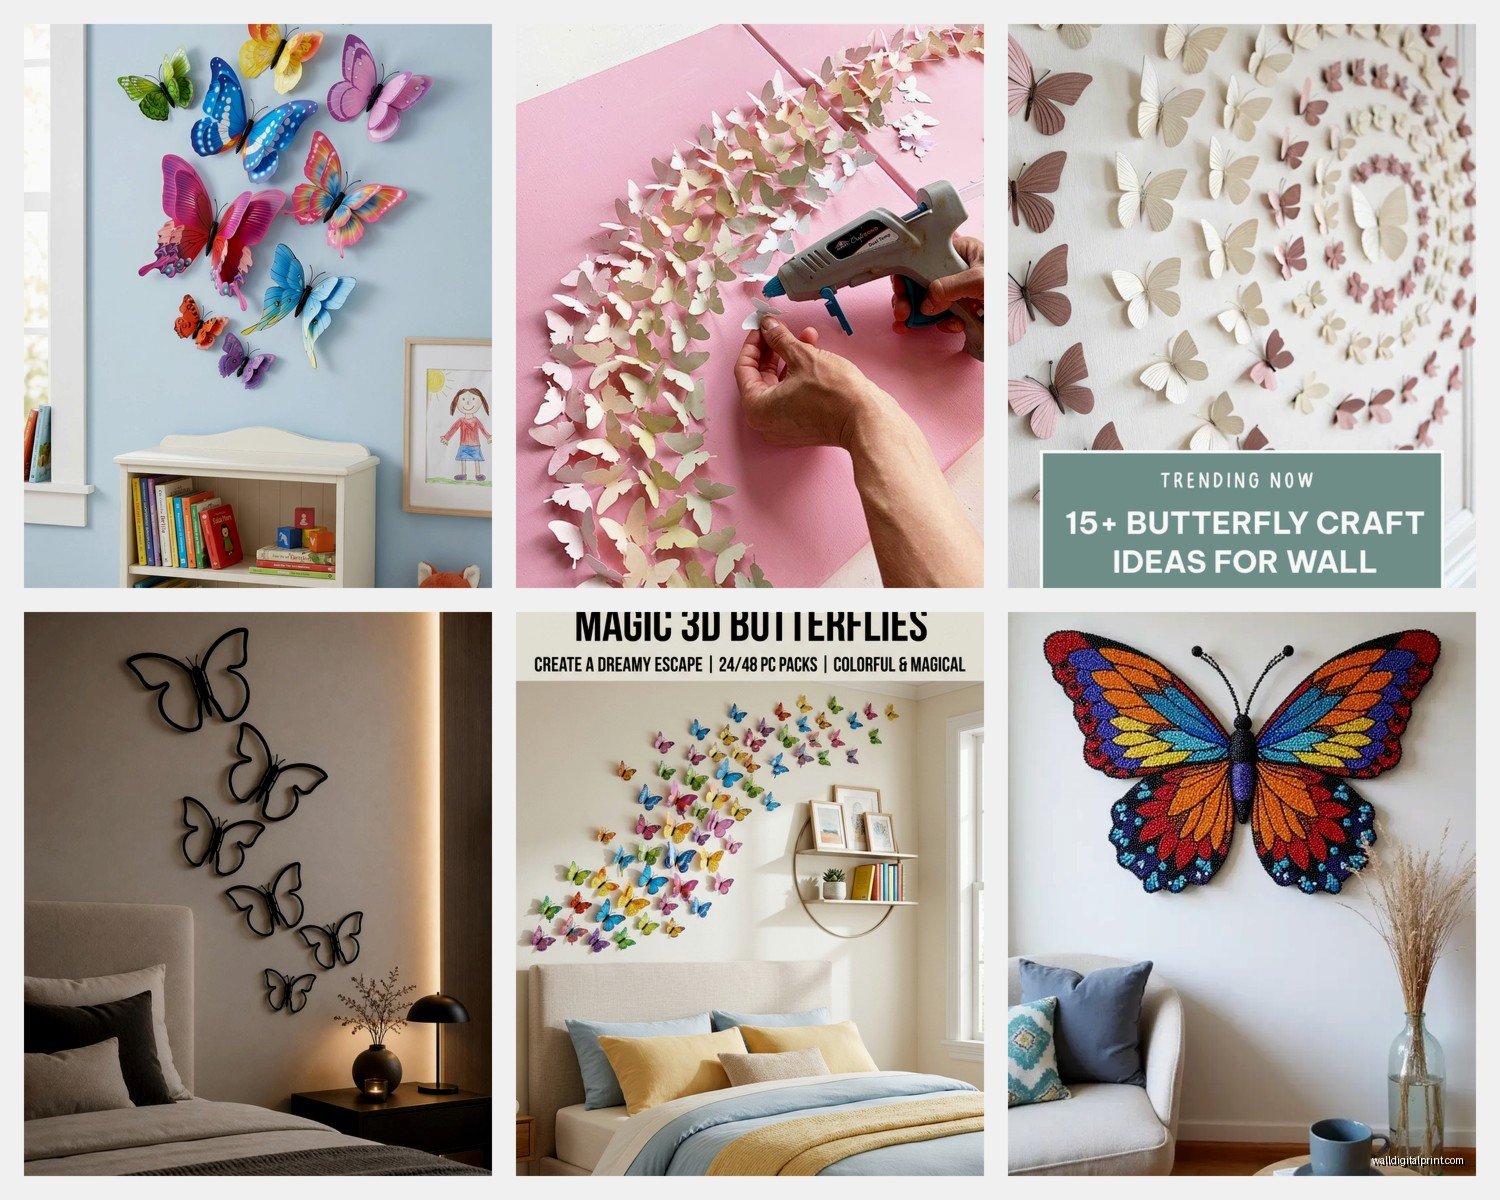
3D Butterfly Wall Art: Dimensional Paper & Metal Designs
Jun
So I’ve been down this 3D butterfly rabbit hole for like three months now and honestly? It started because a client wanted something “whimsical but not childish” for her dining room and I was like…okay butterflies but make it architectural.
The thing nobody tells you about 3D butterfly wall art is that paper and metal versions are completely different beasts. Like, I thought they’d be interchangeable but they’re absolutely not and I learned this the hard way after ordering both for the same project thinking I’d mix them.
Paper Butterflies: The Stuff That Actually Works
Okay so paper butterflies seem delicate and whatever but the good ones are surprisingly sturdy. I’m talking about cardstock weight, not like tissue paper craft store nonsense. The brands that matter are basically doing origami-adjacent folding techniques where the body creates this natural dimensional lift.
The ones I keep coming back to are the sets that come pre-scored. You fold them yourself which sounds annoying but it takes maybe 10 minutes for like 60 butterflies while watching TV (I did mine during that weird cooking competition show where they make cakes look like handbags). The pre-scored ones hold their shape way better than the flat-packed “3D” ones that just have a foam square on the back.
Attachment Methods That Don’t Ruin Your Walls
Here’s where everyone screws up including me initially. The little foam squares that come with most sets? Garbage. They fall off in like two weeks especially if you live somewhere humid. My bathroom installation lasted exactly 9 days before I found butterflies in the sink.
What actually works:
- Museum putty for rentals or temporary installations – you can reposition and it doesn’t leave residue
- Hot glue dots for permanent placement but only on textured walls, it can pull paint on smooth surfaces
- Straight pins pushed through the body center if you don’t mind tiny holes – this is what I do in my own place
- 3M Command strips cut into tiny pieces for the bigger statement butterflies
The pin method is gonna sound weird but it gives you the most control over angle and you can adjust the wings after installation. I literally spent 45 minutes tilting individual butterflies until the light hit them right and you can’t do that with adhesive.
Metal Butterflies: When You Want That Sculptural Vibe
Metal ones are a whole different energy. They read more sophisticated, more permanent, and honestly more expensive even when they’re not. I’ve got this set of copper-finish metal butterflies in my hallway that cost like $40 but everyone thinks they’re an art gallery purchase.
The weight is the issue though. Paper butterflies you can cluster densely and create this migration effect. Metal butterflies need more breathing room because they’re heavier and the mounting hardware is more visible. I learned this after creating what my assistant called “butterfly traffic jam” on a feature wall.
Finish Options That Matter More Than You Think
The finish completely changes how they read in a space:
Brushed metal catches light subtly and works in modern spaces – pairs well with stainless appliances and contemporary fixtures. Doesn’t compete with other metallic accents.
Powder-coated colors are having a moment but be careful because they can read juvenile fast. I only use these in very specific color stories, like all-white rooms where you need a pop, or in a kid’s room that needs to transition into teen years.
Antiqued or patina finishes are my go-to for traditional spaces or anywhere you’ve got brass fixtures and warm wood tones. They look intentional and collected rather than “I bought a set at HomeGoods” which…I mean sometimes you did but it shouldn’t look that way.
Mirrored or chrome finishes are tricky because they can look dated really fast. I used chrome butterflies in 2019 and by 2021 they felt very 2015 Pinterest. But in the right space like a glam bathroom or art deco-inspired room they still work.
Size and Scale Because This is Where Everyone Goes Wrong
I cannot stress this enough – you need at least three different sizes in any butterfly installation or it looks like a craft project. The variation in scale is what makes it look intentional and dynamic.
My usual ratio is:
- 60% small butterflies (2-3 inches wingspan)
- 30% medium (4-5 inches)
- 10% large statement pieces (6-8 inches or bigger)
The large ones anchor the composition and your eye needs somewhere to land. I did an all-small-butterfly thing once and it just looked busy and flat even though they were technically 3D. The scale variation creates visual hierarchy which is just fancy talk for “some butterflies matter more than others.”
Oh and another thing – the really tiny butterflies under 2 inches only work if you’re doing a super dense cluster installation. Otherwise they disappear from normal viewing distance and you’ve just wasted time installing stuff nobody can see.
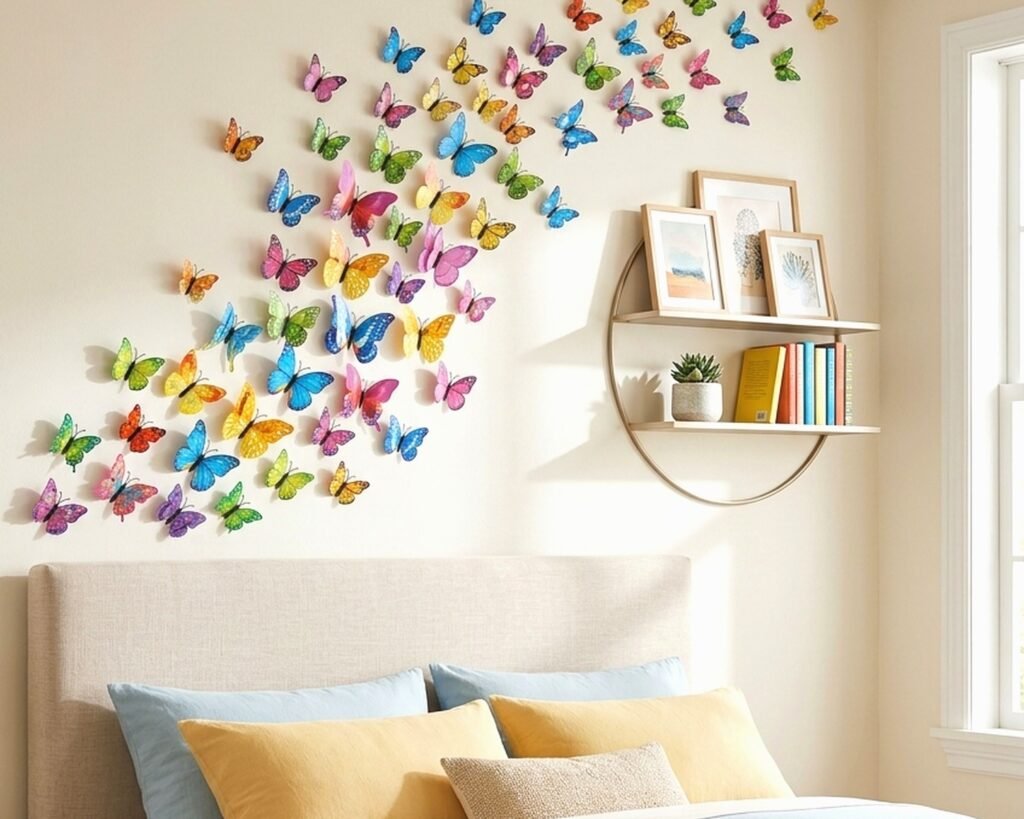
Layout Patterns That Aren’t the Spiral Everyone Does
Okay so the tornado spiral is pretty but it’s also on every single product listing photo and at this point it’s kinda played out. Here are patterns I actually use:
The gradient fade – butterflies cluster densely in one area and gradually spread out and dissipate toward the edges. Works amazing in corners or coming off a piece of furniture.
Framing device – butterflies outline or partially frame a mirror, artwork, or window. Not completely around because that’s too literal, just suggesting a frame on two sides or scattered around three sides.
Diagonal flow – this one’s my favorite right now. Butterflies move on a diagonal line across the wall with clustering at both ends and sparser coverage in the middle. Creates movement without being literal about it.
Random organic scatter – sounds easy but it’s actually the hardest to make look natural. You gotta resist pattern-making instincts. I literally throw a handful of butterflies at the wall (well, the floor below where the wall will be) and then install them roughly where they land. Forces randomness.
The Template Trick
Wait I forgot to mention this and it’s actually the most useful thing. Before you poke holes or stick anything, cut butterfly shapes out of painter’s tape or sticky notes and arrange those first. You can move them around infinitely and step back and actually see the composition. I do this for every single installation now after destroying a wall trying to rearrange glued butterflies.
Take a photo of your tape template, then you can remove the tape and install the real butterflies following your photo. Sounds extra but it saves so much time and regret.
Mixing Paper and Metal (When It Works)
So remember how I said they’re different beasts? They are, but you CAN mix them if you’re strategic. The key is treating them as different species not just different materials.
What works: Metal butterflies as the anchors/large scale pieces with paper butterflies filling in around them. The metal provides structure and the paper provides volume and movement. I did this in a nursery where we had three large copper butterflies and like 80 paper ones in cream and blush tones. The contrast in material actually enhanced both.
What doesn’t work: Same sizes in both materials right next to each other. They compete and the paper always looks cheaper in direct comparison. You need clear hierarchy – one material dominates in either size or quantity.
Color Strategy for Paper Butterflies
Paper butterflies give you way more color flexibility which is both good and bad. Too many color options means you can easily create chaos.
Monochromatic in three shades – this is the safest and most sophisticated. All blues, or all blush tones, or all grays but in light/medium/dark versions. Creates dimension through value not color chaos.
Ombre effect – graduating from light to dark in a single color family. This works really well with the gradient fade layout pattern I mentioned before.
Neutrals with one accent – mostly whites, creams, grays with maybe 10-15% in a pop color. The accent color should pull from something else in the room or it’ll look random.
Two complementary colors max – like navy and gold, or sage and terracotta. More than two colors and you’re making a kindergarten bulletin board not a design feature.
My cat just knocked over my coffee which is perfect timing because I need to mention that pets and low-height butterfly installations don’t mix. Learned this with a client’s dog who thought the bottom butterflies were toys. Install them starting at least 3 feet up if you have animals.
Lighting Considerations Nobody Talks About
The dimensionality only matters if light hits these things right. In a dark hallway or a wall that never gets direct light, you’re wasting the 3D effect.
Best case scenario is natural light from a window hitting them at an angle during part of the day. The shadows cast by the wings are actually what makes them pop. I have butterflies on a west-facing wall that look completely different in morning versus afternoon light and that variation is the whole point.
If you don’t have natural light, you gotta think about artificial sources. A picture light aimed at the installation works. Track lighting. Even a well-placed floor lamp can do it. Just avoid flat overhead lighting which kills all the dimension and makes them look like stickers.
For metal butterflies especially, consider the reflection and how light bounces off them. Brushed finishes diffuse light, shiny finishes create hotspots. I position shiny metal butterflies to catch and throw light toward darker corners sometimes as a subtle lighting design trick.
Maintenance and Durability Real Talk
Paper butterflies collect dust like it’s their job. You’re gonna need to dust them maybe monthly if you’re in a dusty climate or have pets. I use a soft brush attachment on low vacuum setting or one of those microfiber duster wands. Some people use compressed air which works but feels wasteful.
Metal butterflies are way easier – just wipe down with a damp cloth when you notice dust. The powder-coated ones can fade in direct sunlight over time though, like within a year or two they’ll look washed out if they’re in a south-facing window situation.
Paper butterflies will fade too but honestly they’re cheap enough that I view them as semi-temporary installations. Swap them out every couple years, change colors, refresh the pattern. Metal butterflies are more of a commitment.
The Bathroom Question
Everyone wants butterflies in their bathroom and I get it, but humidity is brutal on paper. If you must do paper in a bathroom, make sure you have excellent ventilation and maybe seal them with a clear acrylic spray first. Or just do metal in bathrooms, it’s not worth the sagging paper butterfly sadness.
Where to Actually Buy This Stuff
Amazon has a million options but quality is all over the place. I’ve found sets that were perfect and identical-looking sets that arrived as flimsy garbage. Read reviews that include photos.
Etsy is better for unique designs and you’re supporting actual makers. Prices are higher but the quality control is usually worth it. I’ve gotten gorgeous handmade paper butterflies with printed vintage book pages and watercolor designs that you absolutely cannot find mass-produced.
HomeGoods and TJ Maxx randomly have really good metal butterfly sets. It’s hit or miss and you can’t rely on finding them but when you do, grab them. The quality is usually comparable to stuff three times the price online.
For metallics specifically, look at Hobby Lobby or Michael’s when they have sales. Their metal butterfly selection is surprisingly decent and with a 40% coupon you’re paying like $15 for sets that work great.
Installation Time Reality Check
People underestimate how long this takes. A dense installation of 100+ butterflies will take you 2-3 hours minimum. You’re not just sticking things up, you’re adjusting angles, stepping back constantly, moving things around.
I usually do the layout in one session, take photos, sleep on it, then do the actual permanent installation the next day. Fresh eyes catch composition problems you miss when you’ve been staring at it for an hour.
For metal butterflies that need actual hardware, double that time. Especially if you’re using the ones with separate mounting brackets that need to be leveled and screwed in. Those are more secure but way more time-intensive.
The Unexpected Spaces Where This Works
Everyone thinks bedroom or nursery but I’ve had the most success with:
- Dining rooms – creates visual interest on large walls without competing with the table
- Stairwell walls – the vertical space is perfect for a rising/ascending butterfly pattern
- Home offices – adds personality without being distracting, especially if you keep colors muted
- Walk-in closets – makes a utilitarian space feel special and the humidity is usually lower than bathrooms
- Powder rooms – small space, high impact, guests actually notice and comment
I rarely do them in living rooms anymore because that wall space usually needs to balance with larger furniture and electronics and butterflies can look too delicate in that context. But above a console table or in a reading nook within a living room? That works.
Okay I think that’s everything I’ve learned through way too much trial and error with these things. The main thing is just start with more butterflies than you think you need because you’ll always wish you had more density, and don’t be afraid to reposition stuff until it feels right. There’s no rule book for butterfly placement despite what Pinterest wants you to think.