
Wall Art Guide, Wall Art Tutoriels
Seascape Wall Art: Ocean Horizon & Wave Photography
Jul
So I’ve been deep in the seascape wall art world lately and honestly it’s way more complicated than just “buy blue ocean picture, hang on wall” like I thought it would be…
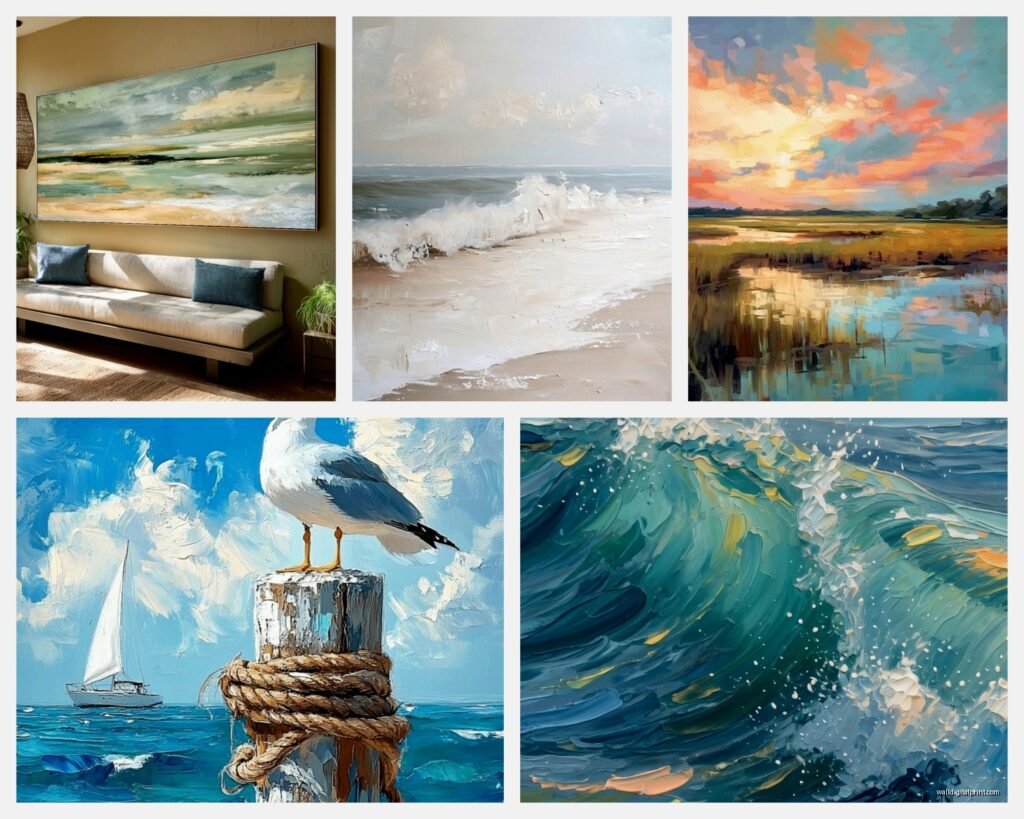
The first thing you gotta know is that ocean horizon photography hits completely different depending on whether you want calm or dramatic energy in your space. I spent like three hours last Tuesday (my client canceled so I basically fell down this rabbit hole) comparing different wave styles and the vibe shift is REAL.
Calm Horizons vs Dynamic Waves
Okay so here’s what I figured out. Those minimalist ocean horizon shots—you know the ones that are basically just a line where sky meets water—they work insanely well in bedrooms and spaces where you actually want to chill. The color palette matters more than you’d think though. I put a grey-blue horizon piece in my own bedroom last month and it’s like… my brain actually quiets down when I look at it? Sounds weird but it’s true.
The wave photography is trickier. Those dramatic crashing wave shots look AMAZING in photos but in real life they can feel kinda aggressive if you put them in the wrong spot. I learned this the hard way with a client’s dining room—we hung this massive wave crash print and she called me two weeks later like “I love it but I feel stressed eating dinner” and we had to swap it out.
Where Each Type Actually Works
- Calm horizons: bedrooms, bathrooms, reading nooks, above the bed
- Gentle rolling waves: living rooms, hallways, offices where you need focus
- Dramatic crashes: entryways, dining rooms, home gyms, spaces you pass through
- Aerial ocean shots: literally anywhere they’re like the swiss army knife of seascapes
The Size Thing Nobody Talks About
This is gonna sound random but size matters SO much more with ocean art than with other subjects. I think it’s because the ocean is already so vast? Like if you get a tiny 16×20 wave print it just looks… sad. The scale feels wrong.
For ocean horizons specifically, I always tell people to go bigger than they think. That whole “measure your wall and get something 2/3 the width” rule? With seascapes I push it to 3/4 or even full wall width. The ocean shouldn’t look like a postcard floating on your wall.
I did a project last spring where we did a three-panel ocean horizon spanning like 8 feet across a living room wall and it completely transformed the space. Made the whole room feel calmer and bigger. Meanwhile another client got three small separate ocean prints for the same size wall and it just looked cluttered and weird.
My Actual Size Recommendations
For above a queen bed: minimum 40 inches wide, but honestly 48-60 is better
Living room main wall: don’t go smaller than 36×48 unless your room is truly tiny
Bathroom: this is the one place smaller works, like 16×20 or 20×24 is fine
Hallways: go vertical if possible, like 24×36 portrait orientation with a wave shot
Print Types and Why It Actually Matters
Oh and another thing—the print medium changes everything with water photography. I’ve tested basically all of them at this point because I got obsessed.
Canvas is the most popular but honestly? It’s not always the best choice for seascapes. The texture can muddy the water details. I know everyone defaults to canvas because it feels “artsy” but hear me out.
Acrylic prints are INCREDIBLE for ocean photography. The glossy surface makes the water look wet and dimensional in a way that canvas just can’t match. I have an acrylic wave print in my studio and people always ask if it’s backlit or something. It’s not, it’s just the way light interacts with the acrylic surface.
Metal prints are also really good for this—they give you that hyper-modern look and the colors stay vibrant. The metallic sheen works especially well with sunrise/sunset ocean shots.
Traditional framed prints under glass work great too, especially for black and white ocean photography. There’s something about b&w waves under glass that feels classic and expensive.
What I Actually Buy
- Color wave photography: acrylic or metal first choice
- Black and white ocean shots: framed print under glass
- Calm horizons: canvas works fine here, or framed print
- Aerial ocean: metal prints look sick, really emphasizes the colors
Color Schemes That Don’t Suck
So the obvious choice is blue but there’s like a million shades of blue in ocean photography and they do NOT all work the same way in interiors.
Those really saturated turquoise tropical ocean shots? They’re hard to work with unless your whole space has a coastal theme going. I see people buy them because they’re pretty but then they clash with everything.
My cat just knocked over my coffee but whatever—
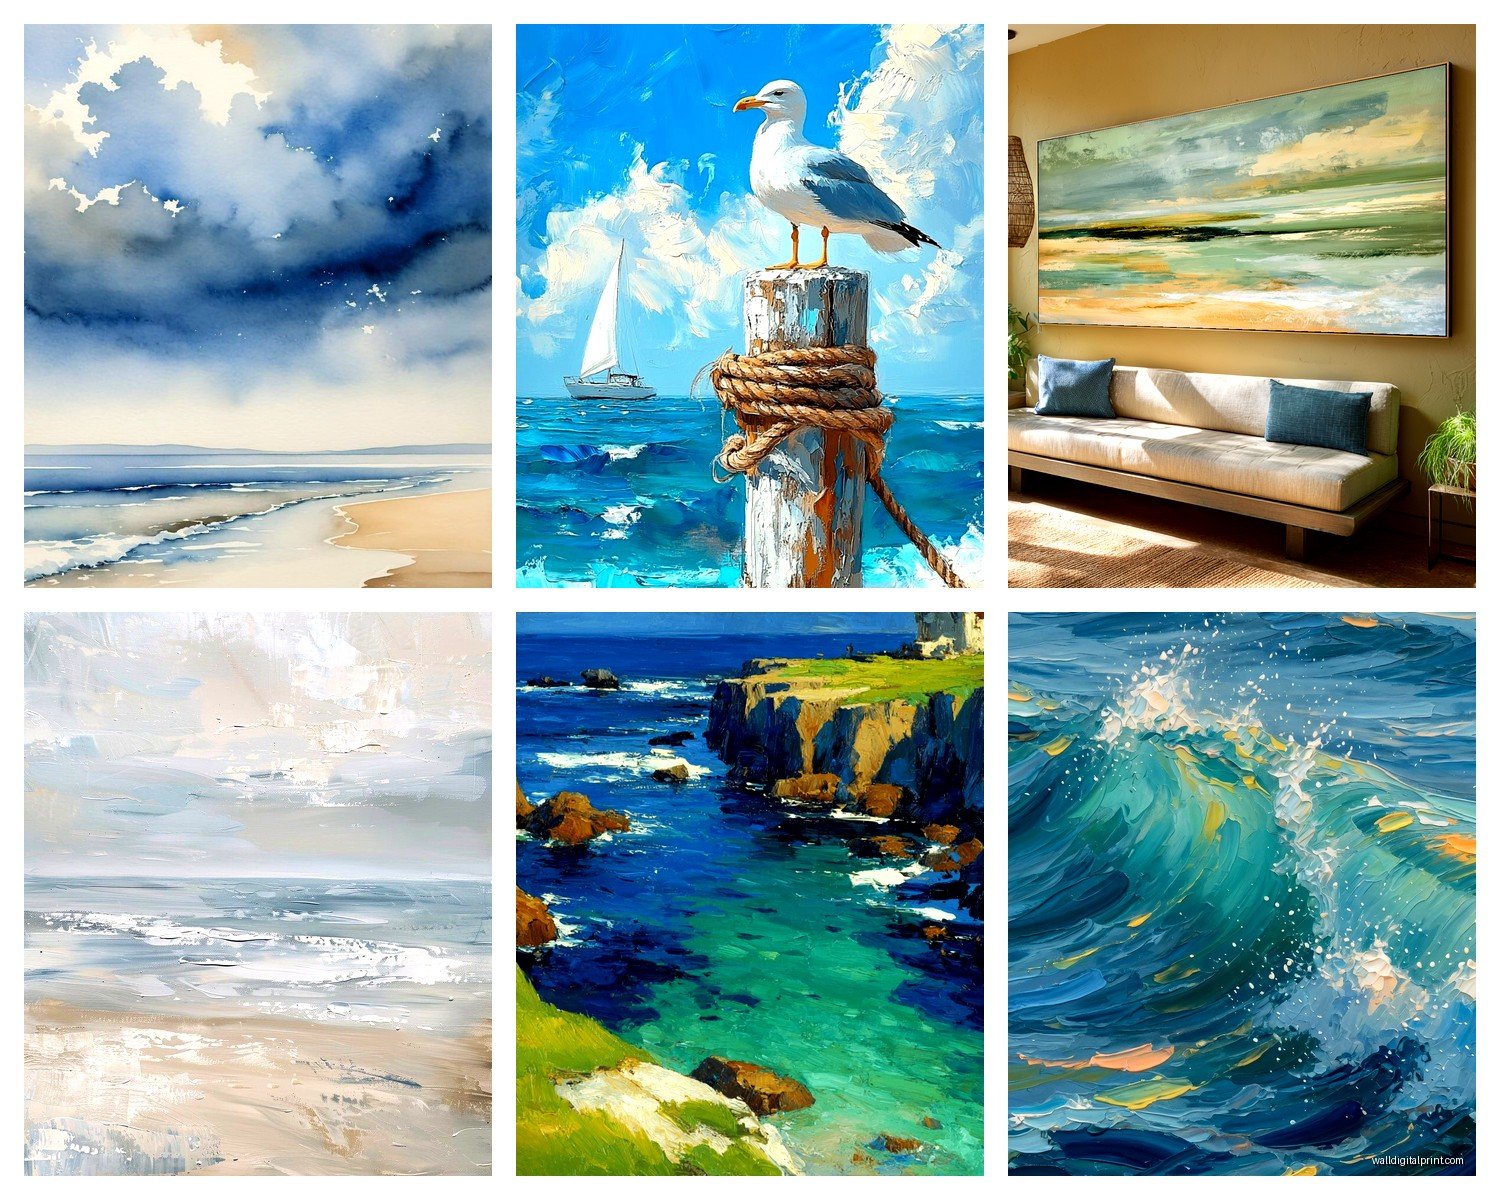
What actually works better for most spaces are the moodier ocean colors. Grey-blues, stormy seas, that almost-black deep water with white foam. These are way more versatile and sophisticated looking.
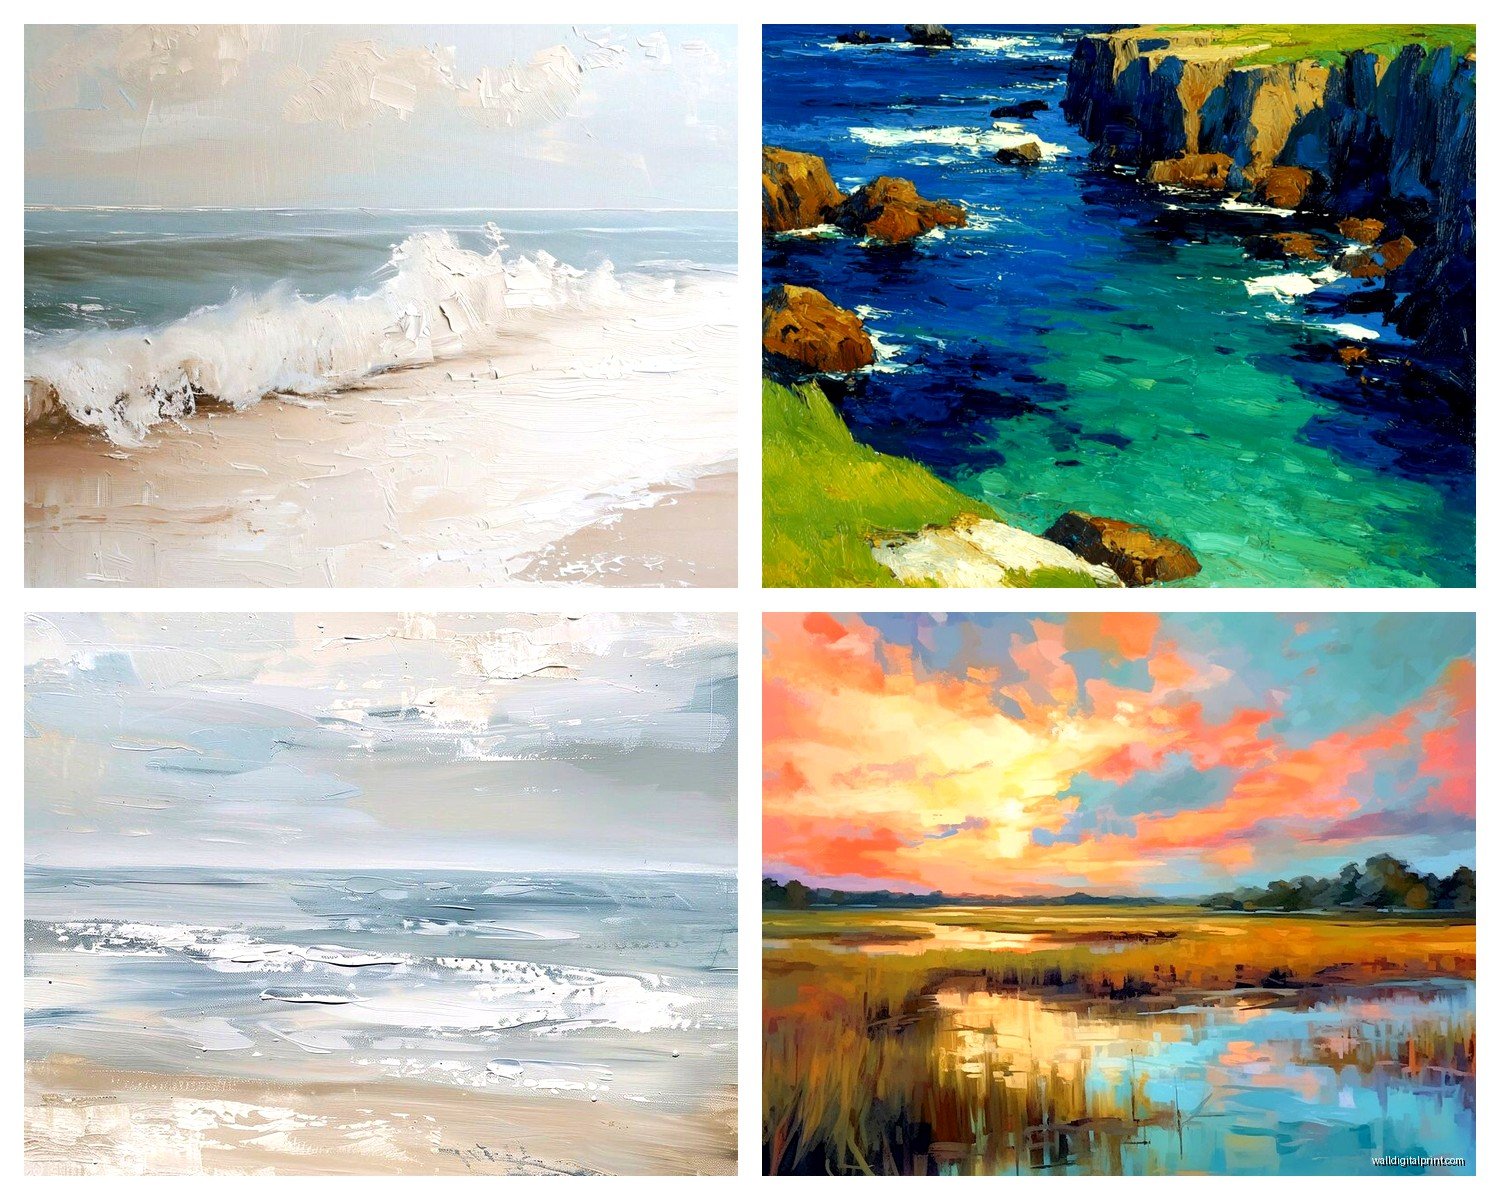
I also love ocean photography that pulls unexpected colors—like golden hour shots where the water reflects orange and pink, or those rare green wave shots from certain beaches. These can actually be easier to coordinate with existing decor because they’re not screaming BEACH HOUSE at you.
Matching Ocean Art to Your Existing Colors
If your room has warm neutrals (beiges, tans, creams): go for sunset ocean shots or sandy beach tones
If you’ve got cool greys and whites: literally any ocean photography works but stormy seas look extra good
If there’s a lot of wood: warmer ocean tones, avoid the super cold blue-greys
Jewel tone room colors: dramatic deep ocean shots with lots of navy and teal
The Framing Situation
Wait I forgot to mention framing because that can make or break the whole thing.
For modern spaces, I’m all about the minimal float frame or no frame at all (if you’re doing acrylic or metal). That clean edge lets the ocean image feel more immersive.
For traditional spaces, a simple frame in natural wood or white works. Don’t get too ornate though—the ocean is already a busy subject with all the texture and movement.
Black frames can look really striking with black and white ocean photography but they can also feel heavy. I usually only go black frame if the room has other black elements to tie into.
One trick I use a lot: if you’re doing a gallery wall with ocean photography, keep ALL the frames identical. The ocean images will have enough variety in composition and tone, you don’t need different frame styles competing for attention.
Composition Styles to Look For
Okay so this is where it gets fun. Not all ocean photography is created equal in terms of composition.
The Classic Horizon Line
This is your basic ocean-meets-sky shot. The key is WHERE the horizon line sits. Center composition (horizon right in the middle) feels balanced and calm. Horizon in the lower third with lots of sky feels open and airy. Horizon in the upper third with more water feels grounding.
I tend to prefer the horizon in the lower or upper third rather than dead center because dead center can feel static.
The Wave Close-Up
These are those shots where you’re basically inside the wave. Super dramatic. They work best as statement pieces, not in multiples. Like one big wave close-up is stunning, three of them is overwhelming.
Aerial/Overhead Shots
This is my favorite trend right now tbh. Those drone shots looking down at waves, reefs, surfers, whatever. They read almost abstract and they work in pretty much any style of space. I’ve used them in modern homes, traditional homes, even a farmhouse renovation.
Long Exposure
You know those shots where the water looks silky and smooth because of long exposure? They’re beautiful but they lean feminine and soft. Great for bedrooms and bathrooms, less great if you want something with more energy.
What to Actually Search For
When you’re shopping online, use these search terms to find what you actually want:
- “Minimalist ocean horizon” for calm pieces
- “Dramatic wave photography” for statement pieces
- “Aerial ocean” or “drone ocean” for overhead shots
- “Long exposure seascape” for that smooth water look
- “Stormy ocean” for moody pieces
- “Turquoise water” or “tropical ocean” if you want bright colors
The Multi-Panel Question
So triptychs and multi-panel ocean art… they’re either amazing or terrible, not much in between.
They work really well when it’s ONE continuous image split across panels. Like a panoramic ocean view broken into three pieces. That can look really high-end and gallery-like.
What doesn’t work is when it’s three completely different ocean shots just grouped together. Unless you’re doing a very intentional gallery wall, it usually just looks like you couldn’t commit to one image.
If you’re gonna do multi-panel, keep the spacing between panels consistent and not too wide. Like 2-3 inches max. I see people hang them too far apart and it loses the cohesive effect.
Lighting Considerations
This is something I learned kinda by accident—the lighting in your room completely changes how ocean photography looks.
In rooms with warm artificial light (regular incandescent bulbs), cool blue ocean shots can look kinda muddy and grey. You might need to go for warmer ocean tones or add some cooler light sources.
In rooms with lots of natural light, basically any ocean photography looks good. The colors stay true.
In rooms with cool LED lighting, those bright turquoise tropical shots can look almost neon. Not always in a good way.
I always tell people to look at ocean art in lighting similar to what’s in their actual room. Don’t buy something online and expect it to look like it does on your phone screen in your dimly lit bedroom.
Black and White Ocean Photography
Okay so b&w ocean shots deserve their own section because they’re having a moment and also they solve a lot of design problems.
The main advantage is they work with literally any color scheme. You’re not trying to match blue tones or worry about whether the water looks too green or whatever.
The drama level is also easier to control. Even a massive crashing wave in b&w feels more sophisticated and less “beach house” than the same shot in color.
I use b&w ocean photography a lot in masculine spaces, modern spaces, and anywhere that already has a lot of color happening. It adds visual interest without adding more color competition.
The key with b&w is making sure there’s good contrast. Flat grey ocean shots are boring. You want deep blacks and bright whites with good tonal range in between.
Where to Actually Buy This Stuff
Alright so where do you find good seascape wall art that doesn’t look like hotel art…
Etsy has a ton of independent photographers selling ocean prints. You can usually get digital downloads which are cheaper, then print through a local print shop or online service. Just make sure the resolution is high enough for the size you want.
Society6 and Redbubble are good for variety and you can get different print types. Quality is pretty consistent in my experience.
For higher-end stuff, check out 20×200, Artfully Walls, or Minted. They curate better and the quality control is stricter.
Instagram is actually great for finding ocean photographers directly. Search hashtags like #seascapephotography or #oceanwallart and you can commission prints straight from photographers. Sometimes cheaper than going through a middleman site.
Local art fairs and galleries if you want original or limited edition stuff. Beach town galleries obviously have tons but they’re usually overpriced. Wait I forgot to mention—avoid anything that says “coastal decor” in the description because it’s usually cheesy. You want “photography” or “fine art” listings.
Styling Around Ocean Art
Once you’ve got your ocean piece, the styling matters.
Don’t go overboard with beach decor just because you have ocean art. Like you don’t need seashells and driftwood and rope everywhere. That’s too literal. The ocean photography should be the statement, everything else should be subtle.
I like pairing ocean art with natural textures—linen, wood, stone, leather. These feel coastal without being themey.
Plants work really well with seascapes too. Something about the organic shapes complements the water.
Metallics are tricky. Gold can feel too warm with cool ocean tones. Silver and brass usually work better.
If you’re doing a gallery wall with ocean photography, mix in some other elements so it’s not all just water. Maybe some abstract art, line drawings, or even other nature photography. All ocean all the time can feel monotonous.
Common Mistakes I See Constantly
Hanging ocean art too high—the center should be at eye level which is around 57-60 inches from the floor
Getting sizes that are too small for the wall space
Mixing too many different ocean photography styles in one room
Pairing super bright tropical ocean with traditional decor (usually doesn’t work)
Putting dramatic wave shots in bedrooms then wondering why they can’t sleep
Cheap printing that makes the colors look flat—ocean photography needs good print quality to show the depth and detail
Not considering the existing color temperature in the room
Oh and this is random but I was watching that new Netflix show last night and they had the most perfect ocean photography in the main character’s apartment, like perfectly styled, and I kept getting distracted trying to figure out where they got it…
Anyway the main thing with seascape wall art is that it should feel like a window, not a decoration. When it’s the right size and in the right spot with good print quality, you kinda forget it’s a photograph and it just becomes this calming element in your space. That’s when you know you got it right.
