Wall Art Guide, Wall Art Tutoriels
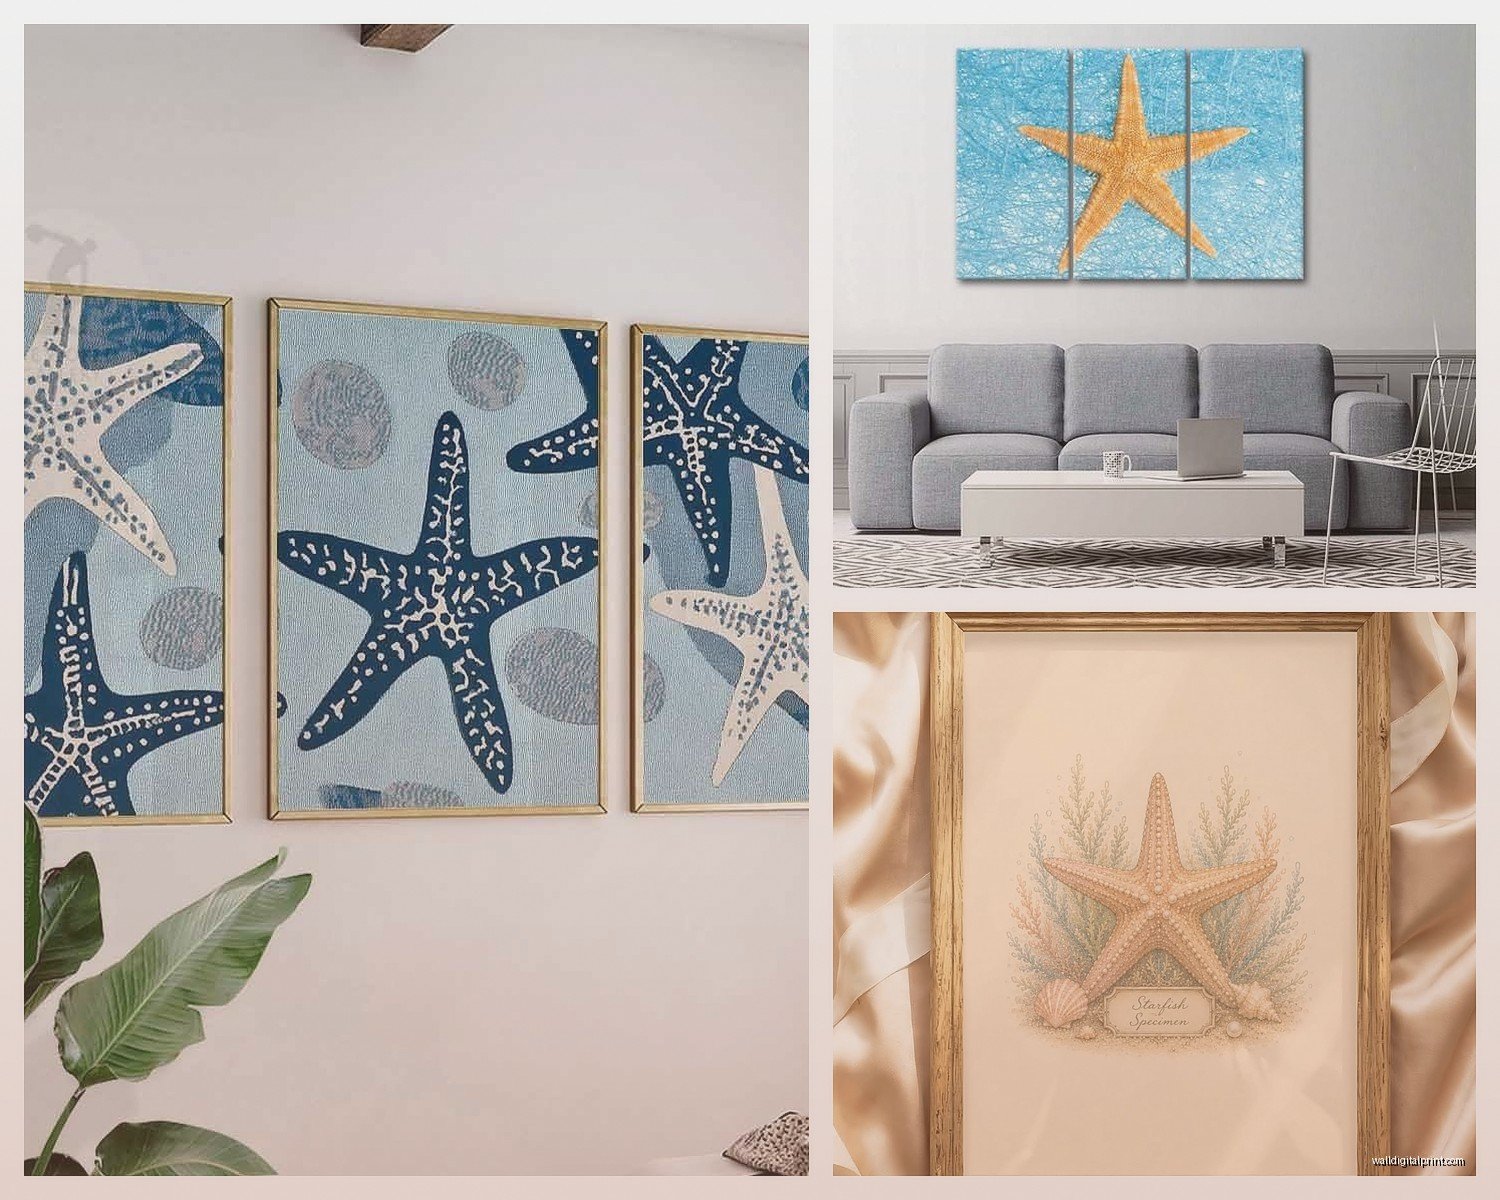
Starfish Wall Art: Beach Ocean Sea Star Coastal Decor
Jul
So I’ve been basically living and breathing starfish wall art for the past three months because my cousin wanted to redo her beach house and honestly? I fell down this rabbit hole hard. Like, I thought it would be simple but there’s actually a lot to consider when you’re trying to nail that coastal vibe without making your place look like a seafood restaurant.
The Different Types You’ll Actually Find
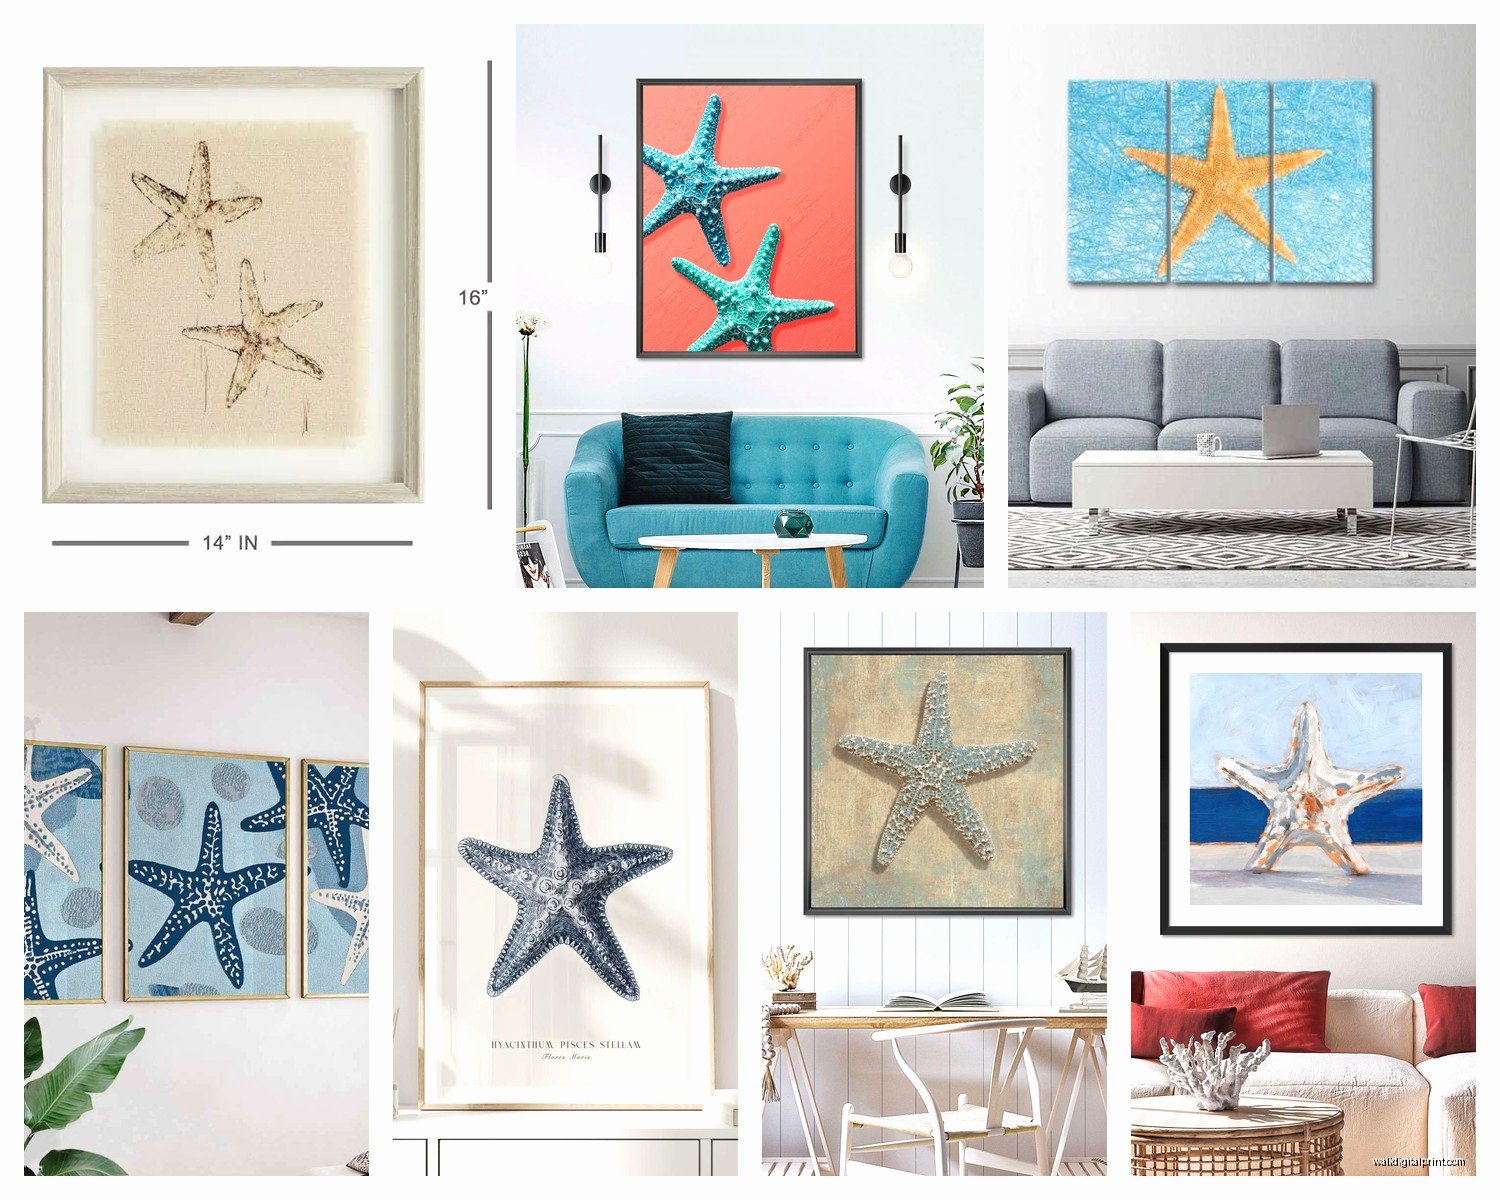
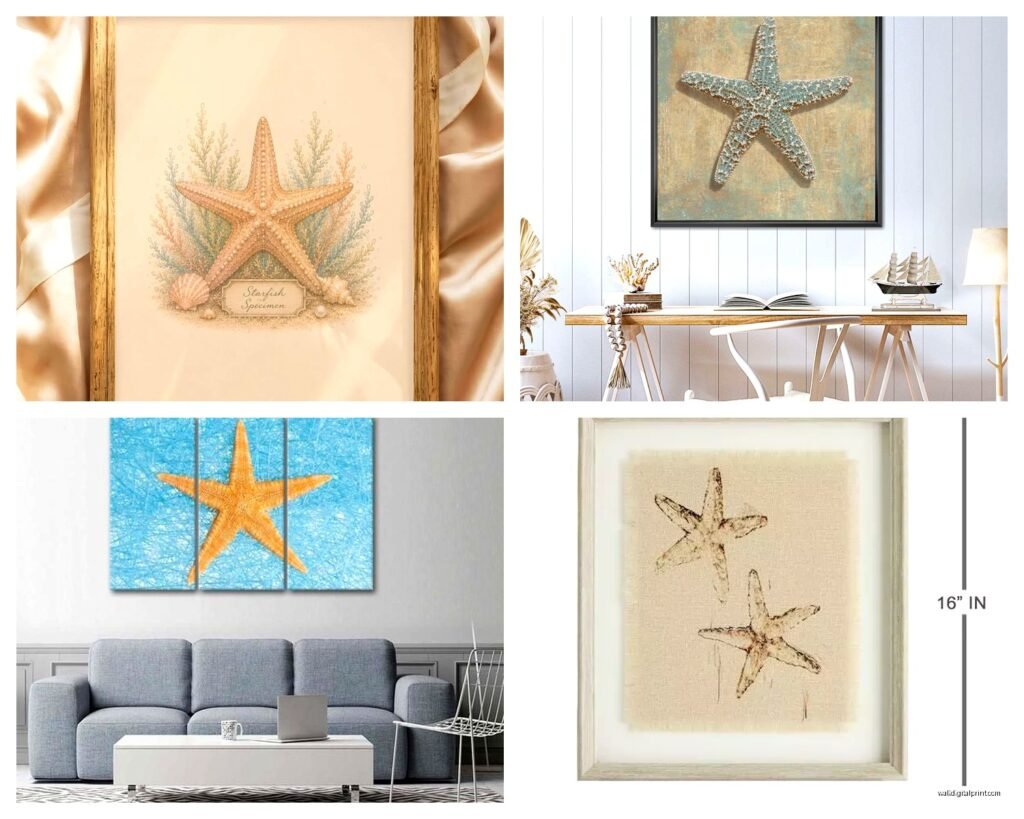
Okay so first thing – starfish wall art comes in like five main categories and they all give totally different vibes. You’ve got the real preserved starfish mounted on something (wood, canvas, whatever), the metal cutout versions, resin or ceramic pieces, framed prints and photographs, and then those weird rope or driftwood arrangements with starfish attached.
The real preserved ones are what everyone gravitates toward first but here’s the thing – they fade. Like really badly if you put them anywhere near a window. I learned this the hard way with a client’s sunroom and after six months those gorgeous white starfish turned this gross yellow-brown color. If you’re gonna go this route, keep them away from direct sunlight and maybe spray them with UV protectant every few months? Also they’re surprisingly fragile, my dog knocked one off the wall once and it basically disintegrated.
Metal ones are actually my favorite for durability. They come in bronze, copper, silver, that trendy matte black finish everyone’s obsessed with. The dimensional ones that stick out from the wall a bit catch light really nicely throughout the day which sounds cheesy but it’s true. Target has some decent affordable options but honestly the Etsy artisan ones are only like $20-30 more and the quality difference is massive.
Size Actually Matters Way More Than You Think
This is where people mess up constantly. They buy these tiny 6-inch starfish pieces and wonder why their wall looks sad and empty. For a standard living room wall, you want to be thinking 18-24 inches minimum for your main piece. Or do a cluster of different sizes – like a 20-inch one with a few 10-12 inch ones around it.
I did this whole arrangement in my own place where I got three different sized metal starfish (24″, 16″, and 10″) and arranged them in kind of a diagonal line going up the wall. Cost me about $85 total from this seller on Etsy called… wait let me check… CoastalMetalArt or something like that. Took maybe 15 minutes to hang once I figured out the spacing.
The rule I use is if you’re filling a space above a couch or console table, your art should take up roughly two-thirds to three-quarters of the furniture width. So if your couch is 84 inches, you want your starfish arrangement to span about 56-63 inches. You can do this with one massive piece or a grouping.
Color Schemes That Don’t Look Ridiculous
Okay so funny story – I once saw someone paint starfish hot pink and lime green for a “tropical” theme and I’m still recovering from that. But actually the color you choose matters a ton for the overall feel.
Natural/neutral tones (white, beige, natural brown) work literally everywhere. They’re safe but not boring if you mix textures. Like a white ceramic starfish next to a natural rope-wrapped one creates interest without being loud about it.
Blues and aqua tones are obvious for ocean themes but go easy. An all-blue starfish situation can read very bathroom-y. I usually do one blue piece mixed with neutrals or metallics.
Metallics are having a moment and honestly they’re my go-to recommendation. Gold starfish against a white or light gray wall looks expensive even when it’s not. Silver or chrome works great in modern coastal spaces. That oil-rubbed bronze finish is perfect if you’re going for rustic beach house vibes.
The absolute worst combo I’ve seen is mixing too many colors at once. Like someone will have a turquoise starfish next to a coral one next to a yellow one and it just looks like a kindergarten classroom. Pick 2-3 colors max for your whole coastal scheme.
What Actually Works on Different Wall Colors
White walls – literally anything works but metallic gold or natural wood tones look especially good
Gray walls – white starfish pop really nicely, or go monochromatic with darker gray/silver pieces
Navy or dark blue walls – this is where white or natural starfish really shine, creates great contrast
Beige/tan walls – metallics or dark wood tones, avoid natural tan starfish because they’ll disappear
Hanging Methods Nobody Tells You About
Most starfish art comes with sawtooth hangers which are fine but not great for heavier pieces. I’ve had two fall off walls using those flimsy things. Here’s what I actually use now:
For lightweight pieces under 3 pounds, command strips work surprisingly well. The velcro ones, not the hook kind. My metal starfish has been up for eight months on command strips and hasn’t budged.
Medium weight stuff (3-8 pounds), use proper picture hanging hooks rated for the weight. The ones with two nails at an angle are way more secure than single nails.
Heavy preserved starfish on wood backing or large metal pieces – you gotta find the stud or use heavy duty anchors. I use the plastic anchor kind that expand behind the drywall, they’re rated for like 50 pounds each and I’ve never had issues.
For groupings, I always lay everything out on the floor first and measure the spacing. Take a photo from above, then recreate that on your wall. Use painter’s tape to mark where each piece goes before you start making holes. Saves so much frustration.
Where to Actually Buy This Stuff
HomeGoods is weirdly good for starfish decor but it’s totally hit or miss. You gotta check back regularly because their inventory changes weekly.
Etsy has the most variety and you can find really unique handmade pieces. Search terms that work: “metal starfish wall art” “coastal starfish decor” “beach house starfish” – the algorithm is picky about exact phrases.
Amazon has tons of options but the quality is all over the place. Read reviews carefully and look at customer photos not just the listing photos. I’ve ordered stuff that looked amazing online and arrived looking like it was made in someone’s garage (not in a good way).
Pottery Barn and West Elm if you want to spend more – their stuff is genuinely nicer quality but you’re paying 2-3x what you’d pay elsewhere. Sometimes worth it for statement pieces though.
Actual beach shops in coastal towns – if you’re visiting somewhere beachy, hit up the local decor shops. You’ll find stuff you won’t see online and it feels more authentic. Plus supporting small businesses and whatever.
Styling It So It Doesn’t Look Theme-Park-Y
This is the hard part honestly. The line between “coastal chic” and “Bubba Gump Shrimp Co.” is surprisingly thin.
Mix your starfish with non-ocean stuff. I know that sounds counterintuitive but hear me out – if you do starfish art with like some abstract pieces or botanical prints or even just a cool mirror, it feels curated instead of themed. The starfish becomes an accent not the whole personality of the room.
Vary your textures like crazy. Smooth ceramic starfish, rough natural ones, shiny metal, matte painted wood – having different finishes makes everything look more expensive and intentional.
Don’t match everything perfectly. Slight variations in color and size look way better than a matching set. Sets are what hotels buy in bulk, you know?
Keep the rest of your decor somewhat minimal. If you’ve got starfish on the wall, maybe skip the seashell coffee table books and the anchor throw pillows and the “BEACH” sign. Pick your coastal elements and don’t overdo it.
One trick I use is the “five foot rule” – step back five feet from your wall and if the starfish are the ONLY thing you notice, you’ve probably gone overboard. They should enhance the space not dominate it.
Specific Rooms and What Works
Living rooms can handle bigger, bolder pieces. This is where you can do a large metal starfish or an arrangement of multiple pieces. Above the couch is obvious but also consider that weird empty wall everyone has – you know the one.
Bedrooms I usually go smaller and more subtle. A single elegant piece above the bed or a small cluster on a side wall. You don’t want anything too visually busy where you’re trying to sleep.
Bathrooms are actually perfect for starfish decor because the moisture doesn’t damage metal or resin pieces. Avoid anything with paper or fabric backing though. I did three small white ceramic starfish above the toilet in my guest bath and everyone comments on them.
Entryways and hallways – great spot for a series of smaller starfish in a line. Creates movement and interest in a space that’s usually boring.
Kitchens… honestly I’d skip it unless you have a very specific coastal kitchen vibe going on. Otherwise it can read too kitschy.
The Grouping Thing Everyone Asks About
So like how many is too many? I’d say max five pieces in one grouping before it starts looking cluttered. Three is usually the sweet spot – odd numbers look better than even for some reason our brains like.
Space them about 3-5 inches apart depending on size. Closer spacing for smaller pieces, more room for bigger ones.
Try different arrangements: diagonal line, triangle formation, random organic cluster, or that pinterest-y “galaxy” style where they’re scattered but still balanced. I spent an embarrassing amount of time last Tuesday moving the same three starfish around on my wall trying to get the spacing right while watching Love Island in the background.
DIY Options If You’re Into That
You can make your own pretty easily actually. Buy preserved starfish in bulk online (way cheaper than buying already mounted), get some wood plaques or canvas boards from the craft store, and use hot glue or E6000 adhesive. Add some paint or stain to the background, maybe some sand or rope for texture.
I made a set of three for maybe $30 total that would’ve cost $120+ to buy finished. Took about an hour once everything was dry. The key is using enough glue – starfish are bumpy and you need good coverage or they’ll fall off eventually.
Another option is those shadowbox frames with starfish arranged inside. You can add sand, small shells, sea glass, whatever. It’s more protected than exposed starfish and you can get creative with the background.
Maintenance and Long-Term Care
Dust them regularly because they’re texture magnets. I use a soft paintbrush or one of those Swiffer duster things. Don’t use water on natural starfish ever – they’ll fall apart.
Metal pieces can be wiped down with a slightly damp cloth if they get grimy. Dry immediately though so they don’t water spot.
If natural starfish start looking dingy, you can carefully brush them with a mixture of water and a tiny bit of bleach (like 10:1 ratio) then let them dry completely. Makes them white again but don’t do this too often because it weakens them.
Check your hanging hardware every six months or so, especially if you have kids or pets that might bump into walls. Better to catch a loose hook before your art crashes down at 3am and gives you a heart attack.
The preserved ones will eventually deteriorate no matter what you do. I replace mine every 2-3 years usually. The metal and resin pieces last basically forever if you take care of them.
Common Mistakes I See Constantly
Hanging them too high – art should be at eye level generally, which is around 57-60 inches from the floor to the center of the piece.
Buying all the same size – boring and doesn’t create visual interest.
Ignoring the rest of the room’s style – if your whole place is modern minimalist, a rustic driftwood starfish situation is gonna look weird.
Going too literal with the beach theme – you don’t need starfish AND shells AND coral AND anchors AND rope AND… you get it.
Cheap command hooks on heavy pieces – recipe for disaster, trust me.
Not considering the wall color before buying – what looks good in the online photo might disappear against your actual walls.
Okay I think that’s everything I’ve learned from my obsessive starfish phase. The main thing is just don’t overthink it too much – if you like how it looks and it makes you happy when you see it, you’re doing it right. Coastal decor should feel relaxed not stressful to put together.