Wall Art Guide, Wall Art Tutoriels
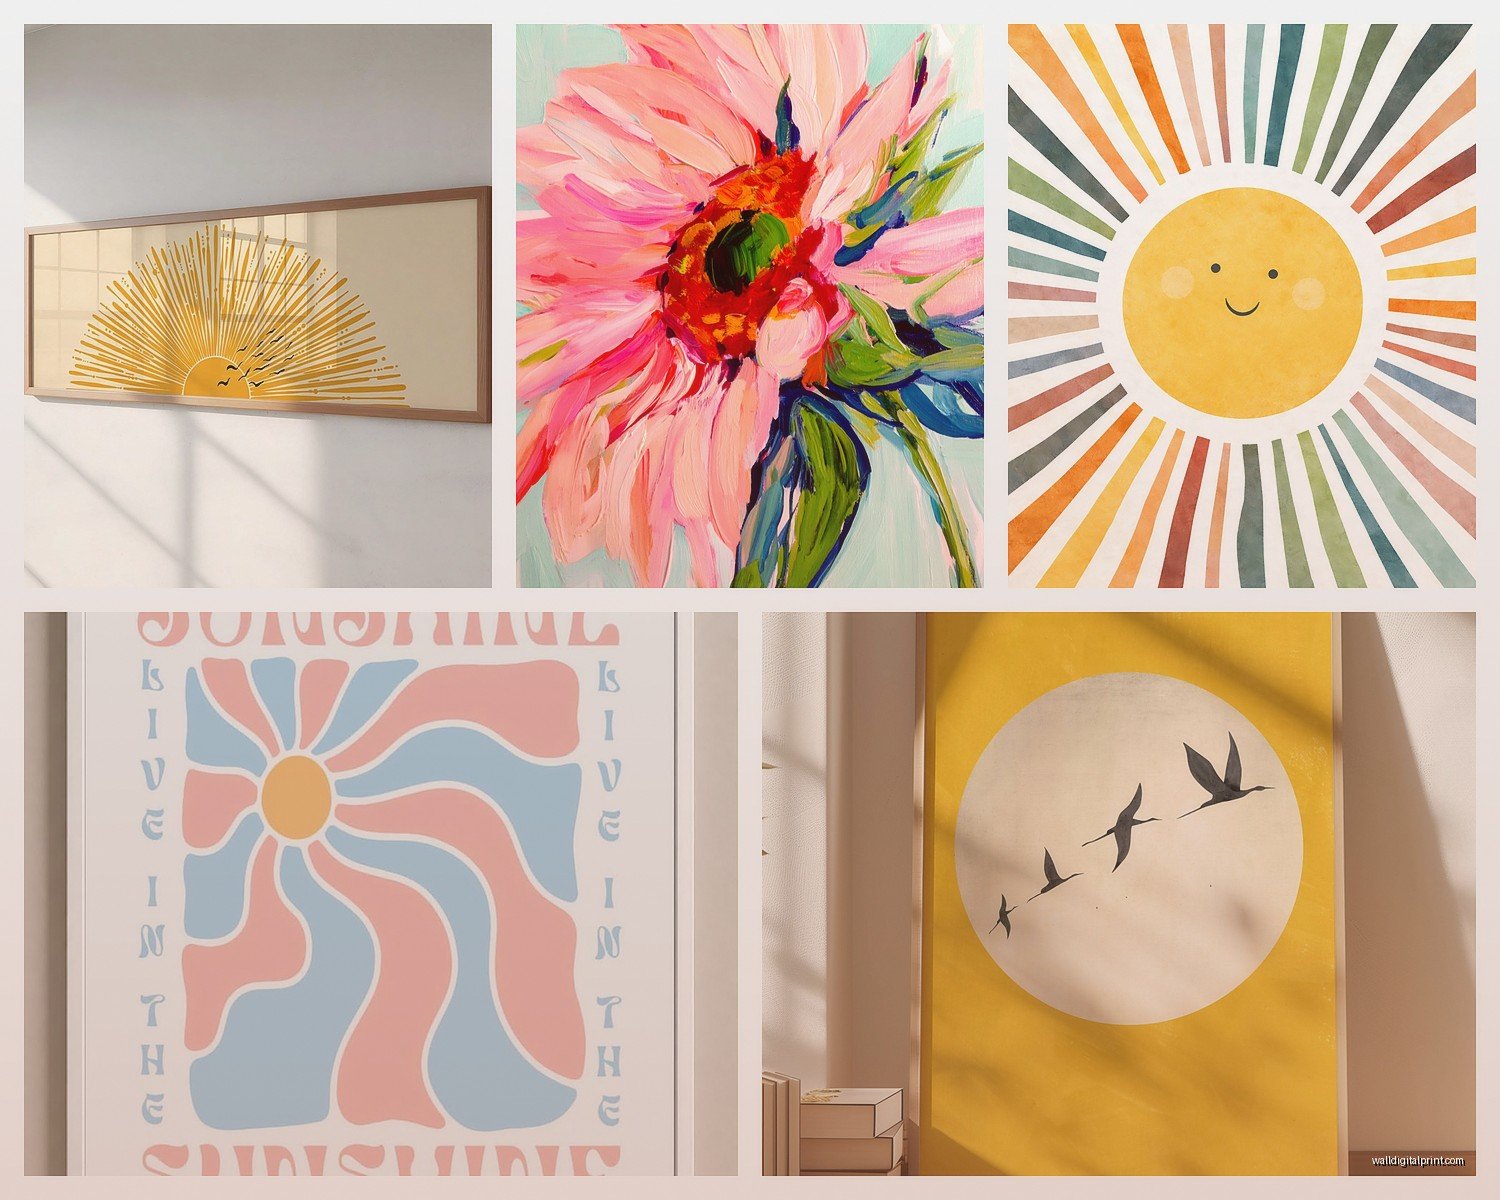
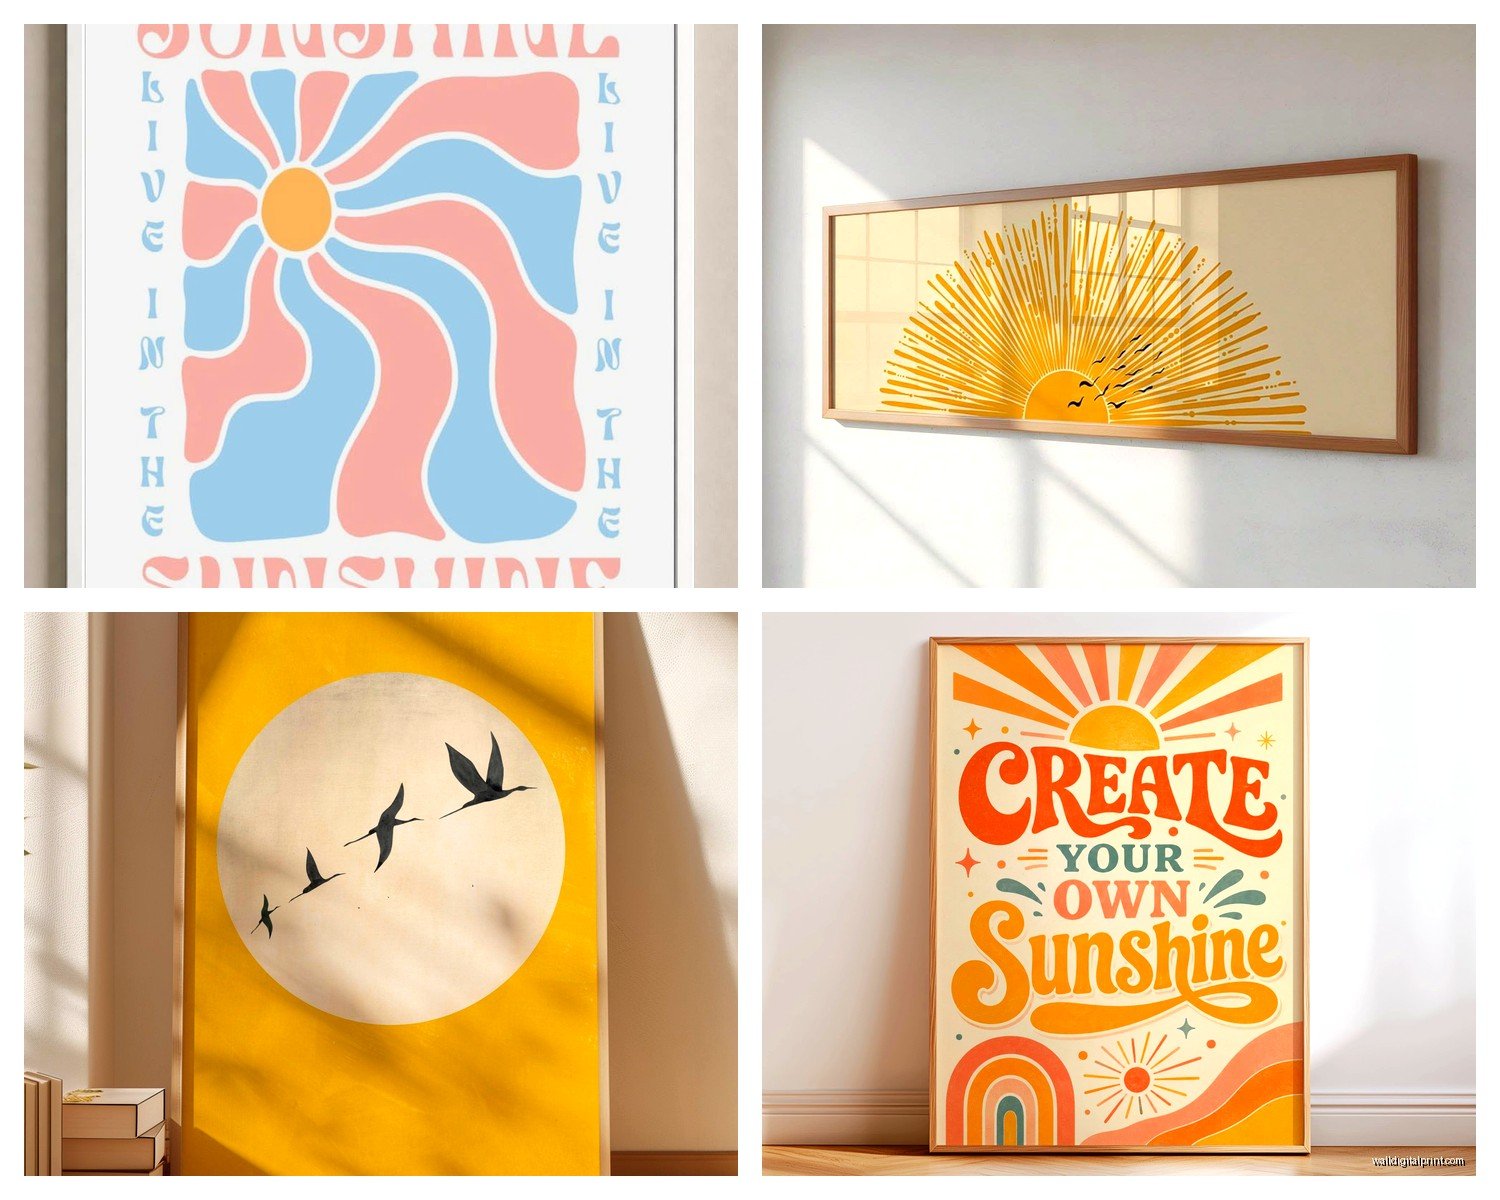
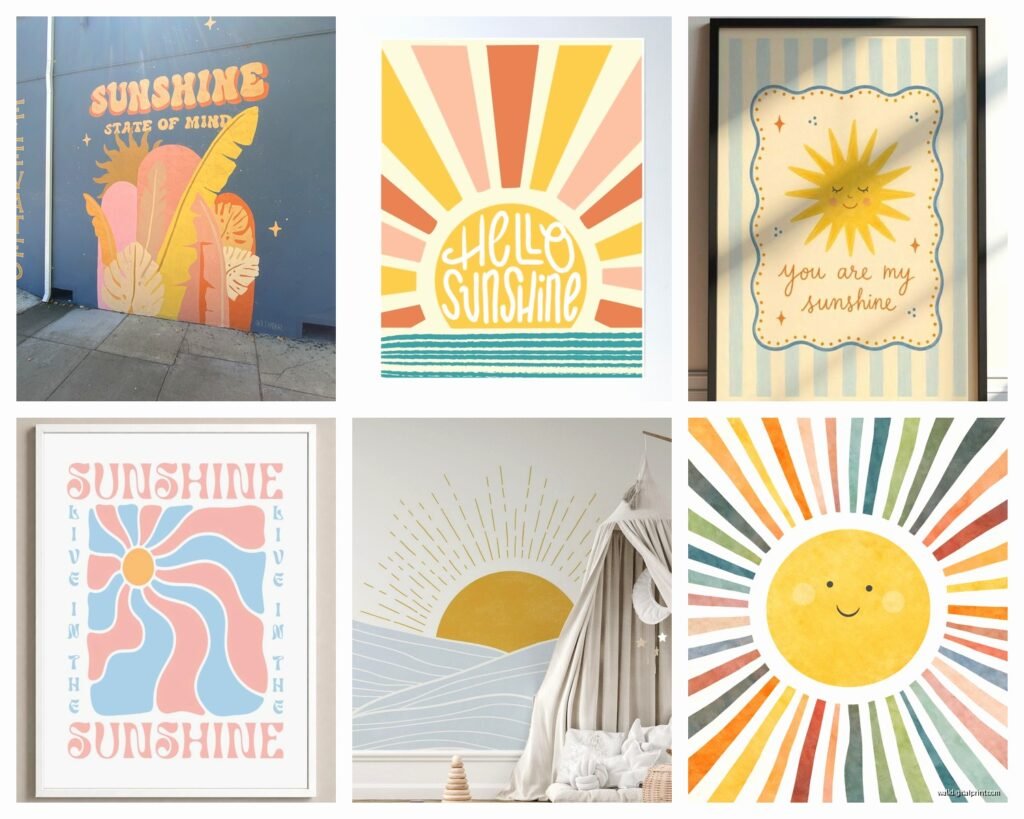
Sunshine Wall Art: Bright Happy Sun Ray Decor
Jul
So I’ve been absolutely obsessed with sunshine wall art lately and honestly it started because a client wanted to brighten up this dark hallway in her apartment and I was like, how do we make this feel less cave-like without doing a full renovation, and that’s when I fell down this whole sun ray decor rabbit hole.
The Different Types You’ll Actually Find
Okay so first thing – there’s way more variety than you’d think. You’ve got your classic metal sunburst mirrors which are probably what most people picture, but then there’s also painted canvas pieces, carved wooden suns, rattan/woven sunshine designs, and these really cool brass or gold-leafed rays that look super vintage.
The metal sunburst mirrors are probably the easiest to work with because they reflect light AND act as decor. I have this one above my console table that I got from – wait I’m gonna find the link later – but it’s like 32 inches and has these alternating length rays. Some are pointy, some are rounded at the tips. That variation is key because otherwise it looks too geometric and cold.
Wooden carved suns give you more of that boho or southwestern vibe. I used one in a client’s reading nook and paired it with terracotta pots and it looked amazing. The thing with wooden ones though is you gotta watch the color – if it’s too orange-y it can read really dated, like 90s Southwestern restaurant vibes. Look for natural wood tones or ones painted in muted golds or even white.
Where to Actually Put These Things
This is gonna sound weird but the worst place for sun wall art is actually where you’d think it should go – like directly across from a window. I made that mistake in my own living room and the sun piece just got totally washed out during the day. It needs to be on a wall that gets indirect light or has its own light source nearby.
Best spots I’ve found:
- Above a bed as a headboard alternative – creates this really nice focal point and you can flank it with sconces
- In entryways because it’s literally welcoming sunshine into your home
- Dark hallways like I mentioned – total game changer
- Above a fireplace if you don’t wanna do the whole mirror thing everyone does
- In bathrooms actually, especially if you have a pedestal sink and that awkward empty wall space
Oh and another thing – scale matters SO much. I see people buy these tiny 12-inch sun pieces and hang them on massive walls and it just looks lost. You want at least 24 inches for a standard wall, and if you’re doing an entry or above a bed, go 30-36 inches minimum.
Mixing Metals and Materials
So here’s where it gets fun. You don’t have to match your sun art to all your other metals in the room. Like I have brass cabinet pulls in my kitchen but a silver sunburst in my dining area and it works because they’re far enough apart. The rule I follow – and this is just from trial and error – is keep your metals consistent within a 6-foot radius. Beyond that, you can mix.
I did this whole gallery wall situation last month where we used three different sun pieces – one rattan, one brass, one painted terracotta-colored wood. Hung them in a triangle formation with some botanical prints mixed in. My cat knocked one down like two days later which was super fun, but once we rehung it with better anchors it’s been great.
The key with mixing materials is to have some other element tie them together. In that gallery wall it was the warm color palette – everything was in the rust, gold, cream family. If you’re doing a metal sunburst with other decor, repeat that finish somewhere else nearby. Like if it’s gold, maybe you have gold picture frames or a gold planter in the same sightline.
Color Choices That Don’t Look Childish
Okay so this was my biggest concern when I started working with sun art. How do you make it look sophisticated and not like a preschool decoration?
First – avoid primary yellow. Just don’t. It’s too literal and it will make your space look juvenile unless you’re specifically going for a kids’ room. Instead look for:
- Antique gold or brass finishes
- Muted mustard or ochre shades
- Natural wood tones
- White or cream for a more subtle approach
- Even black – I’ve seen black metal sunbursts that look incredibly chic
I tested this theory in my office where I painted this wooden sun piece in this really soft buttery cream color instead of bright yellow and it completely changed the vibe. Still reads as sunshine but in a grown-up way.
Also texture helps it feel more sophisticated. Smooth flat pieces can look cheap, but if there’s dimension – like hammered metal, carved wood details, or woven elements – it automatically elevates it.
The Rattan/Woven Situation
Wait I forgot to mention – rattan sun mirrors are having a MOMENT right now. They’re everywhere and honestly I get it because they add warmth without being too precious about it. The problem is quality varies wildly.
I’ve bought three different ones over the past year for various projects. The first one was from a big box store and it literally started unraveling after like two months on the wall. The second one was from a small online shop – way better quality but took forever to ship. The third one I found at a local home goods store and it’s been perfect.
What to look for in rattan pieces:
- Tight weaving with no visible gaps
- Finished edges that are wrapped or tucked, not just cut
- A decent weight – if it feels like a feather it’s probably not gonna last
- Sealed finish so it doesn’t get dusty and gross
These work really well in bedrooms, bathrooms, or any space where you want texture but not the shine of metal. I hung one above my bathtub and it’s held up great even with the humidity.
Sizing for Different Spaces
So my client canceled yesterday and I spent an hour comparing the visual weight of different sized pieces and here’s what I figured out:
For small spaces like powder rooms or narrow hallways – 18 to 24 inches is plenty. Anything bigger will overwhelm the wall.
Medium walls like above a dresser or in a breakfast nook – 24 to 30 inches hits that sweet spot.
Large walls like above a king bed or in a two-story entryway – go 36 inches or bigger, or consider doing a cluster of smaller pieces.
The one exception is if you’re doing a gallery wall situation, then you can use smaller individual pieces because the collective grouping creates the impact.
Layering with Other Wall Decor
This is where it gets actually interesting. A sun piece alone can sometimes feel too themed or one-note, but when you layer it with other stuff it becomes part of a cohesive story.
I did this in a living room where we had a large brass sunburst as the anchor piece, then added floating shelves on either side with books, plants, and small art objects. The sun piece became the focal point but wasn’t screaming LOOK AT ME I’M SUN THEMED.
Another approach – hang the sun art slightly off-center and lean a large mirror or piece of art next to it. This asymmetrical thing creates visual interest and makes the space feel more curated and less matchy-matchy.
You can also do the unexpected and put sun art in a maximalist space with lots of pattern and color. It doesn’t have to be in a minimal white room to work. I have a friend who has a sunburst in her jewel-toned dining room with emerald walls and it looks incredible because the gold picks up the warmth in the space.
DIY Options If You’re Into That
Okay so funny story – I tried to make my own sun art piece last year using wooden dowels and spray paint and it was… a learning experience. Not terrible but definitely not as polished as I wanted. But if you’re crafty there are ways to do this that actually turn out well.
The easiest DIY is taking a round mirror and adding your own rays. You can use:
- Wooden paint stir sticks cut to different lengths
- Brass or copper wire bent into ray shapes
- Bamboo skewers bundled and painted
- Cut wood shims arranged in a pattern
The trick is having a strong adhesive – I used E6000 – and making sure your base mirror is mounted securely before you start adding elements. Also plan your ray pattern before you start gluing because once that stuff sets, you’re committed.
I’ve also seen people paint sun rays directly on the wall behind a round mirror which is a cool semi-permanent option. You could use gold paint pens or even washi tape for a removable version.
Vintage vs. New
There’s something about vintage sunburst mirrors from the 60s and 70s that just hits different. They have this quality and weight that new pieces sometimes lack. I’ve found amazing ones at estate sales and antique shops.
The thing with vintage is you gotta check for:
- Mirror quality – is it too spotted or damaged?
- Structural integrity – are rays loose or missing?
- Finish condition – can you live with the patina or does it need restoration?
Sometimes the patina is what makes it special though. I have one that’s definitely seen better days but that tarnished brass finish gives it so much character. It works in my space specifically because everything else is pretty modern, so it adds that collected-over-time feel.
New pieces are obviously easier – they’re clean, they come in exact sizes, and you know what you’re getting. But they can sometimes look a bit soulless? Not always, but it’s something to watch for. Look for handmade pieces from artisans if you want new but with character.
Lighting Considerations
This makes such a difference and people don’t think about it enough. Your sun art should be lit properly or it just becomes a dark circle on the wall at night.
If it’s above a console table, put a lamp nearby so light hits the rays. If it’s above a bed, wall sconces on either side create this amazing glow. In a hallway, consider picture lights or even LED strips if you’re feeling fancy.
I installed these battery-operated puck lights behind a client’s wooden sun piece and it created this subtle halo effect that made the whole piece come alive. Cost like $15 and took five minutes to stick on.
Natural light is obviously great during the day but you need a plan for nighttime viewing too. The reflective quality of metal pieces means they’ll catch whatever light is in the room, so positioning matters.
Common Mistakes I’ve Made
Hanging it too high – eye level or slightly above is usually right, not up near the ceiling.
Choosing a finish that fights with everything else in the room – look at your existing metals and woods first.
Going too small – I said this already but it’s worth repeating because it’s the most common mistake.
Not using proper anchors – these pieces are heavier than they look, especially metal ones. Use wall anchors rated for the weight or hit a stud.
Putting it in a room with no connection to warmth or light – like a sun piece in a cold modern space with only blues and grays can feel random unless you have other warm elements.
Oh and buying the first one you see without shopping around. Prices vary SO much for basically the same thing. I’ve seen identical-looking rattan mirrors range from $30 to $200 depending on the retailer.
The best sunshine wall art creates this instant mood lift when you walk into a room. It doesn’t have to be literal or obvious – even subtle nods to sun rays through geometric patterns or radial designs can give you that bright happy energy without being too on the nose. Just gotta find the version that fits your actual space and style, not what looks good on someone’s perfectly curated Instagram feed.