Wall Art Guide, Wall Art Tutoriels
Studio Wall Art: Art Space Creative Workshop Decor
Aug
So I’ve been setting up studio spaces for like 8 years now and honestly the wall art thing is where most people completely overthink it or like, don’t think about it at all and then wonder why their creative space feels off.
First thing – your studio walls aren’t your living room walls. I learned this the hard way when I tried to make my first workspace “pretty” with all these delicate watercolor prints and then got paint splatter on a $200 frame within like three days. Your art space needs to actually work FOR you, not just look good on Instagram.
The Function First Approach That Actually Makes Sense
Okay so before you buy anything, walk into your studio and think about what you’re actually doing in there. Are you painting? Pottery? Digital work? Because a ceramics studio needs totally different wall considerations than someone doing graphic design. My friend Maya does textile work and she literally uses her walls as a design board – everything she hangs has to be okay getting fabric dye on it or being temporarily covered with muslin samples.
For painters and messy media people, you want stuff that can handle chaos. I’m talking:
– Sealed prints or laminated posters
– Metal signs or tin prints
– Canvas that you genuinely don’t care about
– Old vintage advertisements from flea markets (they’re already distressed so who cares)
The vintage ad thing is gonna sound weird but I found this amazing etched metal Coca-Cola sign at an estate sale for $15 and it’s been in my studio for four years, has paint drops all over it, and honestly looks better now? It’s got character.
Inspiration Walls vs Decoration Walls
This is where people mess up constantly. You need both but they serve completely different purposes.
Your inspiration wall should be:
– Constantly changing
– Messy-ish
– Covered in magazine tears, color swatches, photos from your phone printed at Walgreens
– Cork board or magnetic paint or just washi tape directly on the wall
I use magnetic primer paint on one whole wall and it’s literally the best $40 I ever spent at Home Depot. You can stick stuff up, move it around, and it doesn’t look like a college dorm because you can still paint over it with regular paint colors. Mine’s this deep sage green with magnets holding up fabric samples, paint chips, pictures of my dog (not relevant but he’s cute), and like 50 reference photos.
Your decoration wall is different – that’s the one that stays mostly the same and gives your space its vibe. This is where you can actually think about aesthetics.
What Actually Works for Decoration Walls
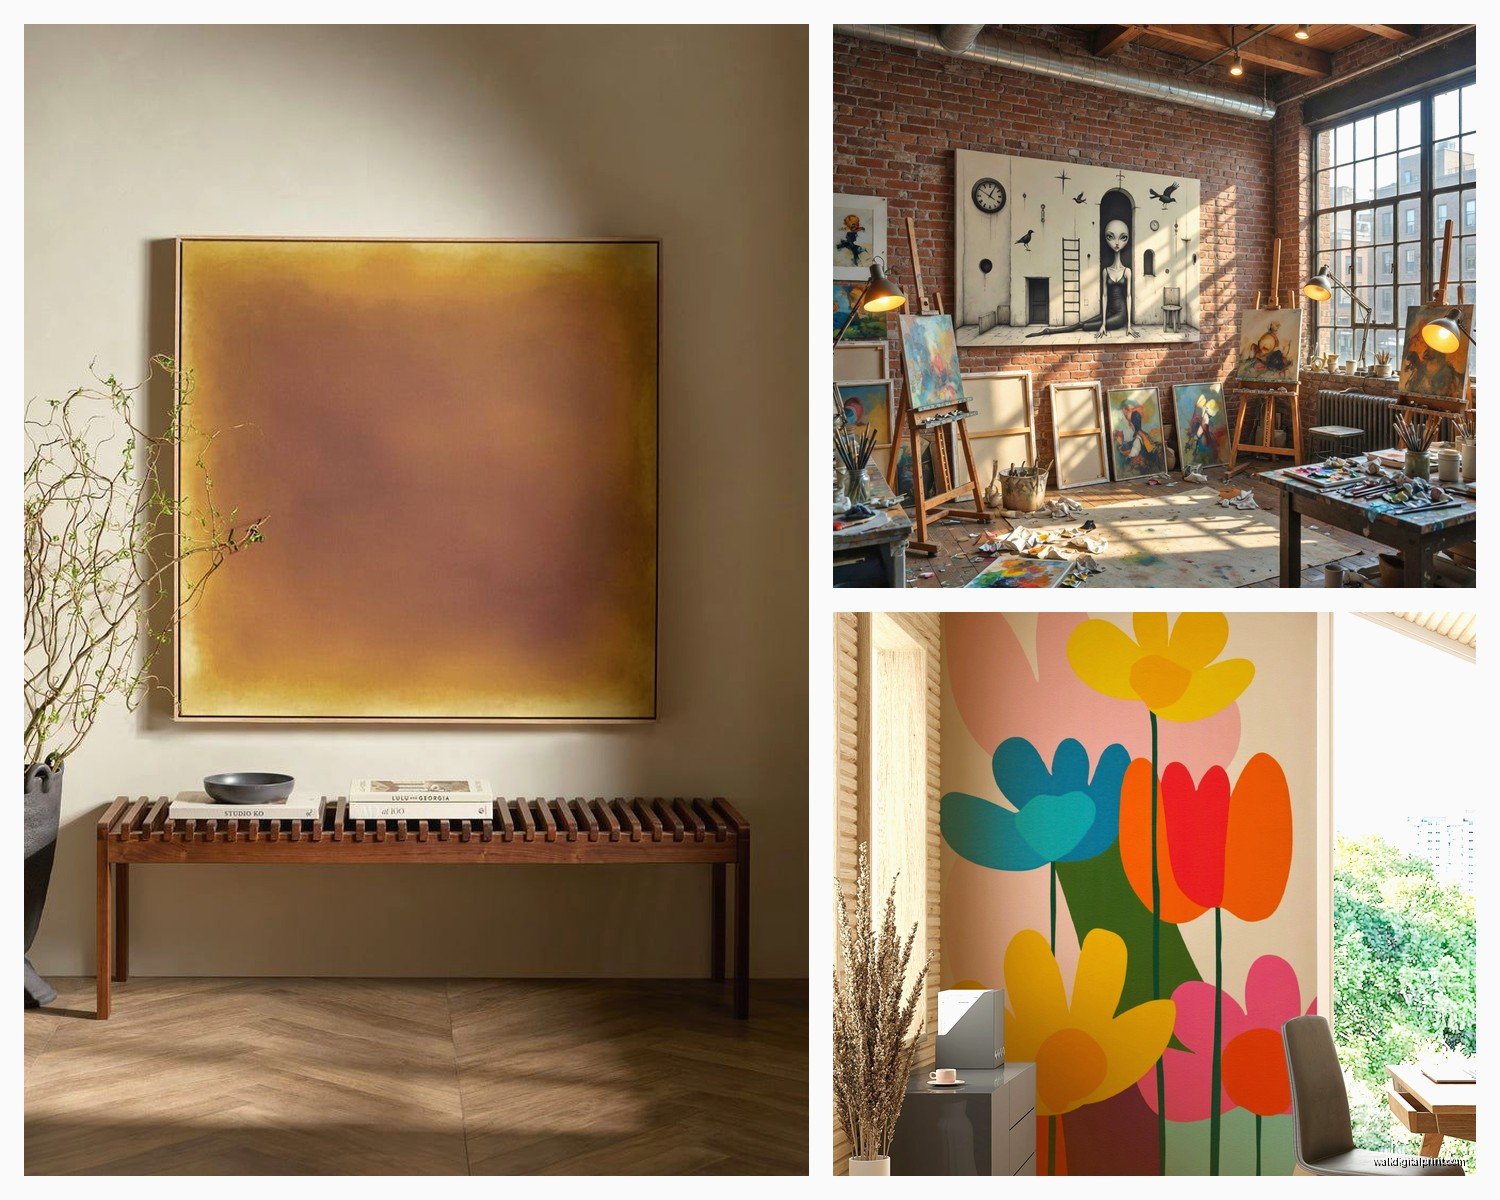
Large format stuff. I cannot stress this enough. Lots of small pieces make a creative space feel cluttered and chaotic when you’re trying to focus. Go big or go home.
Some options I’ve used:
– One massive canvas (like 40×60 or bigger)
– A series of three large prints in matching frames
– Oversized typography posters
– A huge vintage map or blueprint
– Floating shelves with sculptural objects
The typography poster thing is interesting because it can be motivational without being cheesy if you pick the right one. I have this giant letterpress-style print that just says “MAKE” in block letters and it’s perfect because it’s not trying to be inspirational, it just… is.
Color Theory for Your Workspace
Okay so this matters more than you think. The colors on your walls will affect how you perceive colors in your work. When I was doing art curation for that gallery in Portland, we had to keep all the walls neutral because otherwise it would shift how people saw the artwork.
For your studio, you have options:
If you work with color (painting, textiles, design):
Keep your wall art pretty neutral or monochromatic. Black and white photography, grayscale prints, natural wood pieces. You don’t want your wall art competing with your actual work or throwing off your color judgment.
If you work with neutrals or digital:
Go crazy with color on the walls. Bright abstracts, colorful vintage posters, bold graphic prints. This adds energy without messing with your work.
I switched my wall art completely when I went from doing watercolor work to digital design and it made such a difference. Went from all black and white photos to these vibrant abstract prints I got from Society6 during a sale.
The Budget Breakdown Nobody Talks About
Let’s be real about money because studio setup costs add up fast.
Under $50 total:
– Print your own stuff at FedEx (seriously, their large format printing is cheap)
– Thrift store frames + new prints
– Fabric as wall hangings (tapestries, interesting textiles)
– Your own practice pieces that didn’t work out but look cool on the wall
$50-200:
– Society6 or Minted during sales
– Local artist prints from art walks or markets
– IKEA’s large format options (their BJÖRKSTA series is actually decent)
– Frame sets from Target or Amazon with downloaded printables
$200+:
– Original art from emerging artists
– Custom framing for special pieces
– Gallery-quality prints
– Commissioned work
I’m gonna be honest, most of my studio walls are in that first category. My client canceled last Tuesday so I spent an hour comparing large format printing prices and FedEx came out way cheaper than Staples or local print shops for anything over 24×36.
The Practical Hanging Strategy
Oh and another thing – how you hang stuff matters for functionality.
Don’t use those command strips for anything over 2 pounds, I don’t care what the package says. I’ve had three prints crash down in the middle of work sessions and it’s the worst. Just use proper anchors or find the studs.
For frequently changing inspiration boards:
– Picture hanging rail systems (IKEA has cheap ones)
– Clipboards mounted to the wall
– Binder clips on a wire or rod
– Magnetic systems
For permanent decoration:
– Traditional frames with proper wall anchors
– Canvas stretchers hung directly
– Floating frame systems for a modern look
The picture rail thing changed my life because I can swap stuff out without putting new holes in the walls. My landlord appreciates this.
Arrangement Tips That Actually Matter
Center your main piece at eye level when you’re standing. Not sitting, standing. You’re gonna be moving around your studio, not staring at it from a desk chair usually.
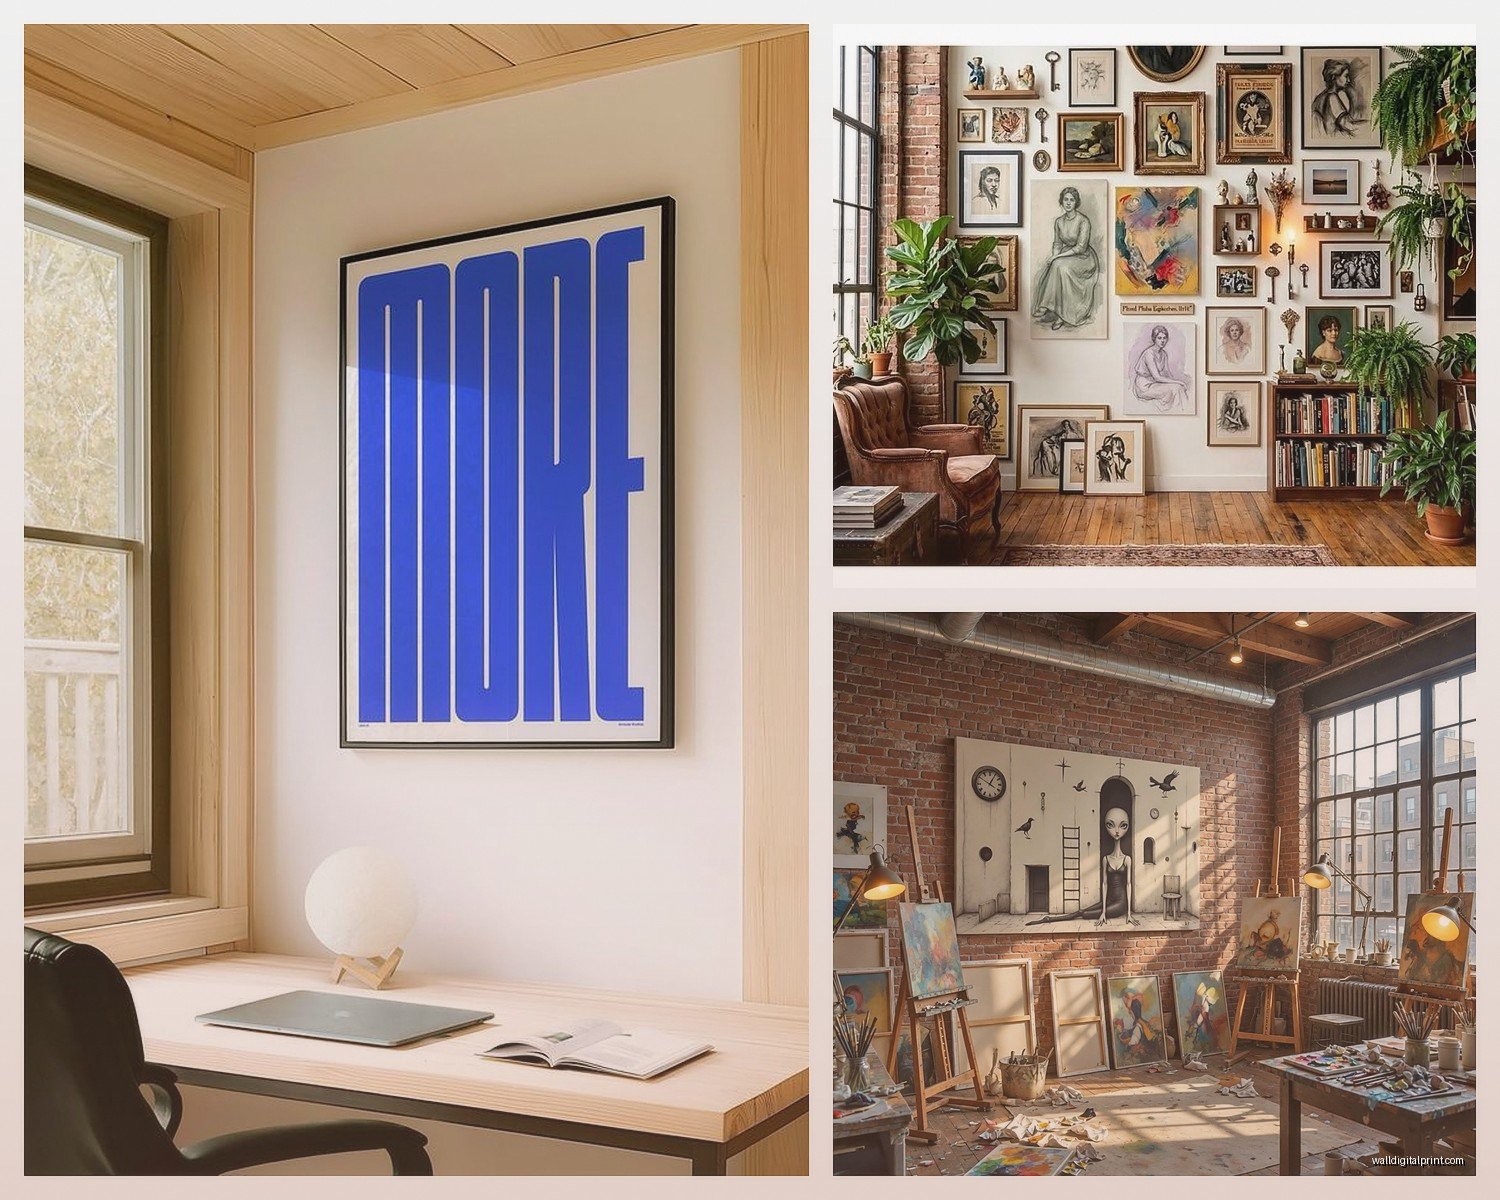
If you’re doing a gallery wall situation (which honestly I think is overdone but whatever), lay it out on the floor first. Take a picture with your phone. That’s your map. Use painter’s tape to mark where the top corners go on the wall.
Leave breathing room. Your studio walls don’t need to be full. Empty space is okay and sometimes necessary. I see so many people cramming every inch and then they feel visually overwhelmed in their own workspace.
Specific Recommendations I’ve Actually Tested
Wait I forgot to mention – here are actual sources I use regularly:
For affordable prints:
Etsy has tons of downloadable art prints for like $5-8. You print them yourself. Search for “studio art print” or “artist workshop poster” and you’ll find stuff actually designed for creative spaces.
For original affordable art:
Local art school student shows. Seriously. Students sell work cheap because they need portfolio pieces and money for supplies. I got a stunning abstract for $75 that would cost $500+ from an established artist.
For vintage/unique:
Estate sales, not antique shops. Antique shops mark everything up. Estate sales just want stuff gone. Found my favorite studio pieces this way – old botanical prints, weird industrial diagrams, vintage tool advertisements.
For modern/minimalist:
Desenio has sales constantly. Their frames are decent quality and the prints are clean and simple. Good for that Scandinavian studio aesthetic if that’s your thing.
The Stuff That Doesn’t Work
Learn from my mistakes:
Glass frames in a messy studio – nope. They break, they’re heavy, they’re reflective in bad ways. Go for plexiglass if you need protection or just use unframed canvas.
Those vinyl wall decals with quotes – they look cheap and they’re a pain to remove. Just don’t.
Anything too precious or valuable – save that for your house. Studios are work spaces and things happen. I spilled a whole container of medium on the floor once and it splattered up the walls. If I’d had expensive art there I would’ve cried.
Too many small pieces – makes the space feel busy and cluttered. Your brain needs some visual rest areas.
Really trendy stuff – that geometric copper wire trend from like 2016? Everyone’s taking those down now. Stick with things that have staying power or go fully weird/personal so trends don’t matter.
Making It Actually Personal
This is gonna sound weird but the best studio wall art includes your own work or process. Frame your color studies. Put up test prints that didn’t work but have interesting elements. Display tools as art – vintage brushes, interesting scissors, old rulers.
I have a whole section of wall with failed ceramic pieces on floating shelves. They remind me that failure is part of the process and also they look kinda cool as sculptural objects even though they’re technically mistakes.
Your studio should reflect YOUR creative process, not just look like a Pinterest board. The wall art should support your work, inspire you specifically, and be functional for how you actually use the space.
Lighting Considerations Nobody Mentions
Where your art goes matters based on lighting. Don’t put anything with glass or glossy finish opposite your main windows – glare city. Save those spots for matte prints or textile hangings.
If you have specific task lighting, position inspirational reference images near those lights so you can actually see them when you’re working. Sounds obvious but I see people put inspiration boards in the darkest corners and then never look at them.
Rotating Your Display
Change things up every few months. Your creative needs shift, your style evolves, you get bored. Having a rotation system keeps your space feeling fresh without spending more money.
I keep a flat file drawer (okay fine it’s just a big plastic bin under my desk) with prints and pieces I rotate through. Every season I swap out at least two major pieces. Keeps me from getting visual fatigue in my own space.
The magnetic wall thing I mentioned earlier makes this super easy – just stick new stuff up, take old stuff down. No commitment, no holes, no problem.
Okay that’s pretty much everything I wish someone had told me before I set up my first studio and wasted money on all the wrong stuff. The main thing is just make it work for YOU and your actual process, not what looks good in photos.