Wall Art Guide, Wall Art Tutoriels
Iron Wall Art: Wrought Forged Metal Traditional Designs
Oct
So I’ve been obsessed with wrought iron wall art lately and honestly it’s one of those things that looks way more complicated than it actually is to work with. Like, my neighbor saw the piece I hung in my hallway last month and assumed I paid someone to install it but it literally took me 15 minutes and a stud finder.
First thing you gotta know is that not all “wrought iron” is actually wrought iron anymore. Most of what you’re buying is just steel that’s been forged or welded to look traditional. Real wrought iron is stupid expensive and honestly unless you’re restoring a historic home or something, the modern forged steel stuff looks identical. I spent like three hours at this antique market comparing pieces and couldn’t tell the difference without asking the seller.
Finding the Right Piece for Your Space
Okay so the biggest mistake everyone makes is buying something too small. I did this with my first piece, got this cute little scrollwork thing that was maybe 12 inches across and it just disappeared on my wall. Looked like I hung up a trivet or something. For iron wall art you want to go bigger than you think you need because the negative space is part of the design, you know?
Here’s what actually works size-wise:
- Small walls or tight spaces like bathrooms: 18-24 inches minimum
- Standard living room or bedroom walls: 30-40 inches is the sweet spot
- Large statement walls: don’t be scared to go 48+ inches, I have a 60-inch piece above my couch and it’s perfect
- Gallery wall situations: mix sizes but keep your largest piece at least 24 inches
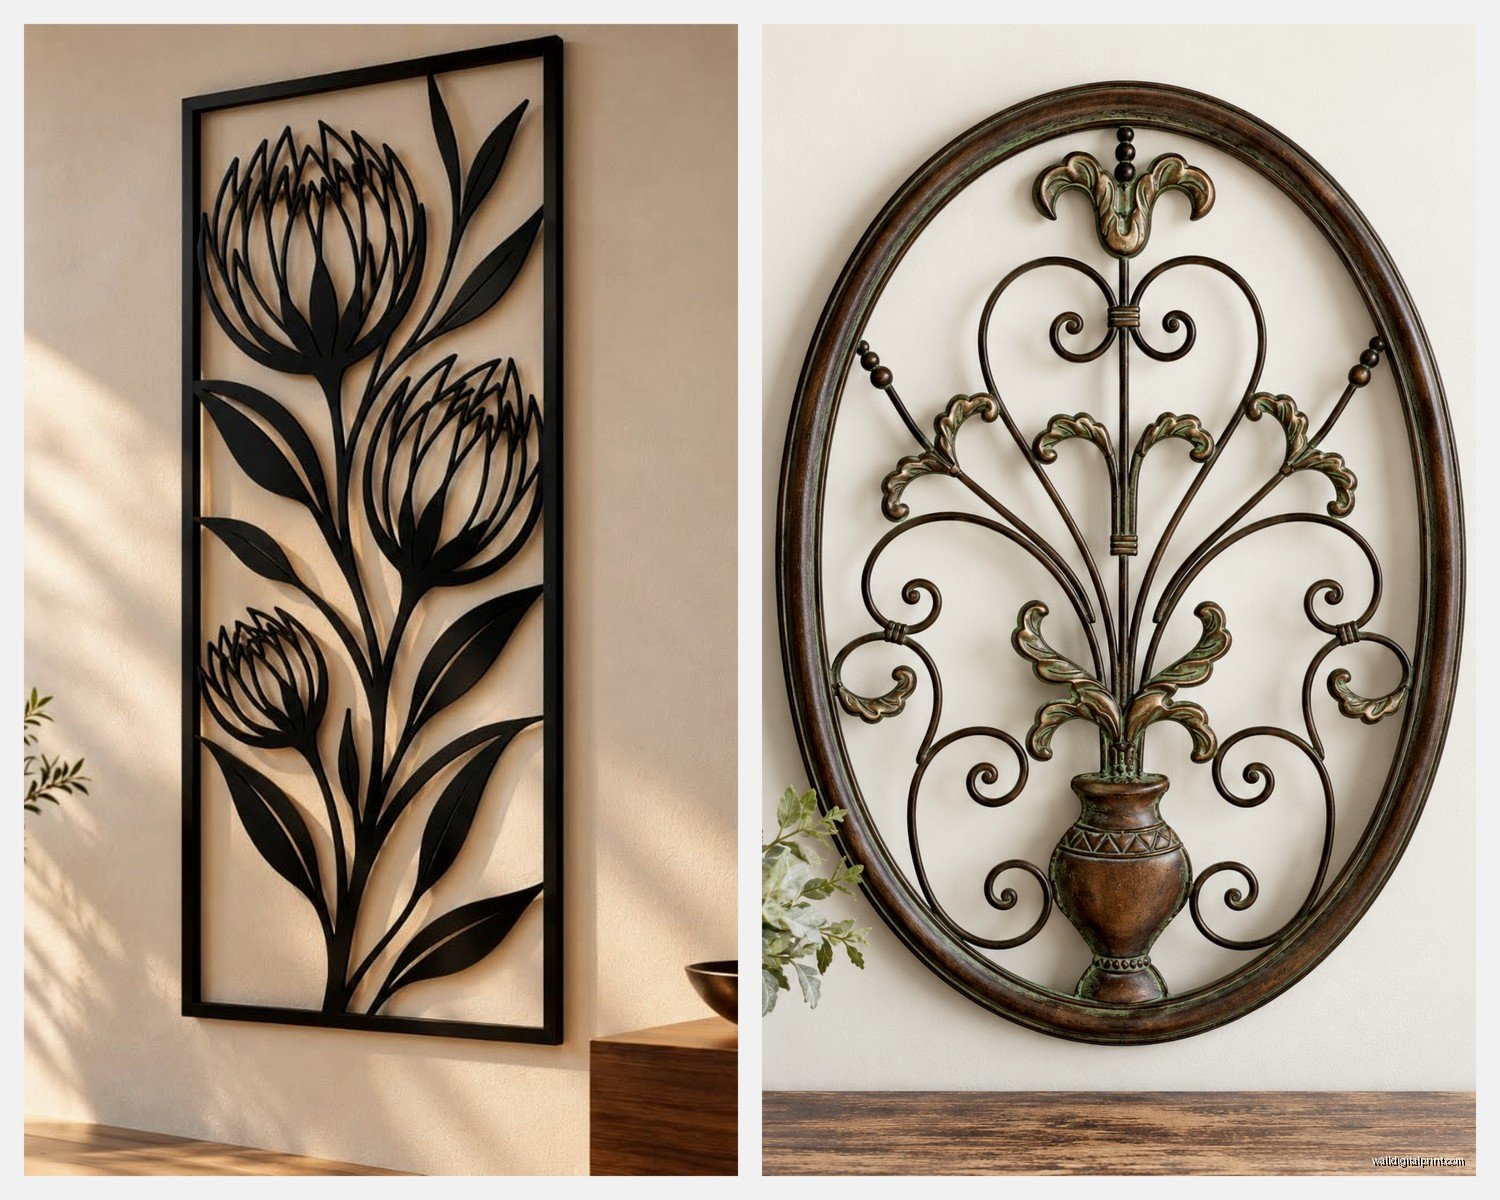
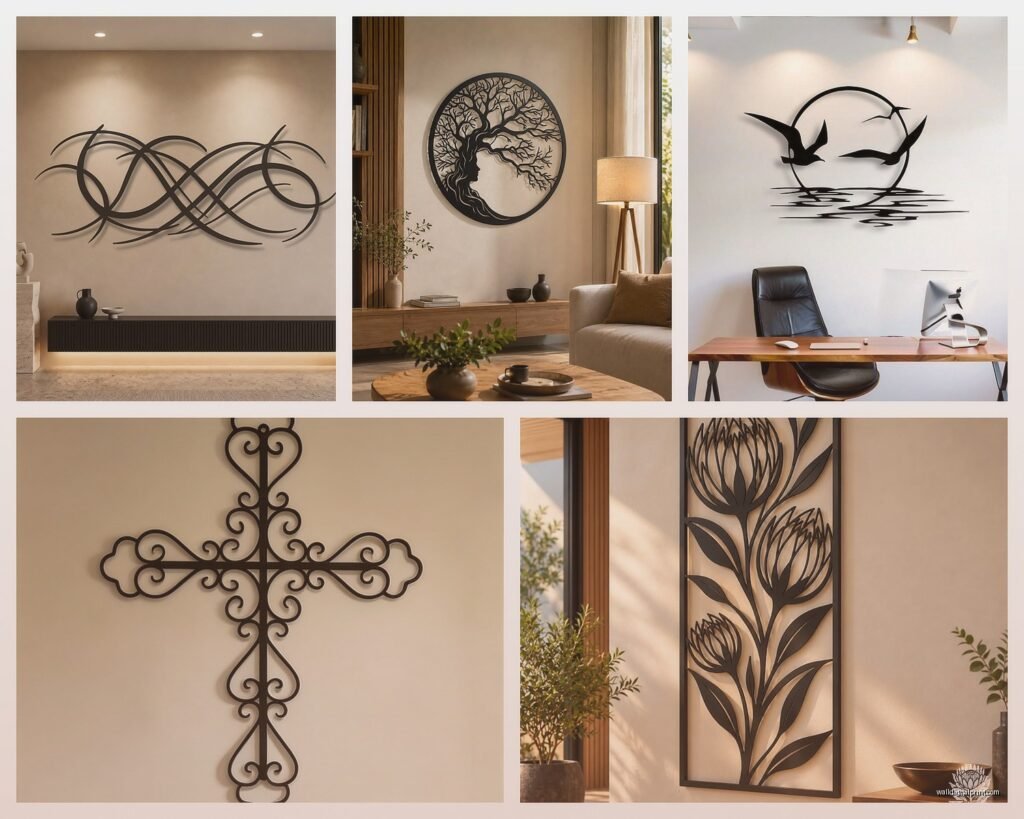
The traditional designs you’re gonna see most often are scrollwork, fleur-de-lis, tuscan styles, and geometric patterns. Scrollwork is super forgiving because it works with basically any decor style if you’re careful about it. I’ve seen scrollwork look amazing in modern farmhouse, traditional, even eclectic spaces.
Weight and Installation (This Part’s Important)
So here’s something nobody tells you until you’re standing there with a 25-pound metal sculpture wondering what to do. These things are HEAVY. Like way heavier than you’d expect. That decorative piece that looks all delicate and airy? Probably weighs 15-30 pounds depending on size.
You absolutely cannot just hammer a nail into drywall and hope for the best. I watched my sister do this once and the whole thing crashed down at like 2am and scared the crap out of her cat. You need to either hit studs or use proper anchors.
What I actually use and recommend:
- For pieces under 20 pounds: heavy-duty wall anchors rated for at least 50 pounds (always go way over what you need)
- For anything over 20 pounds: find the studs and use wood screws, usually 2-3 inches long
- For super heavy statement pieces: I use toggle bolts if I can’t hit studs, they distribute weight better
Most iron wall art comes with those sawtooth hangers or D-rings already attached. The D-rings are way more secure, just FYI. If your piece only has a sawtooth hanger and it’s heavy, I’d honestly add D-rings yourself. You can get them at any hardware store for like $3.
The Actual Hanging Process
Okay so you’re gonna need a level. I know everyone says this but I ignored it the first few times and my pieces were noticeably crooked. Your eye can tell when something’s off by even just a couple degrees.
What I do is measure the wall to find the center point first, mark it lightly with pencil. Then I hold the piece up where I want it (this is where having someone help is clutch, especially with big pieces) and step back to see if the placement feels right. Don’t just measure mathematically, you gotta trust your eye too because sometimes centered looks wrong depending on furniture placement and stuff.
Once you know where it’s going, measure from the top of your piece to where the hanger sits. Then measure down from your desired top point on the wall by that amount and mark where your screw needs to go. Use the level to make sure your mark is straight, drill your pilot hole if you’re going into studs, then install.
Oh and another thing, if you’re hanging multiple pieces together, lay them out on the floor first in the exact configuration you want. Take a photo from above. This saves SO much time and wall damage from repositioning.
Traditional Design Styles and Where They Actually Work
Mediterranean/Tuscan scrollwork is probably the most popular and it’s pretty versatile honestly. These are the ones with lots of curves, circular motifs, sometimes with a rust or bronze finish. I have one in my dining room that’s got this gorgeous layered scrollwork pattern and it catches light differently throughout the day which is cool.
Fleur-de-lis designs are tricky because they can read super formal or traditional. I’ve seen them work in more casual spaces but you gotta be intentional about it. They’re great for entryways though, something about them feels welcoming.
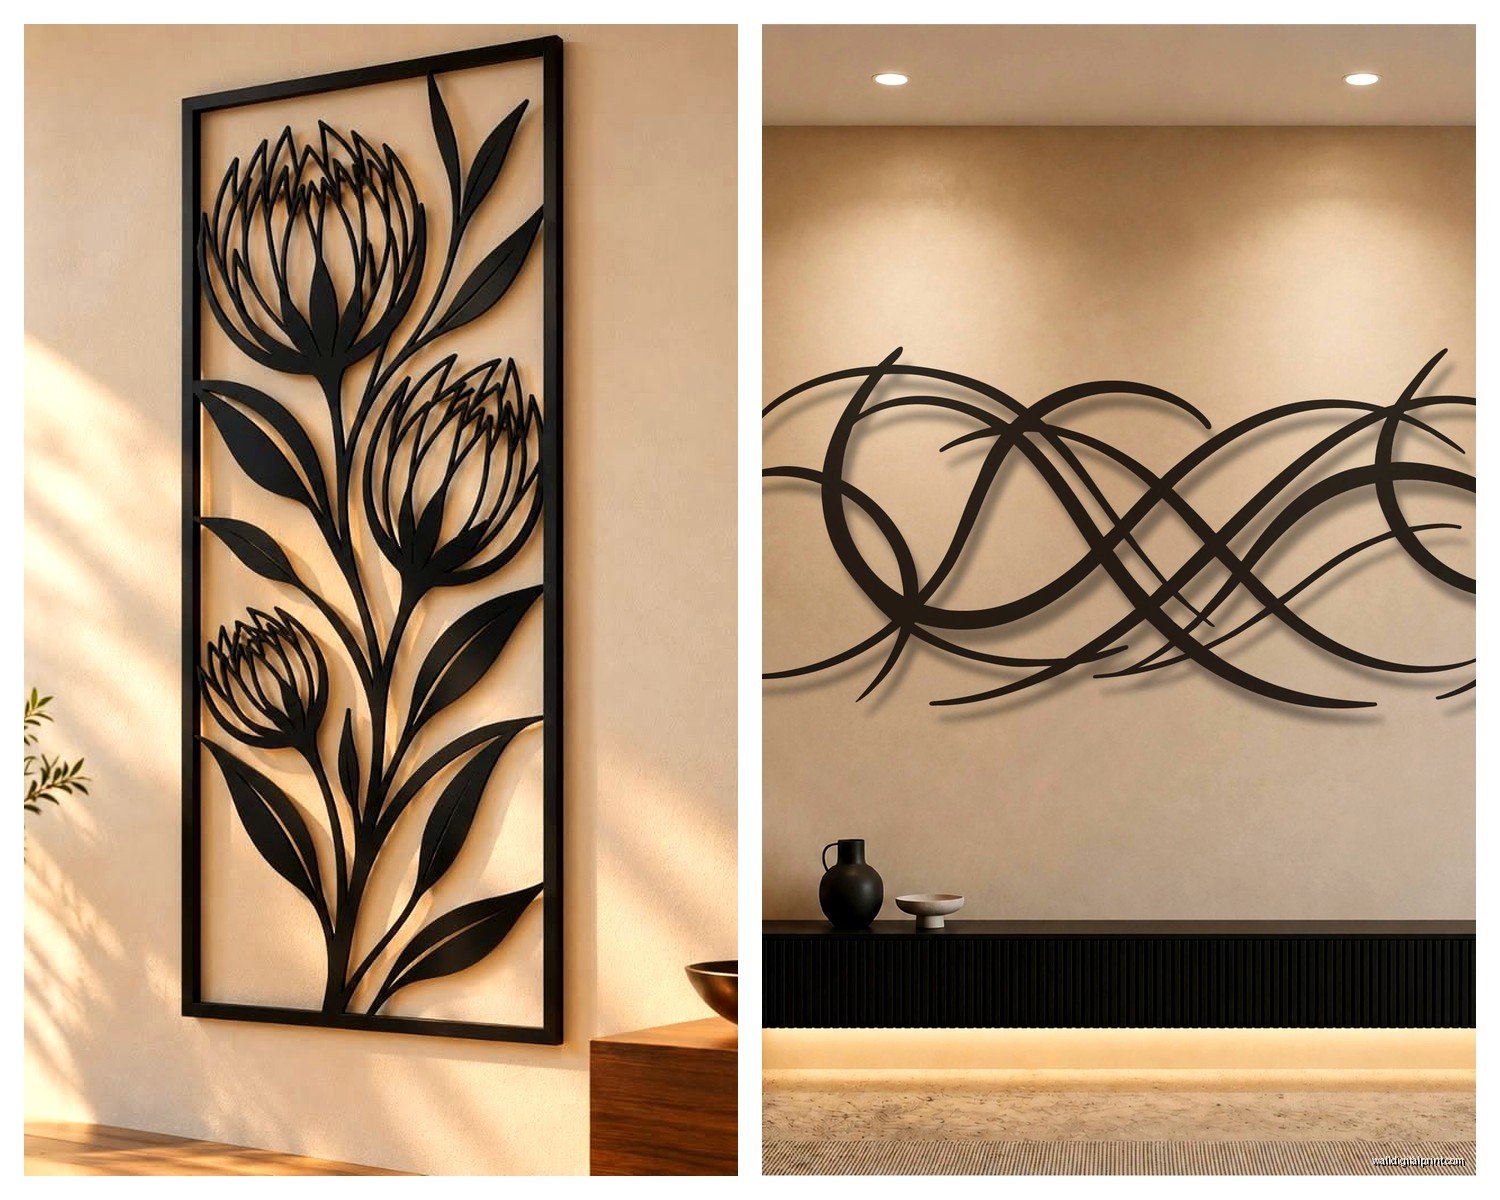
Geometric patterns are having a moment right now. The traditional ones are usually based on Celtic knots or Gothic architecture motifs. These work really well in modern or transitional spaces because the lines are cleaner even though the style is old.
Tree and nature motifs are my personal favorite for larger pieces. There’s something about a wrought iron tree that just works on a big wall. I put one in a client’s bedroom last year and it became the whole focal point of the room. Just make sure if you’re going with a tree design that it’s proportional to your space because they can overwhelm smaller rooms.
Finishes and How to Maintain Them
Most traditional iron wall art comes in these finishes:
- Matte black – classic, works everywhere, shows dust like crazy though
- Oil-rubbed bronze – my go-to, hides imperfections and has depth
- Rust or aged finishes – great for farmhouse or industrial vibes
- Copper or gold accents – can look amazing or cheap depending on quality
- Brushed silver/pewter – modern traditional if that makes sense
The maintenance is actually super easy. I just dust mine with a microfiber cloth every couple weeks. If you’ve got a textured or rust finish, a soft brush works better to get into the crevices. For oil-rubbed bronze, you can use furniture wax once a year to keep it looking fresh but honestly I’ve never done this and mine still look fine.
If your piece is going in a bathroom or anywhere humid, make sure it’s sealed properly or you’ll get actual rust. I learned this the hard way with a piece above my bathtub that started getting orange spots after like six months. Had to take it down and seal it with clear spray paint.
Mixing Traditional Iron Art with Different Decor Styles
This is where it gets fun. Traditional wrought iron doesn’t have to mean your whole room looks like a medieval castle or whatever.
In modern spaces: go for geometric iron pieces with clean lines, keep the finish simple like matte black, and use them sparingly as contrast against minimalist backgrounds. I did this in my friend’s modern apartment with a simple circular iron piece and it actually made the space feel less cold.
In farmhouse or rustic: rust finishes and nature motifs are your friends. Pair them with reclaimed wood and neutral colors. Don’t go too matchy-matchy though, like you don’t need iron everything.
In eclectic or boho spaces: this is honestly where iron art shines because you can mix different styles together. I’ve got a client who has a Moroccan-inspired iron piece next to modern art prints and it totally works.
In traditional spaces: you can go all out with ornate scrollwork, layered designs, symmetrical placement. This is the easiest pairing honestly because it’s what the style was made for.
Color Theory Stuff That Actually Matters
Iron wall art is usually dark, so you’re creating contrast against your wall color. Light walls make the iron pop more, dark walls create a more subtle sophisticated look. I’ve got a charcoal gray wall in my office with black iron art and you can barely see it in certain light, but when the sun hits it through the window it creates these cool shadows that almost become part of the design.
If your piece has colored accents or patina, pull those colors into your room through pillows or other accessories. Sounds basic but it really ties things together.
Where to Actually Buy Good Pieces
Okay so I’ve bought from everywhere at this point. HomeGoods and TJ Maxx sometimes have decent pieces for cheap, like $30-60 range, but it’s hit or miss and the quality can be questionable. I got one there that started flaking paint after a year.
Wayfair and Overstock have huge selections and you can filter by size and style which is helpful. Read the reviews though because sometimes the photos make pieces look way bigger than they are. I almost bought this “large” wall sculpture that turned out to be 16 inches based on customer photos.
Etsy is great for custom or unique pieces. More expensive usually but you’re getting something handmade. I commissioned a piece from a metalworker in Tennessee last year and it’s probably my favorite thing in my house.
Local antique stores and flea markets are goldmines if you’re patient. Real vintage wrought iron has this character that new stuff doesn’t, plus it’s usually solid as hell. Just check for rust damage and make sure any mounting hardware is still secure.
Wait I forgot to mention, estate sales are another good option. Old houses often have amazing iron pieces that people don’t want to move. I got a massive Gothic-style piece for $40 at an estate sale that would’ve been like $300 retail.
Common Problems and How to Fix Them
Paint chipping: touch it up with spray paint in a matching finish, light coats from about 8 inches away. Let it dry completely between coats.
Rust spots: sand them lightly with fine grit sandpaper, wipe clean, spray with rust converter, then seal with clear coat. I had to do this on an outdoor piece I brought inside.
Piece feels wobbly on wall: your anchor probably isn’t rated for the weight or it’s pulling out of the drywall. Take it down, use better anchors or find a stud. Don’t mess around with this because when these fall they can really damage your wall or floor.
Design looks dated: sometimes it’s not the piece itself but how it’s styled. Try moving it to a different wall, changing what’s around it, or even spray painting it a different color. I took an ornate gold piece someone gave me, painted it matte black, and suddenly it looked contemporary instead of baroque.
Creating a Gallery Wall with Iron Pieces
This is gonna sound weird but I actually plan these on my bed first. Lay everything out, take photos from different angles, move stuff around until it feels balanced. The rule everyone says is to keep 2-3 inches between pieces but honestly I think that’s too uniform sometimes.
Mix iron with other materials like wood, mirrors, or framed art. All iron can look heavy and monotonous. I’ve got a gallery wall in my stairwell that’s iron pieces mixed with vintage mirrors and it’s way more interesting than just iron would be.
Start with your largest piece and build around it. Don’t feel like everything needs to be perfectly aligned, asymmetrical can look more organic and interesting.
For traditional iron designs in a gallery wall, I like mixing different styles – some scrollwork, maybe a fleur-de-lis, a geometric piece – as long as the finish is consistent it’ll feel cohesive.
Outdoor vs Indoor Pieces
If you’re putting iron art outside, it needs to be specifically rated for outdoor use with a powder coat or sealed finish. Regular indoor pieces will rust and deteriorate pretty quickly. I’ve seen people try to save money using indoor pieces on covered porches and it still doesn’t work great because of humidity.
Outdoor pieces are usually heavier gauge metal and cost more but they last forever basically. Just hose them off occasionally to remove dirt and pollen.
You can bring outdoor pieces inside no problem, but going the other direction doesn’t really work long-term.
Budget Considerations
Small decorative pieces: $25-75
Medium statement pieces: $75-200
Large focal pieces: $200-500+
Custom or antique pieces: sky’s the limit honestly
The quality difference between a $40 piece and a $150 piece is usually noticeable in the metal thickness, finish quality, and how the joints are done. Cheaper pieces sometimes have visible welds or uneven finishes. But for some spaces the cheaper stuff works fine, you just gotta know what you’re getting.
I always tell people to invest in one really good large piece rather than buying a bunch of cheap small ones. The impact is way better and it’ll last longer.
Oh and shipping costs on these can be brutal because of the weight, so factor that in when you’re comparing prices online versus buying local.
Anyway that’s basically everything I’ve learned through trial and error with wrought iron wall art. My dog is staring at me because it’s past his dinner time so I gotta go, but seriously if you’re on the fence about getting a piece just do it, they’re so much easier to work with than you’d think and they add instant character to boring walls.