Wall Art Guide, Wall Art Tutoriels
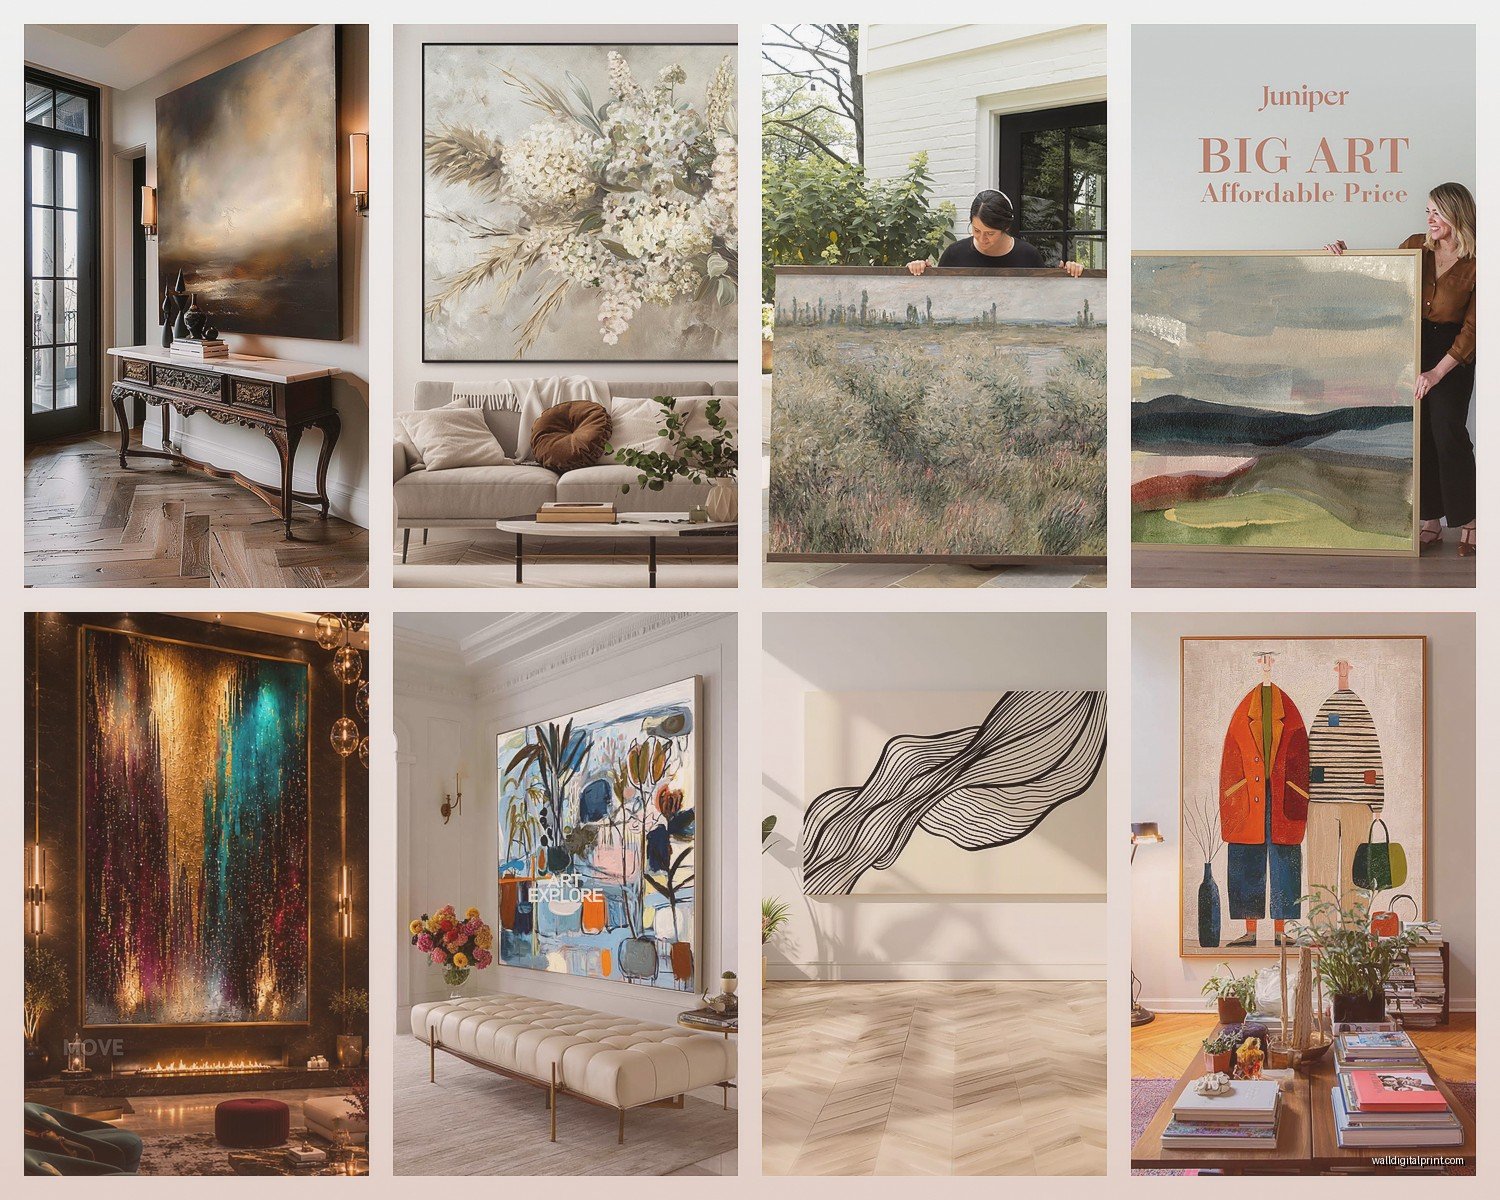
Wall Art for Living Room Large: Oversized Main Space Options
Sep
So I’ve been dealing with this exact issue at like three different client spaces this month and honestly the whole “large wall art for big living rooms” thing is trickier than people think because you can’t just slap up something huge and call it done.
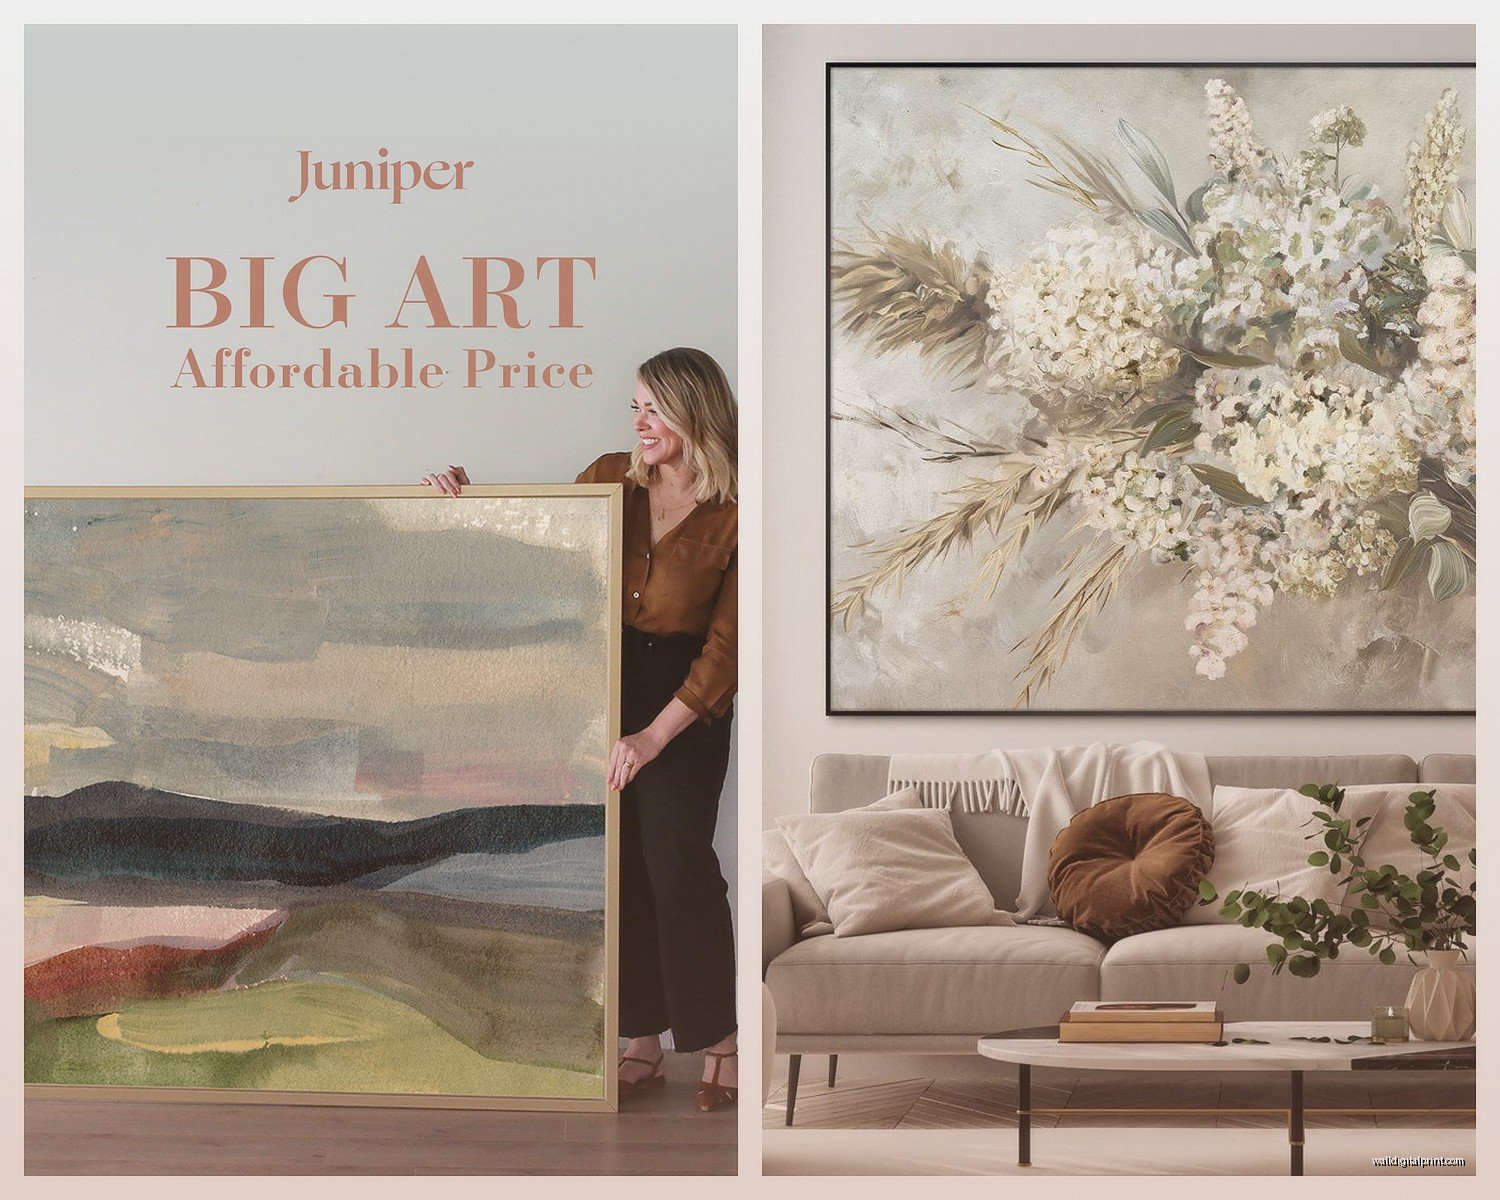
First thing – and I literally just had this conversation with my neighbor yesterday – you gotta measure that wall space but like actually measure it. Not eyeball it. I’ve seen so many people buy what they think is oversized art and then it shows up looking like a postage stamp on their 15-foot wall. The general rule I use is your art should take up about 60-75% of the available wall space width-wise. So if you have an 8-foot wide wall section above your sofa, you’re looking at something around 5-6 feet wide. Sounds massive when you say it out loud but trust me it won’t look massive on the wall.
The Actual Size Dilemma Nobody Talks About
Okay so here’s where it gets weird – shipping. Like I found this PERFECT 6×4 foot canvas piece for a client’s space and the shipping was gonna be $400 because of dimensional weight. That’s when I started looking at alternative formats and honestly it changed everything for how I approach large living room art now.
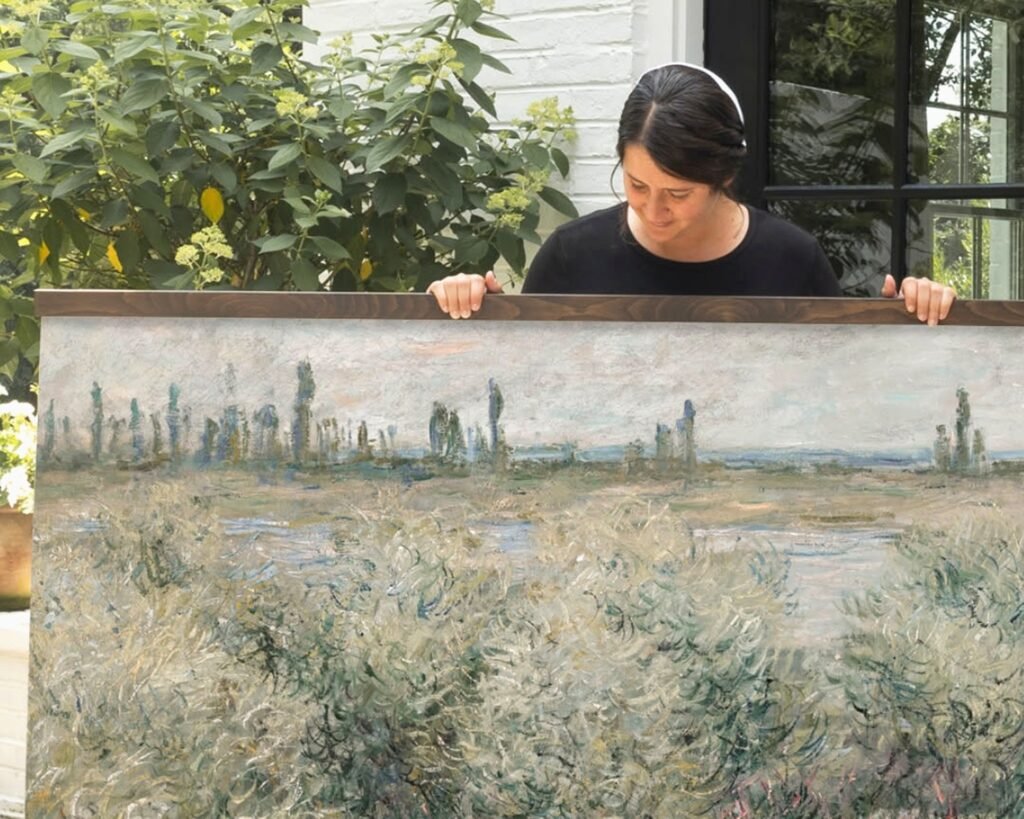
Multi-panel installations are your friend here. Instead of one giant canvas, you get like 3-5 panels that create one cohesive image or design. They ship flat usually, way cheaper, and you have flexibility with spacing. I did a three-panel abstract landscape thing in my own living room last year – each panel is 30×40 inches – and the visual impact is the same as a single 90-inch wide piece but I paid like $60 for shipping instead of hundreds.
What Actually Works in Large Spaces
From working with probably 30+ large living rooms at this point, here’s what I’ve seen actually land well:
- Oversized photography prints (but they need to be high resolution or they look pixelated from across the room)
- Abstract paintings with bold colors – these fill space really well without being too literal
- Large-scale line drawings or minimalist pieces if your room has a lot going on already
- Textured pieces like woven fiber art or 3D installations – adds depth which big spaces desperately need
- Gallery walls but scaled up – like using all large frames instead of mixing sizes
What doesn’t work as well as you’d think: super detailed intricate art. When someone’s sitting 12 feet away on the opposite side of your living room, they can’t see those details anyway. Save the intricate stuff for smaller spaces where people can actually get close.
The Canvas vs Print vs Everything Else Debate
I’m gonna be real, stretched canvas is still my go-to for most situations. It’s lightweight enough that you’re not gonna pull your wall down, it has that finished gallery look without needing a frame, and you can find them in basically any size. But they can look cheap if you go too budget-friendly – I learned this the hard way with a $89 oversized canvas from one of those print-on-demand sites that showed up looking… not great. The colors were muddy and it had this weird texture.
For photography specifically, I’ve been really into acrylic prints lately. They’re more expensive but the depth and clarity is insane. Had one printed of this desert landscape shot – 48×36 inches on acrylic – and it literally looks like you could walk into it. The downside is weight, you need serious hanging hardware. I’m talking multiple heavy-duty anchors rated for like 50+ pounds.
Oh and another thing – framed prints under glass. If you’re going larger than like 36×24 inches, the glass gets HEAVY and expensive and also there’s glare issues. I only recommend this if you’ve got professional framing done with museum glass which is gonna run you $$$. Otherwise just do canvas or acrylic.
Where to Actually Buy This Stuff
This is gonna sound weird but I’ve had the most success mixing high and low sources. Like I’ll get a statement piece from an actual gallery or artist – spent about $800 on a 5-foot painting from a local artist last year for a client – and then supplement with more affordable options.
For affordable oversized options that don’t look cheap:
- Etsy shops that specialize in large format digital downloads – you download the file and get it printed locally at a print shop, usually way cheaper than buying pre-made
- Desenio and Printique for ready-made large prints, they ship from Europe but I’ve never had issues
- Local print shops for custom sizing – bring your own image or buy digital art
- West Elm and CB2 during sales – their oversized art goes on sale pretty regularly
I’ve also been hitting up estate sales recently because older homes tend to have large-scale art already and nobody wants it? Found a 6-foot abstract oil painting for $150 last month that just needed the frame touched up. My dog knocked it over when I brought it home and I about had a heart attack but it was fine.
Installation Is Half the Battle
Okay so you’ve got your massive piece of art, now what. First, please don’t try to eyeball the hanging height. The center of your artwork should be at 57-60 inches from the floor – this is standard gallery height and there’s a reason for it. But in living rooms with furniture, you need to think about the relationship between the art and what’s below it.
If it’s going above a sofa, leave 6-10 inches of space between the top of the sofa and bottom of the art. I see people hang things way too high all the time and it just floats awkwardly. The art should feel anchored to the furniture grouping, not separate from it.
For hanging hardware, don’t mess around with those little sawtooth hangers that come attached to frames. For anything over 20 pounds, you need:
- Heavy duty picture hangers rated for the actual weight
- Wall anchors if you’re not hitting studs
- Two hanging points for anything wider than 36 inches to prevent tilting
- A level because eyeballing it will drive you insane later
Pro tip I learned from my contractor friend – use painters tape to map out the exact size and position on your wall before you commit to putting holes in anything. Lived with the tape outline for a few days in my living room before hanging and ended up moving it 8 inches to the left because it felt off with the window placement.
The Multi-Panel Thing I Keep Mentioning
Since I keep bringing this up, let me actually break down why I love multi-panel installations for large spaces. You get the impact of a huge piece but with more flexibility. Did a five-panel ocean scene – each panel was 24×36 inches – and here’s what made it work:
The spacing between panels matters more than you’d think. I usually do 2-3 inches of space between each panel. Too close and it looks like you messed up trying to make one piece. Too far and they read as separate artworks instead of a cohesive installation. Also you can adjust the overall width by tweaking the spacing which is helpful when you’re trying to match furniture dimensions.
Another thing nobody tells you – hanging multiple panels level with each other is annoying. I use a laser level now after spending an embarrassing amount of time with a regular level and measuring tape trying to get three panels even. The laser level was like $25 and I should’ve bought it years ago.
Color and Style Considerations
This probably should’ve come first but whatever, we’re already here. The colors in your oversized art are gonna dominate the room so you gotta think about that. I’m not saying everything needs to match perfectly – actually I kinda hate when rooms are too matchy – but there should be some relationship.
What I do is pull 2-3 colors from the art and echo them in pillows, throws, or other accessories around the room. Did this teal and rust abstract piece above a client’s grey sofa and then added teal velvet pillows and a rust-colored throw. Sounds basic but it works.
Or go the opposite direction – if your room is already colorful, choose art with a more neutral palette so everything doesn’t compete. Black and white photography or line drawings work great for this. My living room has a lot of color happening between the rug and the vintage chairs so I went with a huge black and white botanical print and it calms everything down.
Texture Matters in Big Spaces
Something I’ve noticed working with larger living rooms is they can feel flat even with furniture and color, and adding textured art helps a lot. I’m talking:
- Woven wall hangings – there’s this massive jute fiber art piece in my friend’s living room that’s probably 4×5 feet and it’s stunning
- Mixed media with dimensional elements
- Thick impasto paintings where you can see the brush strokes
- Macrame or textile art scaled up
- Wood installations or carved panels
These catch light differently throughout the day and add visual interest that flat prints just can’t compete with. More expensive usually, but worth it if it’s your main statement piece.
The Gallery Wall Alternative
If you’re not feeling one massive piece, a large-scale gallery wall can work but you gotta commit to it. I’m not talking about a tiny cluster of 5×7 frames. For a big living room wall, you need substantial frames – think 16×20 minimum, mixing in some 24×36 or larger pieces.
Layout options that actually work:
- Grid format – everything same size, evenly spaced, very clean and modern
- Salon style but anchored by a large central piece
- Linear arrangement – one horizontal line of 3-4 large frames
The mistake I see is people doing too many small pieces spread across a huge wall and it just looks cluttered and small. Fewer, larger pieces read better from across the room.
wait I forgot to mention – if you’re doing a gallery wall, lay it out on the floor first. Take a picture from above and you can visualize it better than trying to plan it in your head. Saved me from so many extra nail holes.
Lighting Your Large Art
This is something people forget about but it matters. Your beautiful oversized art is gonna look meh if it’s in a dark corner. Options:
Picture lights mounted above the frame work great but you need an outlet nearby or you’re running wires. Track lighting aimed at the wall gives you flexibility to adjust. Even just making sure there’s enough ambient light in that area helps – I added a floor lamp next to my living room art wall and it made a huge difference.
Natural light is tricky though. Too much direct sun will fade your art over time especially if it’s a print or photograph. UV-protective glass or acrylic helps but it’s pricey. I usually try to position large art on walls that get indirect light.
Okay I think that covers most of what I’ve learned through trial and error with this stuff. The main thing is don’t be scared of going bigger than feels comfortable – in a large living room, oversized art almost always looks better than you think it will. And measure twice, hang once, because patching drywall is annoying.