Wall Art Guide, Wall Art Tutoriels
5 Piece Wall Art: Five-Panel Multi-Section Sets
Sep
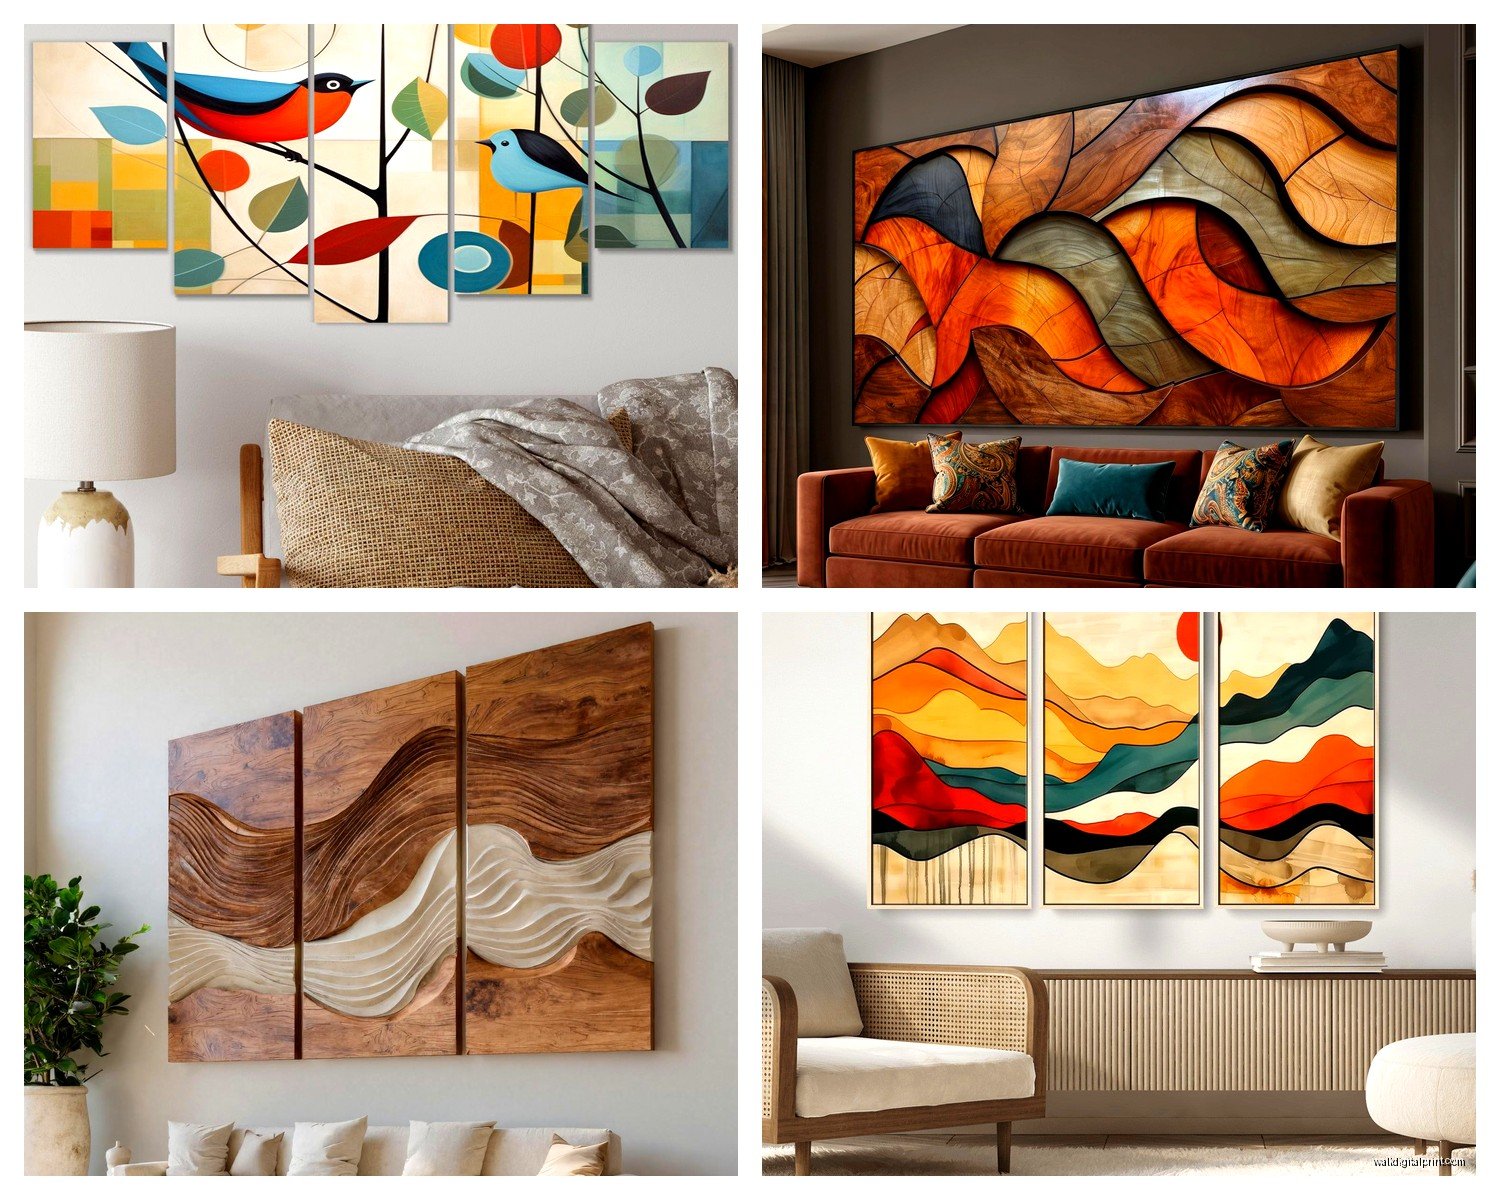
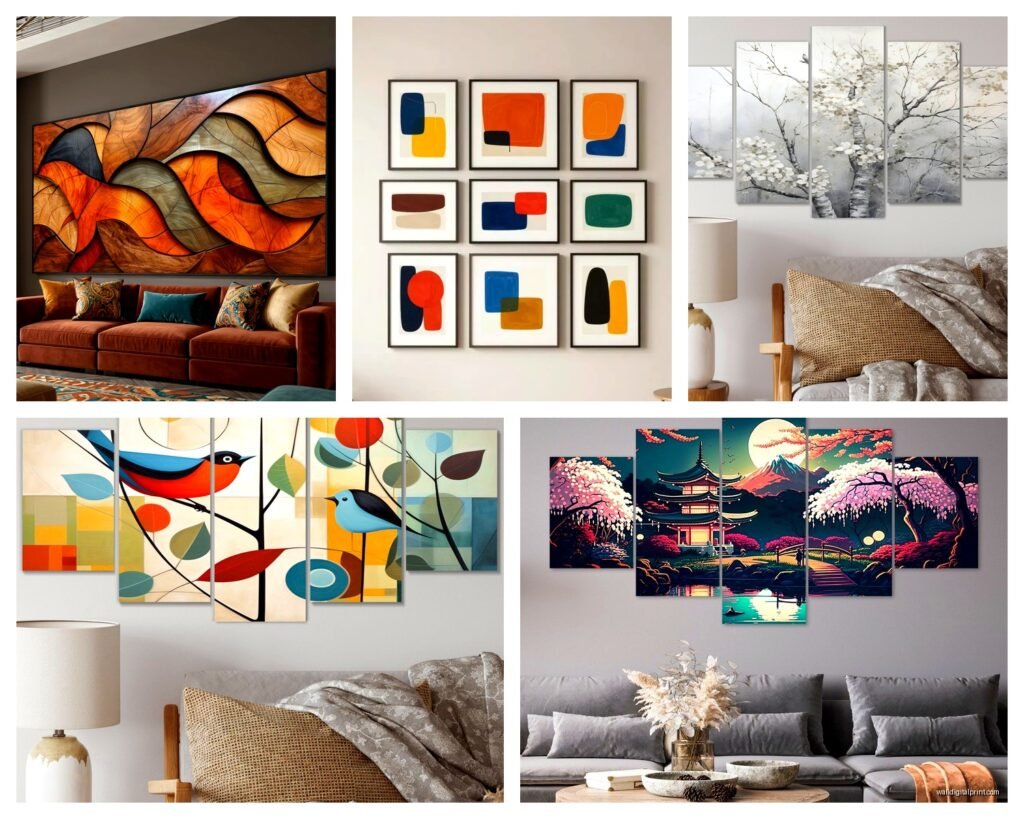
So I’ve been totally obsessed with five-panel wall art lately and honestly it’s such a game changer for big empty walls. Like, you know that moment when you move into a place and there’s just this massive wall staring at you? Yeah, five-panel sets are basically my go-to now.
Why Five Panels Actually Makes Sense
Okay so here’s the thing about five-panel sets versus like, one big canvas or those three-panel triptychs. The five panels give you this rhythm that’s just… chef’s kiss. My dog literally knocked over my coffee while I was hanging one last week and I had this epiphany that the odd number creates a natural focal point in the middle. Your eye goes right to that center panel and then flows outward. With even numbers you get this weird split-brain thing happening.
The standard configuration is usually one large center panel with two medium panels on each side, stepping down in size. But I’ve also seen sets where all five are the same size, which can look really modern and architectural if that’s your vibe.
Measuring Your Wall Space (Don’t Skip This Part)
I’m gonna be real with you, I’ve messed this up before. You gotta measure twice, buy once or whatever that saying is.
Here’s what actually works:
- Your total wall art width should be about 60-75% of your furniture width below it
- Leave at least 6-8 inches between the top of your couch and the bottom of the art
- The spacing between each panel matters SO much – usually 2-3 inches looks best
- Eye level is around 57-60 inches from the floor to the center of the artwork
I learned that last one from a museum curator friend who got very intense about it at brunch one time. But she was right, it actually matters.
The Spacing Thing Nobody Talks About
Wait I forgot to mention – when companies sell these sets, they almost never tell you the TOTAL width including spacing. Super annoying. So if each panel is 12 inches wide and you have five panels, that’s 60 inches of canvas. But with 2 inches between each panel (that’s four gaps), you’re adding 8 more inches. Your total width is actually 68 inches. Do the math before you buy or you’ll end up with art that’s way bigger than you thought.
Materials and Quality Stuff
Okay so most five-panel sets come in a few different materials and the price difference is wild.
Canvas prints are the most common. They’re stretched over wooden frames, usually pine or fir. The cheaper ones use really thin canvas that you can kinda see through when light hits it, which looks… not great. Look for at least 320gsm canvas weight if the listing mentions it.
Acrylic or glass prints are having a moment right now. The image is printed and mounted behind acrylic/glass panels which gives this really vibrant, modern look. They’re heavier though, so make sure your walls can handle it. My client last month wanted these for her rental and I had to talk her out of it because the landlord would’ve freaked about the wall anchors needed.
Wood panels are less common but really cool for the right space. The image is printed directly on wood which gives texture and depth.
Frame or Frameless
Most sets come frameless with the image wrapping around the edges of the canvas (called gallery wrap). This is gonna sound weird but I actually prefer this for five-panel sets because adding frames to all five pieces can make it look really busy and cluttered.
If you DO want frames, get them all framed together by a pro. Don’t try to frame five separate pieces yourself unless you have infinite patience. I tried once and they all ended up slightly different heights and it haunted me.
Choosing Your Image or Design
This is where people overthink it. The image you choose needs to work when it’s split across five panels, obviously, but some images work better than others.
Landscapes and panoramas are like, the classic choice. Beach scenes, mountains, forests, city skylines. They naturally extend horizontally so the split feels intentional. I just put up a forest scene in my bedroom and it’s honestly so calming.
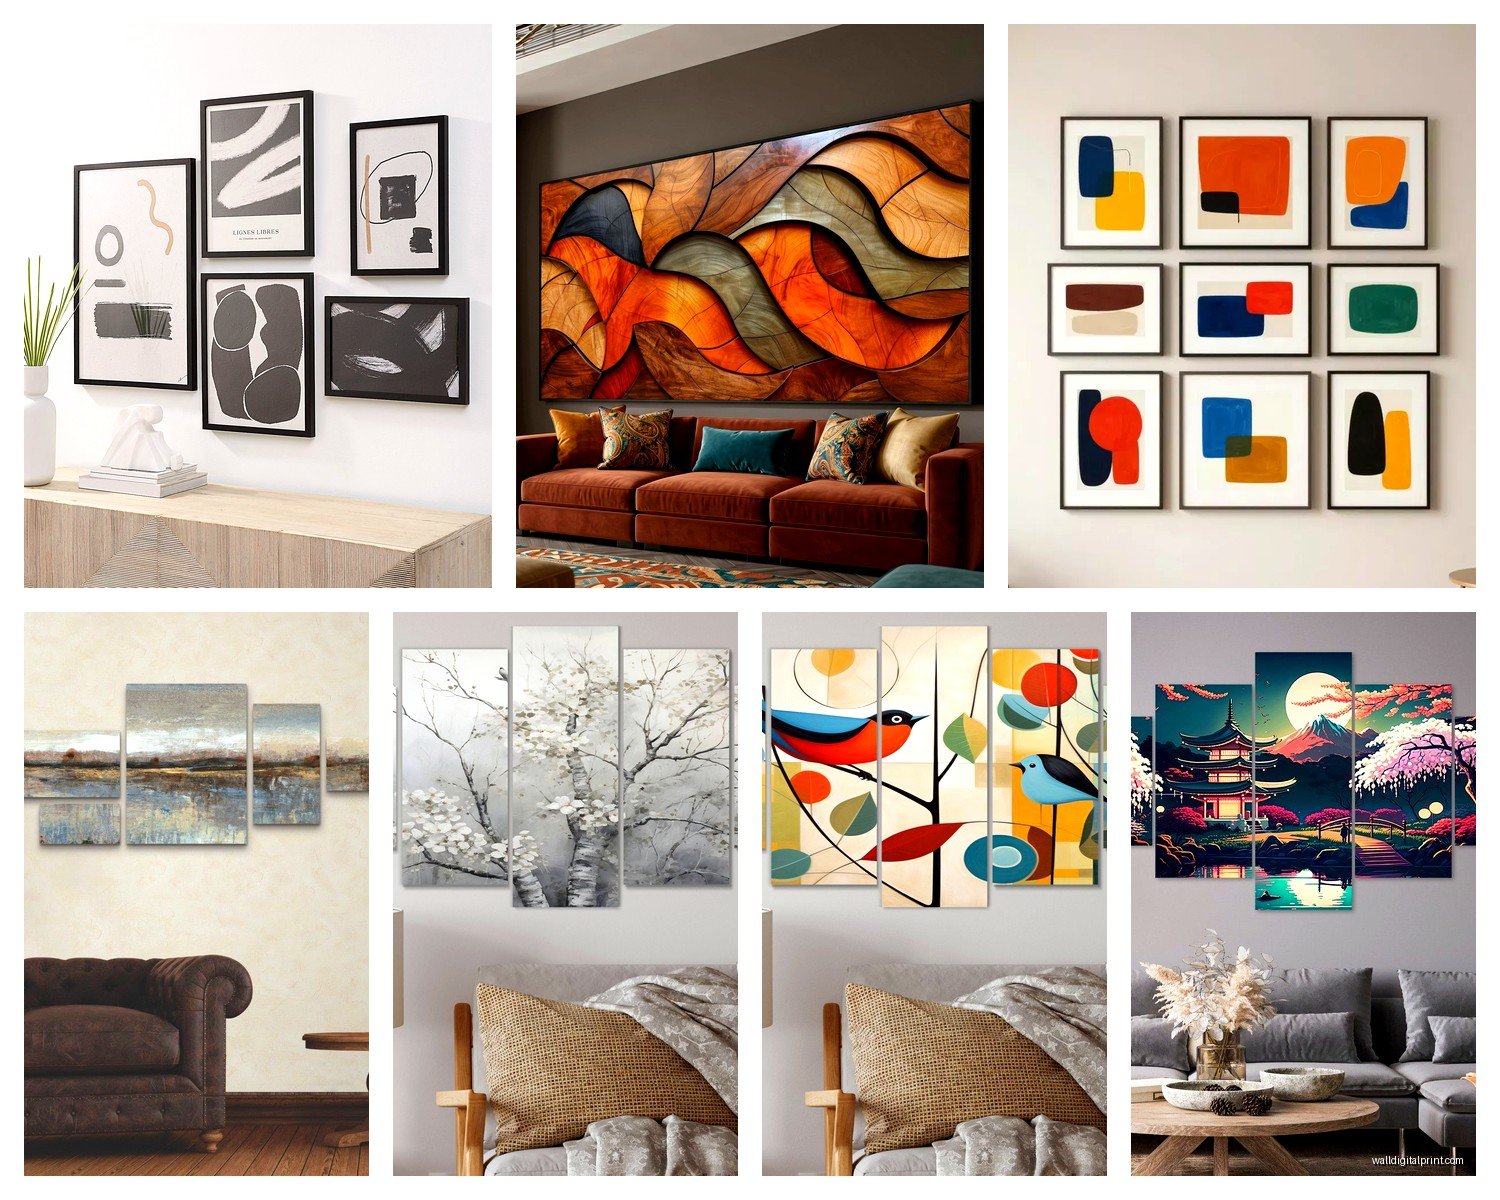
Abstract designs work really well because the breaks between panels become part of the composition. Geometric patterns, watercolor flows, that kind of thing.
Single subject images can be tricky. Like if you have someone’s face split across five panels with gaps in between… it can look chopped up in a bad way. But I’ve seen it work with like, a lion’s face or a flower macro shot where the splits create drama.
Oh and another thing – make sure the image resolution is high enough. A panoramic photo split into five pieces means each panel needs good resolution or it’ll look pixelated. Look for at least 300 DPI if that info is available.
Where to Actually Buy These
I’ve tested a bunch of sources and here’s my honest take:
Amazon has tons of options and the reviews are actually helpful. The quality is all over the place though. Stick to sellers with thousands of reviews and read the photo reviews from customers. Pro tip: search “5 panel canvas wall art” plus your theme.
Etsy is great for custom or unique designs. You can often message the seller about customizing sizes or colors. Takes longer to ship usually but the quality tends to be better than Amazon’s cheap options.
Wayfair and Overstock have curated selections that are generally decent quality. Their photos are more accurate than Amazon’s too.
Print-on-demand sites like CanvasDiscount or EasyCanvasPrints let you upload your own image. This is perfect if you have a specific photo you want to use, but make sure your image is high-res enough.
I wouldn’t bother with HomeGoods or TJ Maxx for these – I’ve literally never seen a five-panel set there, mostly just single pieces or triptychs.
Actually Hanging These Things
Alright so you bought your set and now you gotta hang it. This is where my client canceled last week so I spent an hour comparing different hanging methods and I have THOUGHTS.
The Paper Template Method
Most sets come with a paper template showing exactly where to place each panel. Use it. Seriously. Tape the template to your wall, make your nail holes through the paper, then remove the template and hang your panels. This is the easiest way to get consistent spacing.
If your set didn’t come with a template (some don’t), make your own with painter’s tape on the floor. Lay out all five panels with the spacing you want, measure everything, then transfer those measurements to the wall.
Hardware You’ll Need
- Level – get a decent one, not a dollar store level that lies to you
- Measuring tape
- Pencil for marking
- Hammer or drill depending on your wall type
- Appropriate wall anchors if you’re not hitting studs
For drywall, I swear by those monkey hook things for lighter canvas sets (under 10 pounds total). For heavier sets or if you’re hanging on plaster, you need actual wall anchors. The toggle bolt style ones are strongest.
The Level Trick
Okay this is gonna save you so much frustration. Instead of trying to level each panel individually, put your level across the TOP edges of multiple panels at once. This ensures they’re all at the same height relative to each other, which matters more than each one being perfectly level individually.
Start with the center panel, get it exactly where you want it. Then work outward to the sides, using that first panel as your reference point.
Common Mistakes I See All The Time
Hanging them too high. Everyone does this. Remember that 57-60 inch center point I mentioned? Most people hang art like 6 inches too high and it floats weirdly on the wall.
Wrong wall color contrast. A dark dramatic photograph on a dark wall disappears. A light beachy scene on white walls has no impact. You need some contrast for the art to pop.
Ignoring the room’s existing lines. If you have crown molding, baseboards, a chair rail, whatever – your five-panel set should relate to those horizontal lines somehow. Don’t just slap it up randomly.
Spacing the panels too far apart. I see people leave like 6-8 inches between panels thinking it’ll make the set look bigger. It doesn’t. It just looks like five separate pieces that happen to be near each other. Keep it to 2-4 inches max.
Styling Around Your Five-Panel Set
The art shouldn’t just float on the wall in isolation.
If it’s above a couch, add some throw pillows that pick up colors from the artwork. Not matchy-matchy, just coordinating. I did this with a teal ocean scene and added one teal pillow among neutral ones – looked way more intentional.
Side tables or a console below the art help ground it. The furniture and art should feel like they’re in conversation.
Plants are your friend here. A tall plant to one side of the wall art creates asymmetry that’s visually interesting.
Don’t add MORE wall art around a five-panel set. It’s already a statement piece. You’ll just create chaos. Trust me, I have a client who didn’t listen to this advice and her living room looks like a gallery exploded.
Lighting Considerations
If you have the budget, picture lights or track lighting aimed at your five-panel set makes it look SO much more expensive and intentional. Even a floor lamp positioned to wash light across the wall helps.
Avoid hanging these where direct sunlight hits them all day. UV rays will fade the print over time, especially with cheaper canvas prints.
What About Custom Five-Panel Sets
I’ve done this a few times for clients and here’s what I learned – it’s not that much more expensive than you’d think if you use the right service.
Upload a high-resolution photo to a print-on-demand site. Panoramic photos work best. I used a client’s vacation photo from Iceland (she took it on a nice camera, not a phone) and it turned out amazing.
You can also hire someone on Fiverr or Etsy to create a custom abstract design in your color scheme. Usually runs $50-150 depending on complexity, then you take that digital file to a printing service.
The key is starting with an image that’s at least 6000 pixels wide for good quality. Phone photos usually aren’t high-res enough unless you have a newer iPhone or Samsung in the right settings.
Price Ranges and What to Expect
Budget sets run $40-80 and honestly some of them are fine for a first apartment or rental. The canvas will be thin, the colors might be slightly off from the listing photo, but they’re not terrible.
Mid-range is $100-250 and this is the sweet spot in my opinion. Better canvas quality, more accurate colors, sturdier frames.
High-end sets are $300+ and you’re paying for artist designs, premium materials, sometimes hand-embellished details. Worth it if you’re gonna live somewhere long-term and want it to last.
I usually tell people to invest more if it’s going in a main living area that guests see, and go cheaper for bedrooms or offices where only you see it daily.
Maintenance and Longevity
Canvas prints collect dust. Just use a dry microfiber cloth every few months to wipe them down. Don’t use water or cleaning products unless you want to ruin the print.
If a corner starts to sag or pull away from the frame, you can usually staple it back yourself or use those little canvas tightening keys that sometimes come with the set.
Honestly these aren’t heirloom pieces. You’ll probably want to change your wall art in 5-10 years anyway when your style evolves. Don’t stress about them lasting forever.
Okay wait one more thing – if you’re renting, take photos of your wall BEFORE you hang anything. Document that there were already nail holes or whatever. Makes getting your deposit back easier. My friend learned this the hard way.
Anyway that’s basically everything I wish someone had told me before I bought my first five-panel set and hung it crooked and too high and had to redo the whole thing. Learn from my mistakes, you know?